This is Article 2 in our five-part series, Dehydrating the Summer Harvest. If your garden or farmers’ market haul is overflowing right now, this series was made for you. Catch up with Article 1, or keep going with Article 3, Article 4, and Article 5. All five articles are drawn from our full Dehydrating class with Darcy Baldwin, where she walks you through dehydrating food step by step. See the full class here.
As we said previously, there’s so much to love about dehydrating. But the best part is building a pantry that offers peace of mind. You won’t need to worry about supply chain disruptions, power outages, or fitting a grocery store trip into your already full schedule. Instead, you’ll feel the satisfaction that comes from preparing meals with ingredients you sourced and preserved yourself.
Happily, dehydrating foods is simple and easy enough for a beginner to learn. In this second article in our series on dehydrating, we’ll tackle the full process from cutting board to sealed jar for your favorite summer produce. Grab your dehydrator and let’s get started.
Step 1: Select the Right Food
When it comes to choosing what to dehydrate, start with quality. It’s best to pick produce that is at peak ripeness – neither overripe, nor underripe. In the summer, that means zucchini before it gets enormous, tomatoes that have reached full color, and herbs just before flowering. Whether you’re harvesting from your garden or buying in your food, remember that you can use the whole food and save the leaves from the vegetables to dehydrate into green powder (which we’ll cover in our next article in this series).
But peak ripeness doesn’t necessarily mean it has to be fresh currently. We talked elsewhere about how frozen produce is fair game for canning, and the same is true for dehydrating. In fact, it may be fresher than what’s in your produce department if you’re looking at foods that are currently out of season locally. With frozen foods, there’s no need to thaw first, and the advantage is that it often dehydrates faster because freezing breaks down cell walls.
Great candidates for dehydrating are items that are discounted at the grocery store or farmer’s market. Just avoid bruised or moldy fruit – dehydrating concentrates flavor, including off flavors. As a rule of thumb, if it’s no longer edible, throw it into the compost (or to your worms!) instead of dehydrating it. But that doesn’t mean that you can’t dehydrate something that’s less than perfect and starting to turn. Grandma was right: Don’t let the best be the enemy of the good!
Step 2: Wash and Prep
Once you’ve picked out what you’re dehydrating, the next step is to wash everything before slicing, without exception. Don’t forget to wash the greens as well if you intend to dehydrate those.
Now envision the end goal before you begin to chop. For instance, is this food going into soups and stews or will it be eaten as a snack? The different cuts lend themselves to different recipes.
When you have that figured out, slice away, aiming for consistent slice thickness of about ¼ inch (6 mm) for most produce. This is the single biggest factor behind even drying. Pieces of different thicknesses on the same tray will finish at different times, with the thicker ones slowing everything down.
Tip: A mandoline slicer helps enormously once you're doing bigger batches – if you don’t already own one, file that away for when your mother asks what to buy you for your birthday.
Quick Prep by Produce Type
Darcy’s Dehydrating class skill sheet goes into depth on how to prep foods for your dehydrator, but here’s a brief overview of some of the more popular summer fruits and veggies.
Zucchini and summer squash: slice into ¼ inch (6 mm) rounds, no peeling needed (these make delicious veggie chips that can rival any potato chip if salted or seasoned well!)
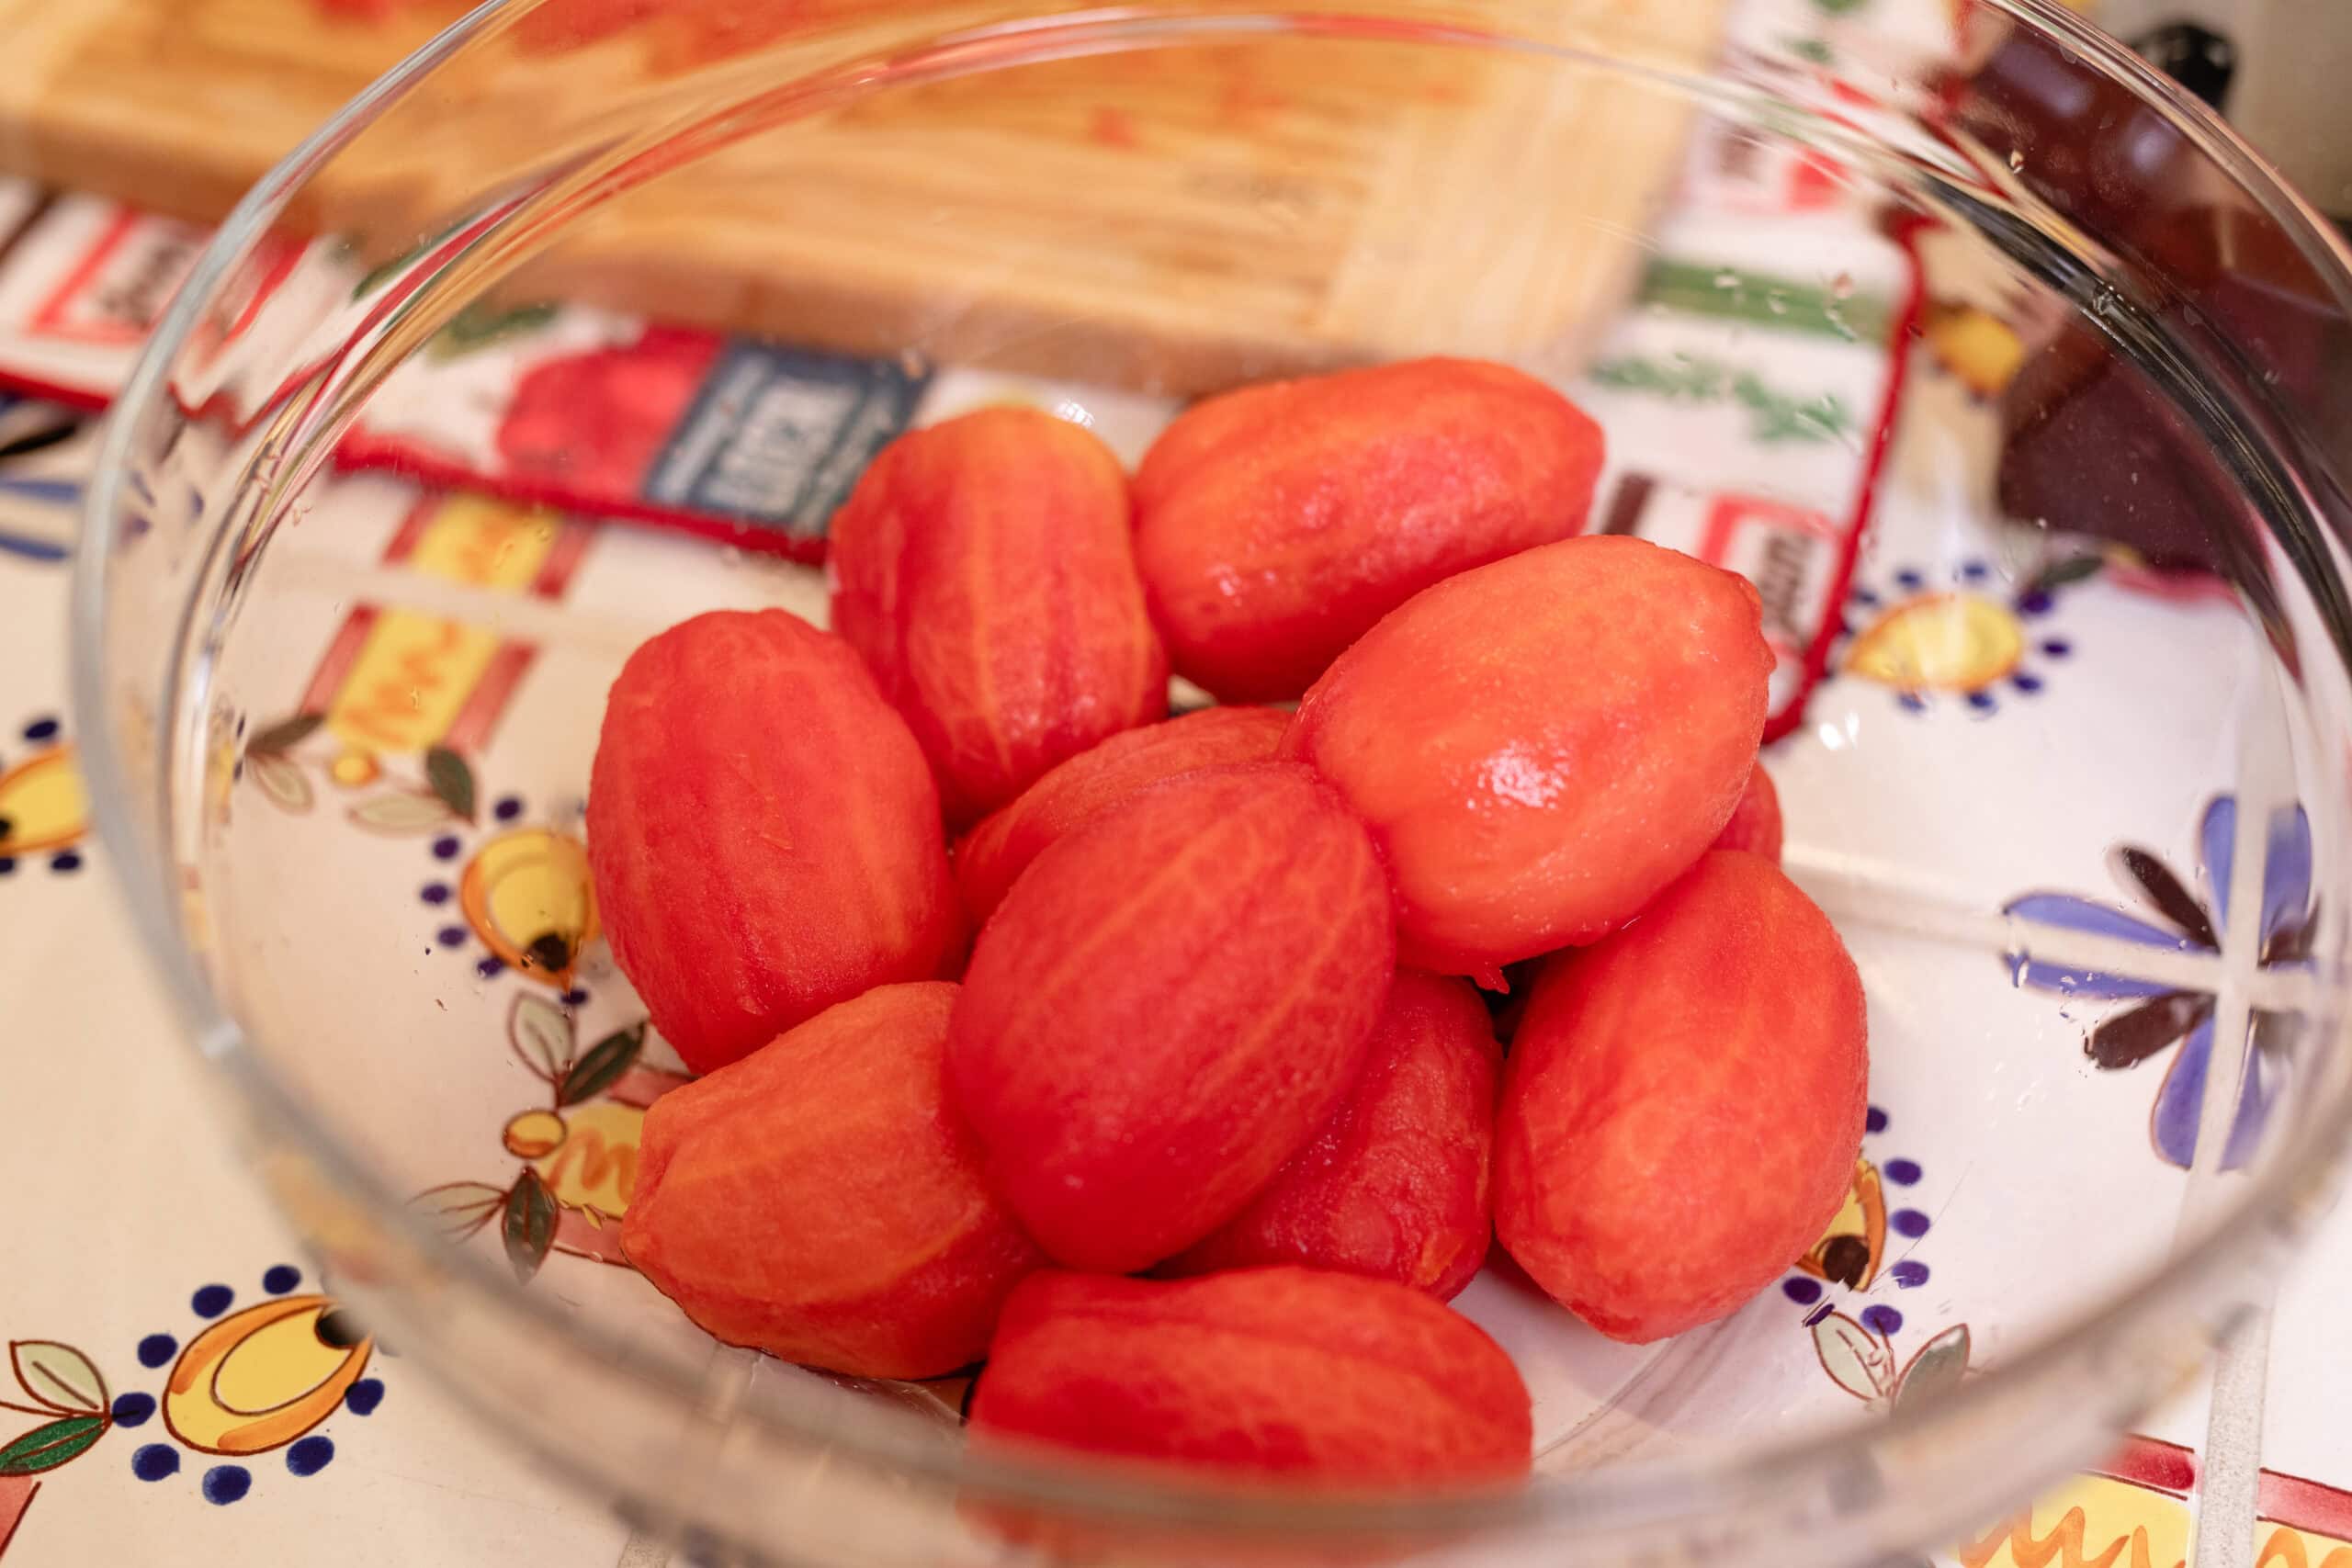
Tomatoes: slice into ¼ inch (6 mm) rounds, or quarter cherry tomatoes
Onions: slice thinly and dehydrate these outside or with good ventilation, since the smell will fill the whole house
Garlic: slice thinly or mince and spread
Peppers (sweet or hot): remove seeds and membrane, then slice or dice
Corn: blanch first, then cut from cob
Green beans: blanch first, then slice into one-inch (2.5 cm) pieces
Berries: halve strawberries and score blueberry skins so moisture can escape
Stone fruit (peaches, plums, apricots): pit and halve or slice into ¼ inch (6 mm) pieces
After slicing, a few of these (not to mention some items not listed above) will need pretreating. Let’s turn to that now.

Step 3: Pretreat — Which Foods Need It and Why
This step may sound confusing at first, but it’s actually pretty simple. We’ll look at three categories of foods: fruits that need an acid immersion, dense vegetables that need blanching, and foods that don’t require any pretreating.
For Fruit That Browns: Acid Bath
Apples, pears, bananas, and peaches oxidize and turn brown when sliced. One possible solution is to soak the cut pieces in water with lemon juice for five minutes, then drain and load the trays directly. Either bottled or fresh lemon juice will work. The lemon flavor does not transfer to the finished product, so nothing to worry about there.
Darcy provides other options in the class skill sheet, including a spritz or citric acid bath, so be sure to check that out when you buy the class.
For Dense Vegetables: Blanching
Root vegetables and dense produce benefit from a 3-minute blanch and ice bath before dehydrating. As a rule of thumb, if you would normally eat it raw, you don’t have to blanch it. There are some notable exceptions, though, like carrots and celery. Other foods that should be blanched first are green beans, corn, broccoli, and cauliflower.
If blanching is unfamiliar to you, here’s the method in a nutshell (but see here for a more in-depth guide to this fundamental cooking technique): First, add your vegetables to a pot of water at a rapid boil. Wait until the water comes back up to a boil, and set the timer for three minutes. Then scoop them out using a strainer and put them straight into an ice bath. Once cool to the touch, they can go into the dehydrator.
Blanching is simple enough to do, but it does add a little time to the process. Why is all of that necessary? Blanching stops the enzyme activity that causes color loss and texture changes on the shelf. It’s not just an aesthetic concern, though, since that same enzymatic activity will lead to nutrient loss over time. Also, blanched vegetables rehydrate faster and taste better in finished dishes. If you skipped this step in the past, don’t fret – the food is still edible, even if your carrots or celery turned white.
What Doesn't Need Pretreating
Foods for which you can entirely skip the pretreating are fresh herbs, leafy greens, most peppers, garlic, onions, and tomatoes – just slice and load these on the trays.
Dehydrating
Fill your shelves with long-lasting, nutritious snacks, meals, and ingredients all while staying on (or below) budget! Learn the art of dehydrating foods and create a bounty of dried fruits, vegetables, herbs, and even jerky, ensuring you have a healthy, flavorful stockpile all year round.
Step 4: Load the Trays
Before you load the trays, think about what liner you need.
- Mesh sheets work well for diced vegetables, small pieces, and anything that might fall through
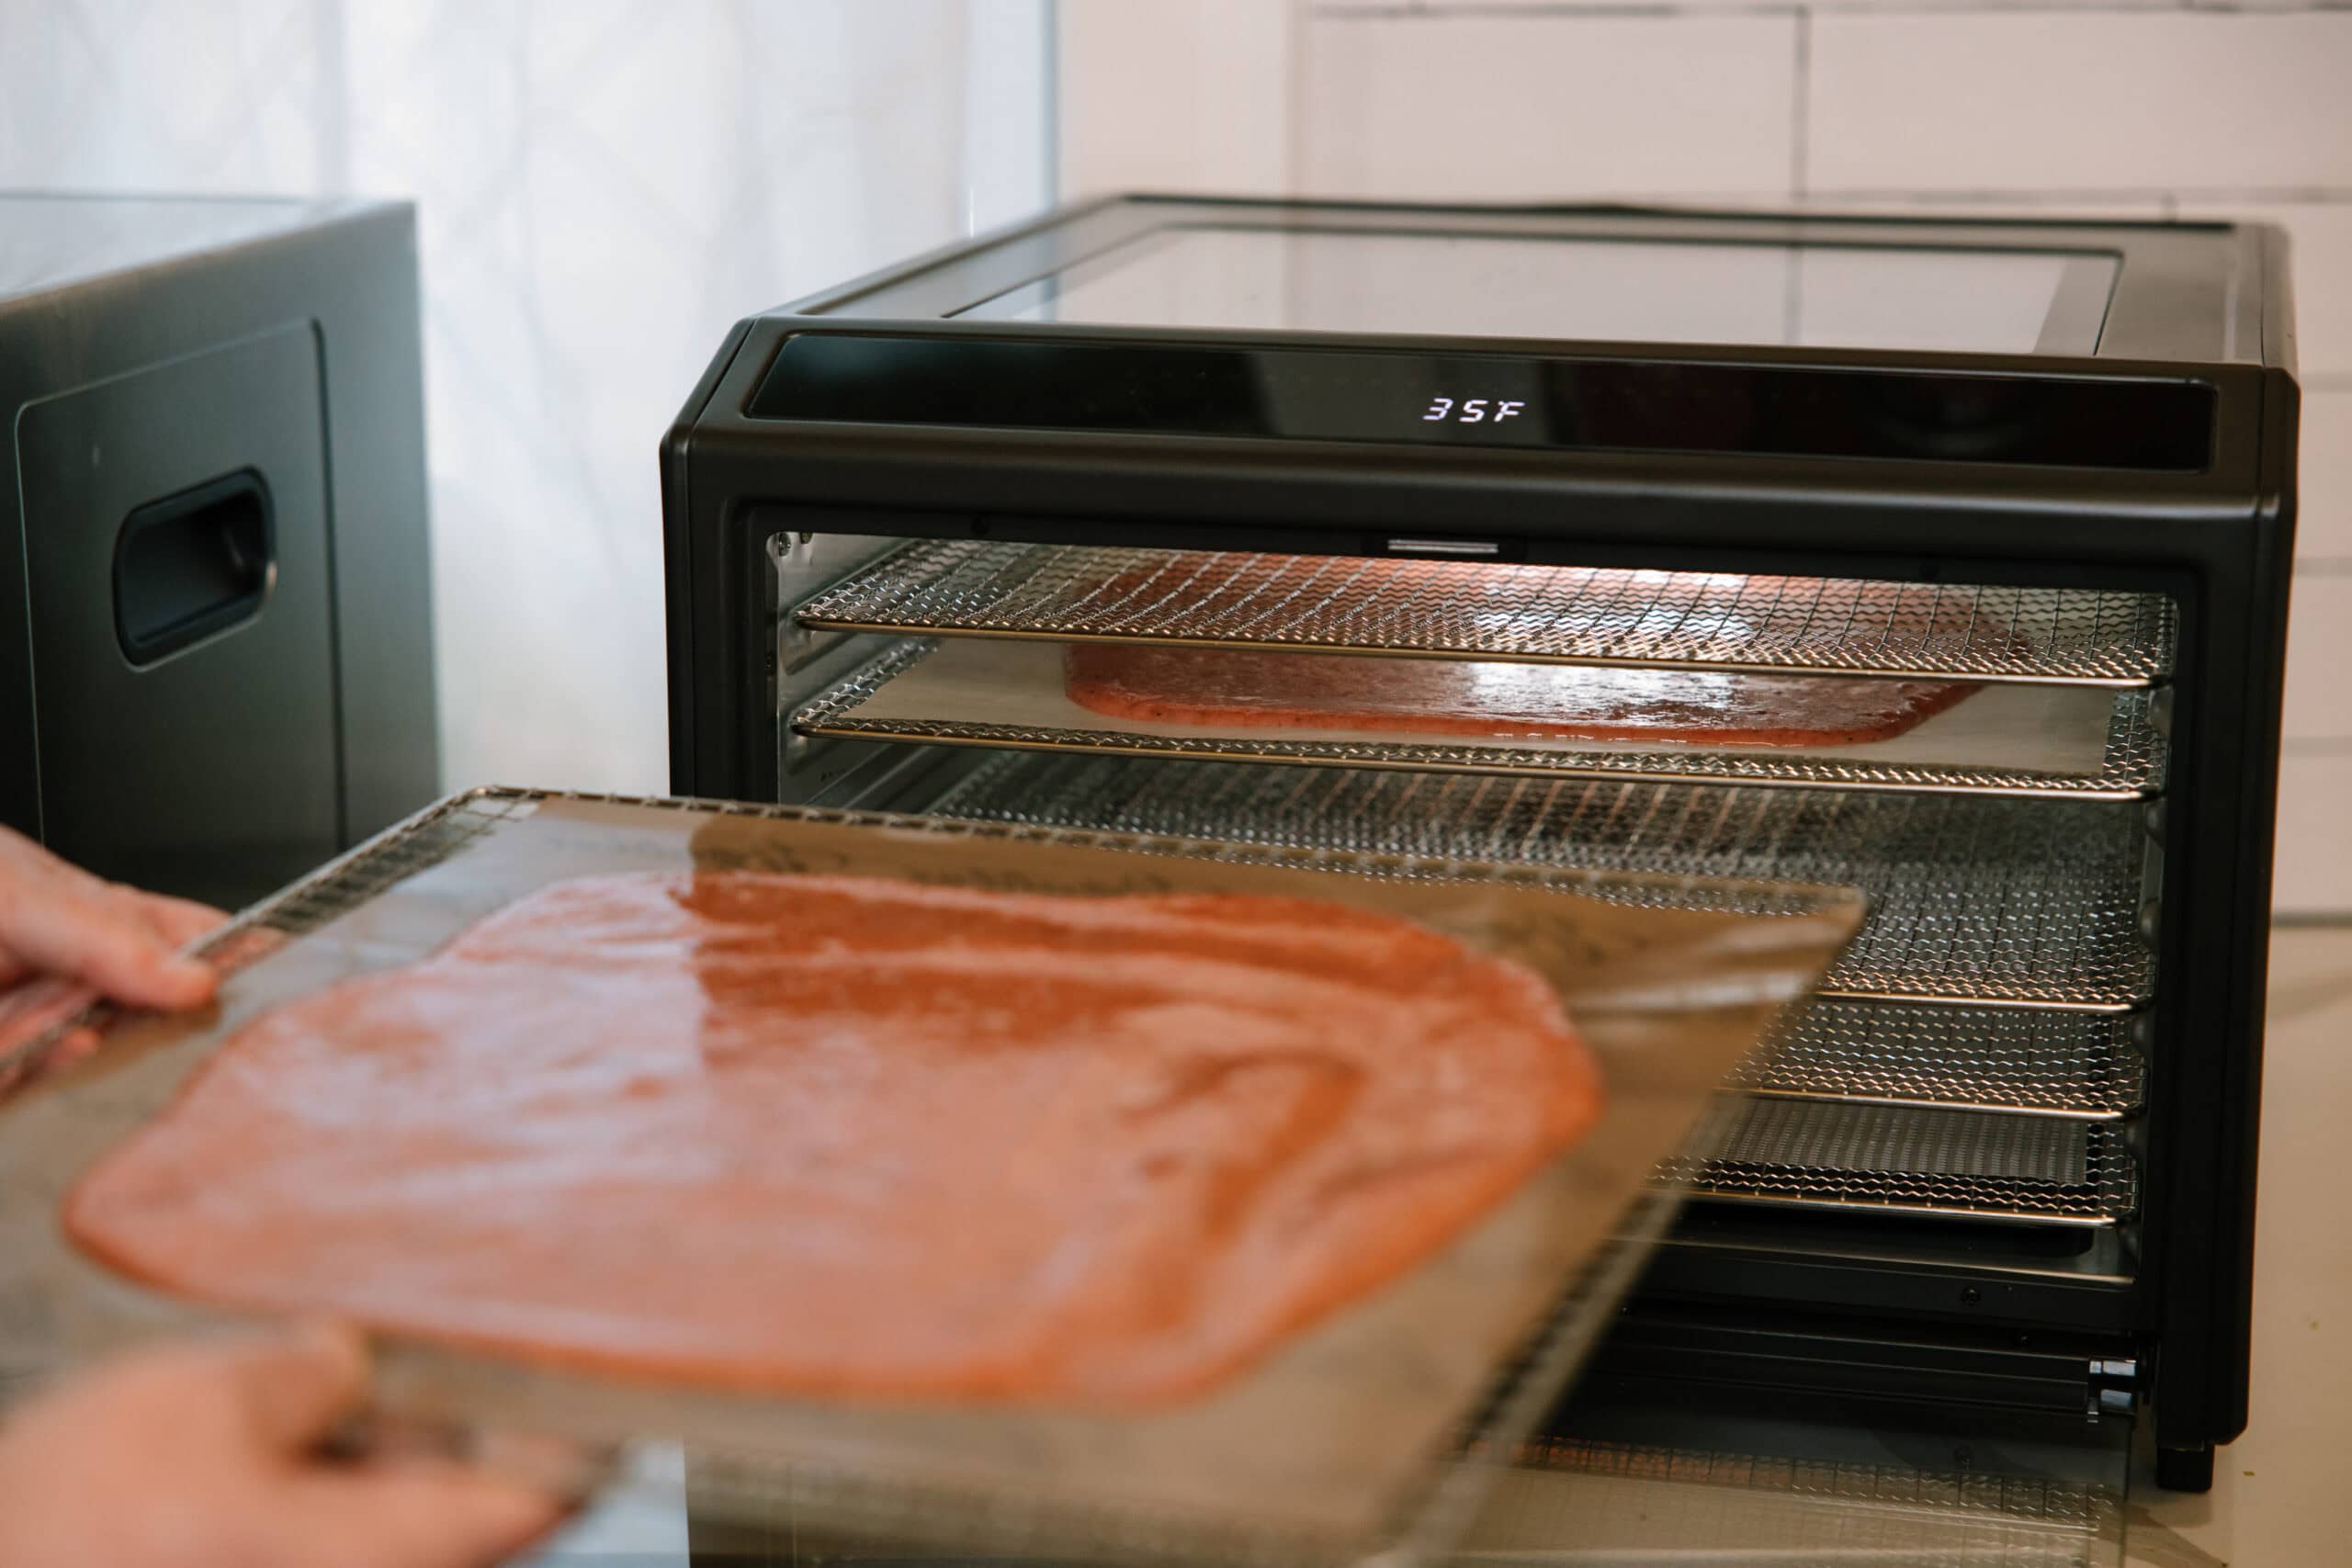
- Lipped silicone sheets are great for fruit leather and purées
- Parchment is the go-to for sticky or juicy items
- And in some cases, like when prepping larger slices, you can skip the liner entirely
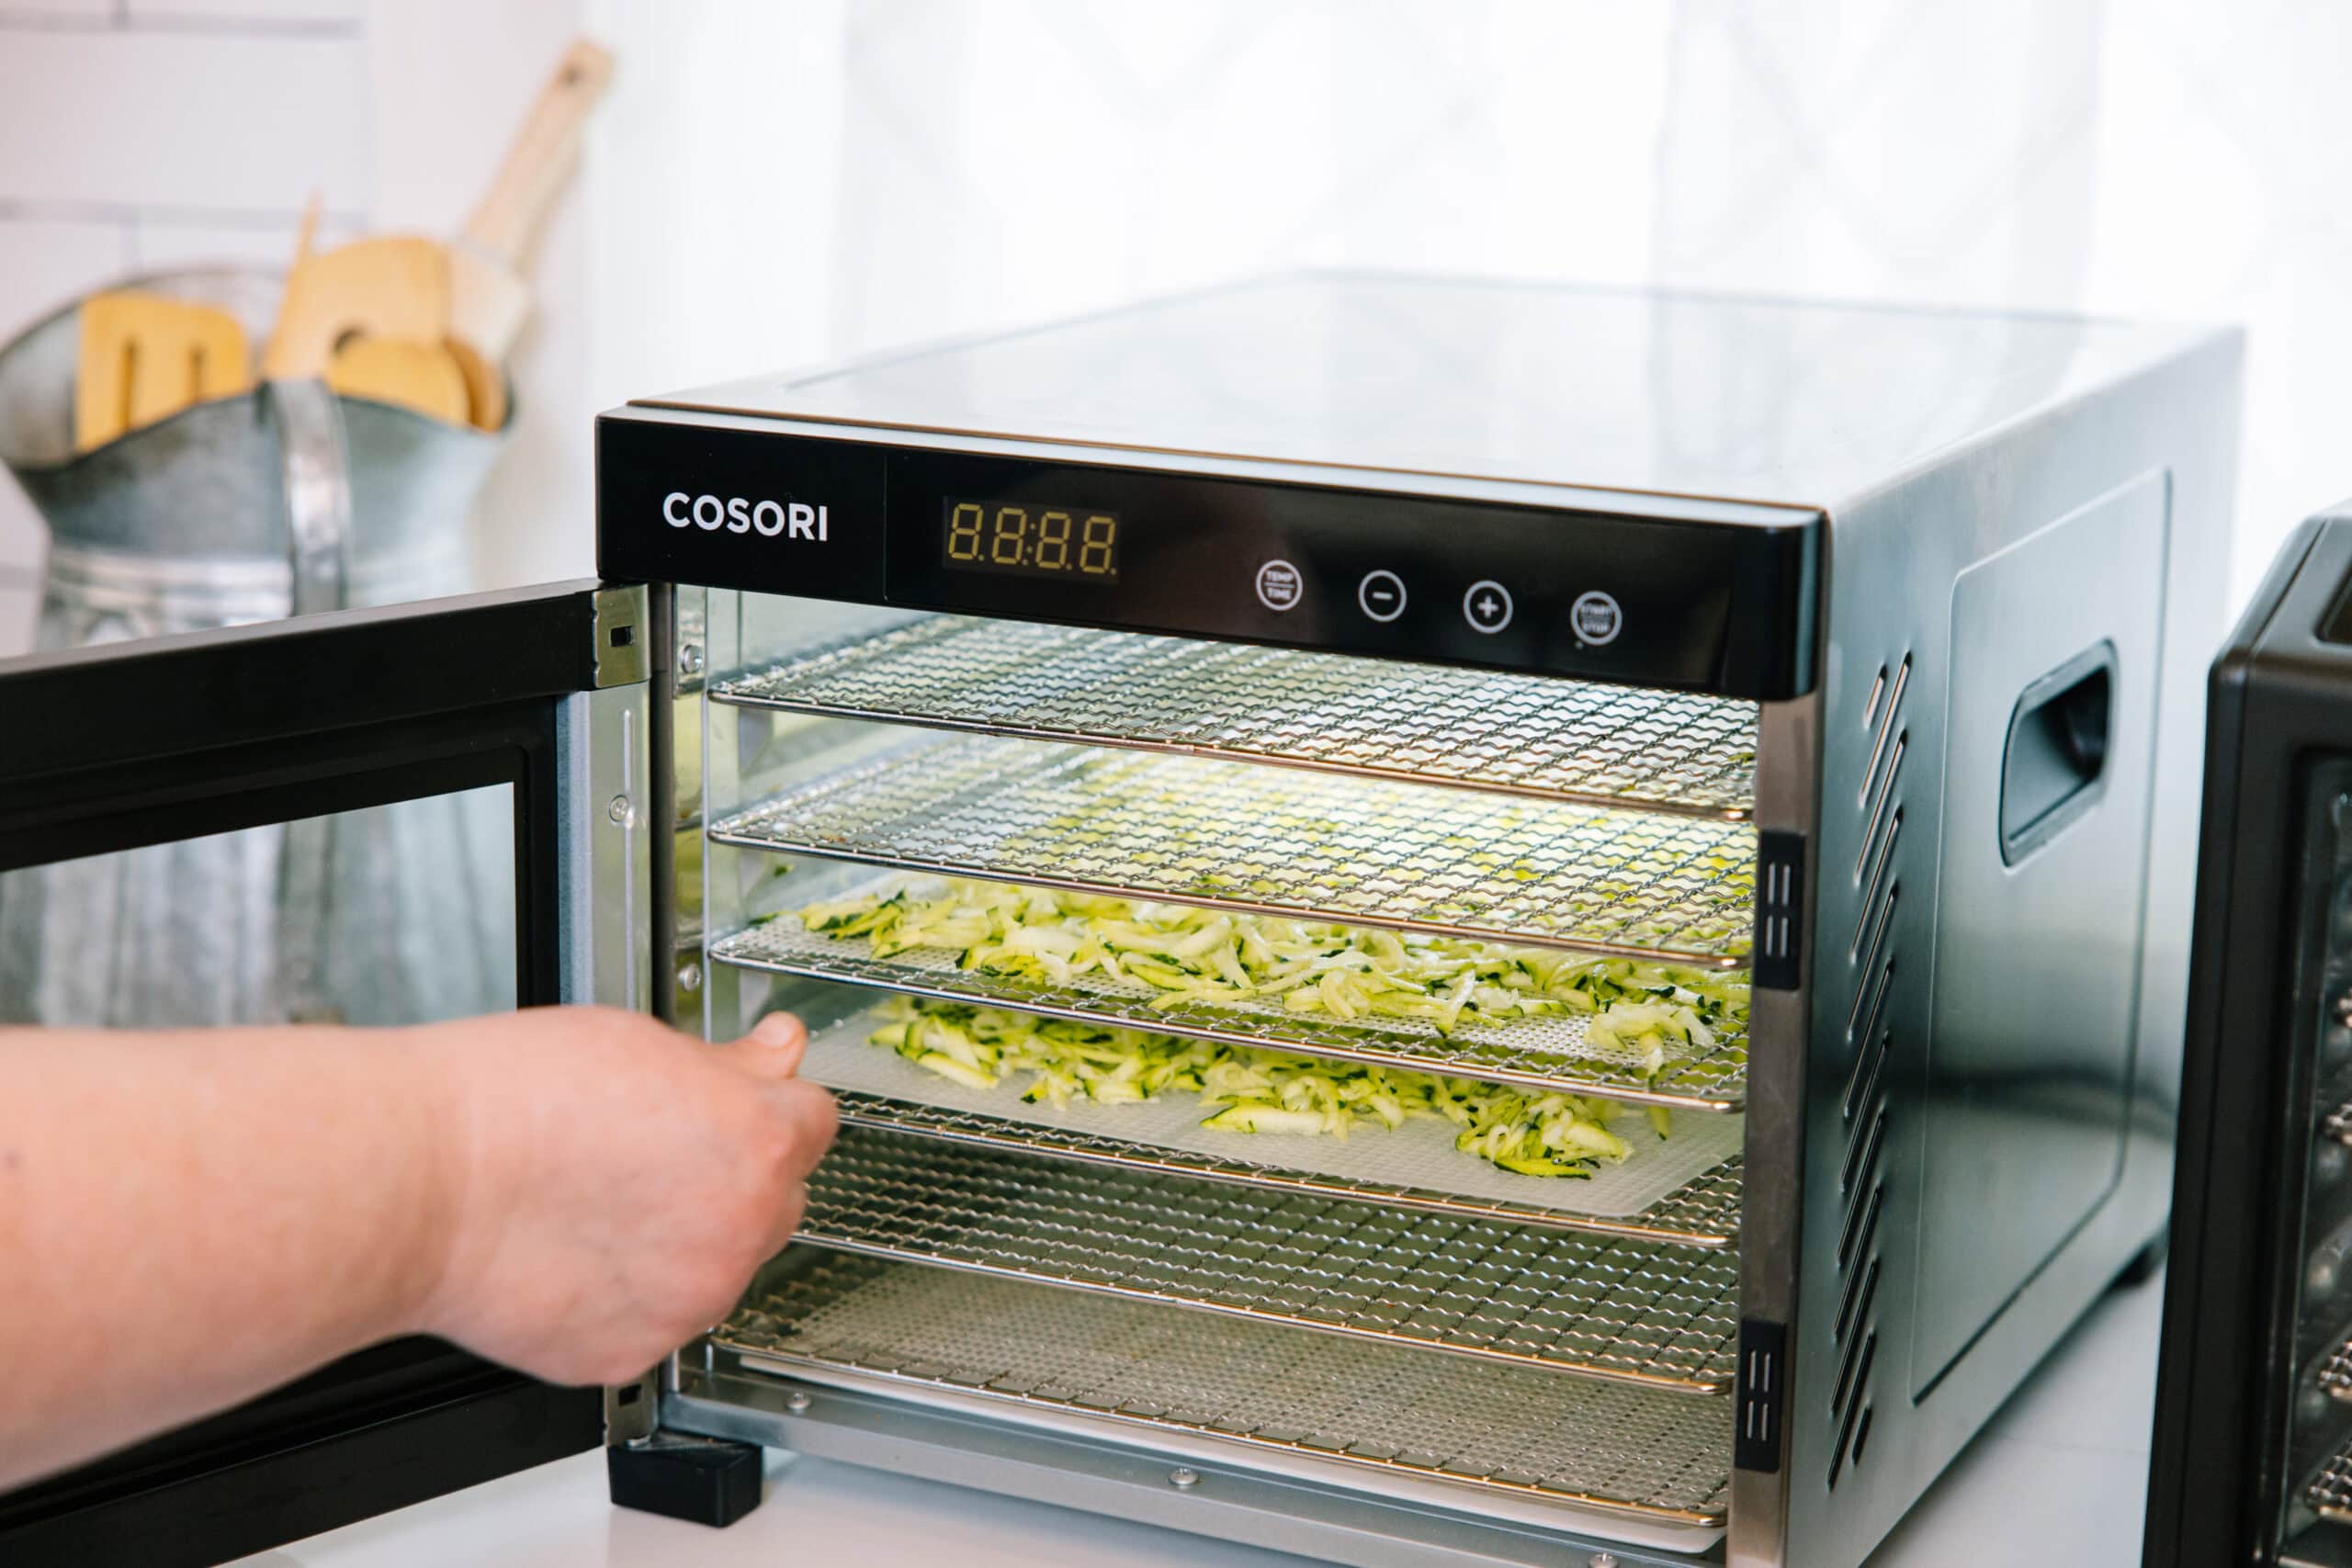
You want to lay out your slices in a single layer. It’s fine if pieces are touching one another, but avoid overlapping them. Airflow is the key to proper dehydration, so you want to fill the trays fully without sacrificing airflow between individual slices.
As you’re getting ready to dehydrate, here’s a couple best practices to keep in mind:
- Don't mix strong-smelling foods (think onions and garlic) with other foods in the same machine run — the flavors will transfer
- Stick with one food and thickness per tray — in other words, don't mix zucchini and tomatoes on the same tray, nor tomato slices with diced tomatoes
If you follow these steps, you’ll be well on your way to a successful batch of dehydrated foods! The only thing left to do is to fire up the dehydrator and get the trays in.
Step 5: Set the Temperature and Start the Machine
From the outset, we should clarify something. A common pitfall is to set the temperature higher to get faster results, but it doesn’t work this way. It can actually trap moisture inside and harden the outside of the food so much that it becomes inedible. Take it from us – it’s worth being patient and following directions in programming the dehydrator to the recommended temperature and letting it run its full course.
For summer produce, the recommended temperatures vary from 95°F (35°C) to 135°F (57°C). To preserve the most nutrients and flavor, herbs and greens should be dehydrated at 95°F (35°C), while most fruits and vegetables do fine in the 125–135°F (52–57°C) range.
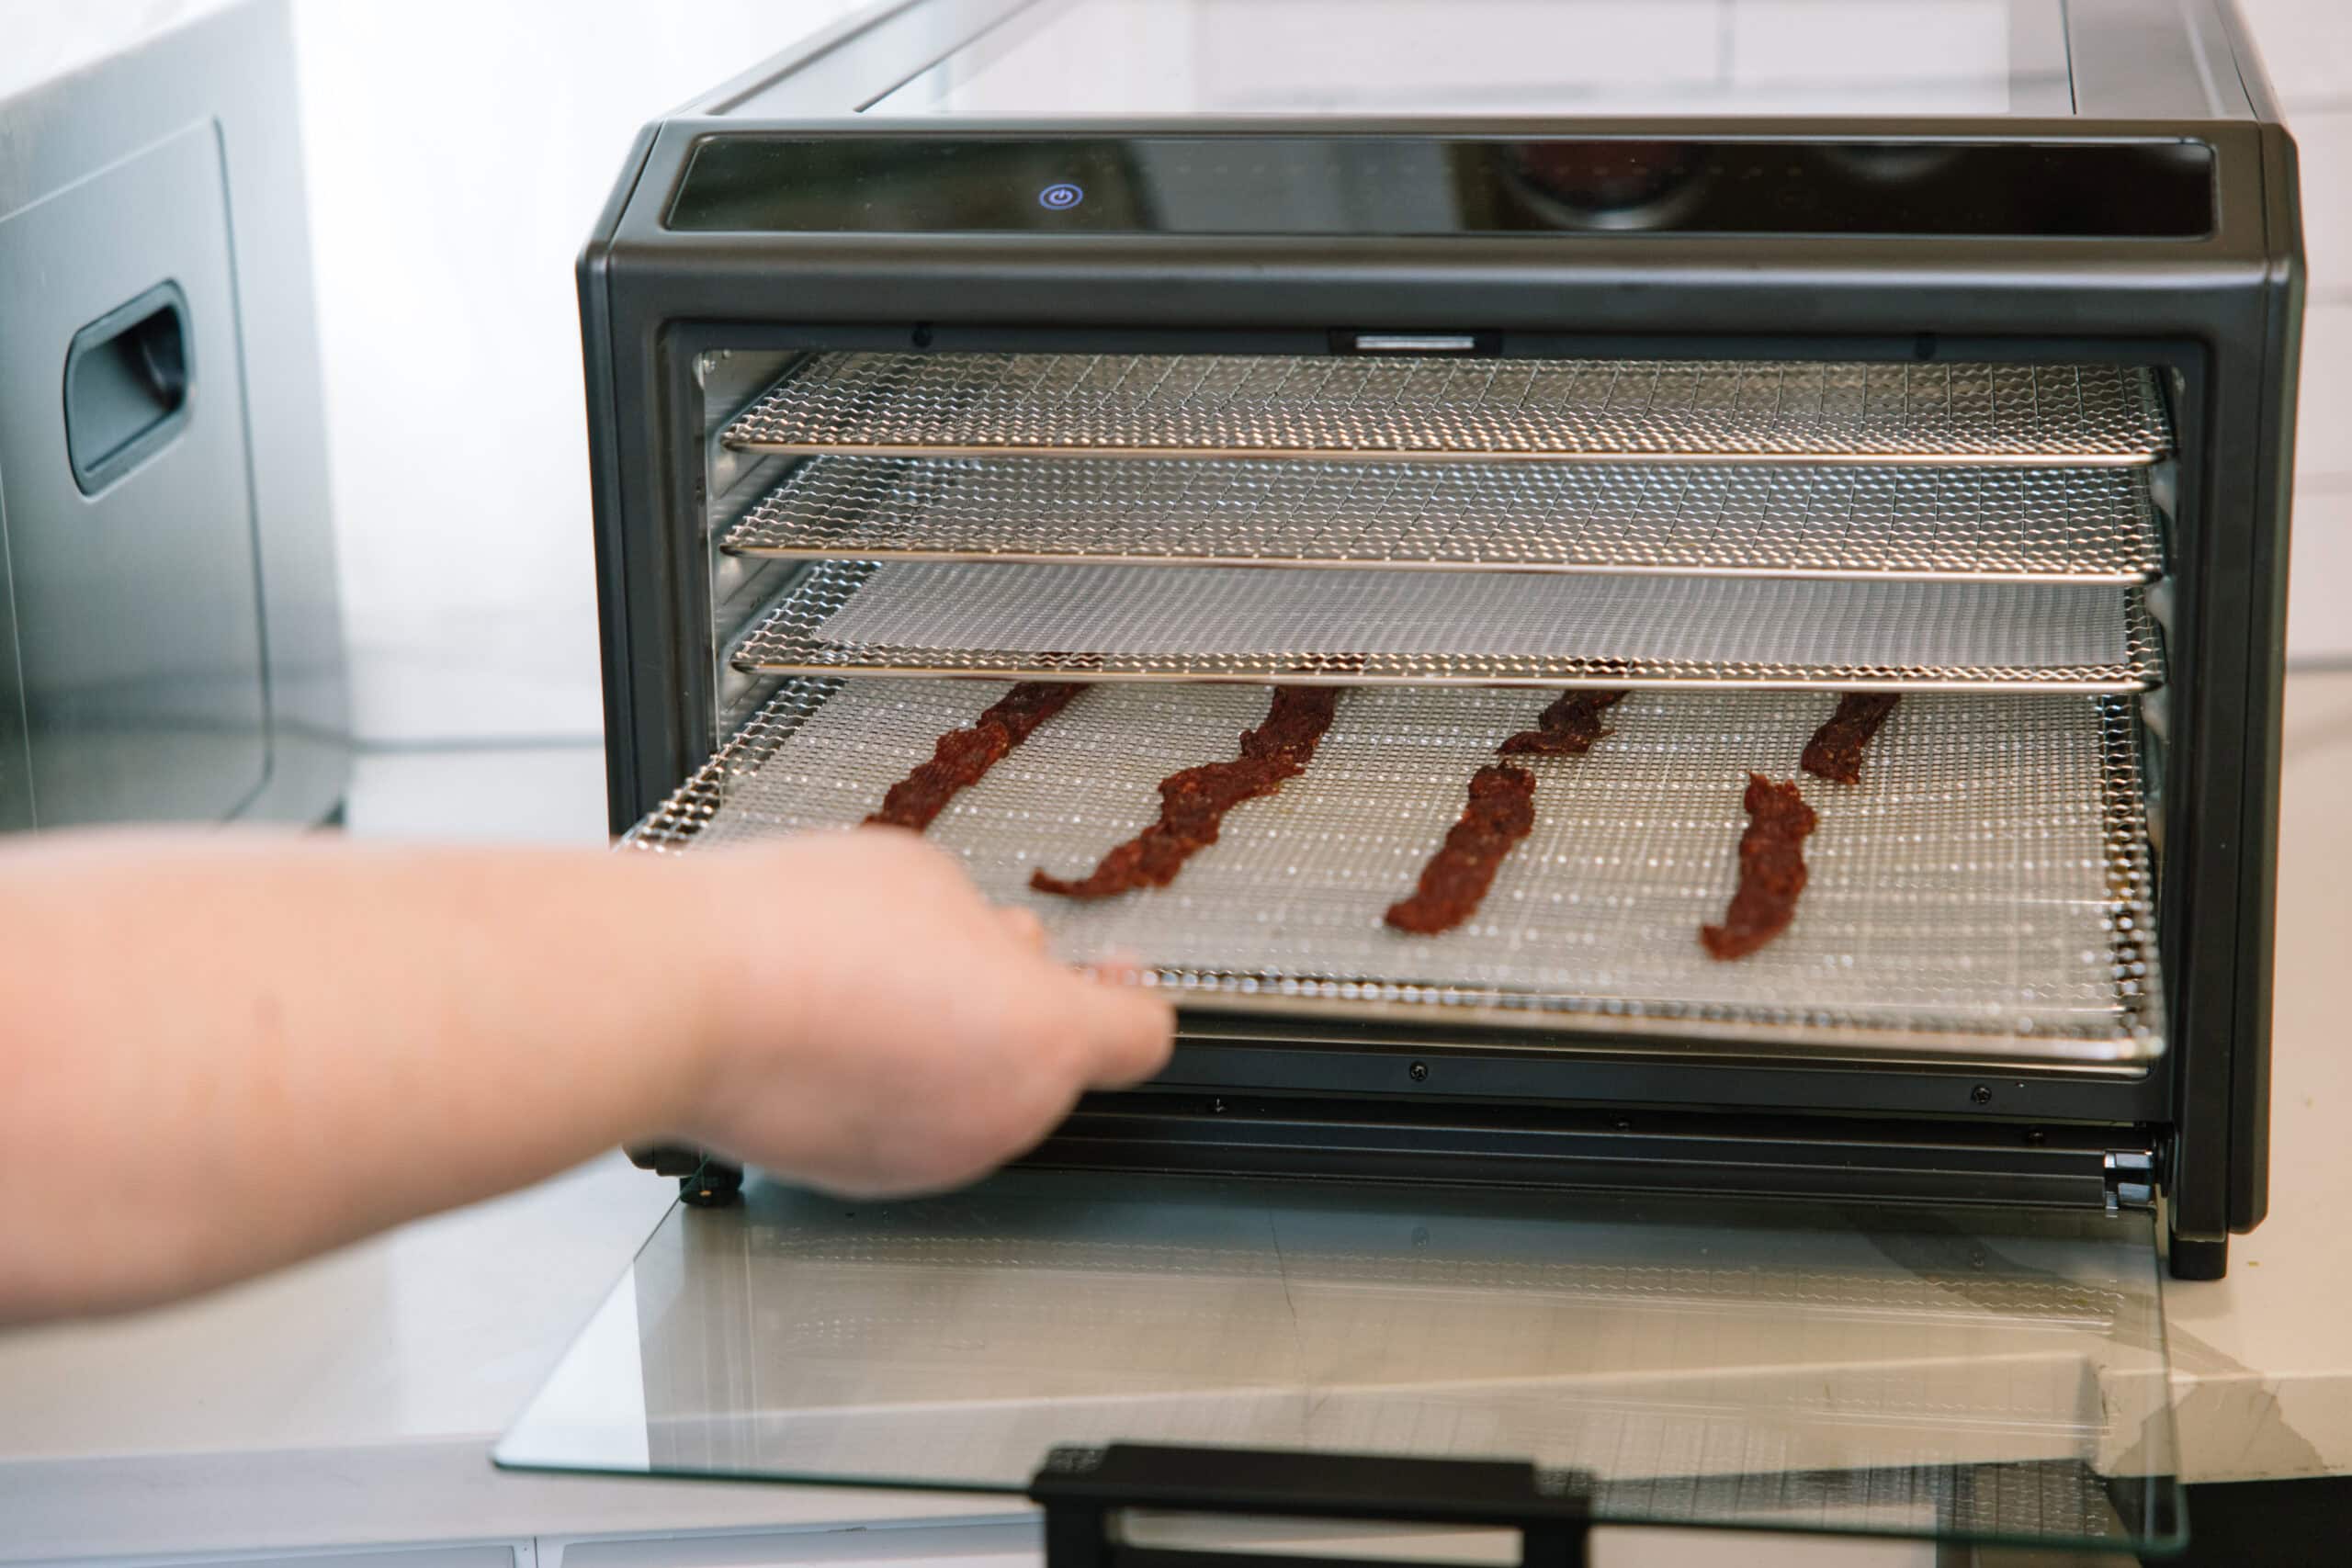
Meat and jerky needs a higher temp, and you can read all about dehydrating beef jerky in this article.
How involved you are in the process will depend on the type of dehydrator you have. If you’ve got a cabinet dehydrator, you can essentially load it and walk away. But if you’re operating a stackable machine, stick around as you’ll need to rotate your trays at least once during the drying process. For foods that benefit from longer drying times (tomatoes or thick fruit), you’ll probably need to rotate the trays two or three times.
Step 6: How to Know When Your Food Is Done
It’s time to check for dryness. If you’ve baked even one batch of cookies in your life, you know that the bake time is really a suggestion, and depends on the size of your dough ball, your oven, and even your climate.
The same can be said for dehydrating. Drying time estimates are a starting point, but they shouldn’t have the final say. Ultimately, you’ll use your senses to test whether the dehydrated food is truly done.
Let the food cool to room temperature before testing – warm food feels more pliable than it actually is. Then proceed with the relevant test, as described below.
The Snap Test (for slices)
Dehydrated fruit slices, zucchini chips, or citrus rounds should snap cleanly when bent. If they have no give, they’re done. But if pieces bend without breaking, the tray needs to go back into the machine.
The Plink Test (for small pieces)
For small pieces of food – whether diced vegetables, berries, or corn kernels – drop these onto a hard surface and listen for a sharp plink, like the noise you would expect from dried pasta. If instead you hear a dull plop, give them more time. (If you’re dehydrating with your kids, this is a great time to reference the American literary classic, Blueberries for Sal by Robert McCloskey!)
Then Use Your Other Senses
To be totally sure that your food is dry enough, there’s a few other things you’ll want to check for:
- Pieces should be visibly shrunken and separated from each other on the tray
- There should be no tackiness – in other words, if something sticks to your fingers, it should return to the machine
- The food should not feel cool to the touch, since coolness can mean moisture is still present
When in doubt, add more time. Over-drying can be easily remedied (add back some water!), but under-drying eventually leads to mold.
Step 7: Condition Before You Store
You’re almost there! This last conditioning step is the one that makes the difference between a two-year shelf life and a two-week shelf life, so you don’t want to skip it.
After the machine stops, let the food cool completely. Then you will fill a jar about ⅔ full, seal it loosely, and leave it at room temperature for 7–10 days. While it’s sitting around, shake or stir it once daily. Watch for condensation on the glass – signs of moisture mean the food needs more time in the dehydrator.
Conditioning ensures moisture is evenly distributed across the batch before sealing for the long term. If no condensation appears after a full week, the food is ready to seal and store. Storing is the final step, and we get into that in the last part of our Dehydrating the Summer Harvest series.
Common Beginner Mistakes
We’ve called out several of these common pitfalls already, but they bear repeating.
- Slicing too thick, or more than the ¼ inch (6 mm) standard. Thicker pieces trap moisture inside.
- Going by time alone instead of testing for snap and plink
- Mixing foods with different drying times on the same tray
- Sealing food while still warm will trap moisture in the jar
- Using plastic vacuum-seal bags doesn’t work with dehydrated food, since they have sharp edges that create micro-punctures in the surface of the bag and let in air (we’ll talk about what to use instead in that aforementioned article on storage)
- Skipping conditioning will inevitably lead to soft or moldy food in storage
Frequently Asked Questions About Dehydrating Summer Produce
Before we sign off, we’ll address a few FAQs that may help to further demystify dehydration. Let’s take the top five now.
Most vegetables can be done in 6–12 hours at 125–135°F (52–57°C), depending on thickness and water content. Zucchini and peppers typically take 6–8 hours, while tomatoes and carrots can take 10–12 hours or more. But as stated above, these time estimates are just a guide and you should always use the snap or plink test.
Not all vegetables require blanching – but certain vegetables are dense and benefit from a 3-minute blanch and ice bath. Blanching not only stops enzyme activity that causes color fading and nutrient loss on the shelf, but it also improves texture. Soft vegetables like tomatoes, peppers, and onions do not need blanching.
Yes! Frozen produce dehydrates well, and often faster than fresh. No need to fully thaw first, either – simply load up your trays while the pieces are still slightly frozen. We’re used to adding more time for cooking frozen food, but there’s no need here. Just program your dehydrator for the same amount of time as if you were dealing with the fresh equivalent.
The most likely cause is that your food wasn't fully dry before sealing, or the jar had too much headspace (more air can allow more moisture to get trapped in the jar). The solution is to move the food to a smaller jar as you use it, and add a desiccant pack to each jar you open frequently.
Another common reason for early softening is skipping conditioning. If you didn’t condition the food before sealing, make a mental note to do so with the next batch.
The end result of both of these preservation methods may look similar, but the mechanism by which they preserve food is totally different. Dehydrating uses low heat and airflow to remove moisture; freeze-drying uses extreme cold and a vacuum.
Freeze-dryers preserve more nutrients and produce a lighter, crunchier texture — but the machine costs a hefty $2,000–$5,000 or more. Compare that to a quality food dehydrator, which will run between $50 and $400 and produce excellent results for most home preservation needs.
Unless you absolutely need your shelf-stable foods to last 5–25 years (which a freeze-dryer can provide), a dehydrator is a fantastic tool for beginners and experienced preservers alike.
One More Thing
We use the term “simple” around here a lot, and that’s because it’s often so applicable. Somehow our society has gotten it into our collective heads that these traditional skills are difficult or complicated, but we’re here to tell you that’s not the case.
Take dehydrating. When it comes to prepping foods for the dehydrator, most produce just needs to be washed and chopped. Load the tray, turn on the machine, and return a few hours later. It really is that simple.
Yes, there are a handful of foods worth pretreating, and those take a couple extra minutes that give the finished product great flavor and texture. But that's a short list, and Darcy walks through it in the full class. For most of what's coming out of your (or your farmer’s) garden right now, the process is as easy as it sounds.
Don’t overcomplicate it! Dust off your dehydrator and start preserving food today. You and your family will be glad that you added this method to your toolkit.
Dehydrating
Fill your shelves with long-lasting, nutritious snacks, meals, and ingredients all while staying on (or below) budget! Learn the art of dehydrating foods and create a bounty of dried fruits, vegetables, herbs, and even jerky, ensuring you have a healthy, flavorful stockpile all year round.
Dehydration is a simple, but effective skill that can transform your life, so go ahead and give it a try. A good way to start on this journey is to take Darcy Baldwin’s Class, the newest one available here at the School of Traditional Skills. In those lessons, she takes the concepts from this article and fleshes them out to give you all the confidence and inspiration you will need to pack your pantry.
Before long, you will be able to make easy, inexpensive, and healthy meals that you’ll be able to use anytime during the year, come what may. And, when life throws you that curveball, you will have the confidence that you’ll still be able to hit it out of the park when it comes to feeding your family tasty, nutritious meals.