That is what propagation does. It lets you multiply what you already have without spending more money at the nursery.
Propagation is one of the most useful skills in herb gardening. It saves money, strengthens your understanding of how plants grow, and builds the kind of self-reliance that turns a gardener into a grower. When you know how to start plants from seed, root cuttings in water, or divide established clumps, you stop depending on garden centers and start depending on yourself.
Three herbs make particularly good subjects for learning propagation: basil, mint, and fennel. Each one uses a different method, and together they teach you the core techniques you will use again and again with other plants.
Understanding the Plants: Basil, Mint, and Fennel
Basil, mint, and fennel have different life cycles, growth habits, and needs. That means they respond best to different propagation methods.
Basil is an annual herb that thrives in full sun and warm temperatures. It cannot handle frost, but it grows quickly once the weather warms up – and goes to seed quickly when it’s too hot. Basil produces abundant seed and roots easily from cuttings, which makes it one of the easiest herbs to propagate. Most gardeners start fresh basil plants every spring, either from seed or from cuttings taken before the first frost.
Mint is a hardy perennial that spreads rapidly through underground runners and surface roots. It tolerates a wide range of conditions and comes back year after year in most climates. Mint is nearly impossible to kill once established, and it roots so readily from cuttings that you can propagate it almost by accident. The challenge with mint is keeping it contained, but it makes a fantastic teacher.
Fennel is a biennial or short-lived perennial depending on the variety. It prefers full sun and well-drained soil, and it develops a long taproot, making it sensitive to transplanting. Most gardeners propagate fennel by direct seeding rather than starting transplants indoors. Once established, fennel self-seeds freely and can return on its own in mild climates.
Each of these herbs teaches a different propagation method. Basil teaches seed starting and stem cuttings. Mint teaches root division and water propagation. Fennel teaches direct sowing and patience with taprooted plants. Master these three, and you have the foundation for propagating most other herbs in your garden.
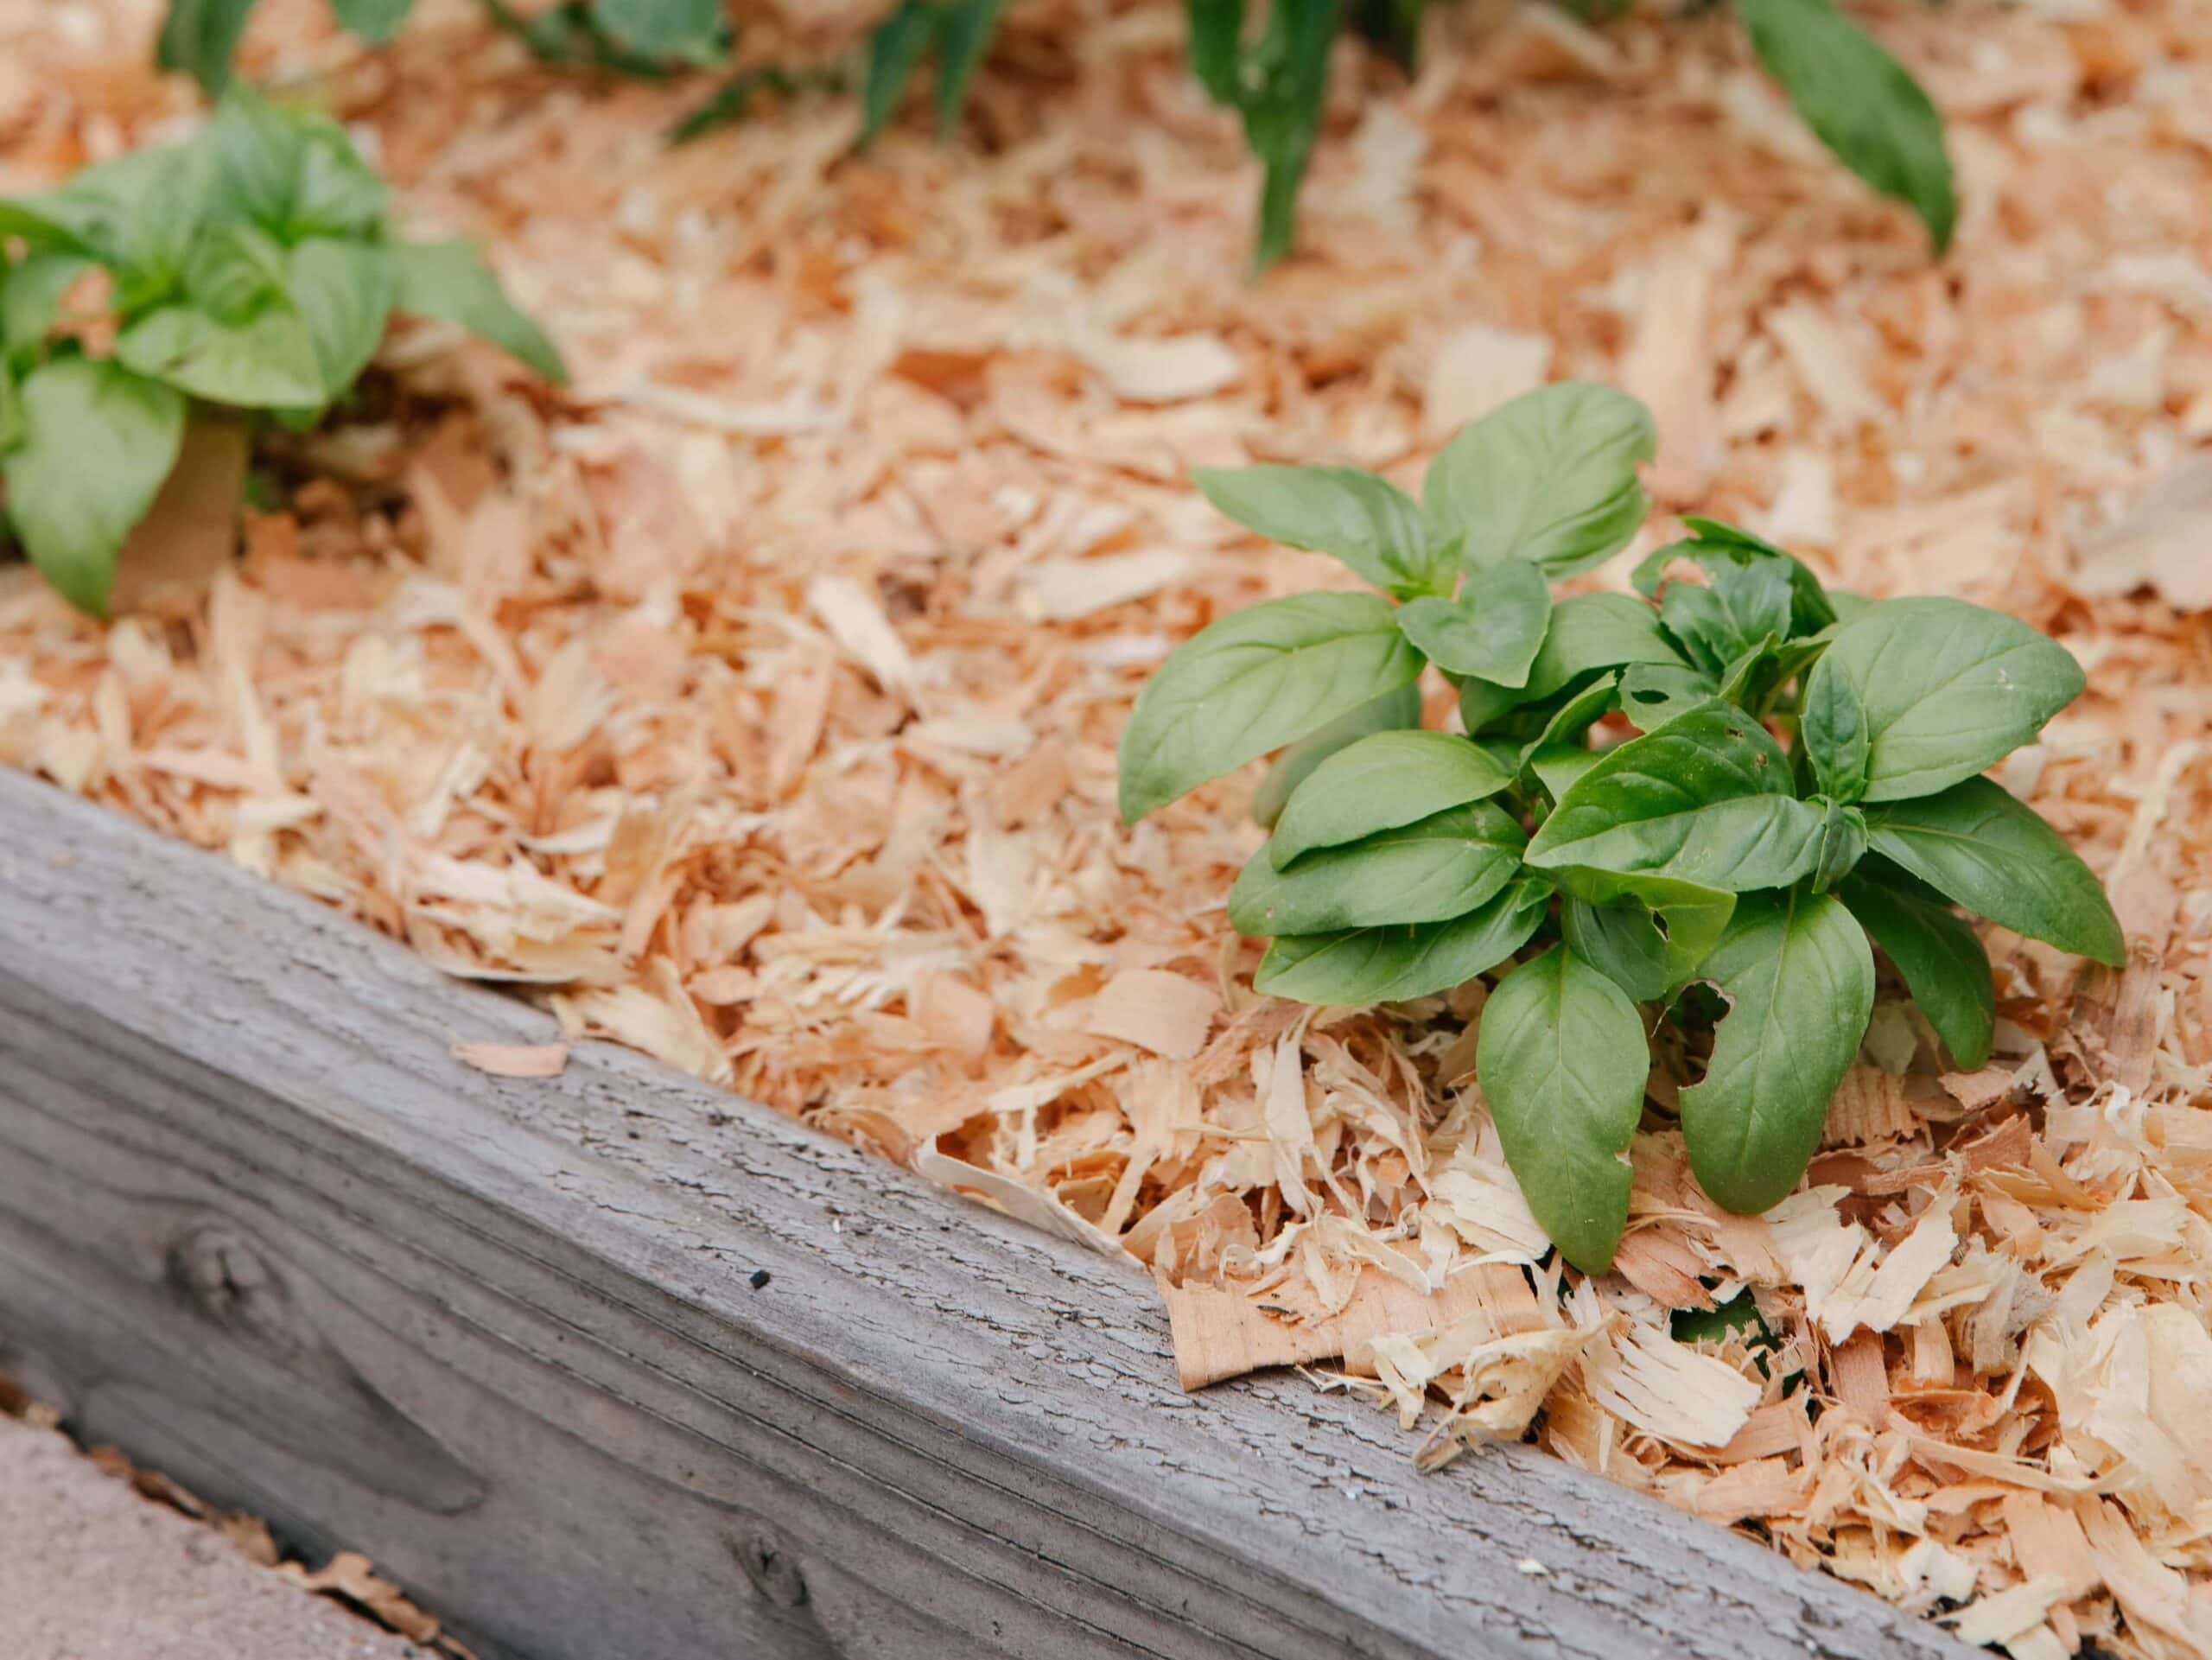
Propagating Basil
Basil is one of the most rewarding herbs to propagate because it grows fast, produces heavily, and responds well to both seed starting and stem cuttings.
Starting Basil from Seed
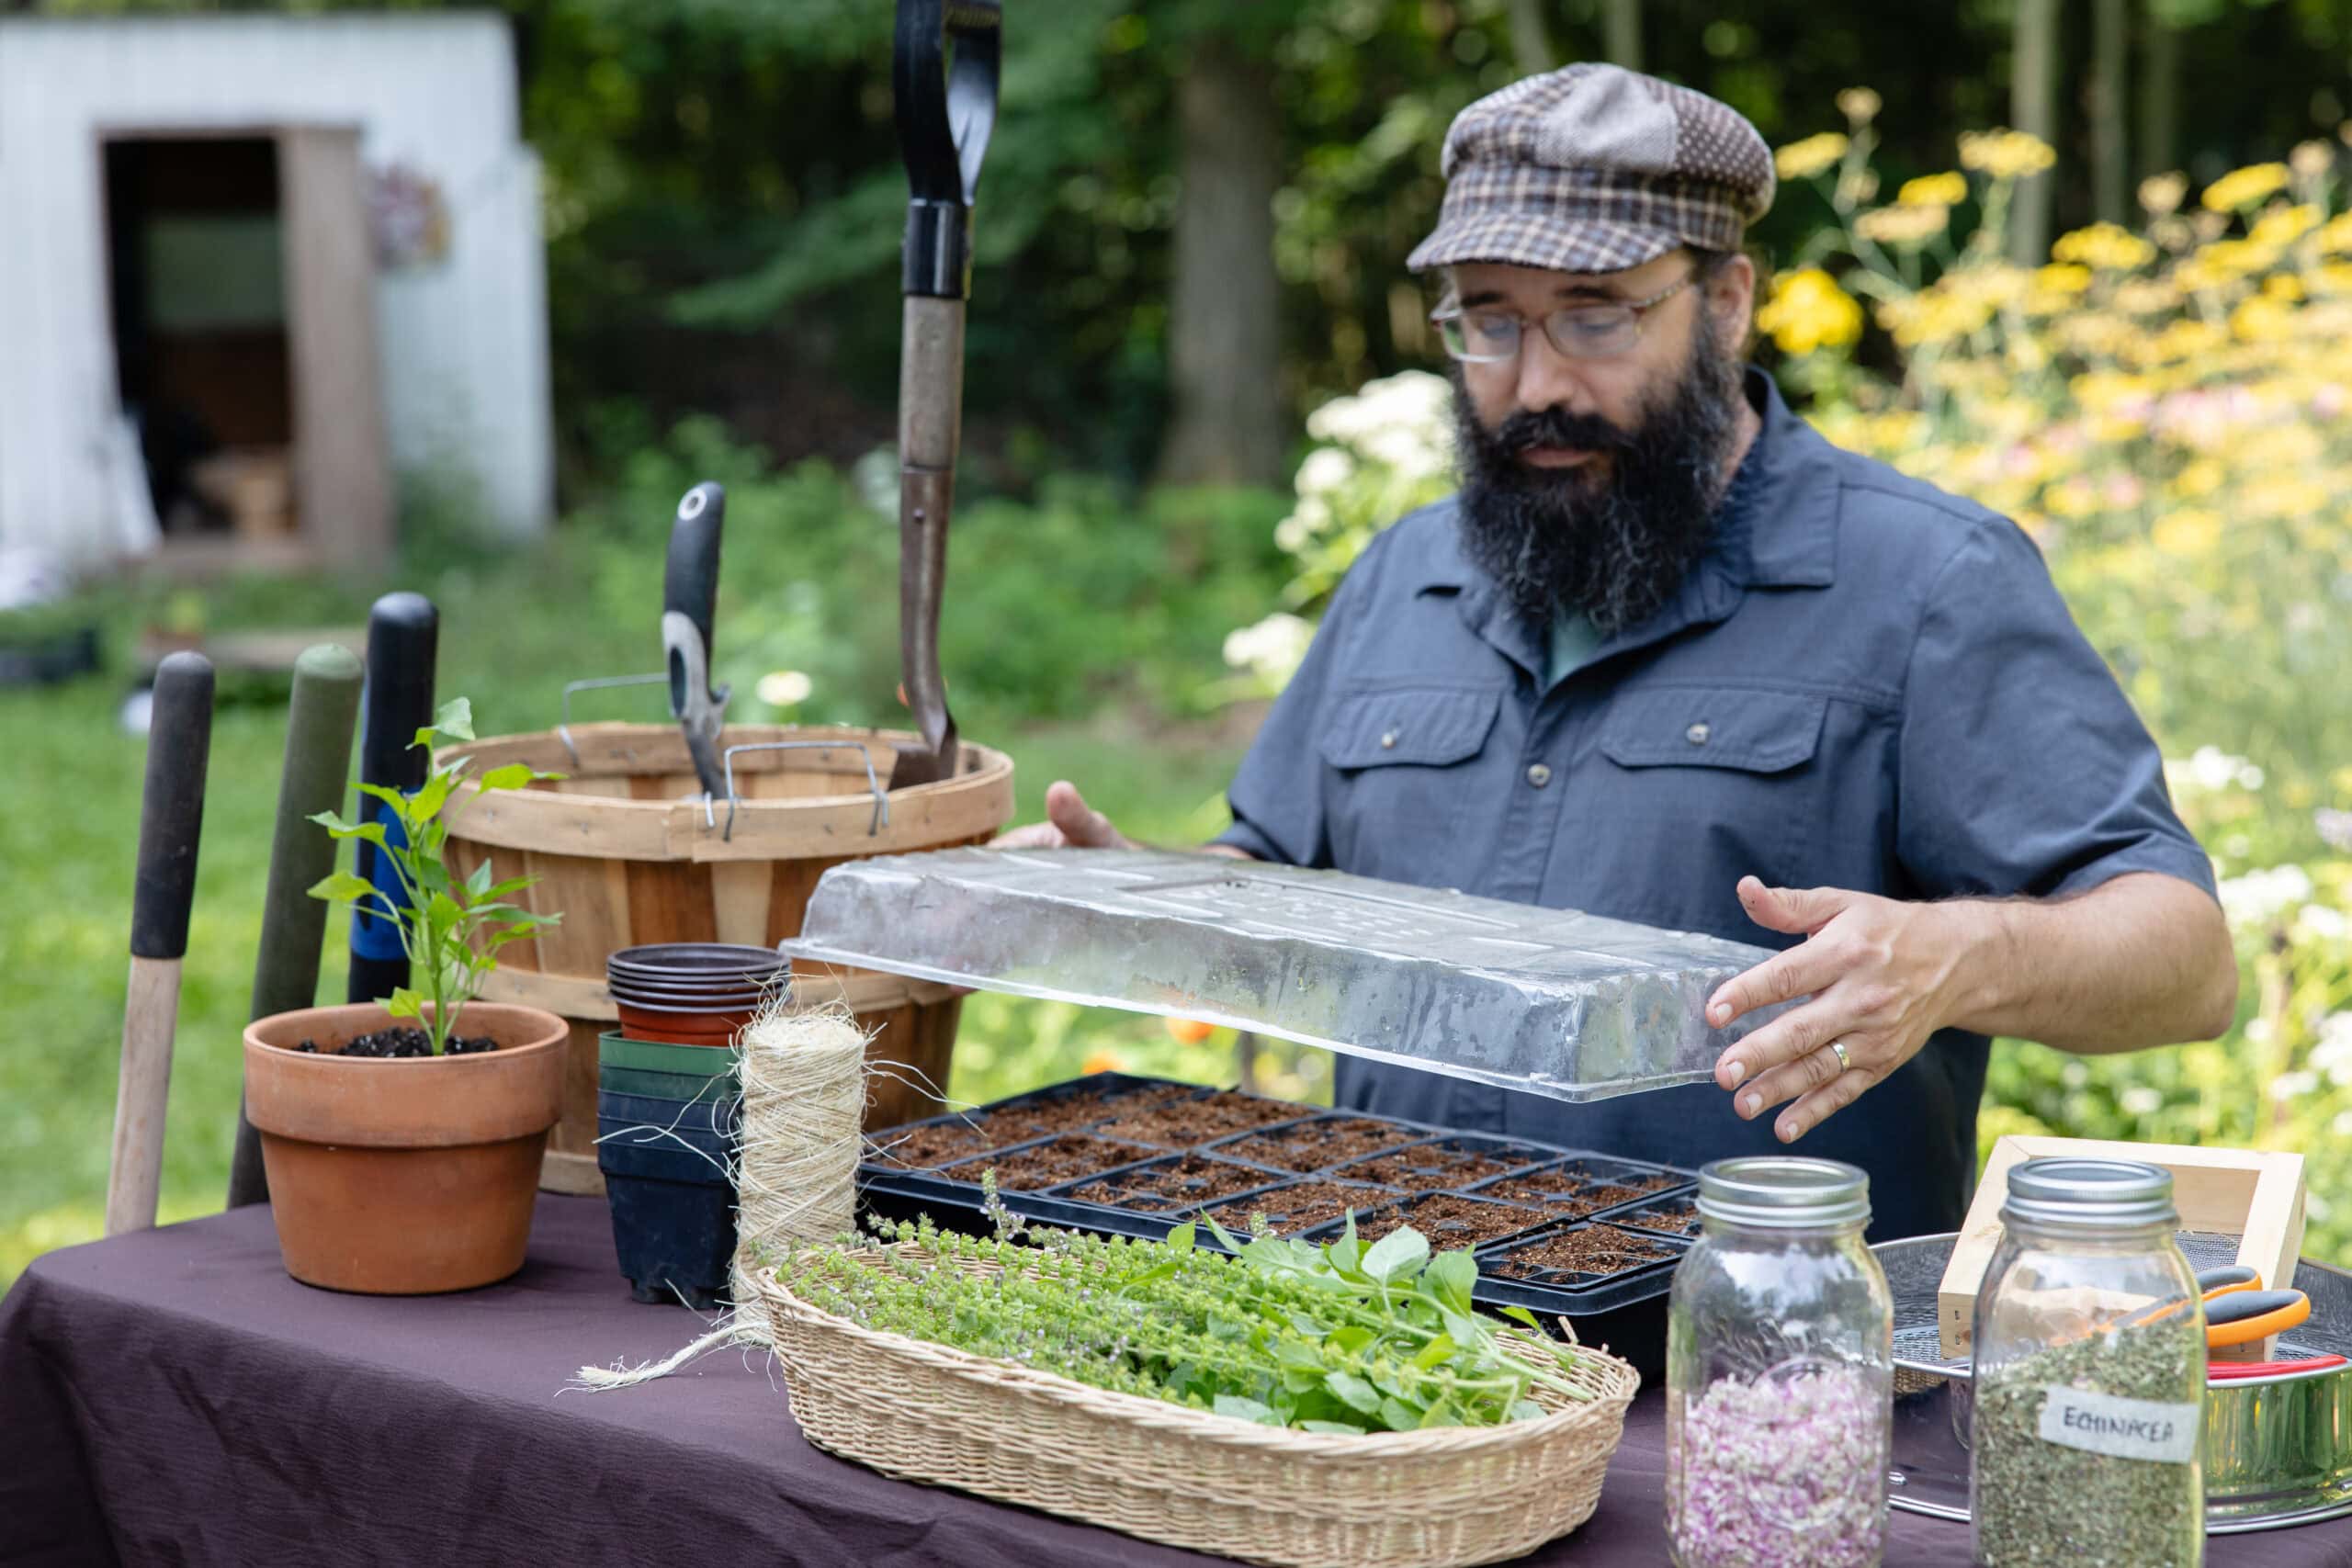
The most common method for propagating basil is starting from seed indoors about six to eight weeks before your last expected frost date. Basil seed germinates quickly and reliably as long as it has warmth and moisture.
Press the seeds lightly into the surface of the mix and cover with a thin layer (about 1/4 inch) of soil. Basil seeds do not need light to germinate and can sprout in darkness, but they will need bright light immediately after germination.
Fill small containers or seed trays with a moist seed-starting mix. Seed-starting mix is lighter and drains better than potting soil, which helps prevent damping off, a fungal disease that kills seedlings at the soil line. Press the seeds lightly into the surface of the mix and cover with a thin layer (about 1/4 inch) of soil. Basil seeds do not need light to germinate, but they will need bright light immediately after germination.
Place the containers in a warm spot. Basil germinates best at temperatures between 70 and 75 degrees Fahrenheit (21-24°C). A heat mat designed for seed starting can help if your house runs cool. Keep the soil consistently moist but not waterlogged. A spray bottle works well for this because it moistens the surface without disturbing the tiny seeds.
Germination usually takes five to ten days. Once the seedlings emerge, move them to a bright location. A south-facing window works if it gets strong light, but seedlings often stretch and grow leggy without enough sun. A simple shop light, positioned a few inches above the seedlings, produces stockier, healthier plants.
When the seedlings develop their first true leaves (the second set of leaves that appear after the initial seed leaves), you can begin thinning or transplanting. If you started them in individual cells or small pots, they can stay there until they are ready to move outside. If you started them in a tray, transplant them into larger containers with regular potting soil.
Basil is sensitive to cold, so do not move it outside until nighttime temperatures consistently stay above 50 degrees Fahrenheit (10°C). Even a light frost will kill basil, so wait until the danger has passed. Harden off the seedlings by gradually exposing them to outdoor conditions over the course of a week before planting them in their final location.
Starting Basil from Cuttings
Propagating basil from cuttings is faster than starting from seed and lets you preserve a favorite variety at the end of the season. This method works especially well if you want to keep basil growing indoors through the winter.
Choose a healthy stem with soft, flexible growth and cut a section about four to six inches long. Make your cut just below the point where leaves attach to the stem (a leaf node). Strip the leaves from the lower two inches, leaving the top foliage intact.
Place the stripped end in a glass with about two inches of water and set it in a spot with bright, indirect light. Change the water every few days to keep it fresh and oxygenated. Roots should begin to appear within one to two weeks.
Once the roots are about an inch long, you can transplant the cutting into a pot with regular potting soil. Keep the soil moist for the first week while the roots adjust to their new environment, then water as you would any other basil plant.
Basil cuttings root so reliably that you can take several at once and share them with neighbors or plant them in multiple containers around your kitchen or patio.
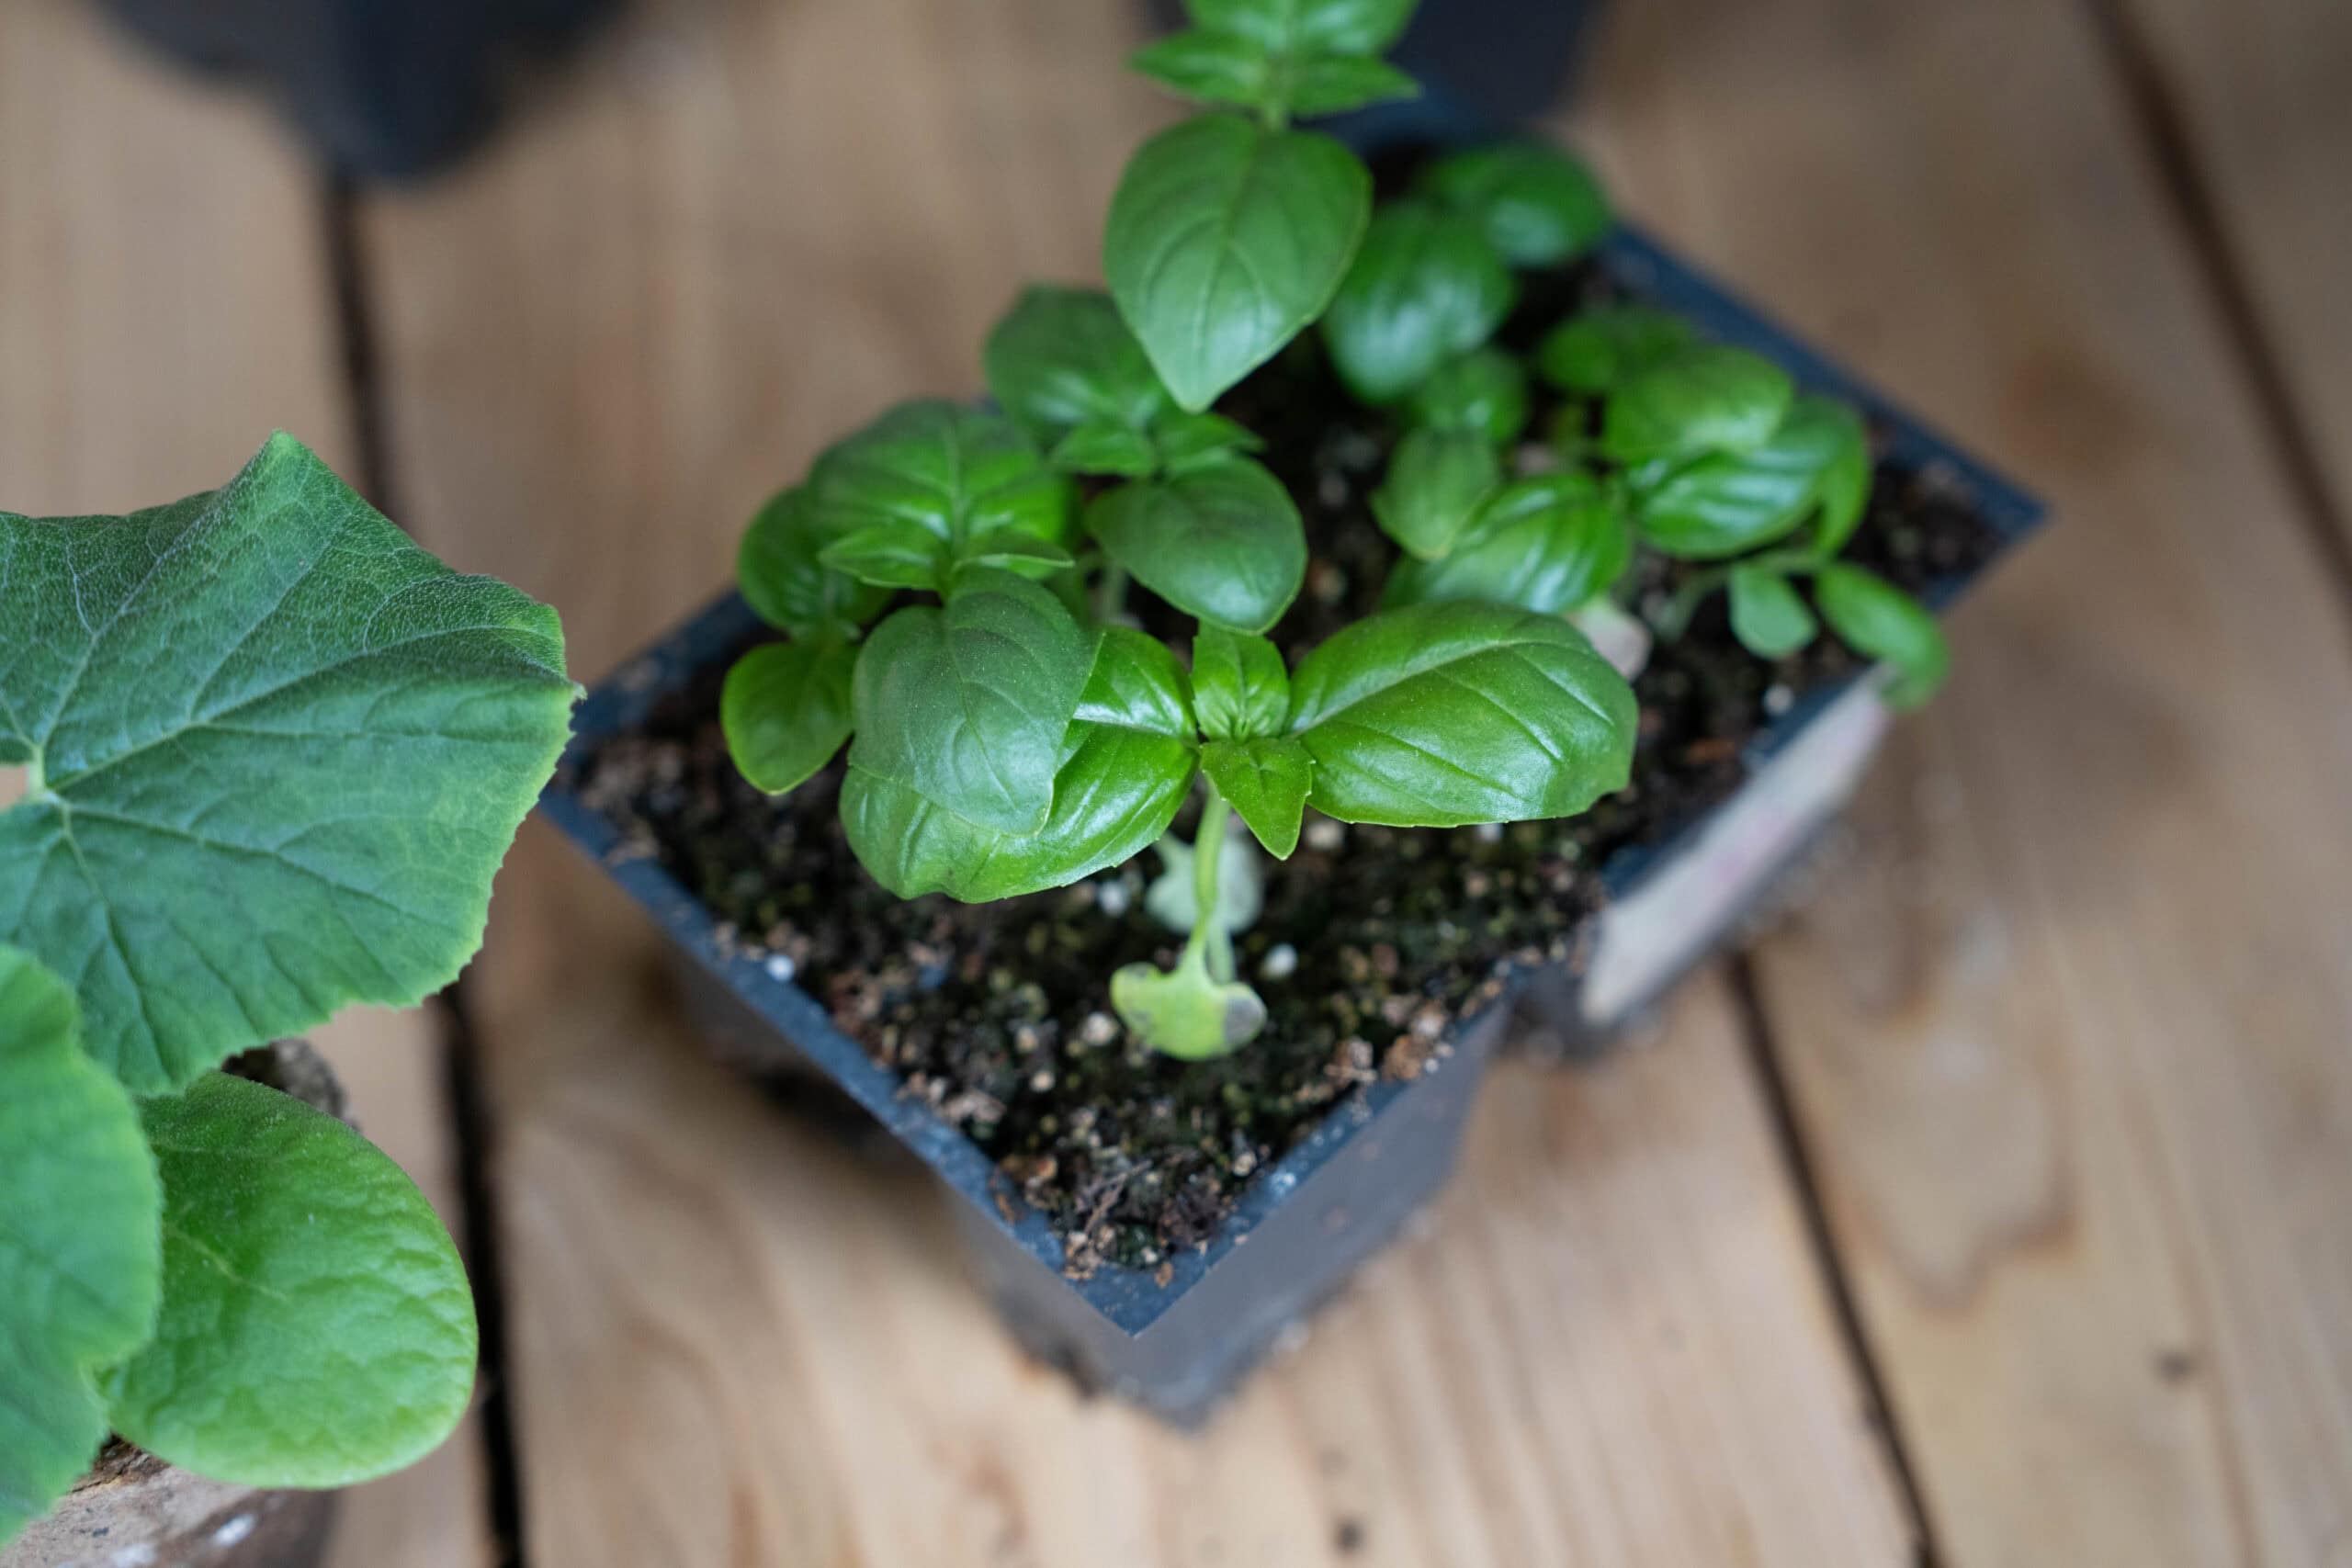
Caring for Young Basil Plants
Whether you started your basil from seed or cuttings, the care is the same once the plants are established. Basil prefers full sun and consistent moisture. It grows well in containers, raised beds, or in-ground plantings as long as the soil drains well and the plant gets at least six hours of direct sunlight each day.
Pinch back the growing tips above a set of leaves once the plant has three or four sets of leaves. This encourages the plant to branch out rather than grow tall and leggy. Regular pinching throughout the growing season keeps the plant bushy and productive.
Avoid overcrowding basil plants. Good airflow between plants reduces the risk of powdery mildew, a common problem in humid conditions. Space plants at least eight to twelve inches apart in the garden, or grow them in individual containers.
Herb Gardening
Grow your own fresh, flavorful herbs! In this class, you’ll learn how to select, plant, and care for a thriving herb garden, whether in pots or directly in the ground.
Propagating Mint
Mint is one of the easiest herbs to propagate, which is part of why it spreads so aggressively once established. You can propagate mint from stem cuttings or by dividing an established plant. Both methods work well, and both produce new plants quickly.
Propagating Mint from Stem Cuttings
Stem cuttings are the simplest way to propagate mint, and they root so readily that even complete beginners succeed on the first try.
Choose a healthy stem with soft, flexible growth and cut a section about four to six inches long. Make your cut just below the point where leaves attach to the stem. Strip the leaves from the lower two inches, leaving the top foliage intact.
You can root mint cuttings in water or directly in soil. Water rooting lets you watch the roots develop and is slightly faster. Soil rooting skips the transplant step and often produces sturdier roots from the start.
For water rooting, place the stripped end in a glass with about two inches of water and set it in a spot with bright, indirect light. Change the water every few days to keep it fresh. Roots should begin to appear within one to two weeks. Once the roots are about an inch long, transplant the cutting into a pot with regular potting soil.
For soil rooting, fill a small container with moistened potting mix and use your finger or a pencil to create a planting hole. Insert the stripped end of the cutting about two inches deep, then firm the soil gently around it. Place the container in indirect light and keep the soil lightly moist but never waterlogged. Roots should form within two to three weeks, and you will know the cutting has rooted when you see new growth emerging from the tip.
Propagating Mint by Root Division
If you already have an established mint plant, dividing it is the fastest way to create new plants. Mint spreads through underground runners, and each section of root that has a few stems attached can become a new plant.
In early spring or fall, dig up a section of mint with a spade or garden fork. You do not need to dig up the entire plant. Just lift a section from the edge where the mint has spread beyond where you want it.
Look for sections that have both roots and stems attached. Use your hands, a knife, or pruning shears to separate the clump into smaller divisions. Each division should have at least a few stems and a handful of roots.
Replant the divisions immediately in their new location, whether that is a container, a raised bed, or another spot in the garden. Water them well after planting and keep the soil moist for the first week or two while the roots settle in.
Division works especially well if your mint has become overgrown or if the center of the plant has died back and only the edges are still productive. Dividing the plant rejuvenates it and gives you several new starts at the same time.
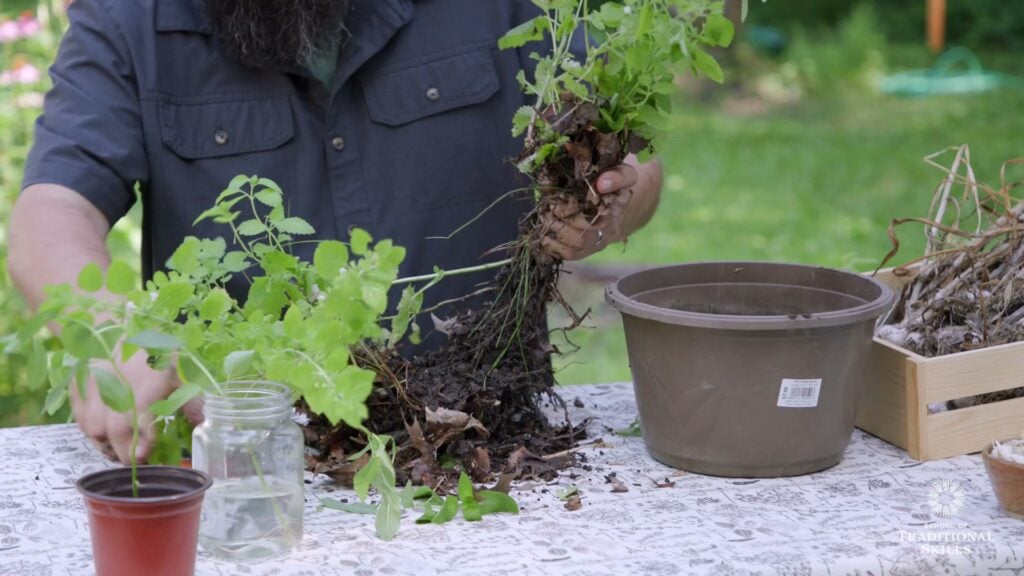
Containing Mint
Mint grows aggressively, and once it establishes itself, it can take over an entire bed within a season or two. Most gardeners contain mint in pots or use physical barriers to prevent it from spreading into areas where it is not wanted.
Containers are the simplest solution. A large pot on a patio or porch keeps mint productive and accessible without letting it wander. If you prefer to grow mint in the ground, sink a large pot or a root barrier at least twelve inches deep around the planting area to block the runners from escaping.
Even with barriers, mint occasionally finds its way out. Check the edges of the planting area periodically and pull or dig up any runners that have escaped before they establish themselves elsewhere.
Propagating Fennel
Fennel is different from basil and mint in almost every way. It develops a long taproot that makes it sensitive to transplanting, and it does not root from cuttings the way other herbs do. The best way to propagate fennel is to direct-seed it in its final location.
Starting Fennel from Seed
Fennel germinates easily from seed as long as it has warmth and moisture. Most gardeners sow fennel seeds directly in the garden after the last frost date when the soil has warmed to at least 60 degrees Fahrenheit (15°C).
Choose a spot with full sun and well-drained soil. Fennel prefers lean soil over rich, heavily amended soil, so avoid adding too much compost or fertilizer before planting. Prepare the bed by loosening the soil to a depth of at least twelve inches to accommodate the taproot.
Sow the seeds about a quarter inch deep and space them about six inches apart. Water gently to settle the soil around the seeds, then keep the area consistently moist until the seeds germinate, which usually takes seven to fourteen days.
Once the seedlings are a few inches tall, thin them to about twelve inches apart. Fennel needs space to develop properly, and crowding reduces airflow and increases the risk of fungal problems. Use the thinned seedlings in salads or compost them.
Fennel can also be grown in containers, but the container needs to be deep. A pot at least twelve to eighteen inches deep gives the taproot enough room to develop. Shallow containers restrict root growth, resulting in smaller, less productive plants.
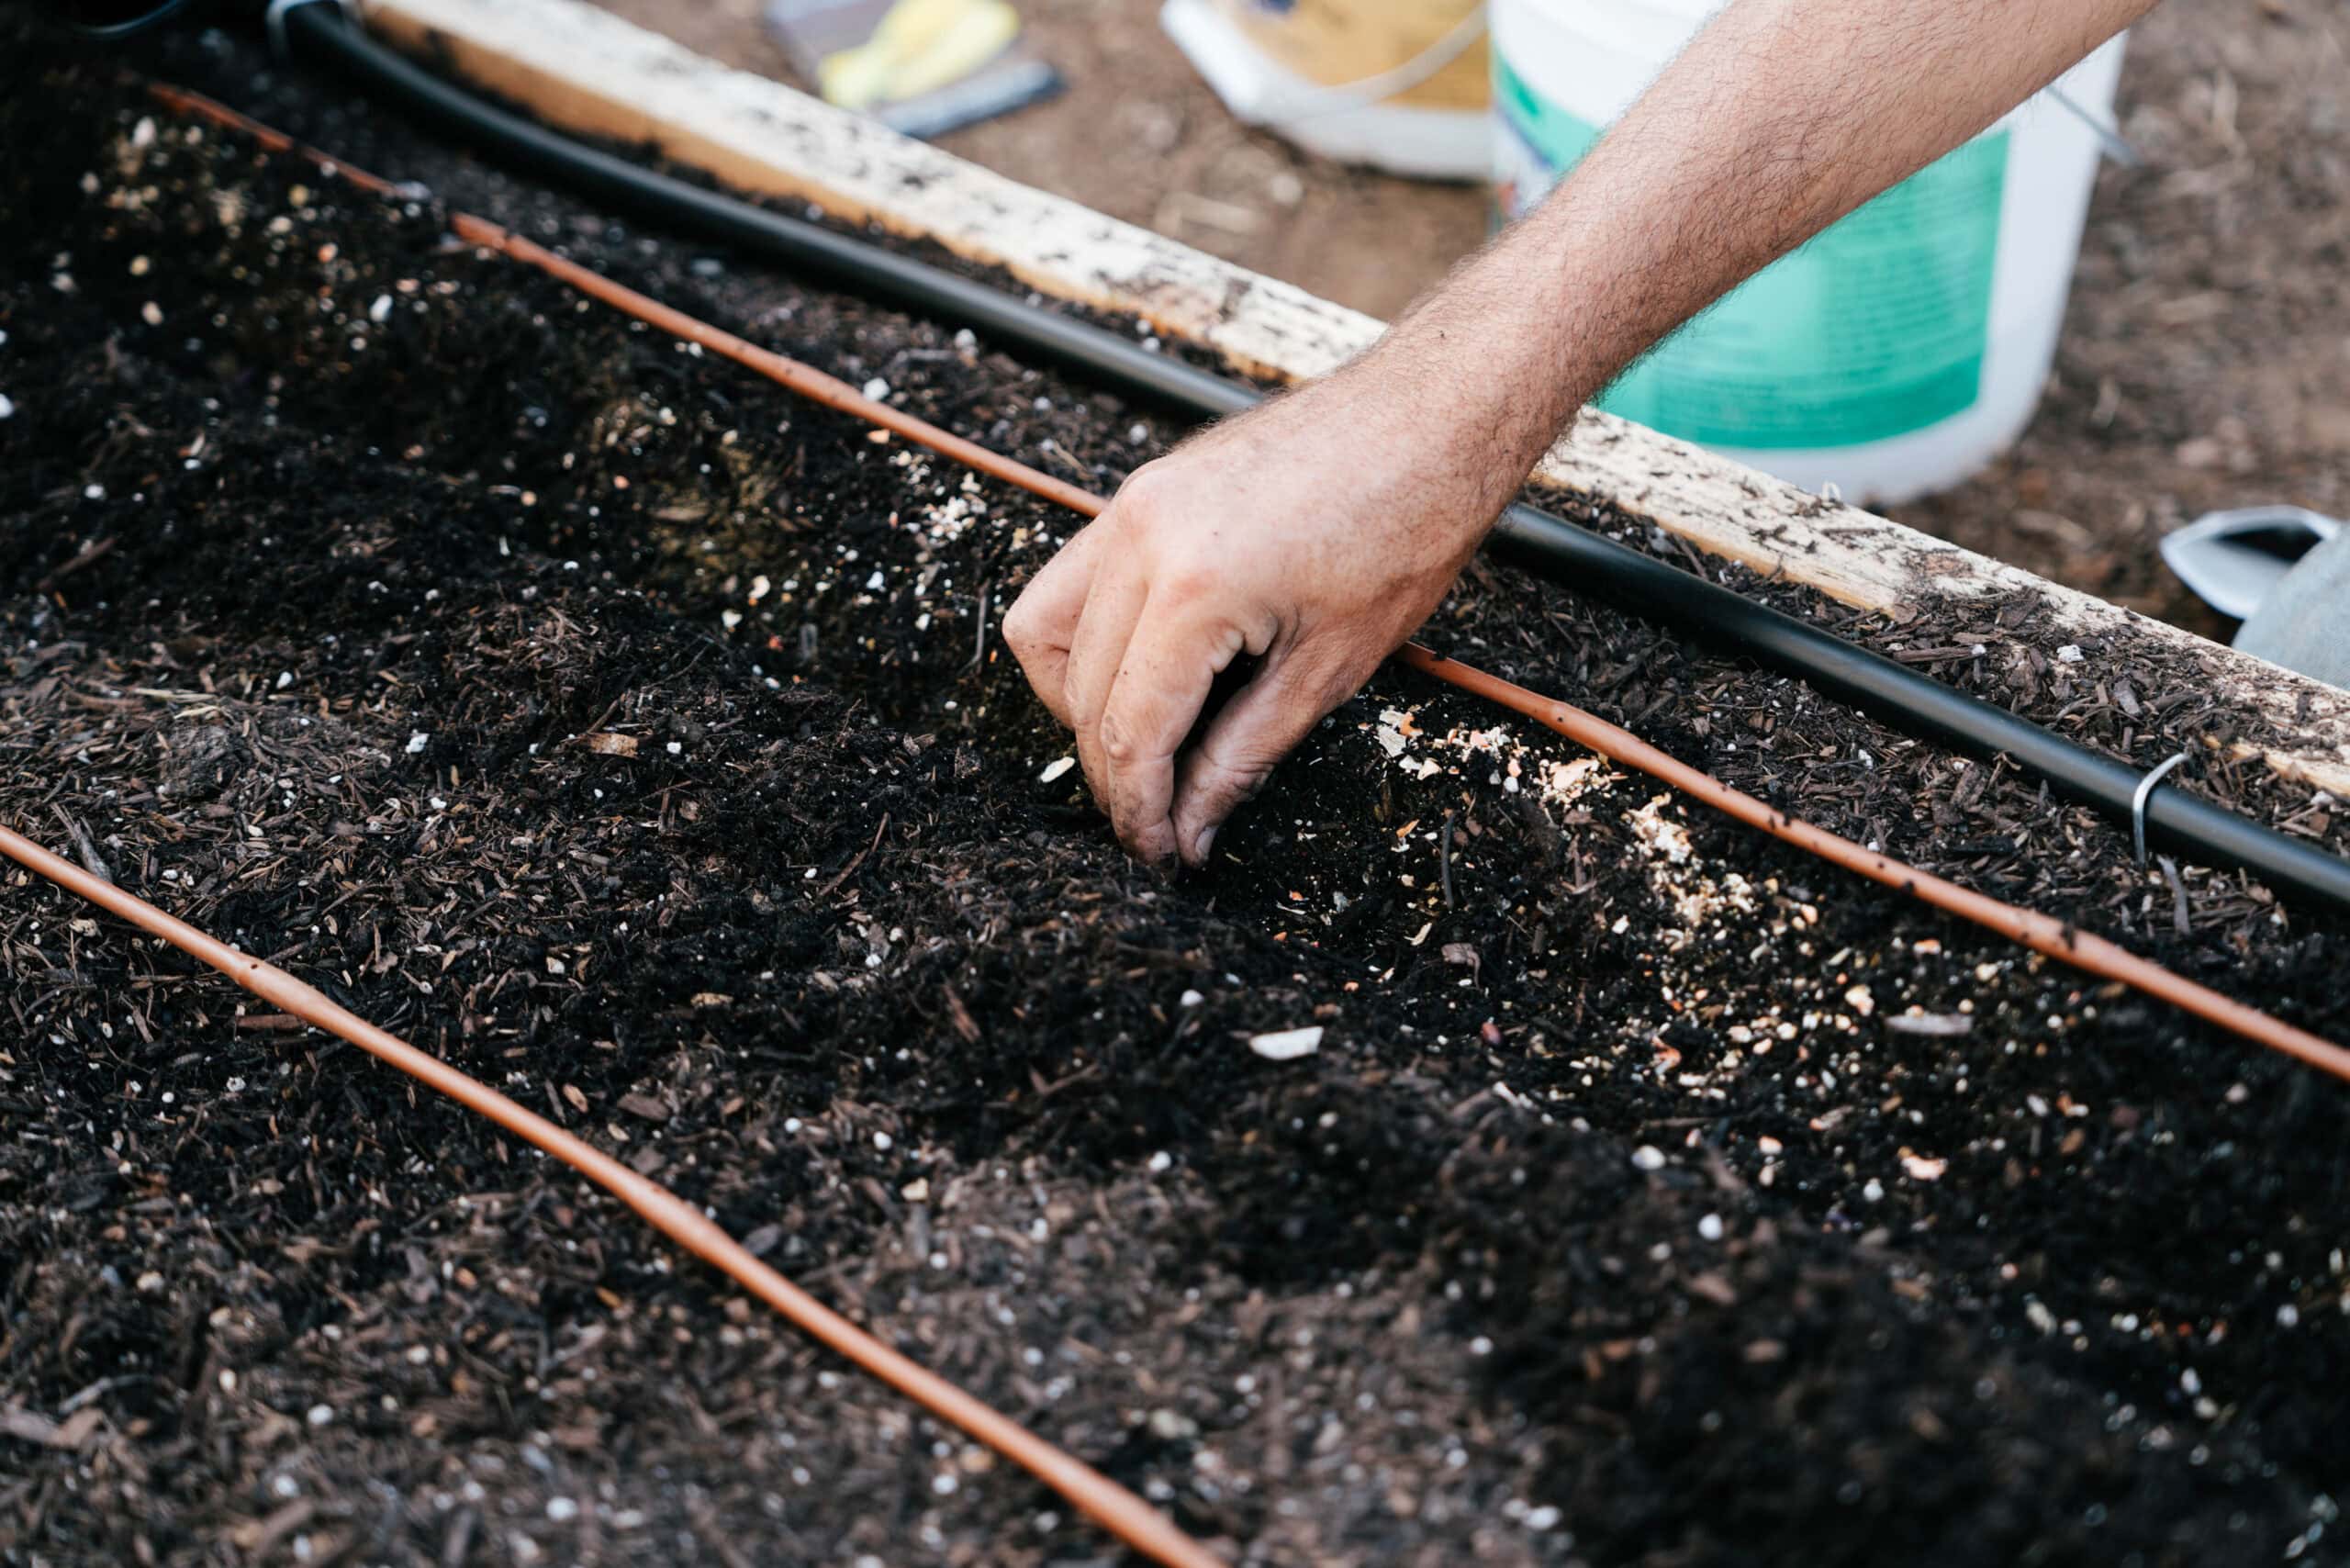
Why Fennel Does Not Transplant Well
Fennel develops a long, central taproot that anchors the plant and takes up water and nutrients from deep in the soil. When that taproot is disturbed, the plant struggles to recover. Transplanting fennel often results in stunted growth, bolting, or plant death.
For this reason, fennel is not a good candidate for starting indoors and transplanting later. If you do start fennel indoors, use deep containers or biodegradable pots that can be planted directly in the ground without disturbing the roots. Even then, fennel started outdoors by direct seeding usually outperforms transplanted fennel within a few weeks.
Fennel Self-Seeding
Fennel is a prolific self-seeder, and in mild climates it often returns year after year. If you let a few plants go to seed at the end of the season, you may find volunteer seedlings appearing the following spring.
Some gardeners welcome this. Others find that fennel seedlings pop up in inconvenient places and need to be removed. If you do not want fennel to self-seed, cut off the flower heads before the seeds mature and fall to the ground.
Garden Planning Tips for Propagation Success
Knowing how to propagate basil, mint, and fennel is only part of the process. The other part is understanding where and how to use these skills in your garden.
Match the Method to Your Garden Setup
Container gardens work especially well for basil and mint. Both herbs thrive in pots, and containers make it easy to control mint's aggressive spreading habit. Fennel can also be grown in containers, but it needs a deep pot to accommodate its taproot.
In-ground beds suit fennel particularly well because the plants can spread their roots freely and develop to full size. Mint also does well in the ground, but only if you are prepared to manage its spreading habit or contain it with barriers. Basil fits anywhere as long as it gets full sun and warm temperatures.
Understand Sunlight and Root Space Needs
Basil and fennel both need at least six hours of direct sunlight each day. Mint tolerates partial shade, which makes it a good choice for spots that do not get full sun. For more information on which herbs grow well in lower light, see our guide to shade-tolerant herbs.
Root space matters more for fennel than for basil or mint. Fennel needs deep soil for its taproot, while basil and mint have shallower, fibrous root systems that adapt well to containers and raised beds.
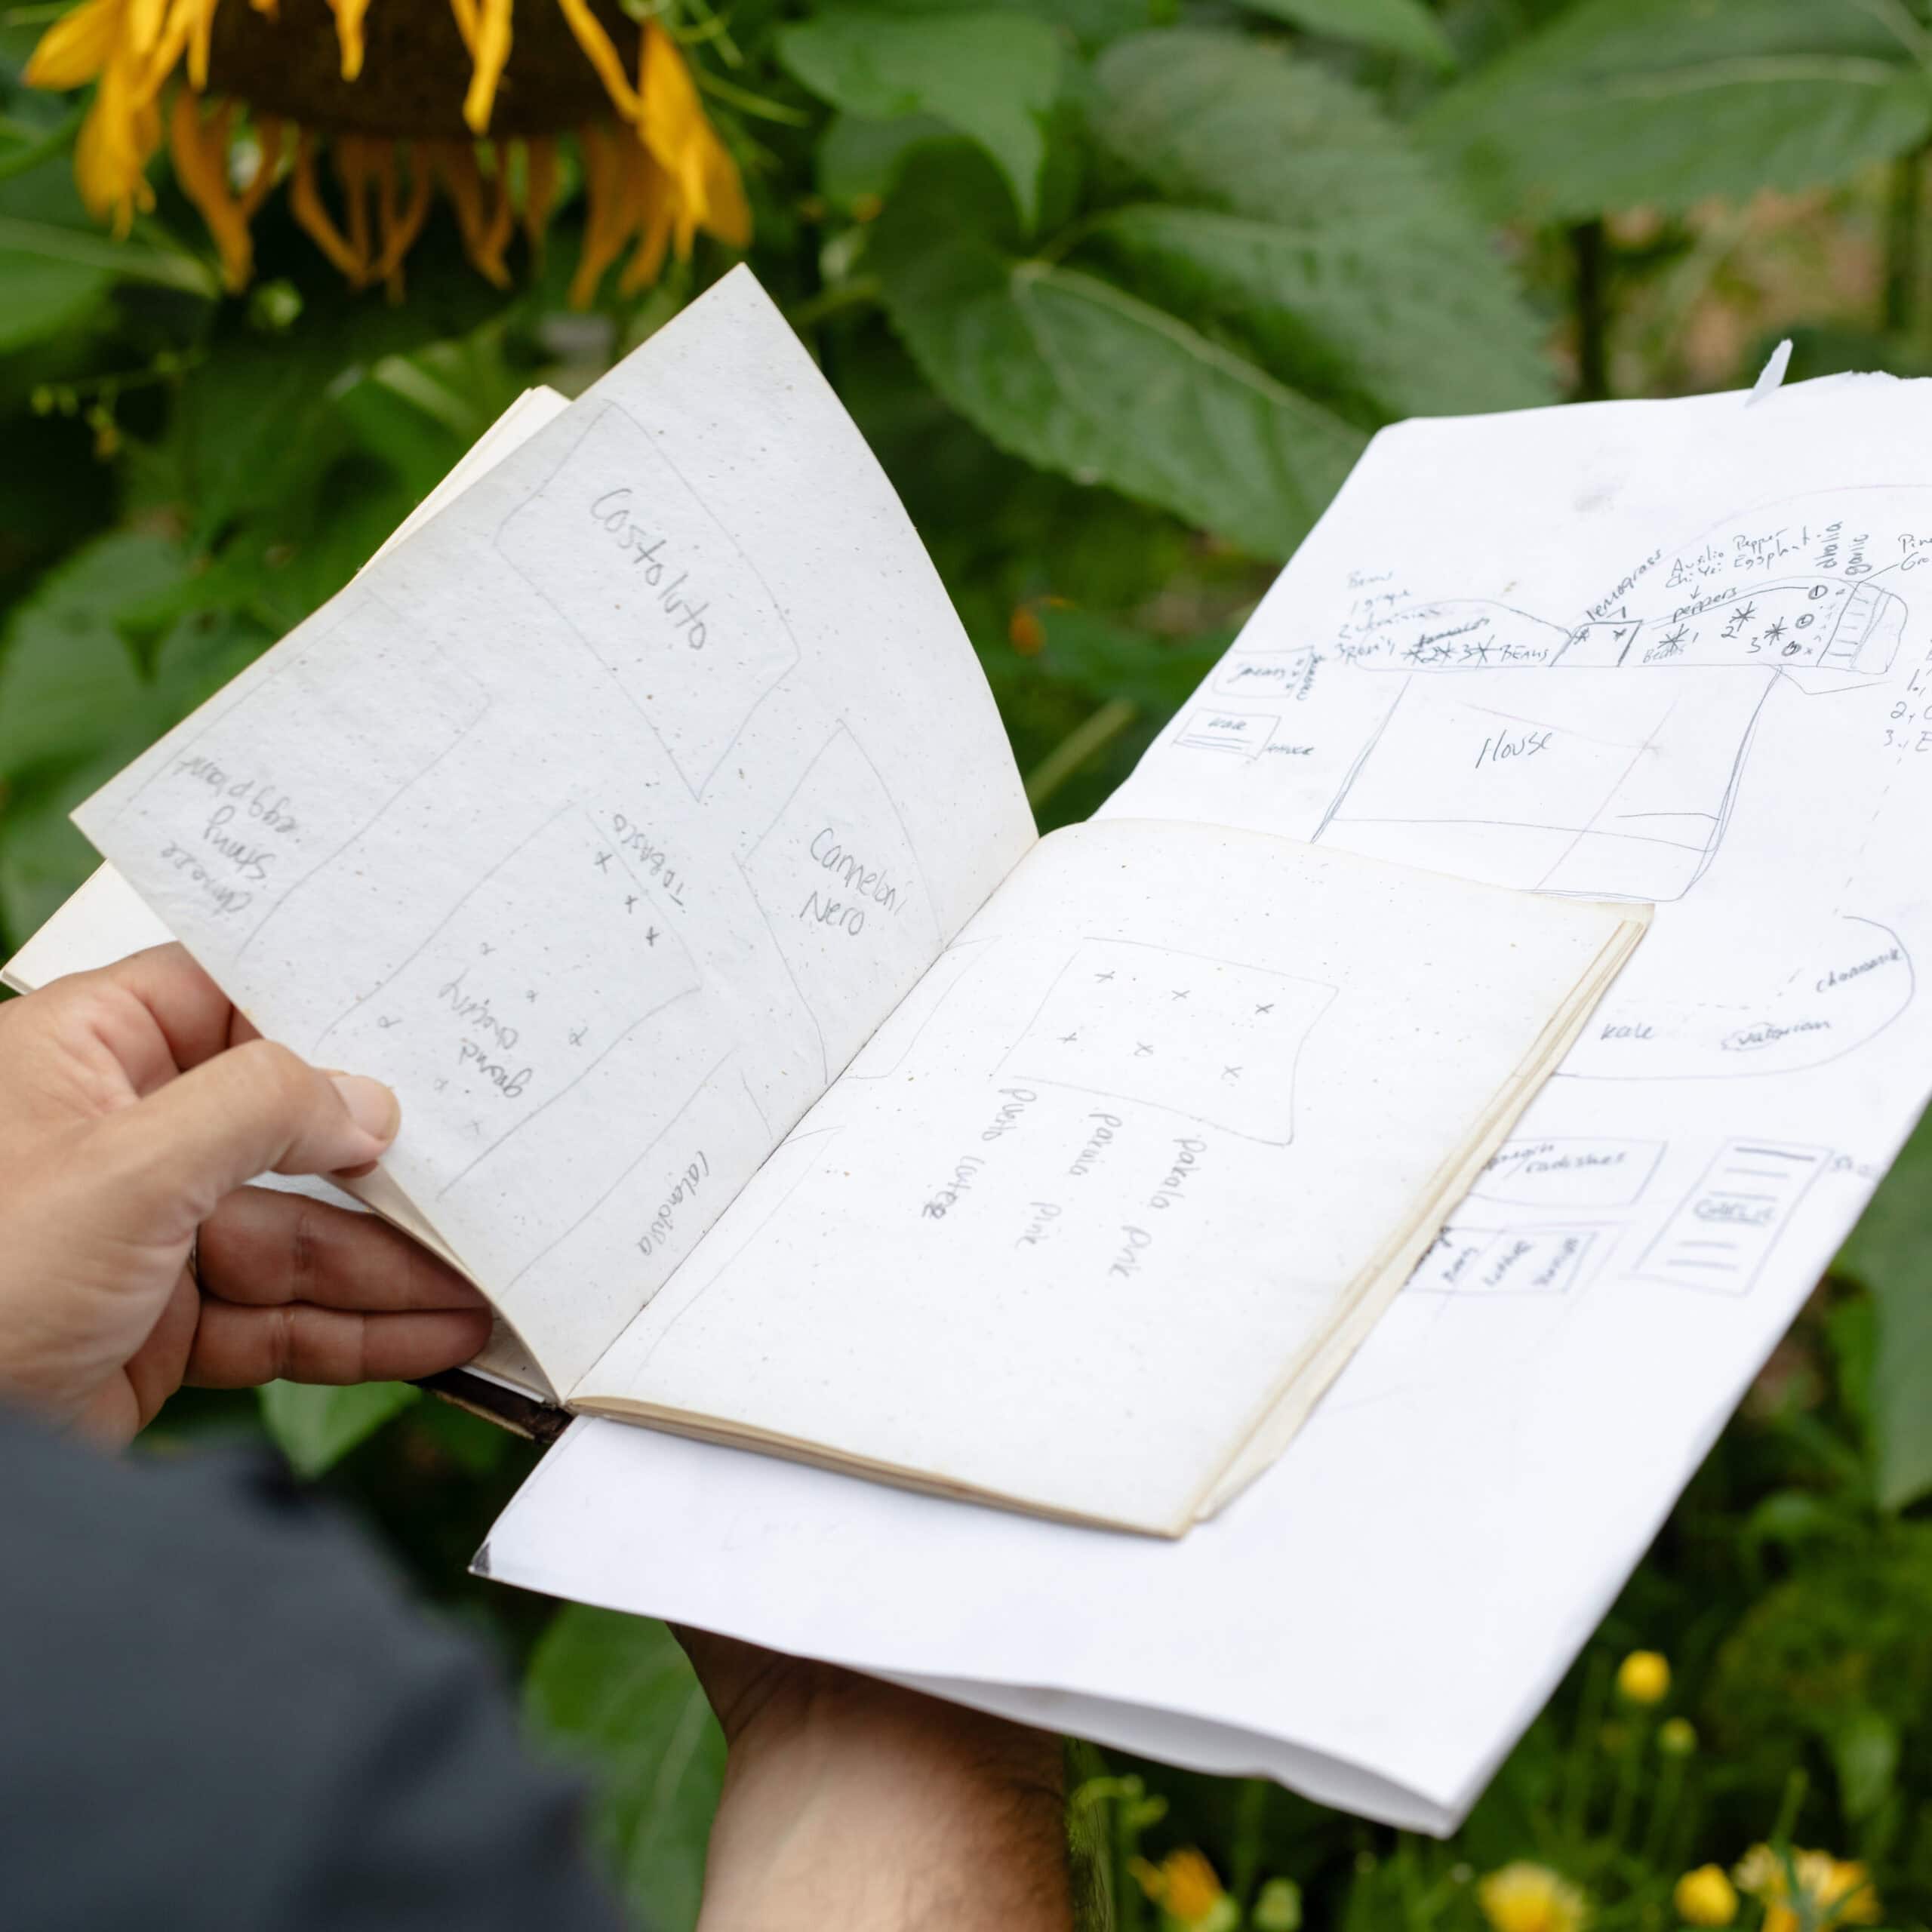
Keep a Propagation Journal
Track your propagation efforts in a simple notebook or garden journal. Write down when you started seeds, took cuttings, or divided plants. Note the conditions (temperature, light, soil type) and record what worked and what did not.
Over time, this record becomes a valuable reference. You will learn which methods work best for you, which varieties perform well in your conditions, and when to time your propagation efforts for the best results.
One More Thing
Propagation is a foundational herb-gardening skill accessible even to beginners. The techniques you use to propagate basil, mint, and fennel apply to dozens of other herbs. Start with these three if space is limited or you are new to propagation, and let the process be your teacher.
As herb gardener and educator Bevin Cohen reminds us, “Herbs are very forgiving. That's how we learn!”
Ready to take your herb gardening skills to the next level? Our Herb Gardening class at the School of Traditional Skills covers everything from soil preparation and propagation techniques to harvesting, drying, and preserving herbs for year-round use. You'll learn how to build a productive herb garden that supports your kitchen, your health, and your self-reliance. Join us and turn your garden into a source of fresh herbs, practical knowledge, and real confidence.
Herb Gardening
Grow your own fresh, flavorful herbs! In this class, you’ll learn how to select, plant, and care for a thriving herb garden, whether in pots or directly in the ground.