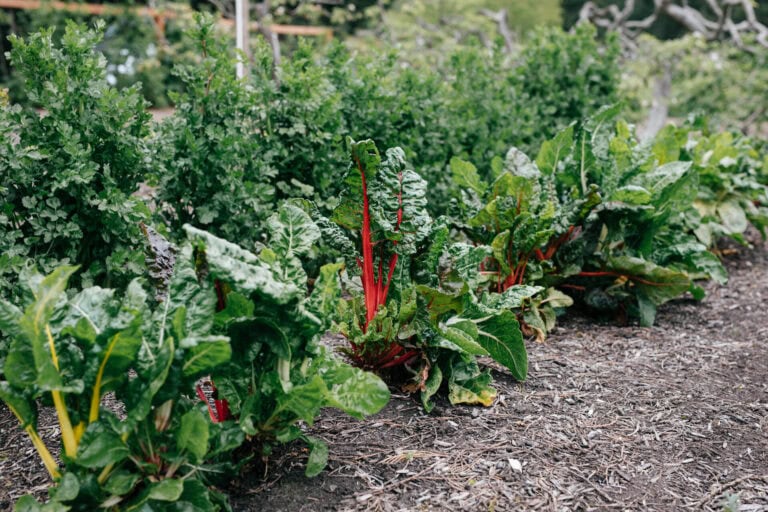
Core Principle: Start with frost dates, then work backward
The simplest tomato seed-starting plan begins with your Average Last Frost Date. As tomatoes are not frost tolerant, transplanting should take place after frost danger has passed.
Once you have that date, count backward on the calendar to find your sowing week. Start tomato seeds indoors 6 to 8 weeks before your last spring frost date.
When to Start Tomato Seeds Indoors
Choose a spot for your seedling setup
Before you count back weeks, decide where your seedlings will live for the next couple months. Tomatoes do best with steady temperatures and proper lighting, and a stable setup prevents many common seed-starting problems. As warm-season plants, tomatoes can only tolerate temperatures above 50℉, though they prefer to be in an environment that stays above 70℉ during the day. Ensure your seed-starting location stays consistently in this range.
Note that a window alone – even a sunny one – cannot provide sufficient light for your seedlings, so you’ll need to include artificial lighting in your setup. More on that below.
Choose the best timing for your situation
After you choose your sowing week, mark your calendar for transplant time. Most seedlings reach transplant size in about 6 to 7 weeks, and smaller, compact transplants are preferred. Whether you choose to transplant closer to 6 weeks or closer to 8 depends in part on you and on the weather outside.
- Start closer to 6 weeks if you want a simpler process and less risk of overgrown seedlings indoors. This timing works well when you are keeping things straightforward and want to avoid potting up.
- Start closer to 8 weeks if you can keep lights close and are willing to pot up if seedlings outgrow their containers. This approach can be helpful when spring stays cold longer than expected and seedlings need extra time indoors.
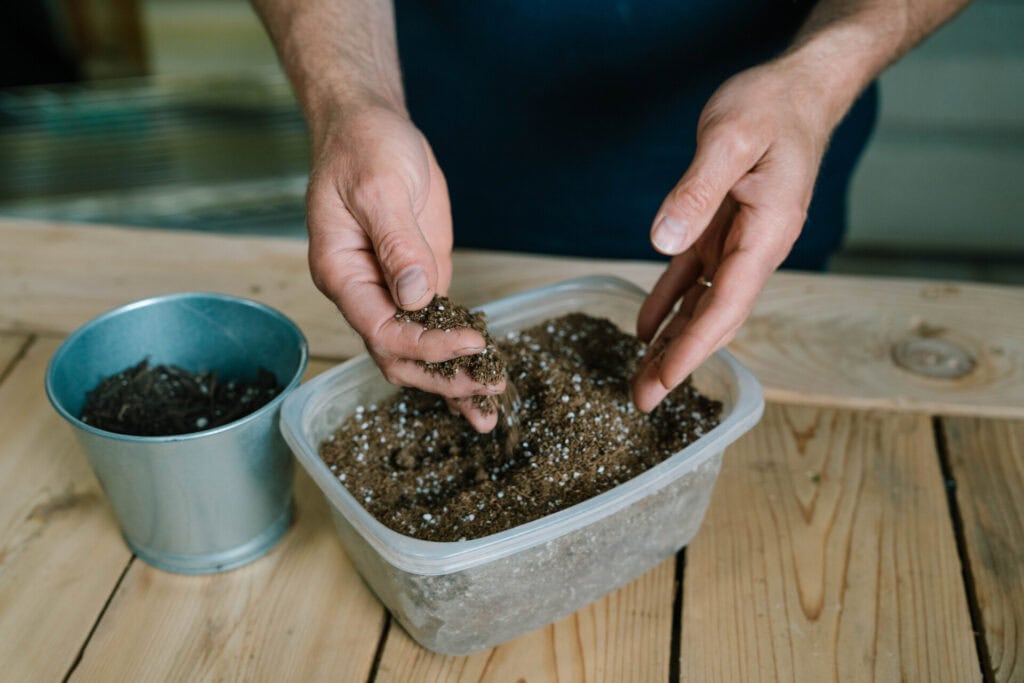
Seed Starting Medium
What to use
Use a store-bought organic seedling mix for consistent results, or this ratio:
8 parts coco coir or peat moss to 1 part perlite or vermiculite
(Not sure which to pick? Rick’s class on Seed Starting goes into the pros and cons of each option.)
What to avoid indoors
A note of caution: Do not use garden soil or potting soil, as these are not intended for seedlings. Even straight compost is best avoided as a seed-starting medium, though we explore possible conditions for using it in our class on Seed Starting. The long and short of it is that these mixes can hold too much moisture, drain poorly in small containers, and increase the chance of seedling disease.
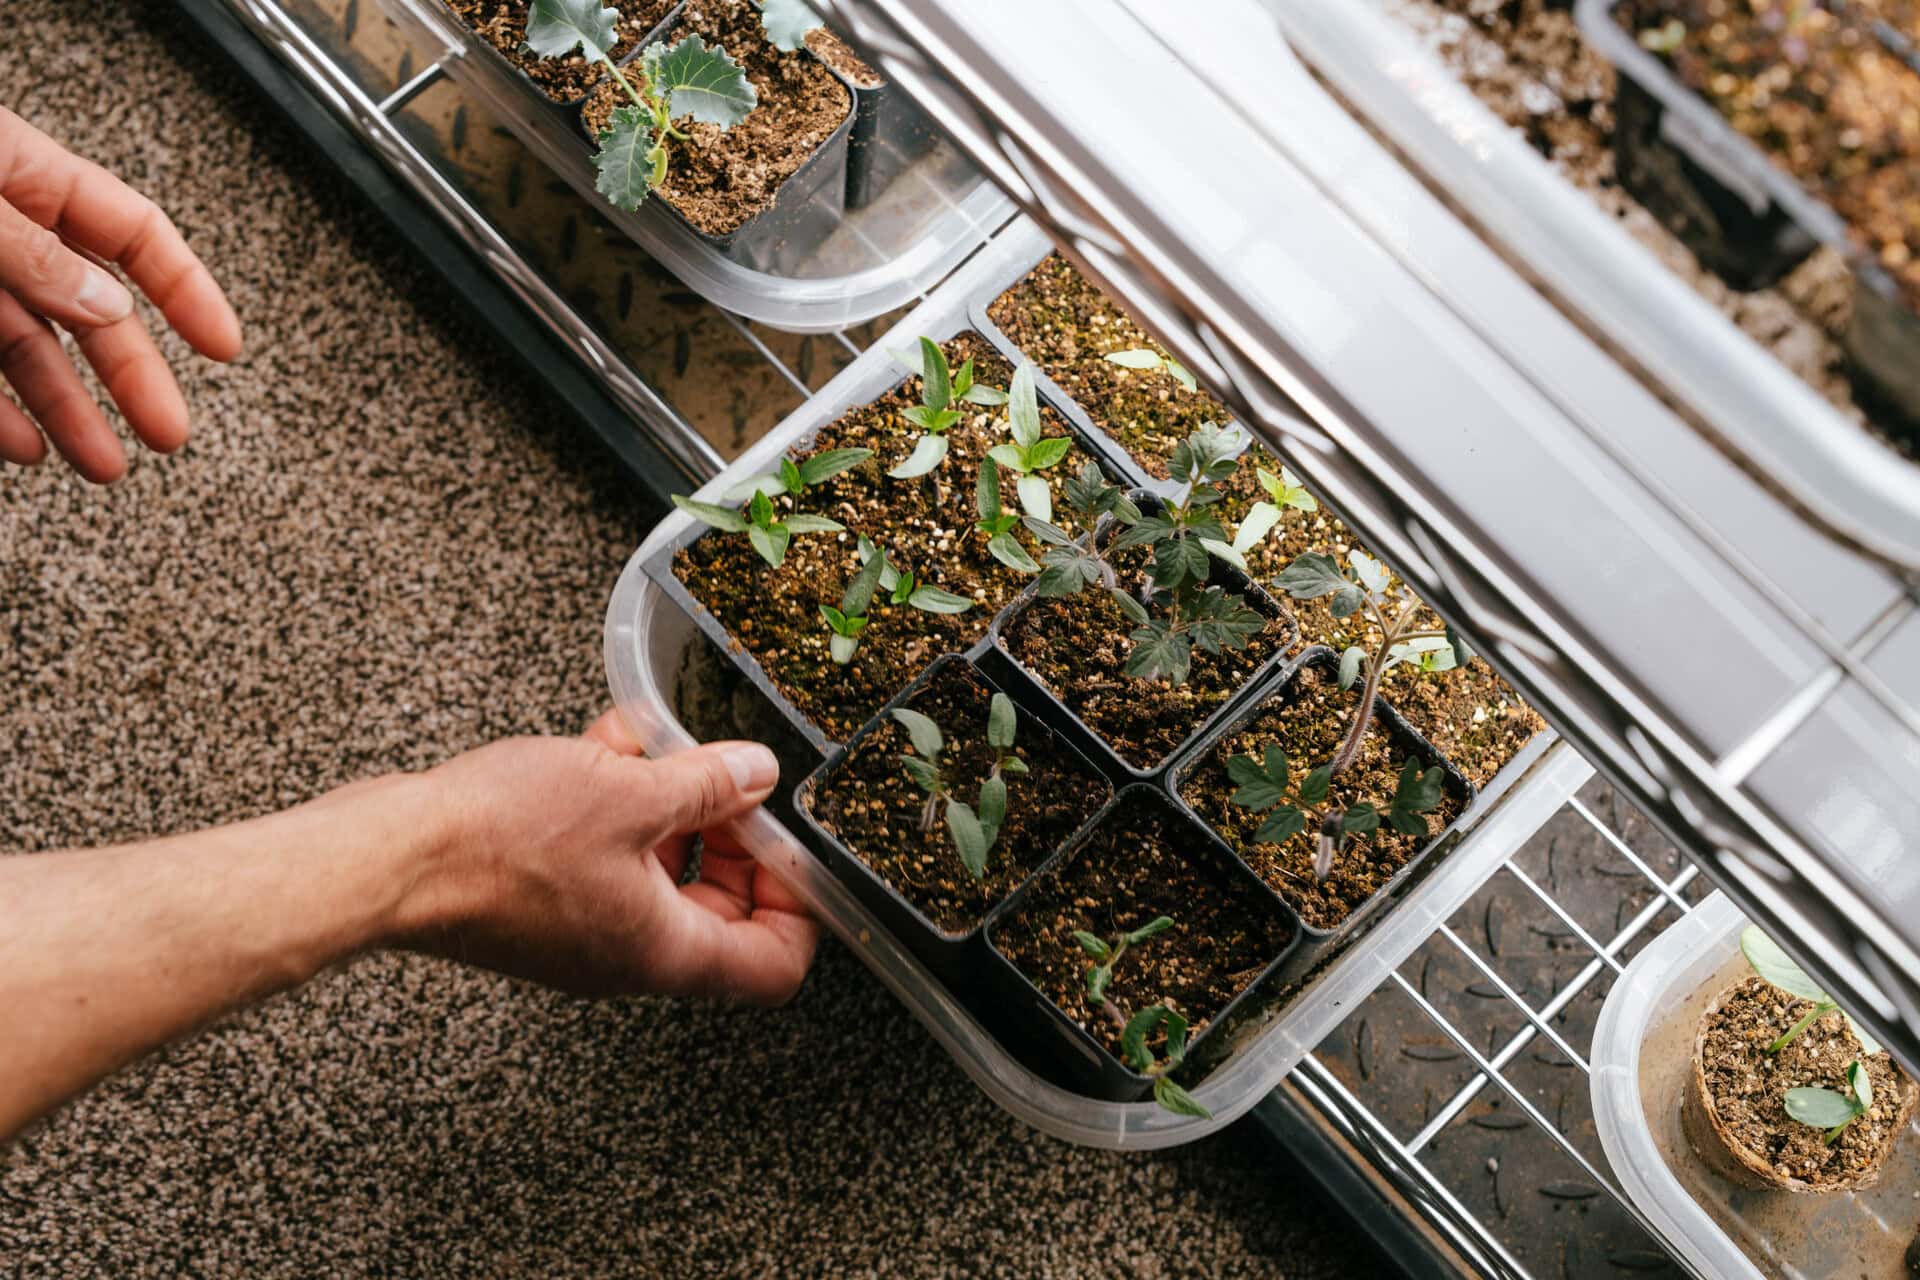
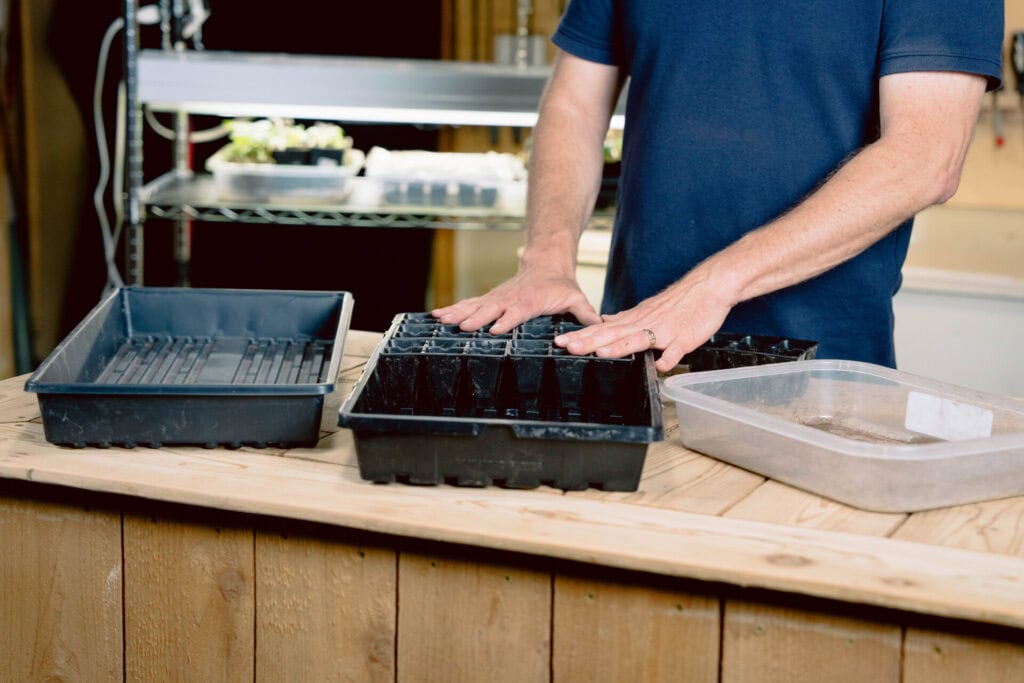
The Basic Setup
- Containers: Use food-safe, flexible containers with drainage holes that are wider at the top than the bottom. If you want the flexibility to keep your tomatoes indoors longer, especially if you expect a colder-than-average winter, use at minimum a 2.5-inch pot. This gives the roots enough room to develop.
- Avoid: Egg cartons, eggshells, ice cube trays, and tin cans. These options usually dry out too fast, stay too wet, or restrict roots.
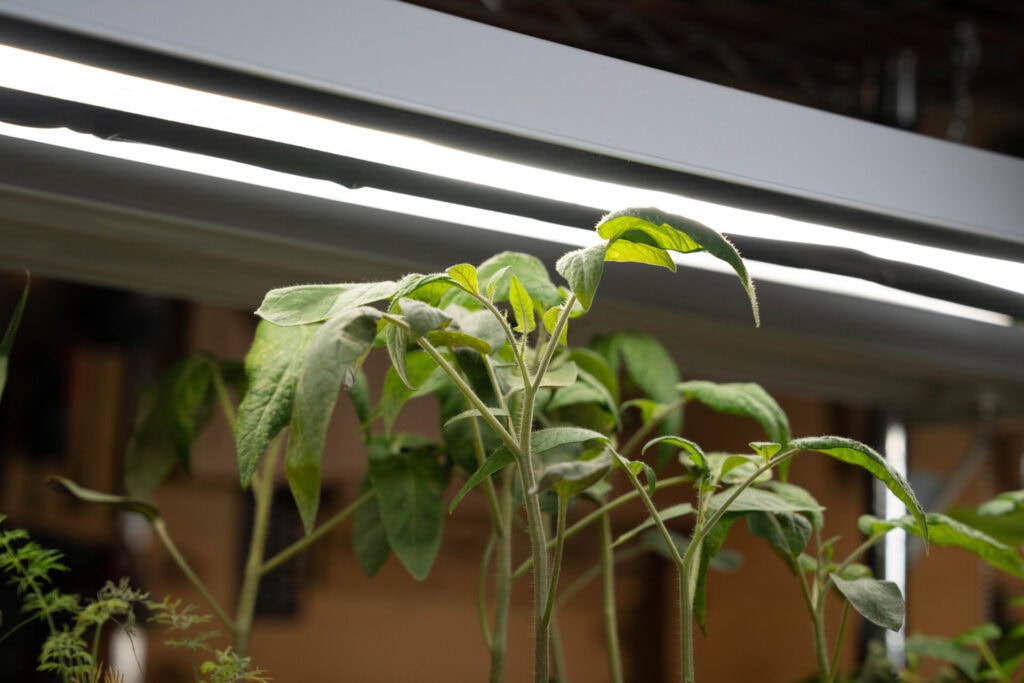
- Light: After two days, turn on the lights so the new plants have light as soon as the seeds germinate, and keep them on 14-16 hours per day. This is key in preventing weak, leggy seedlings.
- Light distance:
- Early stage through about 4 weeks: 1 to 2 inches above plant surface.
- Beyond 4 weeks: 2 to 3 inches above plant tops, adjusting as they grow.
How to Start Tomato Seeds Indoors
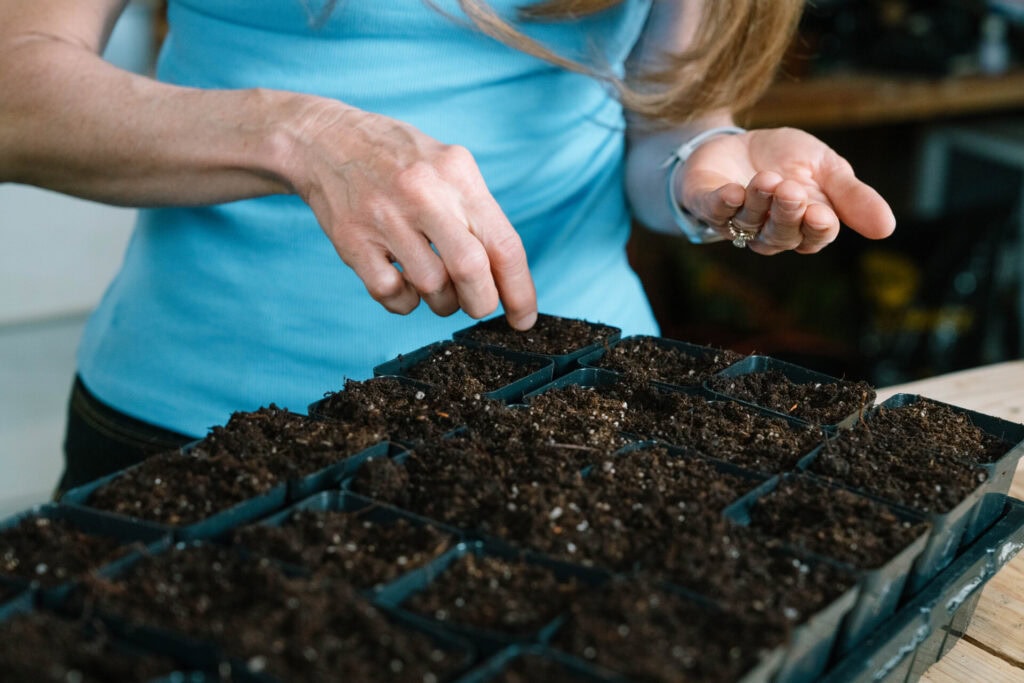
Prep
Pre-moisten mix until it feels like a wrung-out sponge. Fill containers without packing tightly. This keeps the mix evenly damp while still leaving air space for roots to grow.
Sow
The general rule of thumb is to plant about as deep as the seed is wide. In the case of tiny tomato seeds, they should stay close to the surface–a little dusting of soil to cover them up will suffice.
Plant two seeds per container, then thin to one once they sprout. If you’re concerned about the quality of your seeds and are expecting the germination rate to be low, place a couple more seeds per container. Label everything. Clear labels prevent mix-ups as different seedlings can look a lot alike.
Germination routine
Mist after planting and cover trays with plastic wrap to hold moisture. After most seeds have sprouted, remove the covering to prevent mold. Once seedlings emerge, airflow matters more than extra humidity (more on that below).
How to Get Strong, Healthy Seedlings
Watering
- Bottom water. This encourages roots to grow downward and keeps the surface from staying constantly wet. Just make sure to drain the excess water when the surface becomes moist.
- Use the tray weight method: After watering, lift the tray to feel its weight, then check it daily. When it feels noticeably lighter, that’s your cue that it is time to water again.
Fertilizing
It’s tempting to fertilize right away, but there's no need yet. Initiate fertilizer applications when the first true leaves, the cotyledons, appear. If you’ve started with good quality compost in your seedling mix, you can probably hold off on providing additional fertilizer to your starts.
Use half-strength fertilizer every other watering, about every 7 to 10 days. Gentle feeding supports steady growth without pushing seedlings to stretch themselves too quickly, producing weak, thin stems.
Airflow
Use a small fan for an hour or two every other day to strengthen stems. You will be amazed at the difference that a little movement makes in helping seedlings develop sturdier stems. (Remember, there should be no covering over your seedlings at this stage.)
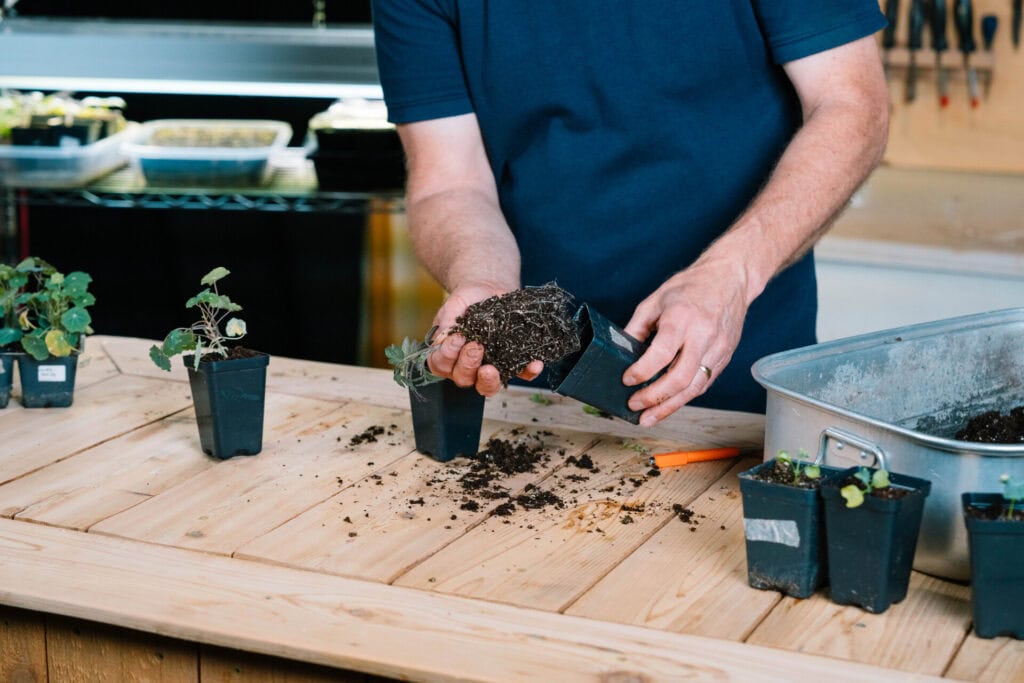
Potting Up
“Potting up” is the act of moving a plant into a larger container. Pot up your seedlings if they’ve outgrown their containers or must stay indoors longer than anticipated. This gives roots additional space which helps seedlings keep growing without stress.
Tomatoes have a distinct advantage here over most other plants. They can be planted deeper when potting up because they root along the buried stem. This is also why tomatoes can recover well from legginess.
Hardening Off
Plan to transition the seedlings outdoors over a 7 to 10 day period by gradually increasing their exposure to outside conditions. Start with one hour outside in indirect sun, then increase both the time and intensity of the sunlight as the plants adjust. This method is your best bet in limiting transplant shock.
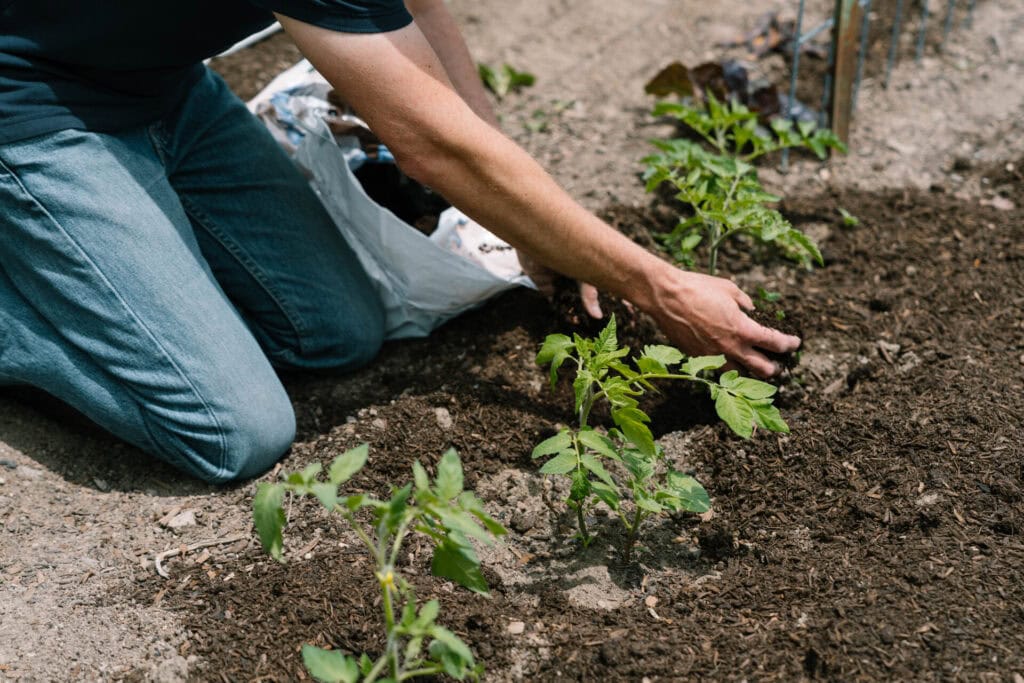
Transplanting
You will want to transplant after frost danger has passed. The standard method with transplanting most plants is to keep the stem at the same soil level, add a handful of compost, and water in. But recall our tomato-specific advantage? With a young tomato plant, you’ll want to clip its lower leaves and stick it about 6” deeper in the ground than how it was in the container. Then you can add back soil and a handful of compost into the hole, and water.
Troubleshooting
Two major issues that gardeners run into when starting seeds are damping-off and leggy seedlings.
- Damping-off: Avoid having your seedlings sitting in water. Bottom water and then drain the excess. If you’ve been watering that way but are still having issues, other strategies you may try are increasing airflow, adding vermiculite on top, and sterilizing the containers if the problem persists.
- Legginess: With most seedlings, you typically have to toss them and start over if they get leggy. Tomato seedlings, on the other hand, are very forgiving since they can sprout roots along the stem. If a seedling gets leggy, just plant it deeper!
You Can Do It!
To recap, the timeline for planting tomatoes is simple: Look up your last frost date, count back 6 to 8 weeks, then transplant after frost risk is gone. Whatever you’re growing, strong seedlings come from close overhead light, proper moisture, airflow, and timely potting up.
Interested in starting other plants from seed? Check out the School of Traditional Skills Classes on Indoor Seed Starting (don’t miss the bonus tip that may help you achieve sweeter tomatoes!) and Herb Gardening.
Happy seed starting!
Seed Starting
Join Rick Stone from Stoney Acres Gardening as he guides you step-by-step through the full seed-starting process.