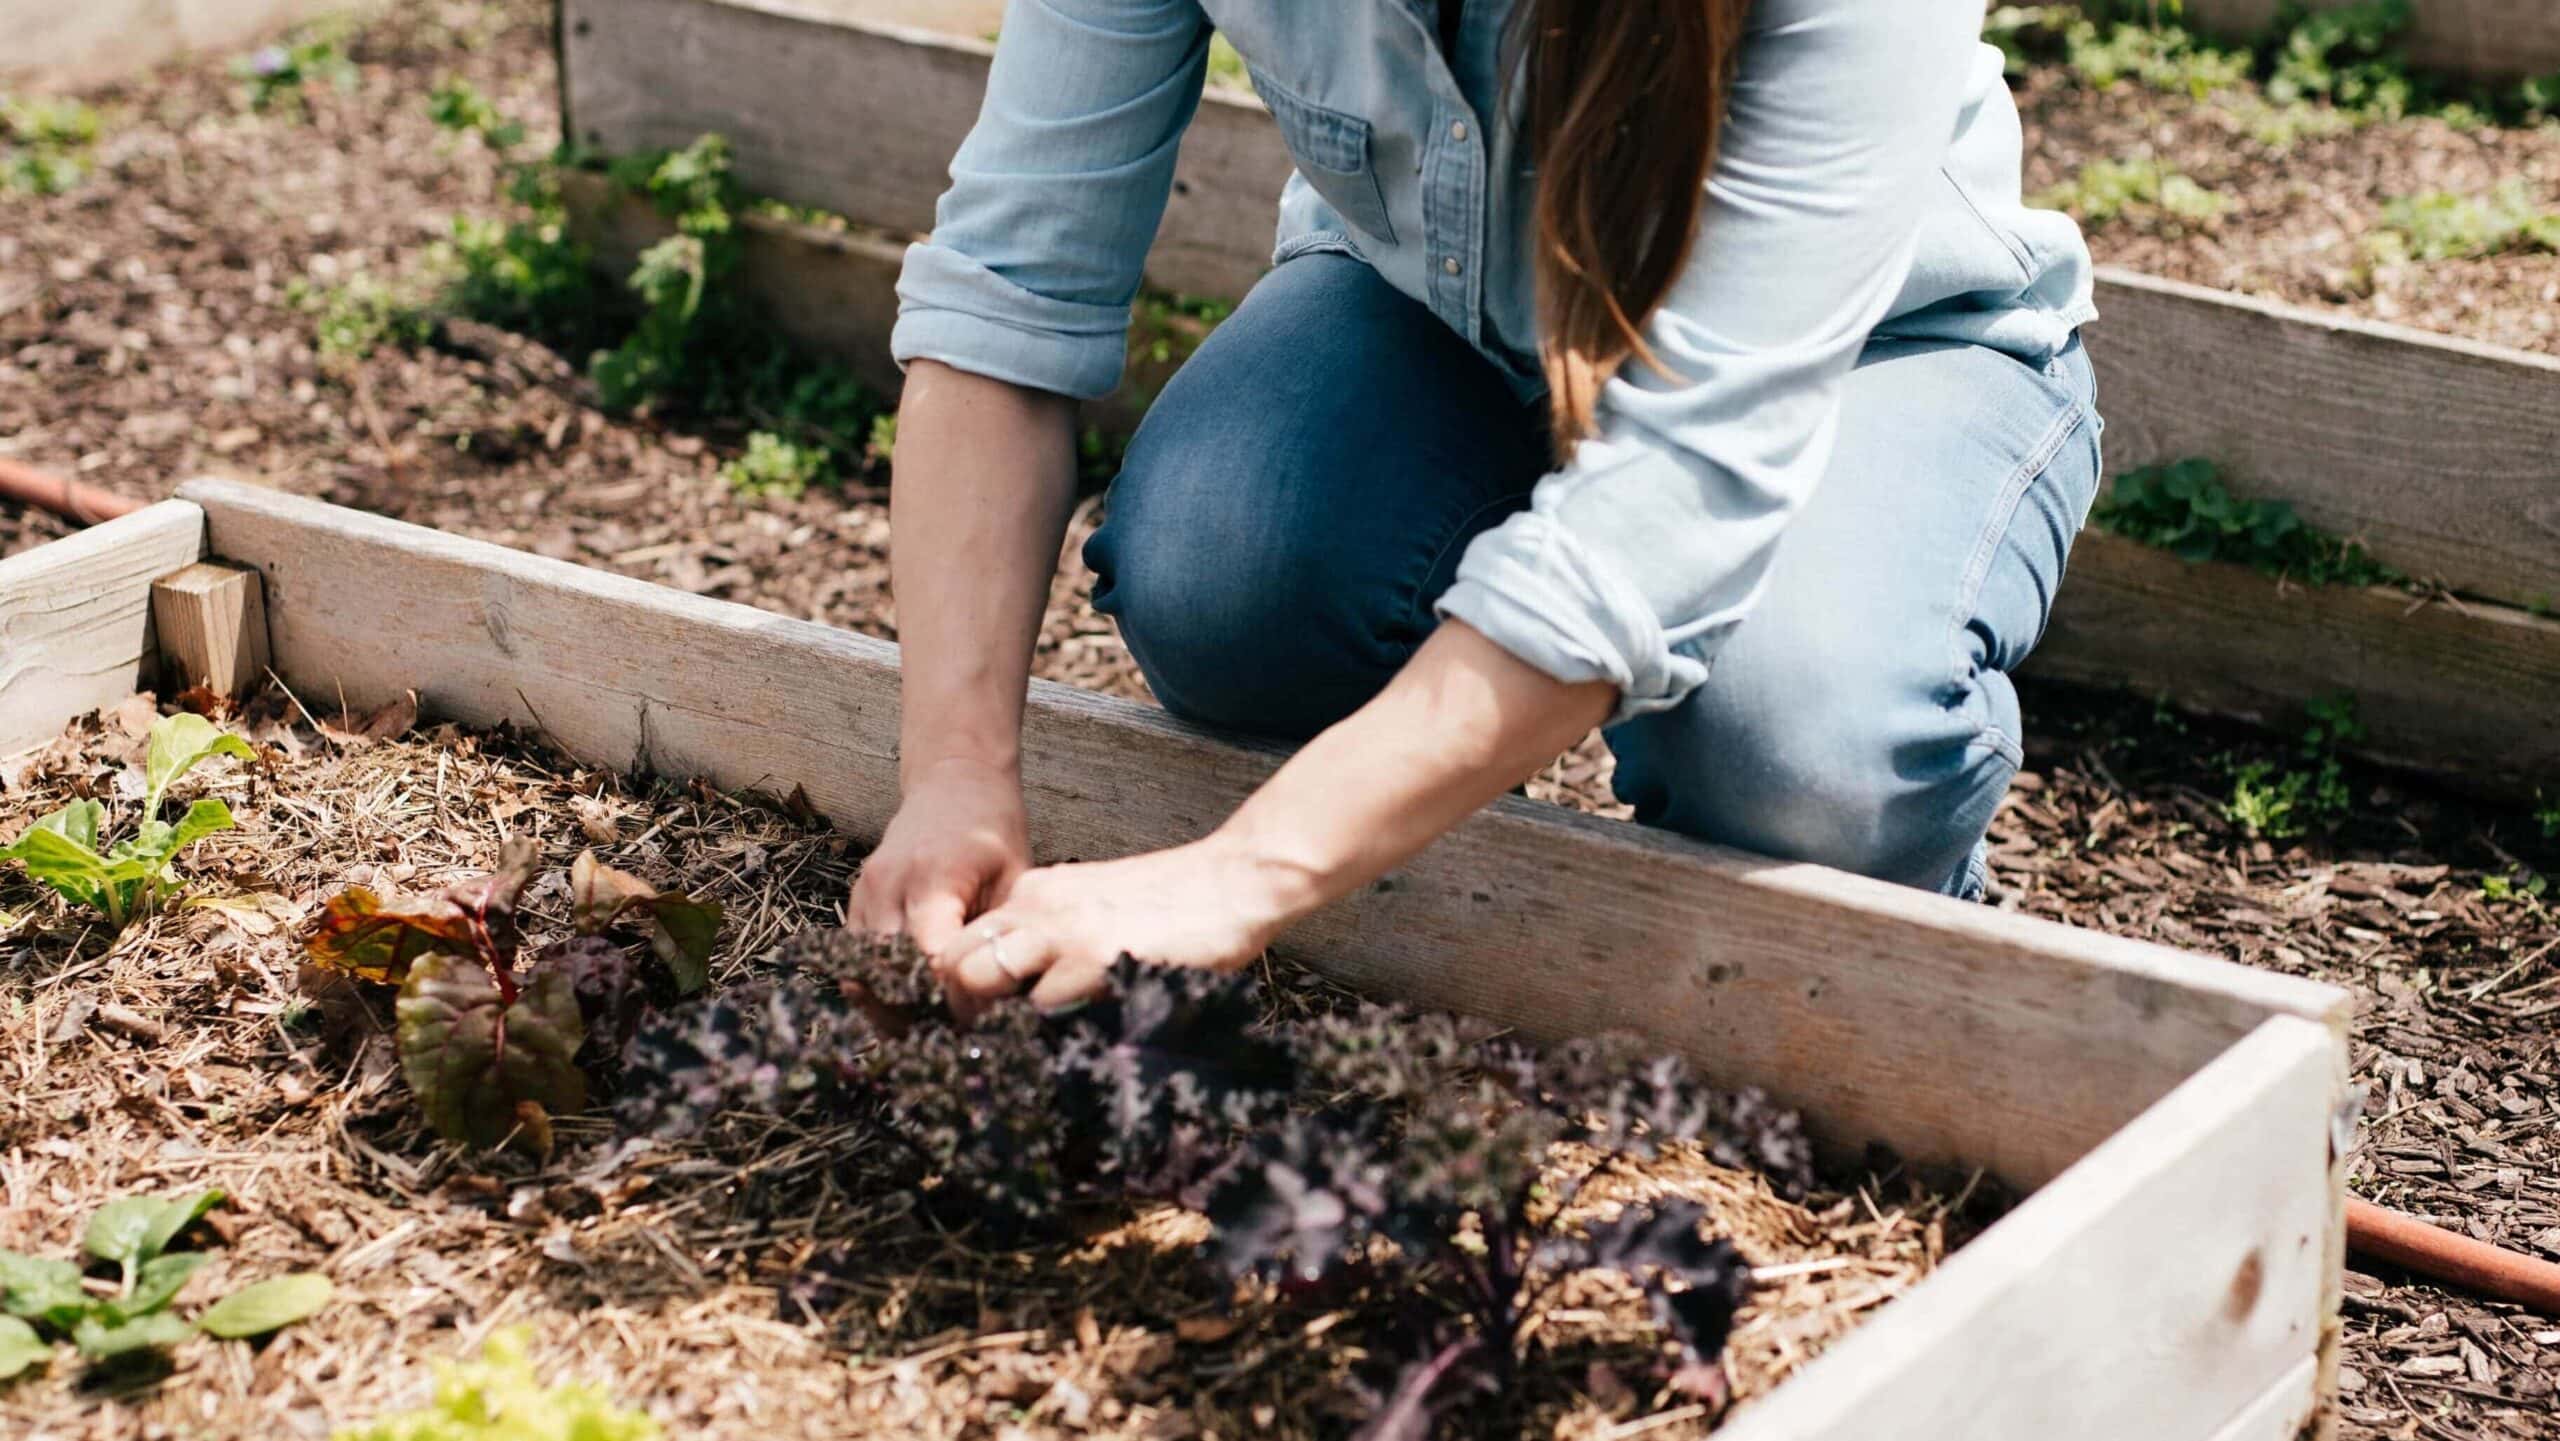
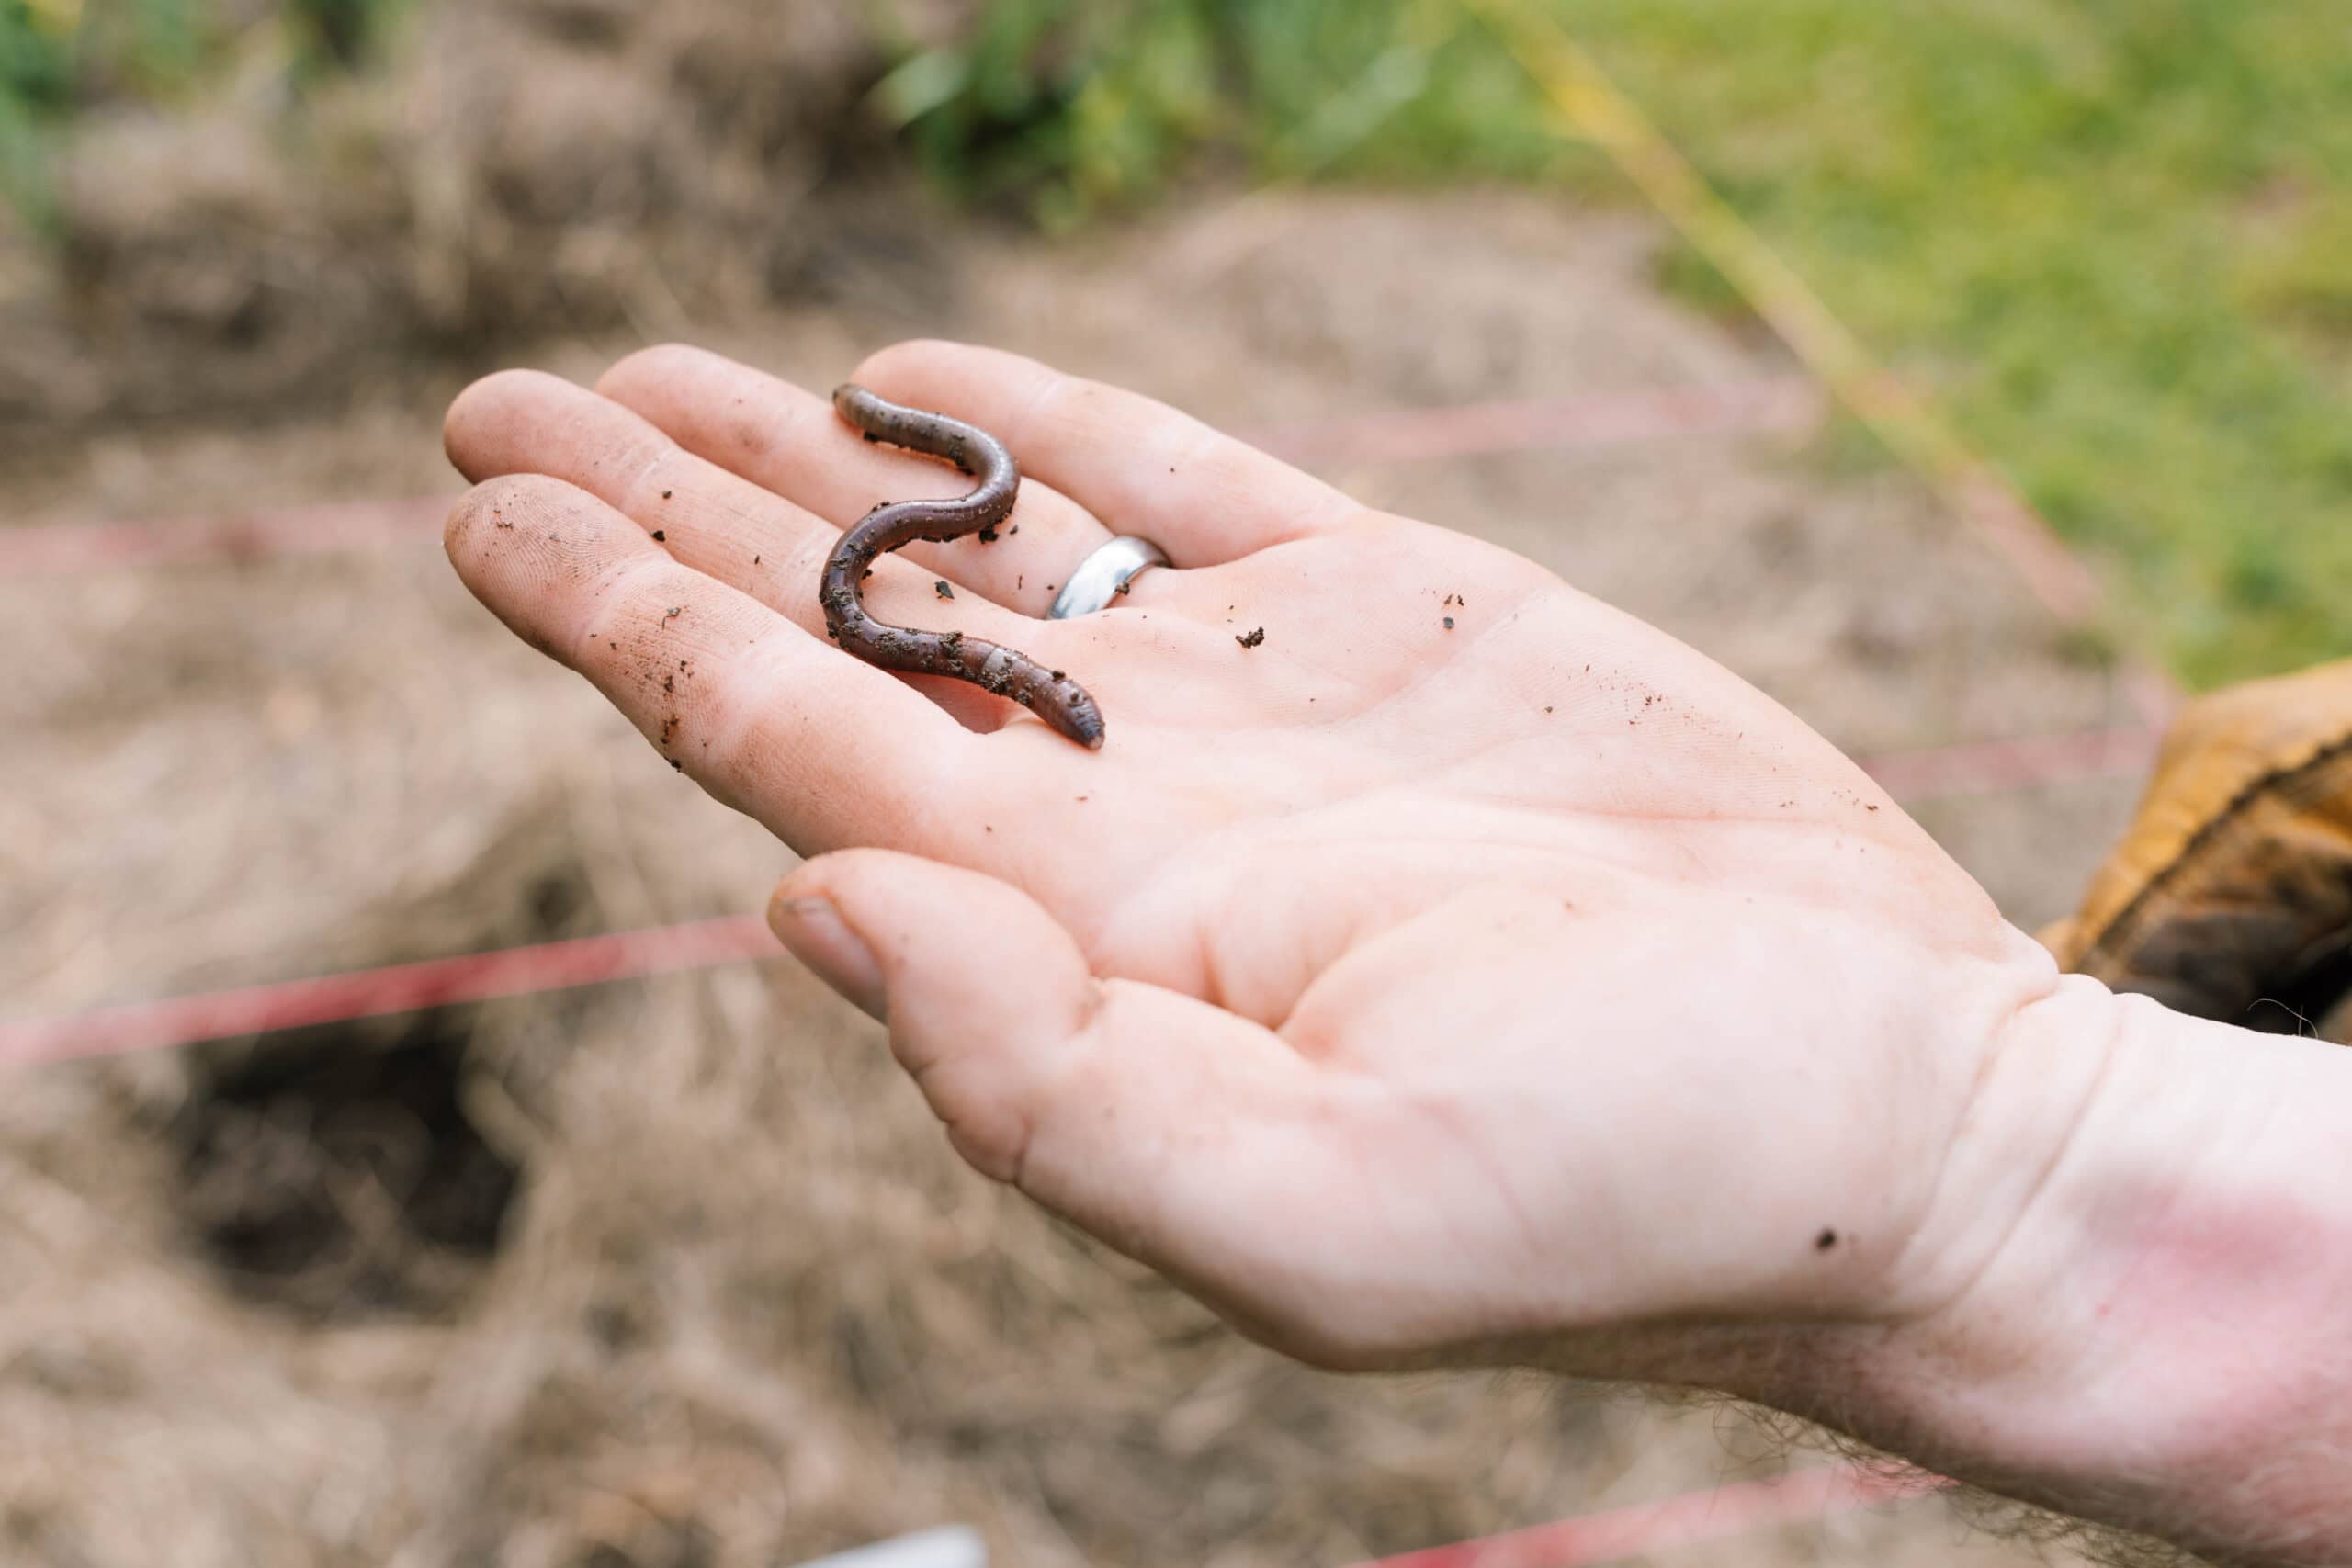
Vermicomposting uses worms to help break down food scraps and bedding into vermicompost, known in the gardening world as “worm castings.” A worm bin is one of the simplest and most cost-effective add-ons to a homestead, and this article will walk you through how to set up your first one.
Start With the Habitat
A worm bin is a living system. When the habitat is right, it should smell earthy, be moist (but not soggy), and have enough airflow that the bedding does not pack down into a dense mat.
If the bin gets too dry and hot, or too wet and cold, the worms slow down. Worms prefer soil temperatures of 55–77ᐤF (12–25ᐤC), but can tolerate up to 90ᐤF (12–32ᐤC). Keep in mind that the soil will likely be 10–20ᐤF (5.5–11ᐤC) warmer than your ambient temperature.
Supplies
To set up your worm bin, gather the following:
- A large plastic tote or storage bin, at minimum 15–20 gallons (56–80 L) in size
- A lid or plywood board
- Something to elevate the bin off the ground to catch the leachate
- A bucket to collect the leachate
- Permeable fabric, a sheet of cardboard, or a brown paper bag
- Carbon-rich bedding material
- A small amount of finished compost or garden soil
- Grit
- Chlorine-free water
- Composting worms
- Nitrogen-rich kitchen scraps or healthy yard waste
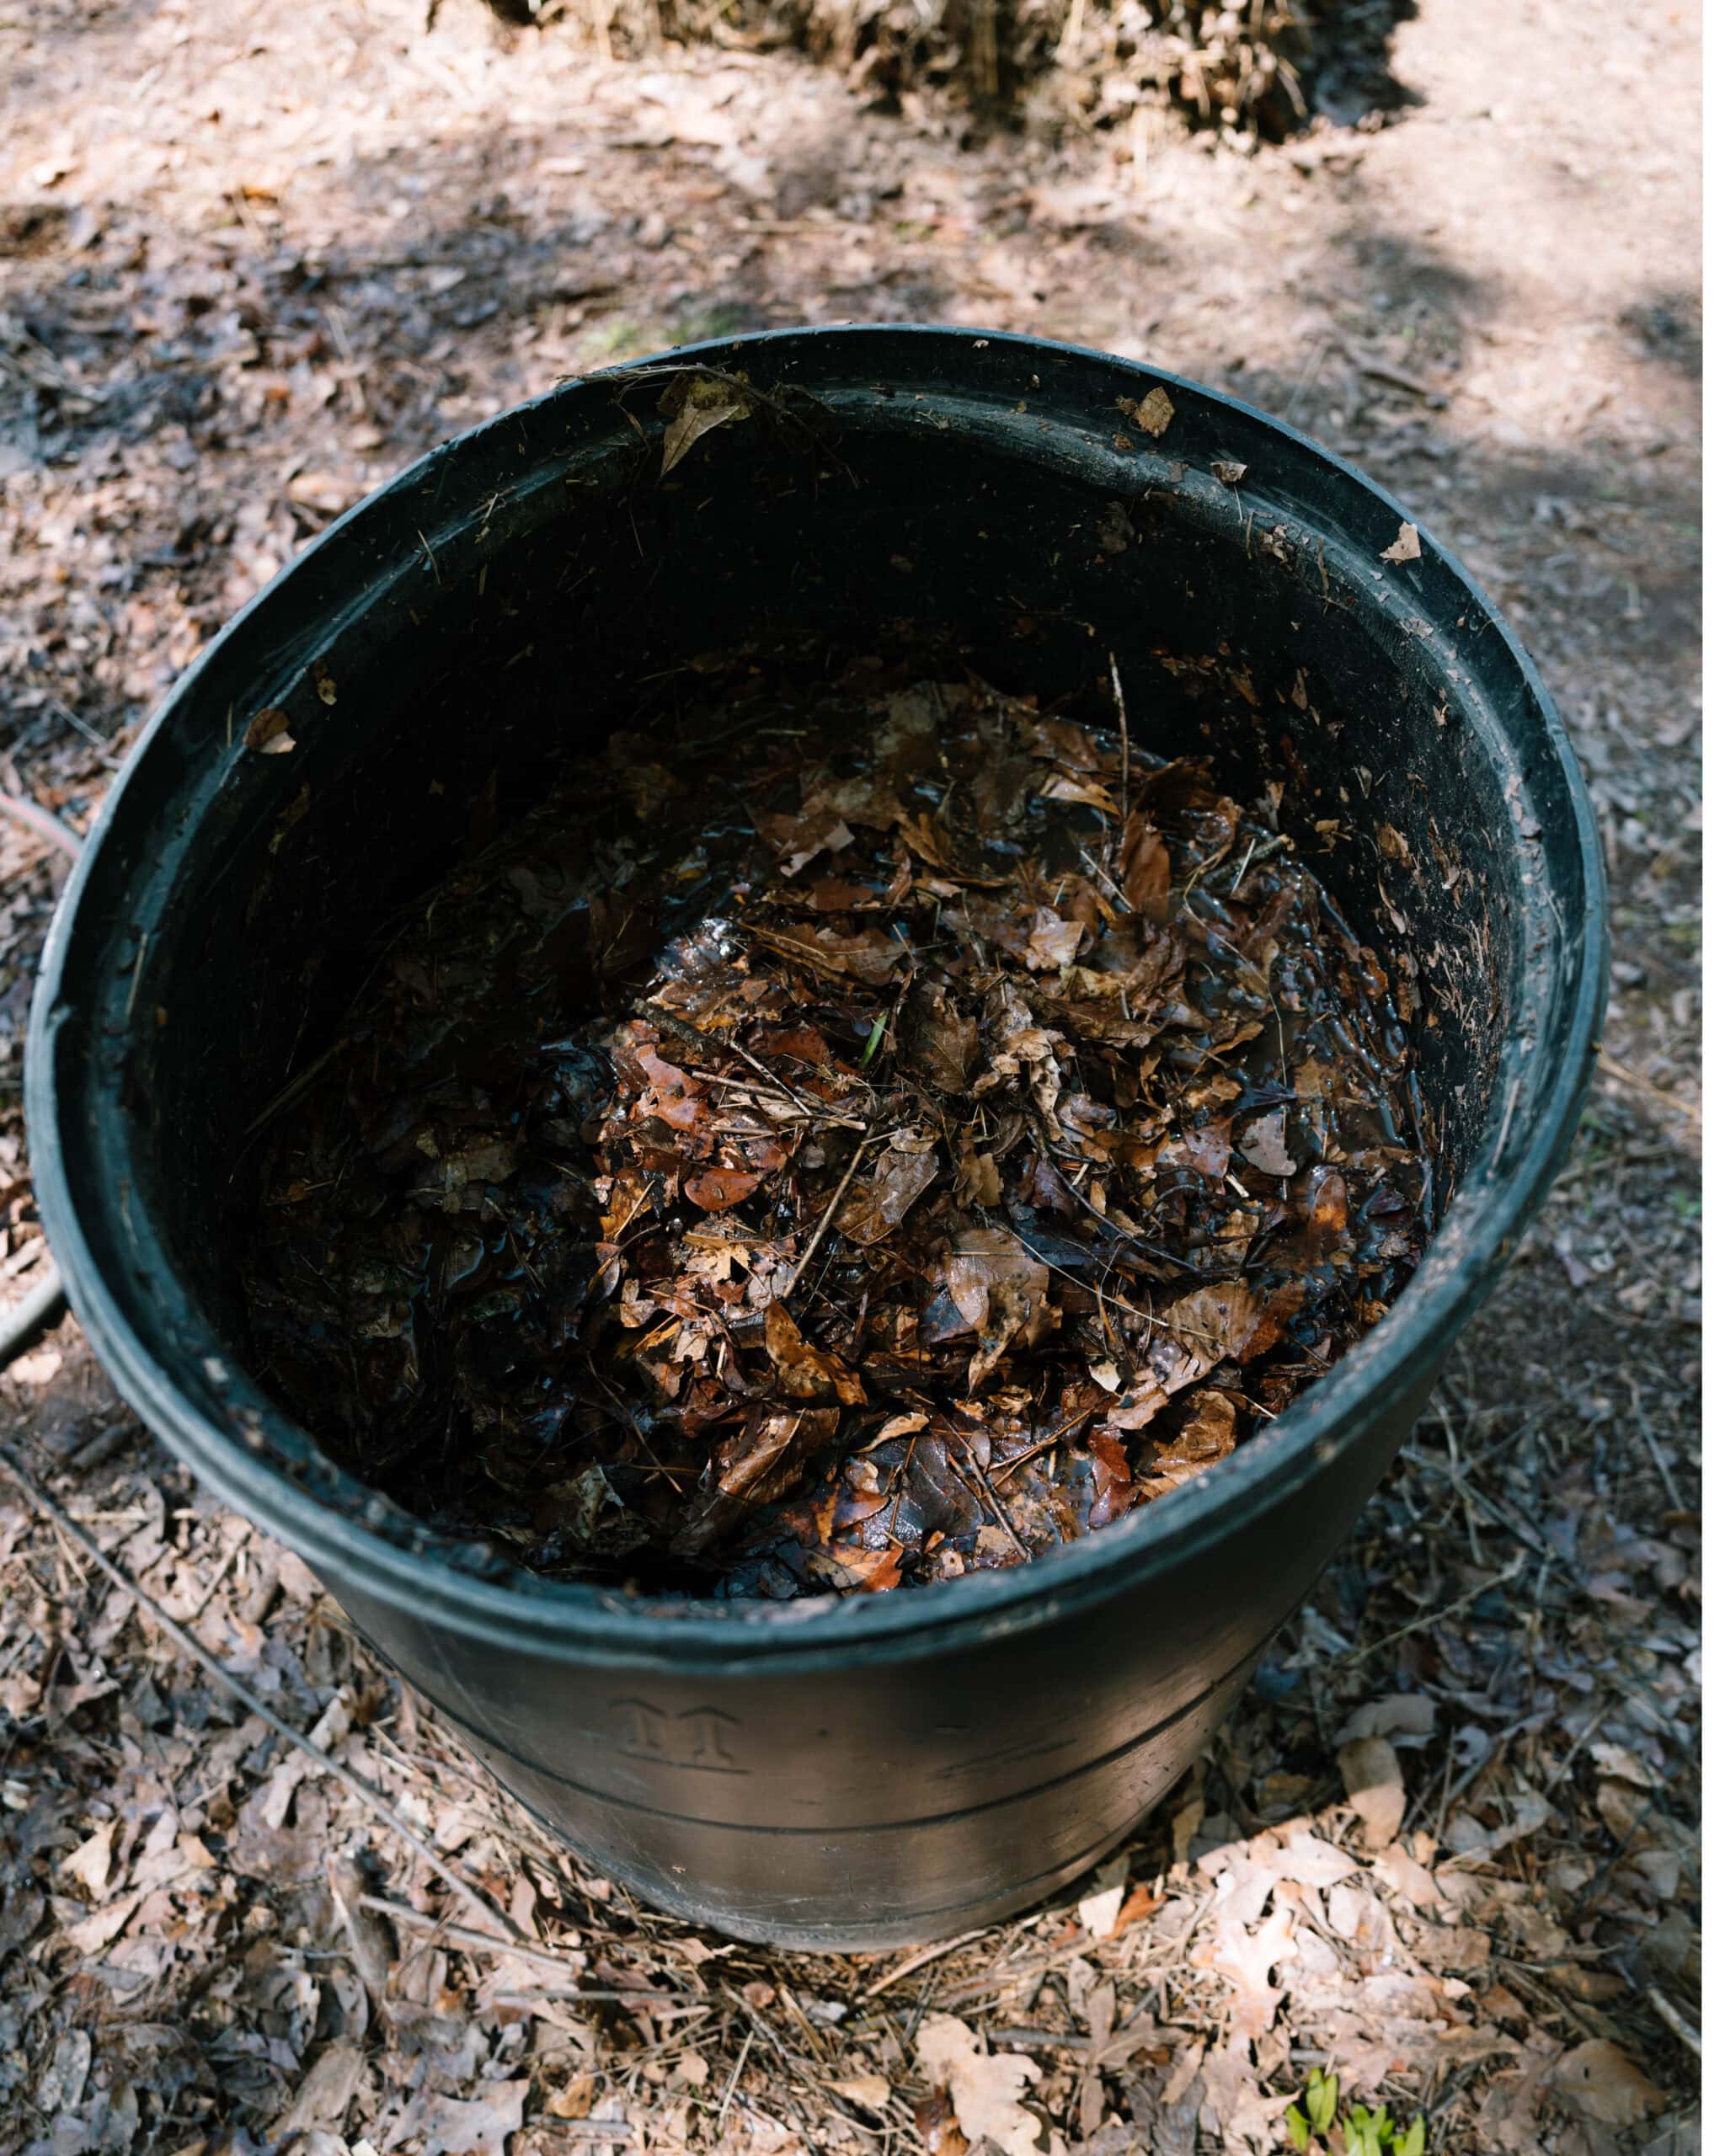
How to Make a Worm Bin
Step 1: Select and Prepare the Container
If your worm farm will live outside, invest in a larger bin. In fact, this is a case where bigger is typically better. For reference, a 1 foot x 2 foot x 2 foot tote (0.3 m x 0.6 m x 0.6 m) can hold almost 30 gallons (114 L).
On one end of the tote’s base, drill drainage holes every 2–3 inches (5–8cm). Then drill holes the same distance apart along the top edge of the bin, going around to all four sides to let air circulate. Discard any remaining plastic shavings from the bin.
If you line the side wall holes with outdoor mesh or trampoline fabric, you can help prevent worms from escaping and keep predatory insects out. It’s not a must, but just something to consider.
Set the bin on a wooden frame or other support (such as cinder blocks or pavers) to stabilize it and raise it off the ground. This allows the bin to drain and creates the vertical space needed to place a bucket beneath to collect leachate.
Tilt the bin slightly towards the end with the drainage holes in the base so extra moisture can move out instead of sitting in the bottom of the bin. Line the base holes with permeable fabric, cardboard, or a paper bag. This can keep bedding from clogging the holes and prevent worms from escaping while still allowing leachate to pass through.
Place the worm bin in a shady spot protected from direct sun. Worms like the dark, after all, and they need a steady, protected habitat. Too much heat can dry the bedding or make the bin harder to manage.
Step 2: Build the Bedding
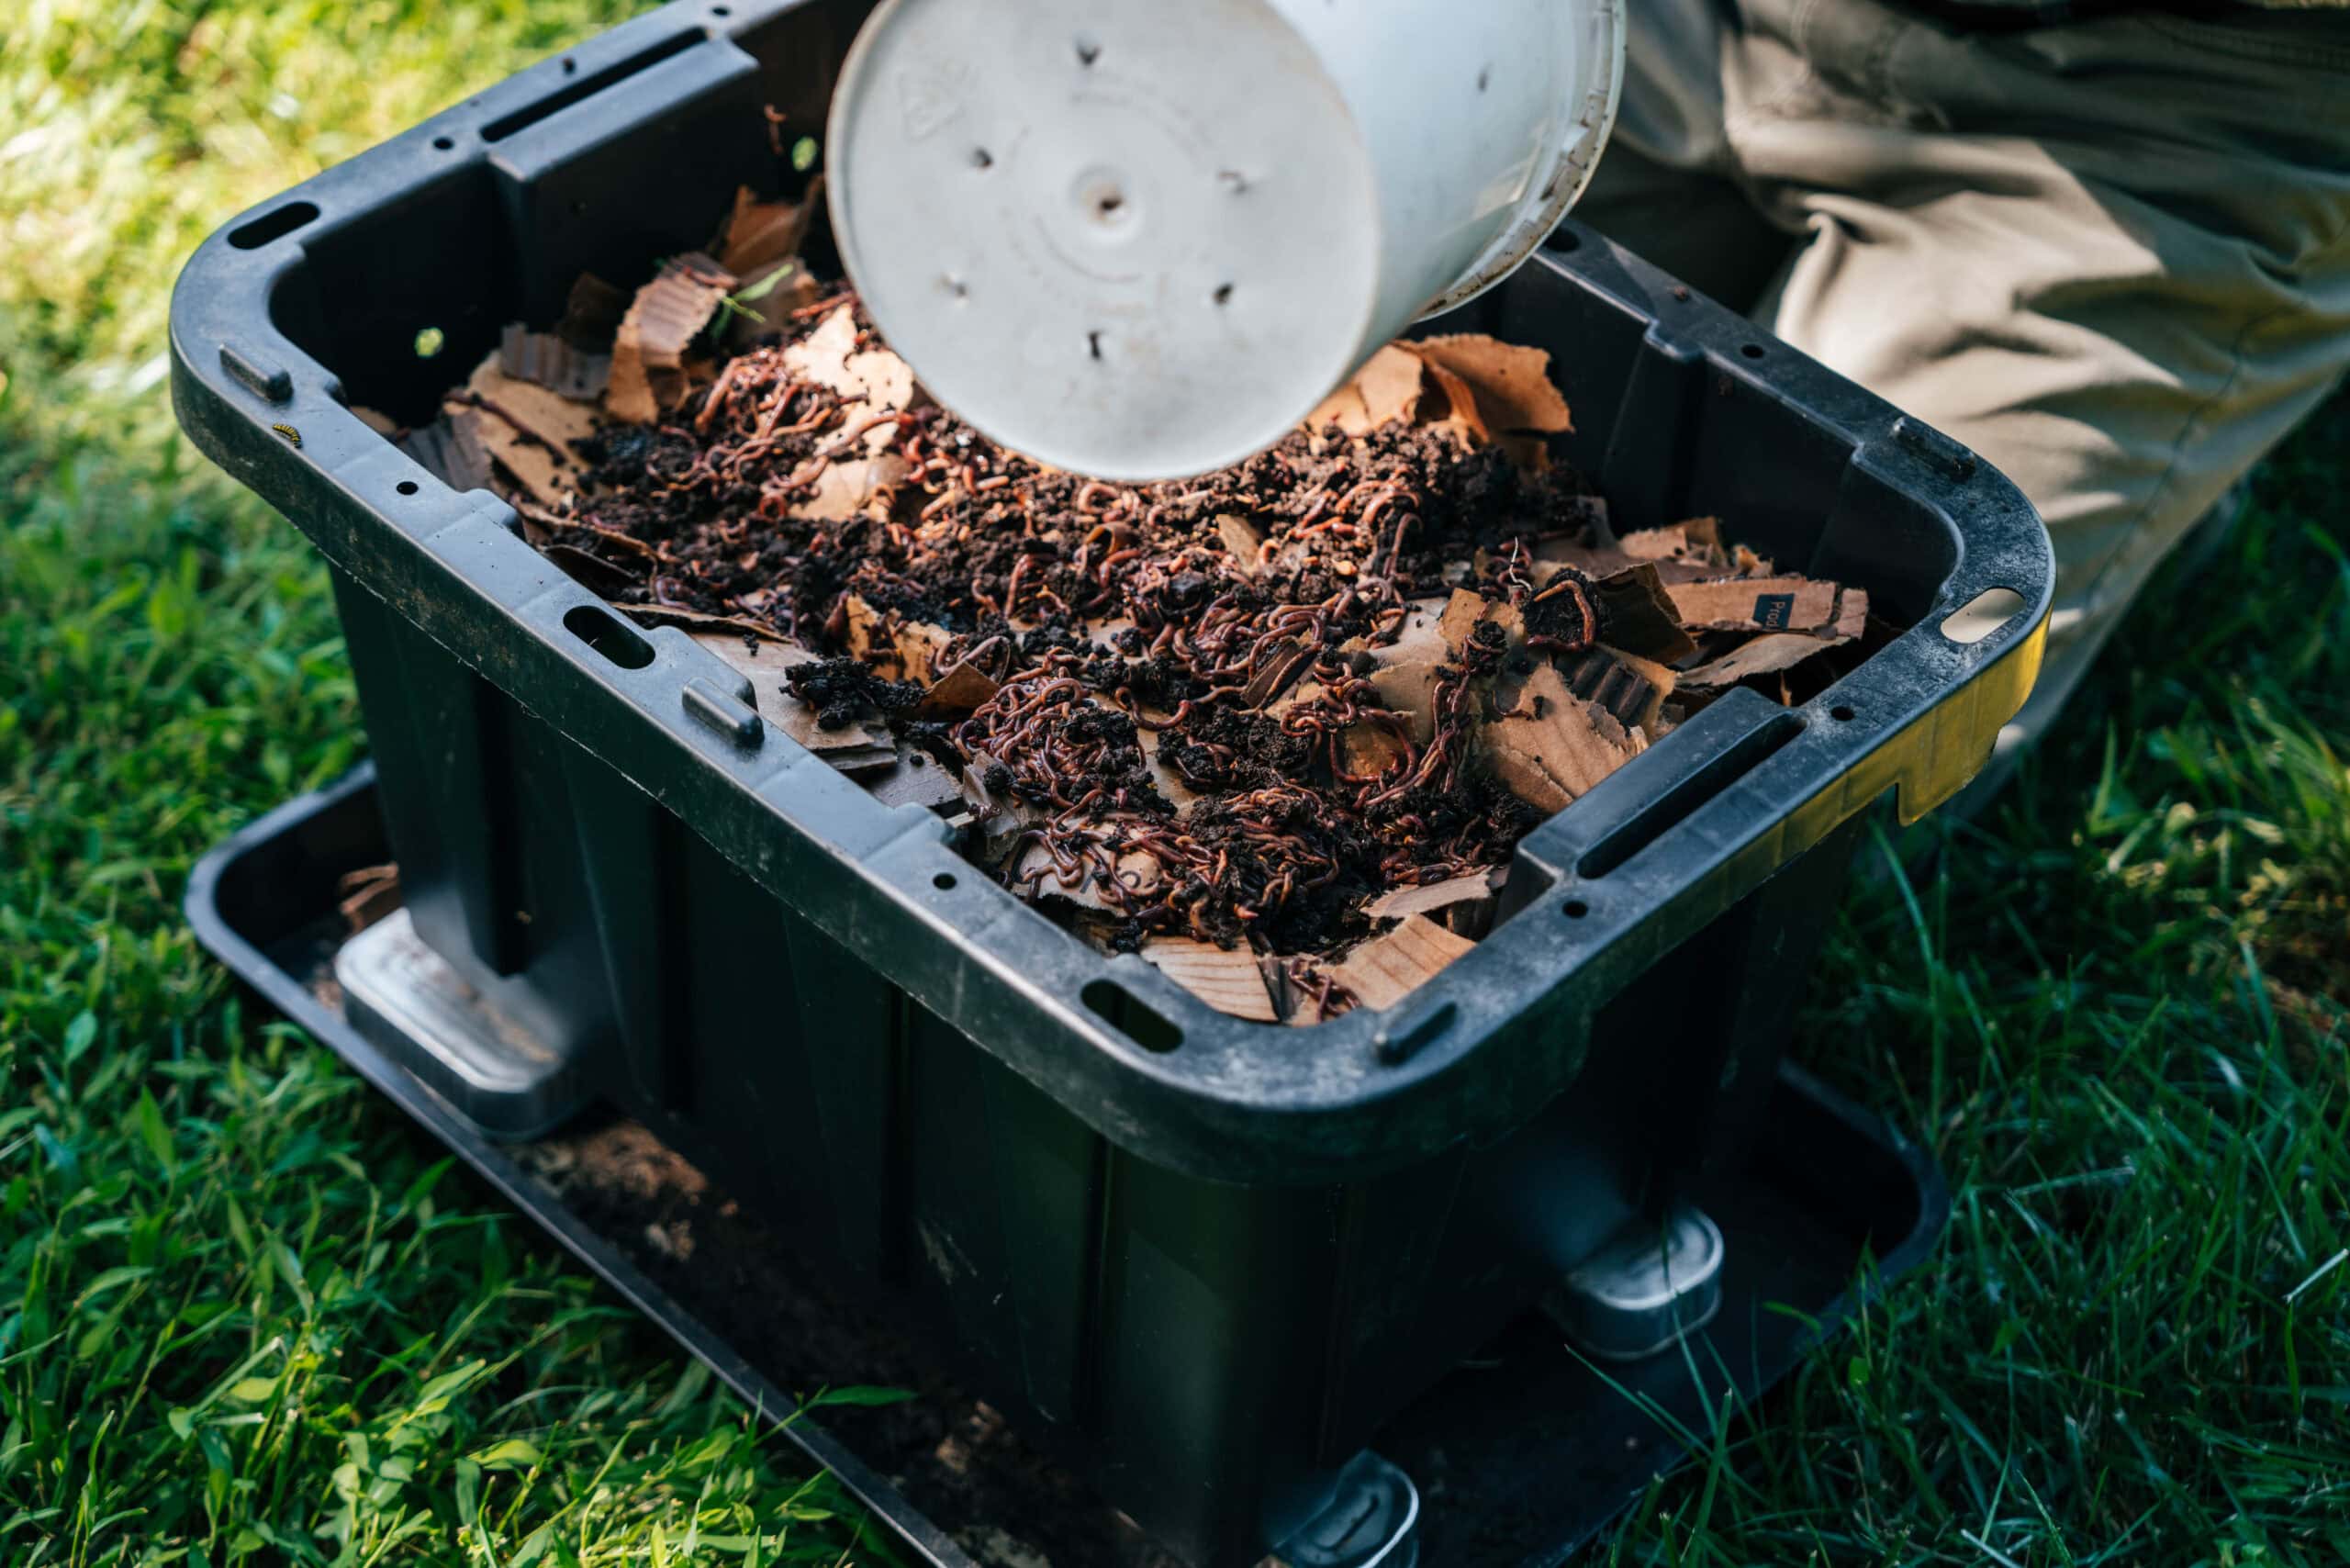
Add four to six inches (10 to 15 cm) of carbon-rich material for your main bedding material – these are your “browns.” The options include shredded printer paper, cardboard, or newspaper, finely screened woodchips, coco coir, leaf mulch, or even horse or rabbit manure if the source is known and safe. This gives the worms a comfortable place to live, helps hold moisture, and keeps air moving through the bin.
Using chlorine-free water, moisten the bedding until it feels like a wrung-out sponge. It should be damp but not dripping. After moistening, gently fluff it back up so the bedding stays loose and breathable.
A note on water: If you’re on city water and suspect (or know) your tap water to be chlorinated, you can collect rainwater, leave a bucket of tap water out 24 hours for the chlorine to evaporate, or attach a low-cost chlorine filter to your garden hose.
Step 3: Add Soil, Compost, and Grit
Add a small handful of finished compost or garden soil. This introduces helpful microbes into the bin and gives the worms grit.
Why grit? Like chickens, worms lack teeth. Adding grit to their habitat is a must and will help them break down their food. This grit can take many forms, and can include broken down egg shells, coffee grounds, sand, or extremely fine gravel. Egg shells and coffee grounds are particularly practical options. As waste products that many people already have on hand, they perform double duty, adding nitrogen while also providing grit for the worms. A win-win!
Mix lightly, keeping in mind that the goal is to maintain bedding that is airy, damp, and easy for the worms to move through.
Step 4: Add the Worms
While there are several composting worm breeds, red wigglers are by far the most popular and readily available from multiple retailers.
The quantity you purchase will depend on the size of your intended worm bin. A good rule of thumb is to add up to 1,000 worms per square foot (0.09 square m), though feel free to add fewer because they multiply quickly! Naturally, the more worms, the faster the expected turnaround on your finished vermicompost.
When you’ve acquired your worms, spread them gently across the bedding and let them move into the bin on their own. This gives them time to find the moisture, shade, and depth they prefer.
Once the worms are in, cover the bin with a lid or plywood board heavy enough to stay in place without being airtight. Not only will this retain moisture and prevent predators or vermin from moving in, but it will also provide protection from the sun and elements while still allowing airflow.
Give the worms a few days to settle into their new habitat before beginning the weekly feeding cycle.
Step 5: Start Feeding Small
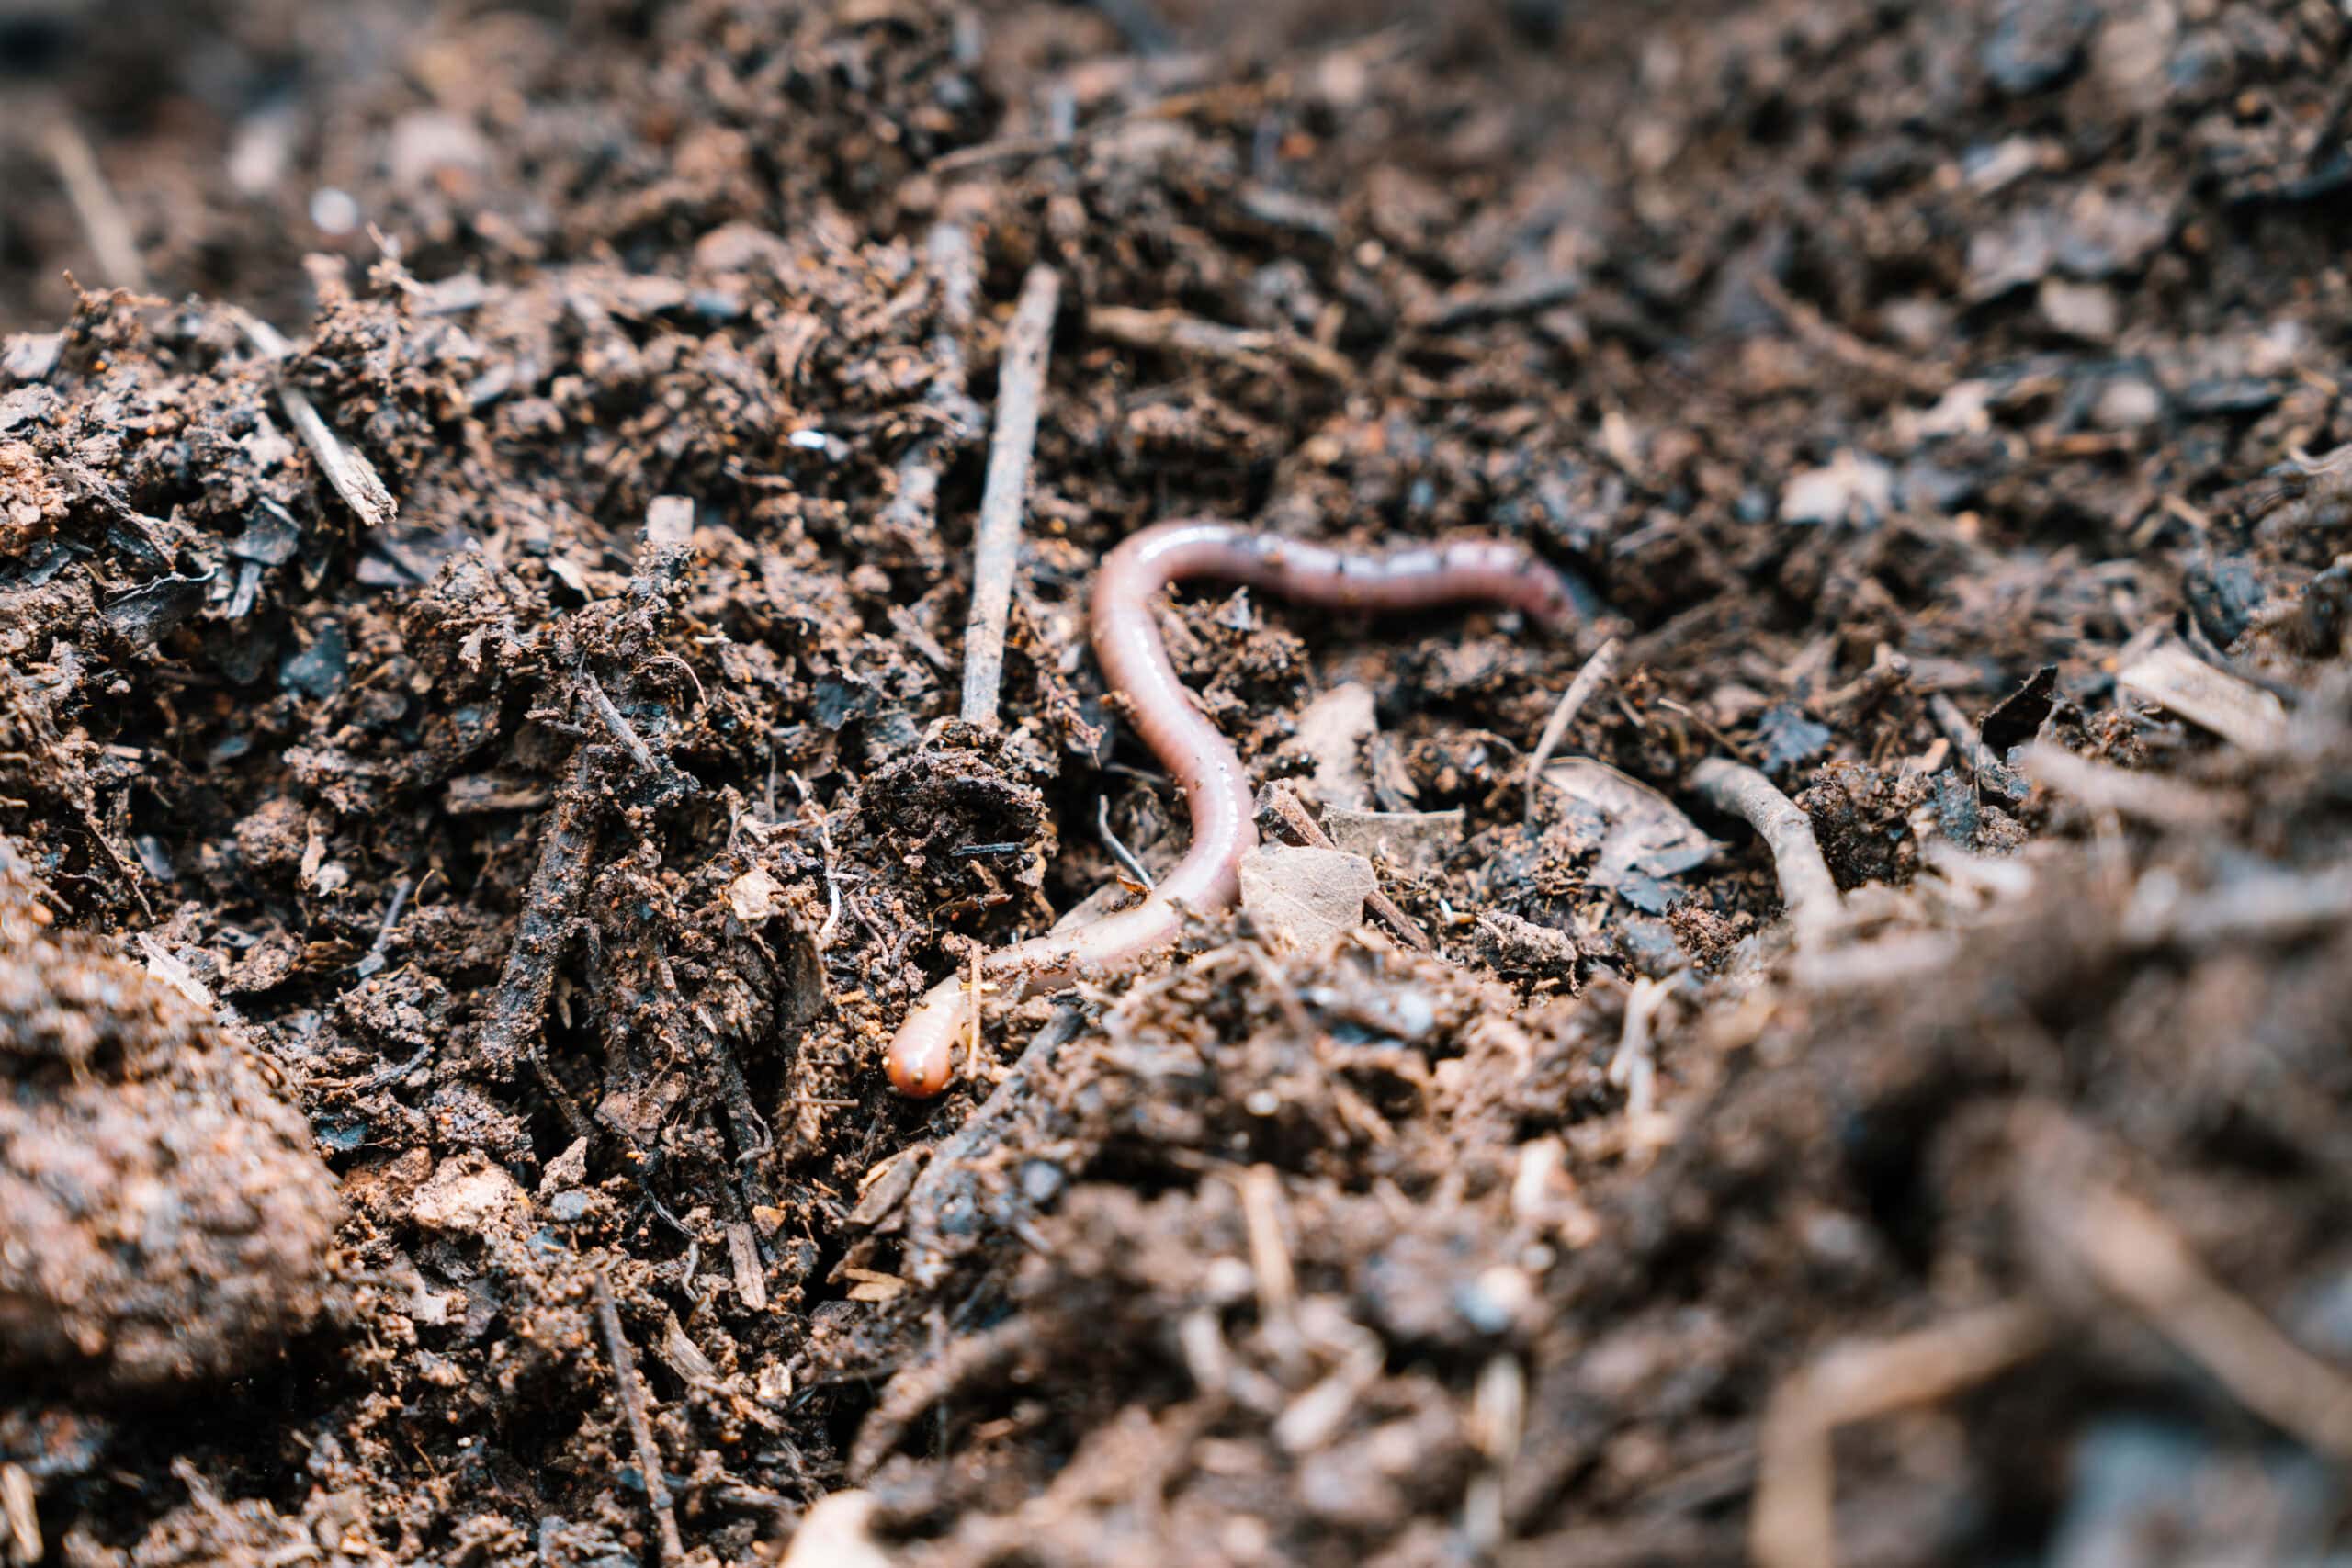
Start with a small pocket of soft food leftovers, such as leafy greens or vegetable trimmings. Bury these in the bedding and cover them completely with fresh bedding. Stockpile some brown materials nearby so it’s easy to add more each time you feed the worms.
Covering the food helps keep the bin tidy and reduces odors. It also holds the food where the worms can work through it gradually. Rotate where you feed so that no one area becomes overloaded.
It is better to underfeed at first than to overfeed. If there are traces of the last feeding still sitting in the bin, wait before adding more. As the worm population grows and the bin becomes more active, you can slowly increase the amount you feed at one time.
What to Feed Your Worms
Good foods for a worm feast include:
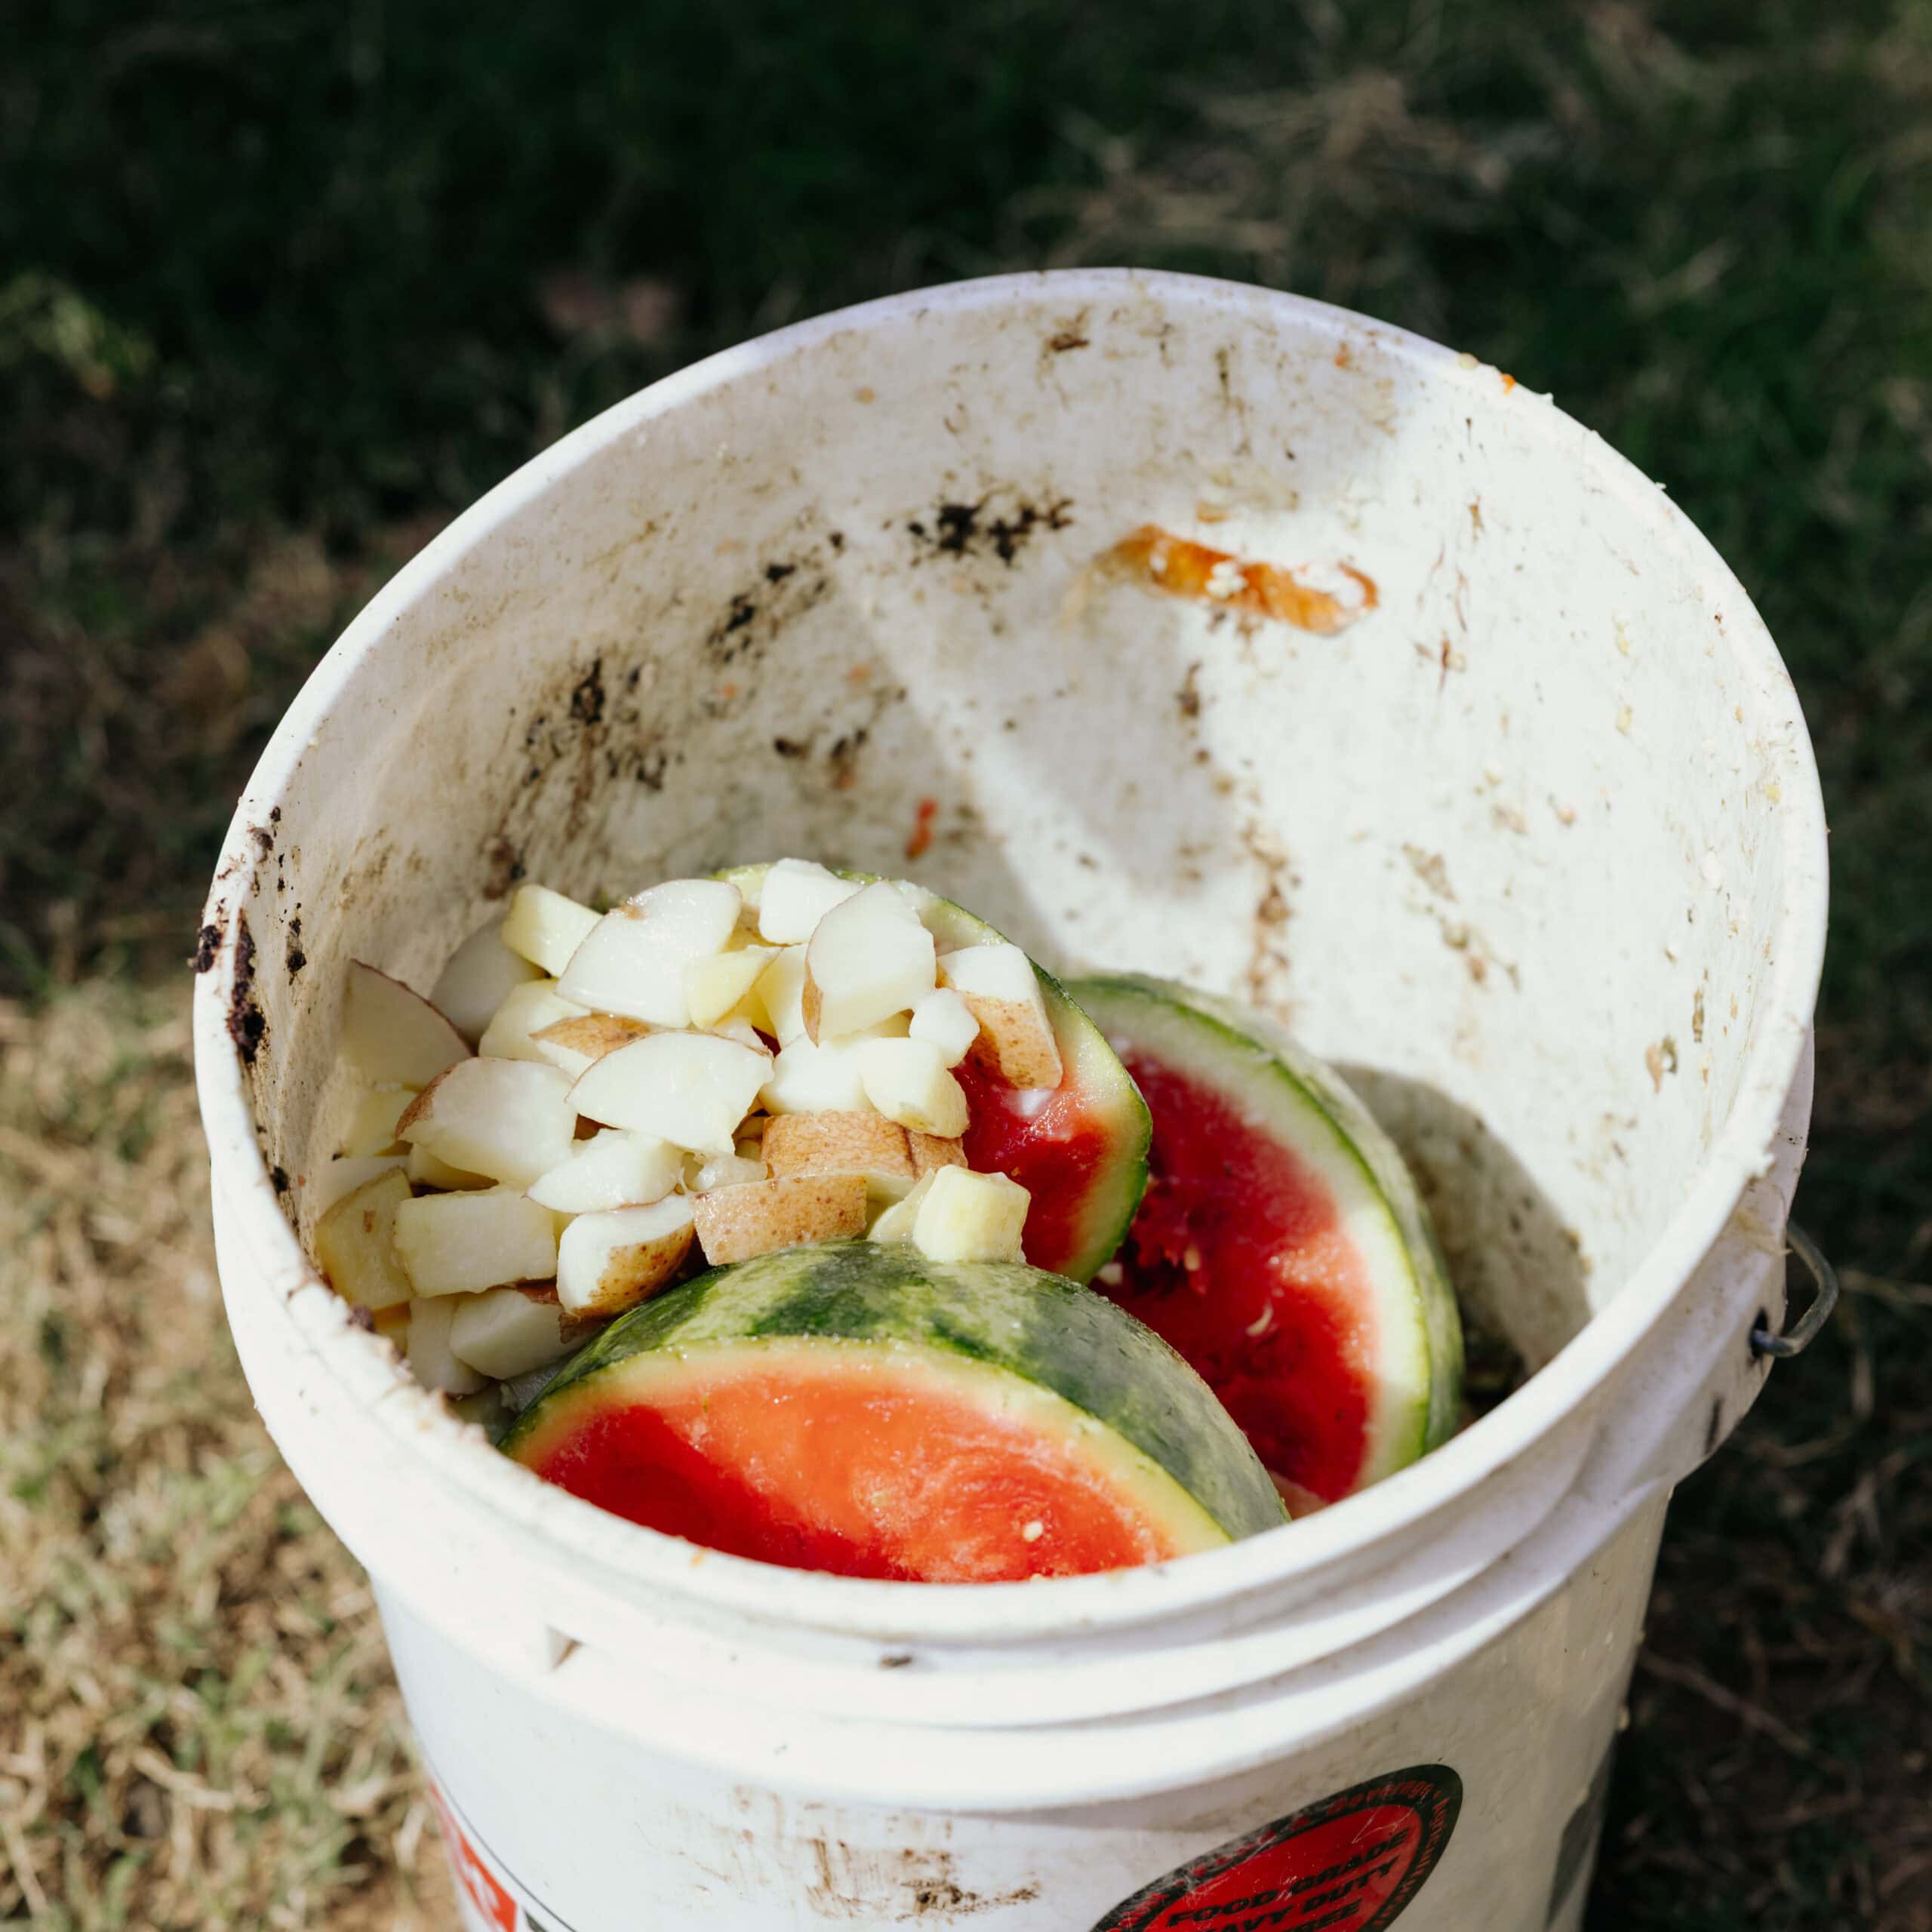
- Fruit and vegetable trimmings and waste, particularly mushy foods like pears, cucumbers, squash, bananas, and avocado (rotting or moldy food is perfectly fine, including the stuff your chickens rejected)
- Coffee grounds with filters
- Tea leaves (without the bag)
- Finely crushed eggshells
- Healthy yard waste like garden cuttings or lawn clippings
Chop up the bits into smaller pieces so they break down more quickly. With a brand new worm bin, start with soft vegetable scraps or leafy greens. Over time, you’ll learn what they enjoy most.
Items to avoid feeding your worms include:
- Meat
- Dairy
- Oily or greasy foods
- Large quantities of very sweet or smelly foodstuffs
- Potentially citrus (some have had success with it, but others have found it harmful to their worm farm)
These foods can push the bin out of balance or produce odors that attract unwanted visitors.
One More Thing
A worm bin is an easy way to bring a daily waste stream back into the fertility cycle and create incredible, high-quality compost at a fraction of the cost of store-bought options.
Start with a container that gives the worms room, drainage, bedding, and shade. Establish a weekly routine to lightly feed and check on your worms, which will help to keep their habitat healthy and stable. Over time, those small scraps can become part of a steady soil-building rhythm for your garden. And as the compost multiplies, so will the worms, giving you the option to scale up your worm farm down the road.
Want to begin building healthier soil at home? Explore our Homestead Scale Composting Class with Noah Sanders to learn more about how to incorporate compost-making into your homestead routine and generate long-term, low-cost garden fertility from everyday organic materials.
Homestead Scale Composting
Join Noah Sanders from Redeeming the Dirt as he shows you how to build incredible, living compost for tastier, healthier, abundant homegrown vegetables!