There's also a practical payoff. Instead of buying tomato seeds next spring, you can pick your favorite tomatoes to save seeds from, and start building a stock of seeds that's adapted to your specific garden. Every year you do this, your seeds will grow better and better tomatoes.
Let’s look at what makes tomatoes a good place to start, and where new seed savers tend to stumble.
Why Tomatoes Work Well for New Seed Savers
Many crops require real effort to prevent them from crossing with other crops. When you save seeds from a plant, you want the seeds to grow into the same plant next year. But some plants don't always cooperate, and sometimes they cross-pollinate, meaning pollen from one variety fertilizes another, and the seeds you collect end up being a genetic mix of both. Grow those seeds out, and you might get something unexpected instead of the plant you thought you were saving! You have to manage spacing, timing, and sometimes hand-pollinate just to get seeds true to variety.
Tomatoes are much less demanding.
They're largely self-pollinating, meaning the flower fertilizes itself before outside pollen has much chance to interfere. If you grow Heirloom or open-pollinated varieties instead of hybrid ones, the seeds you collect will reliably produce plants just like the ones you saved seeds from.
Common Mistakes to Avoid
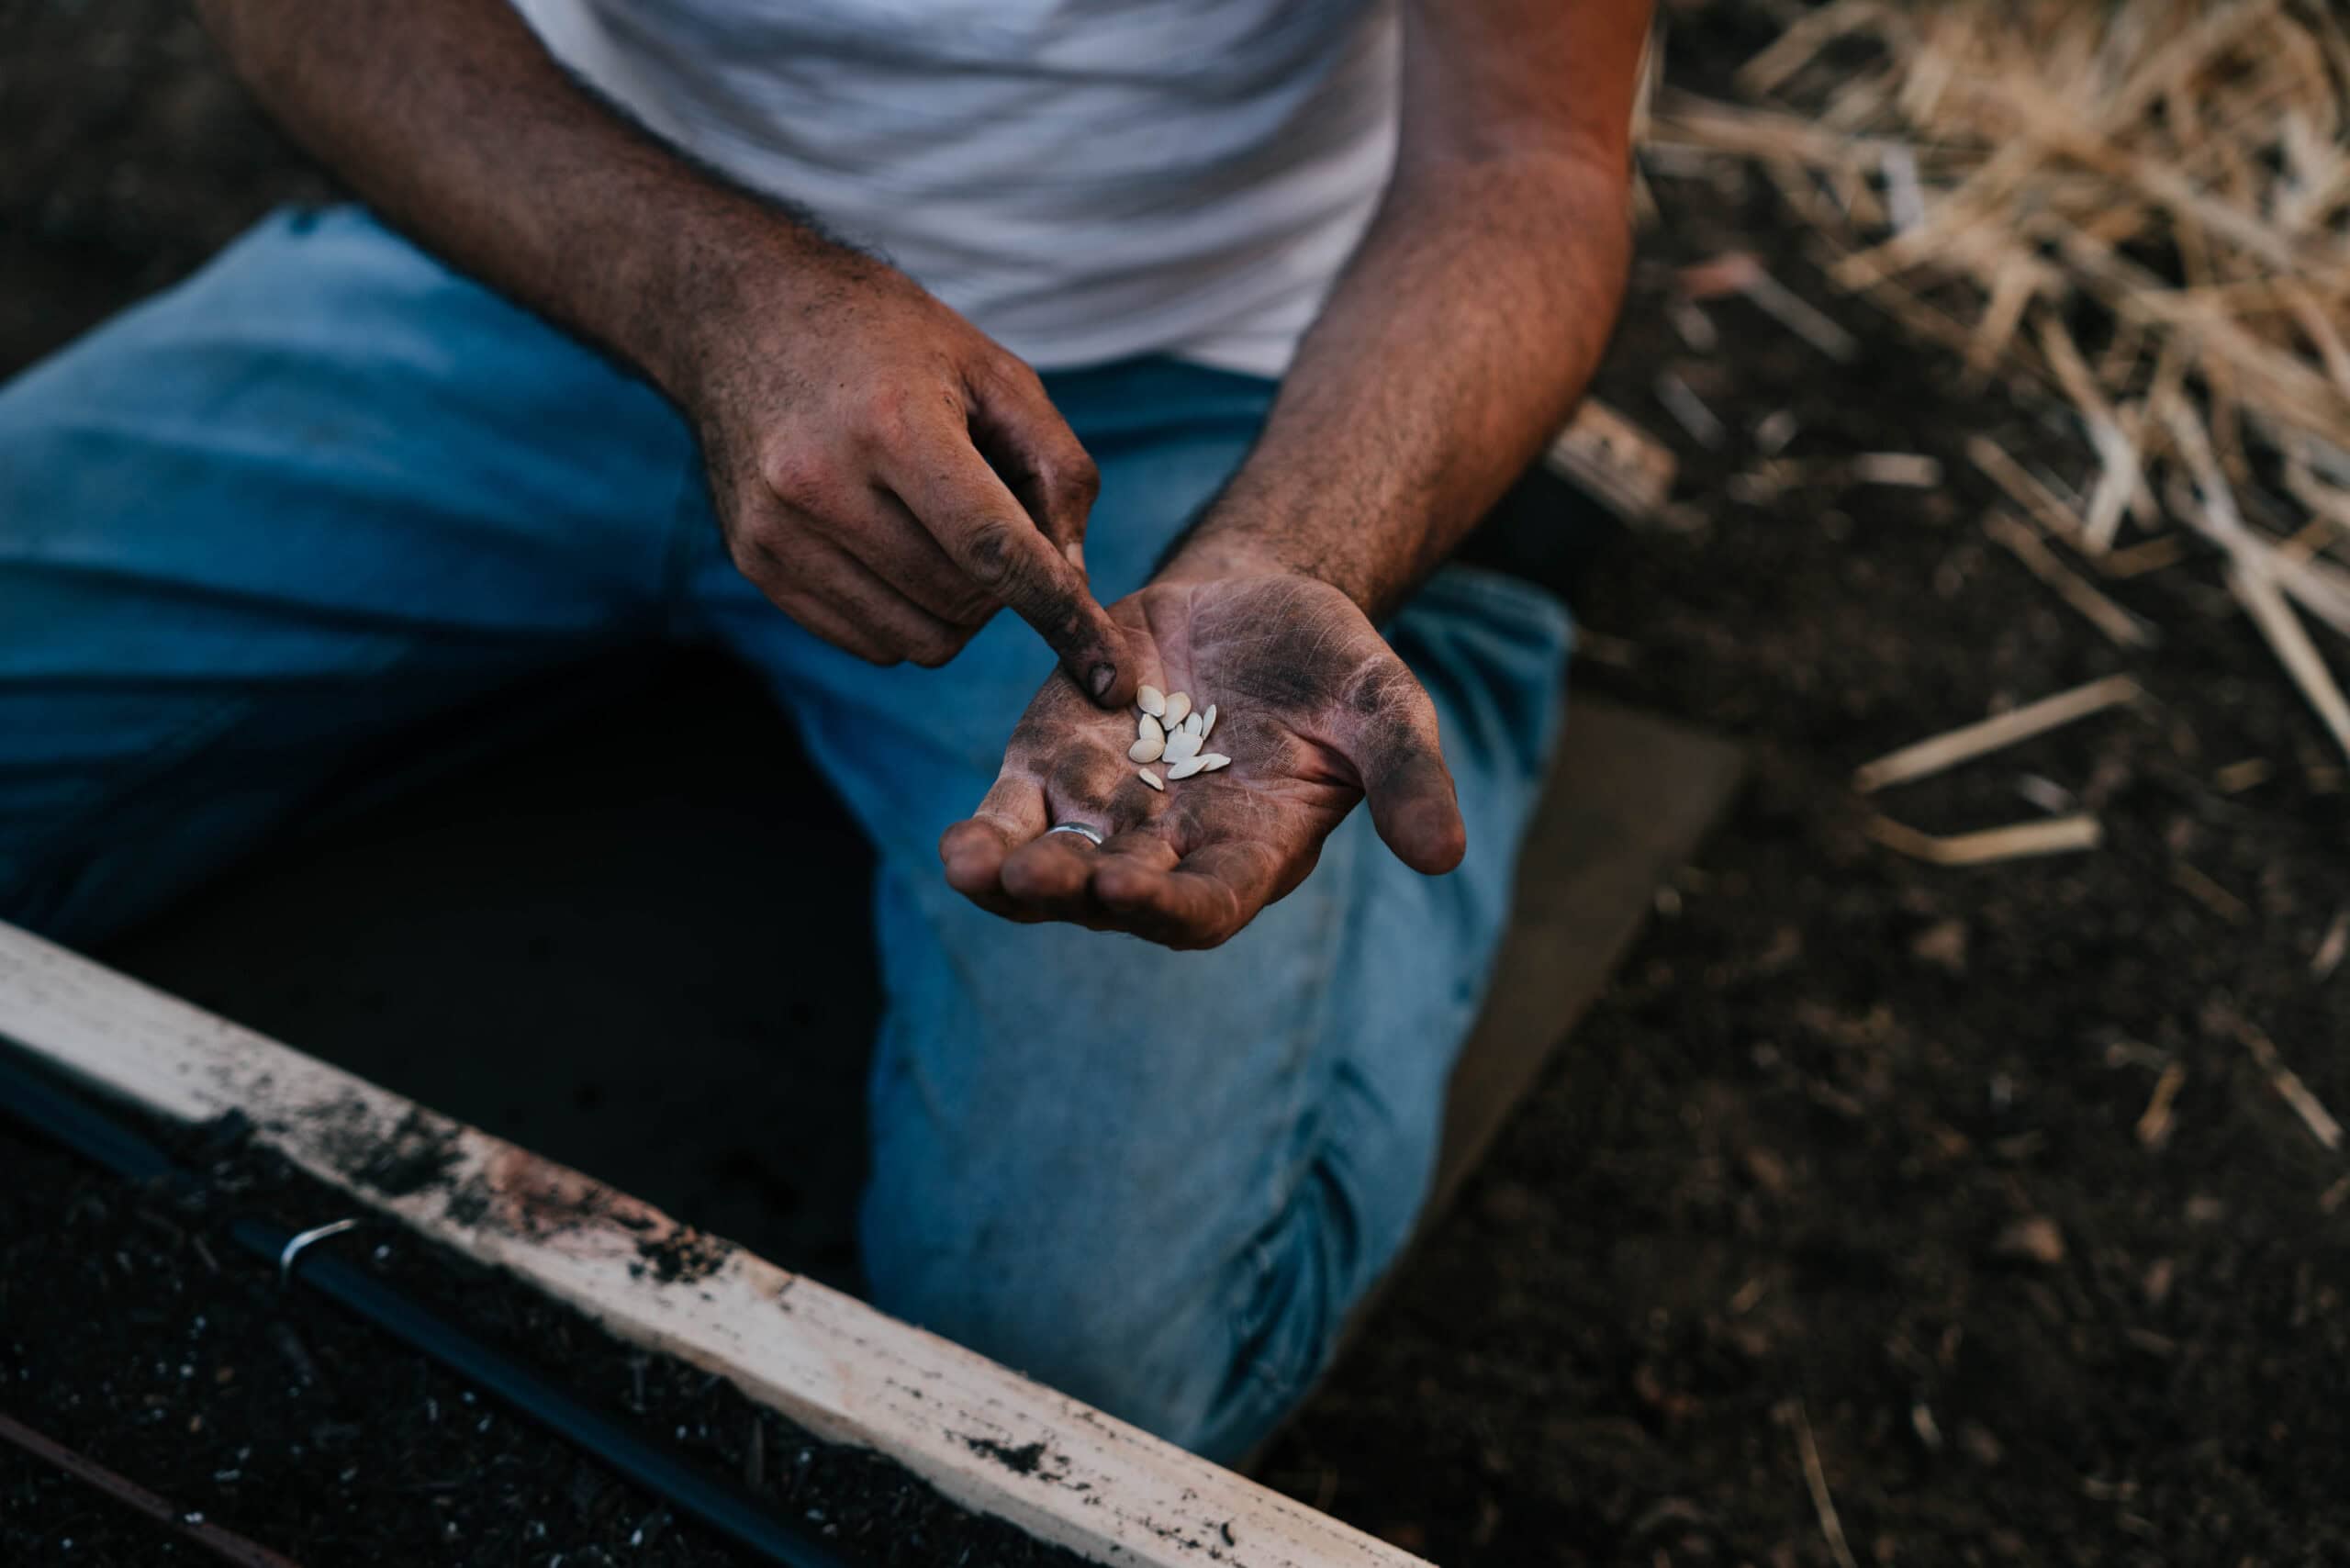
The most common mistake is harvesting tomatoes too early. A tomato that looks perfect to eat isn't ready for seed saving. The seeds need more time inside the fruit to fully mature, and pulling them too soon will give you immature seeds that aren’t likely to grow next spring.
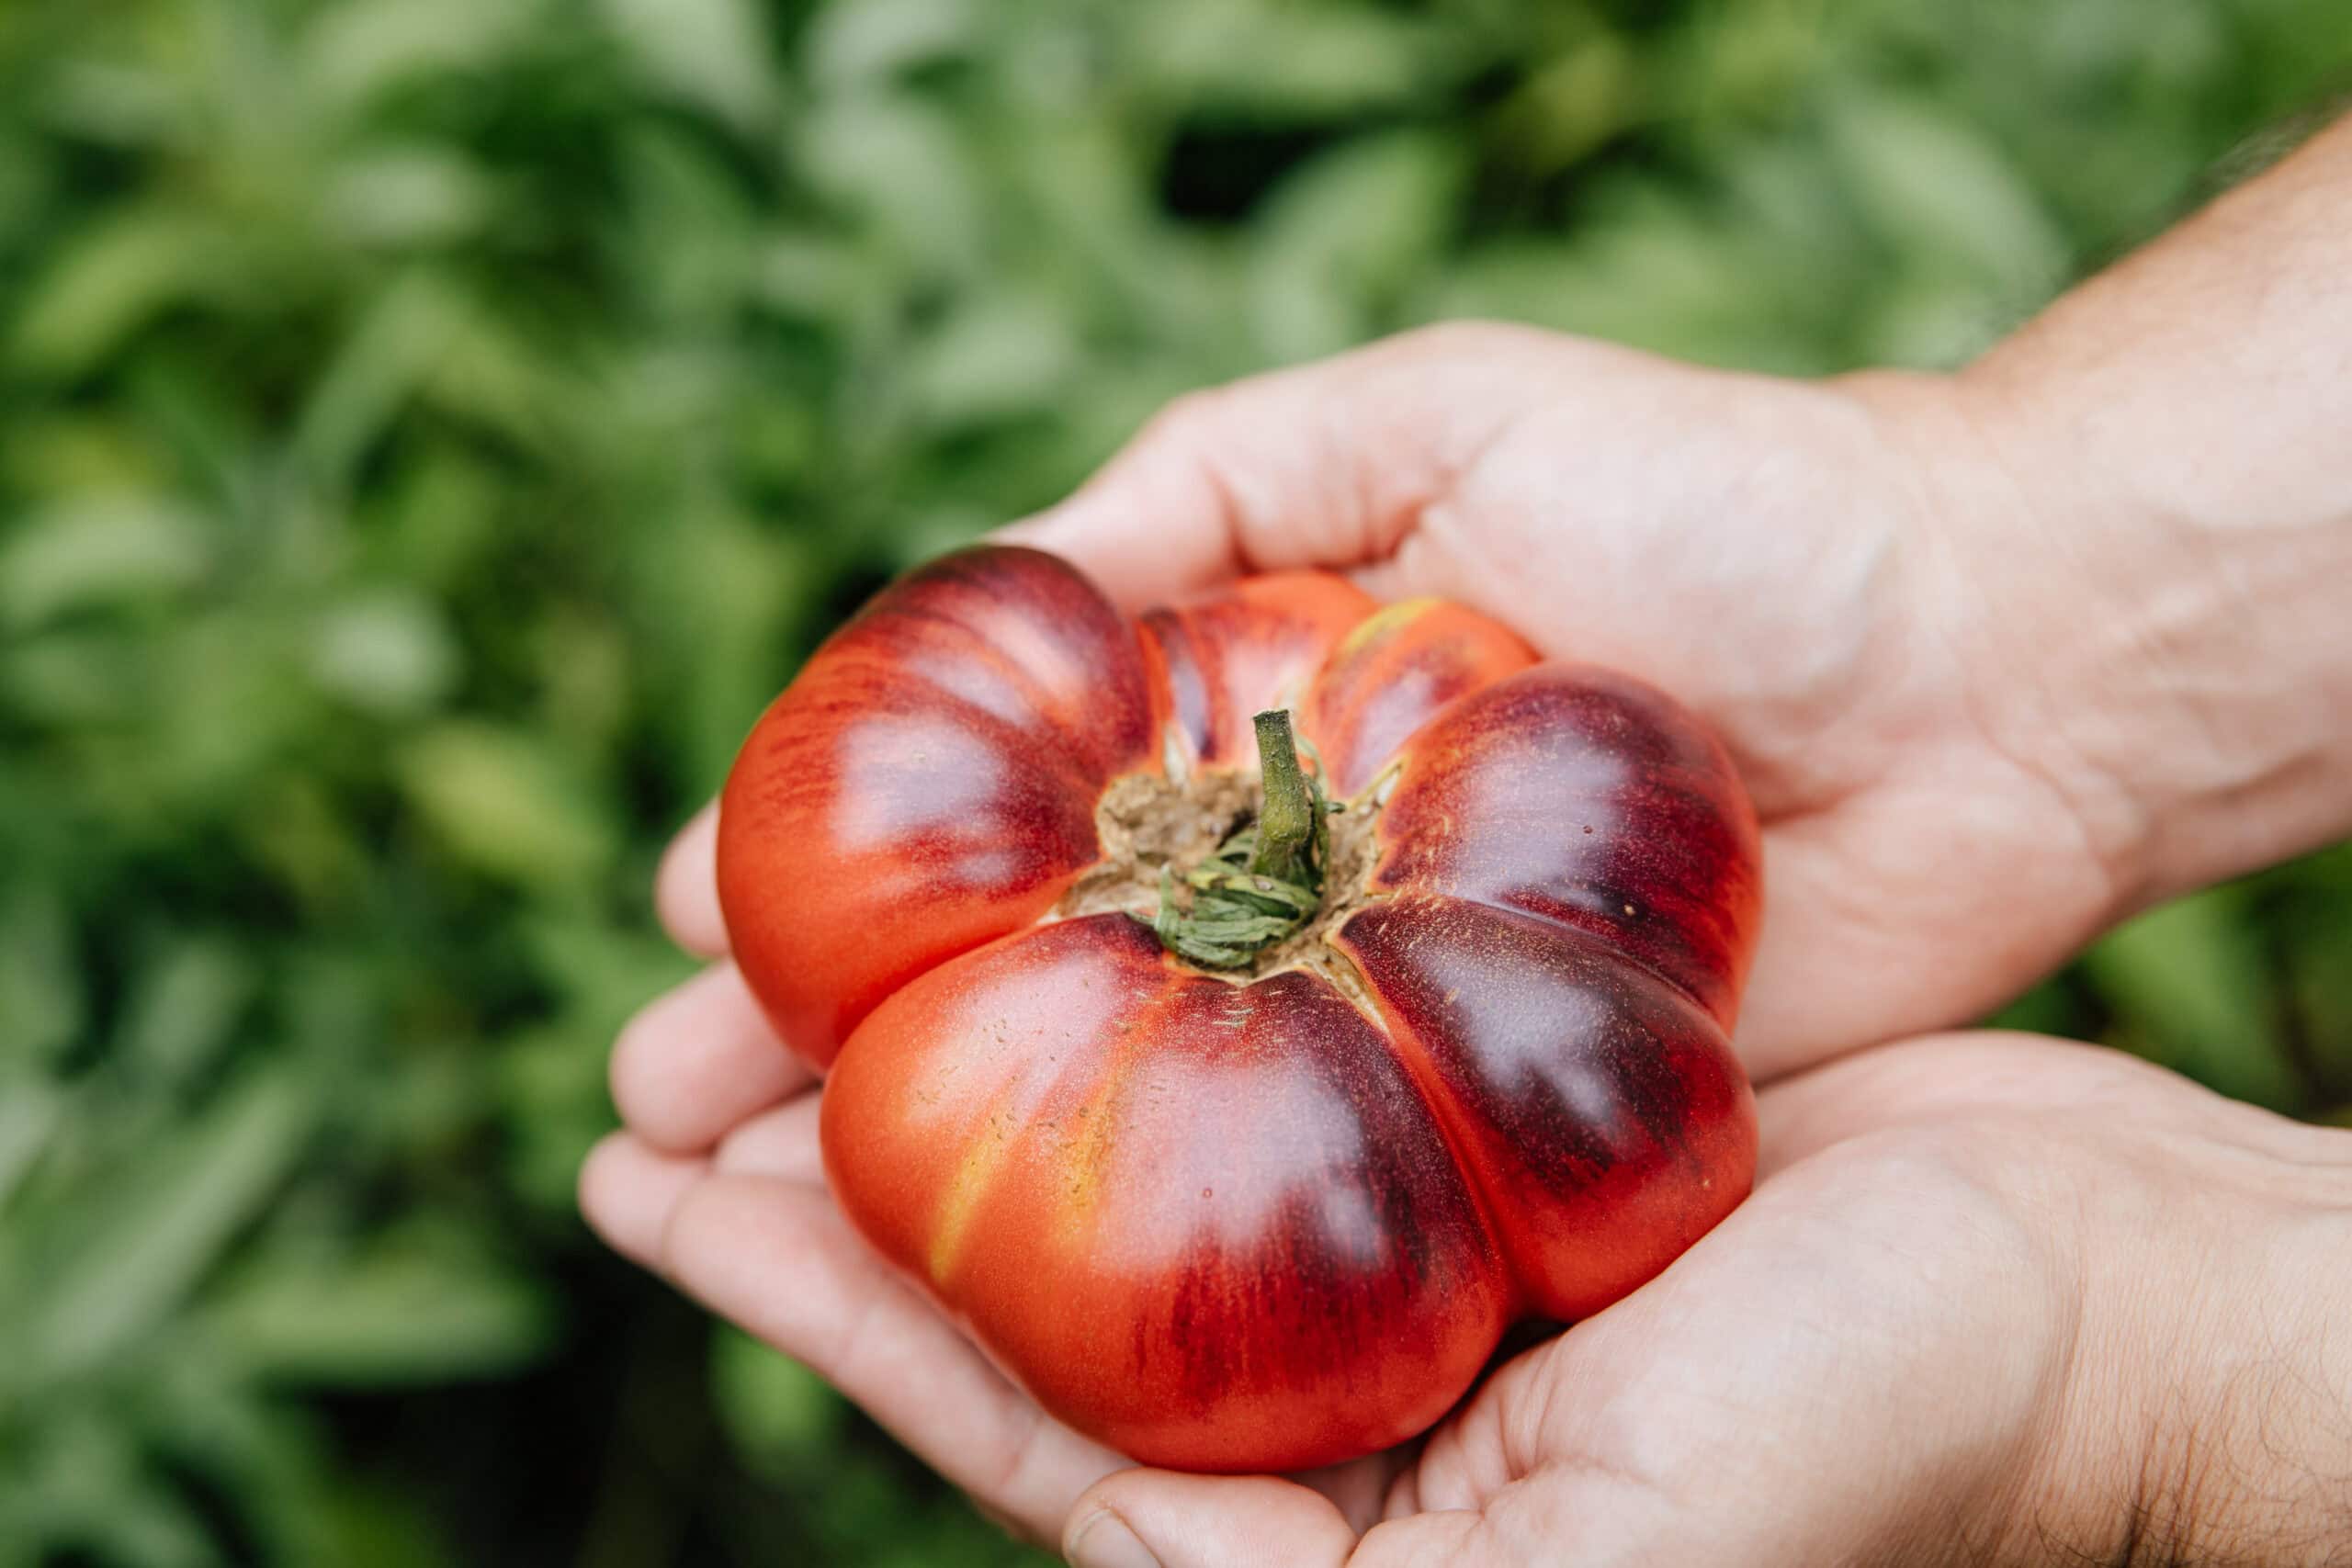
For seed-saving purposes, let the fruit ripen longer than you normally would. You're looking for deep, full color, flesh that's starting to soften, and fruit that's past its kitchen prime. If you've already pulled it from the vine, it’s okay. Tomatoes can finish ripening on a windowsill, and the seeds will continue to develop.
Beyond harvesting too early, the other common problems are skipping fermentation, storing seeds before they're completely dry, and saving seeds from plants without paying attention to how they performed in your garden. All of these are easy to avoid once you know what to look for.
Now, let’s look at how to reliably save tomato seeds.
How to Save Tomato Seeds
Choose your plants first.
Before anything else, look across your garden and decide which plants are worth growing again. Choose plants that were healthy and productive, and that grew tomatoes with traits you want more of, whether that's flavor, texture, disease and pest resistance, yield, or how well they handled your specific conditions.
Saving seeds from several strong plants rather than just one helps maintain both consistency and resilience in your garden year after year.
Let the fruit fully ripen.
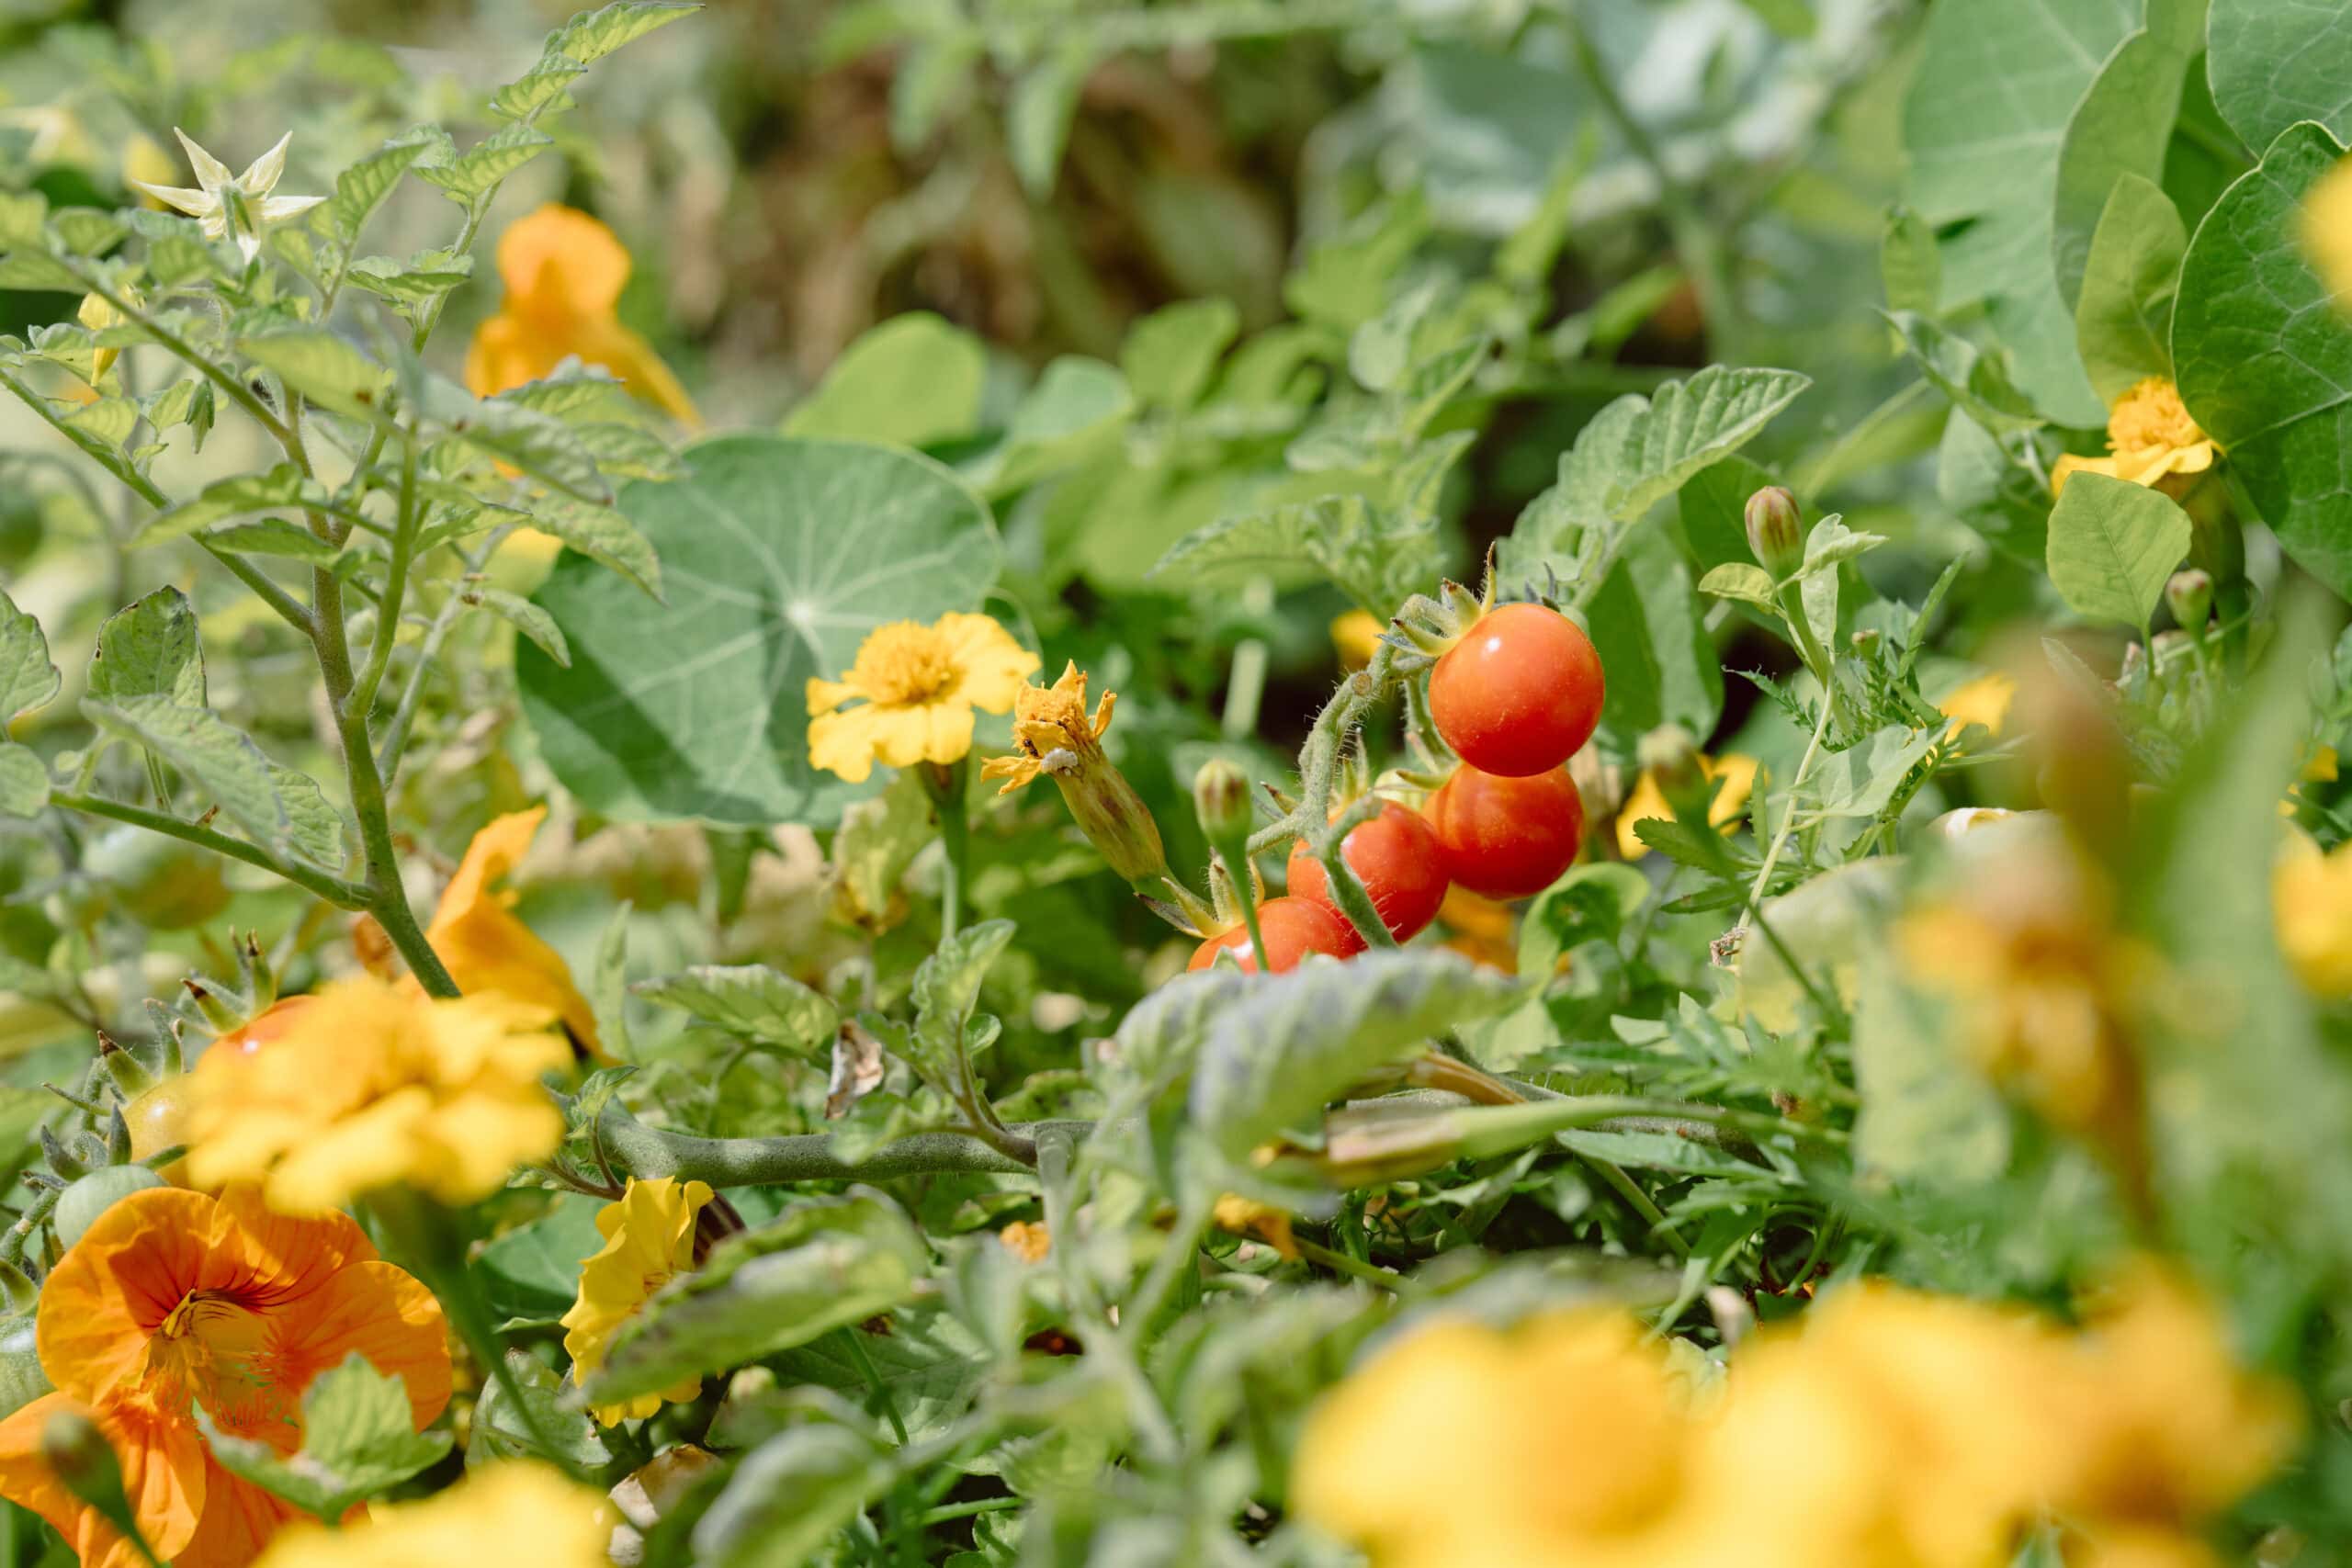
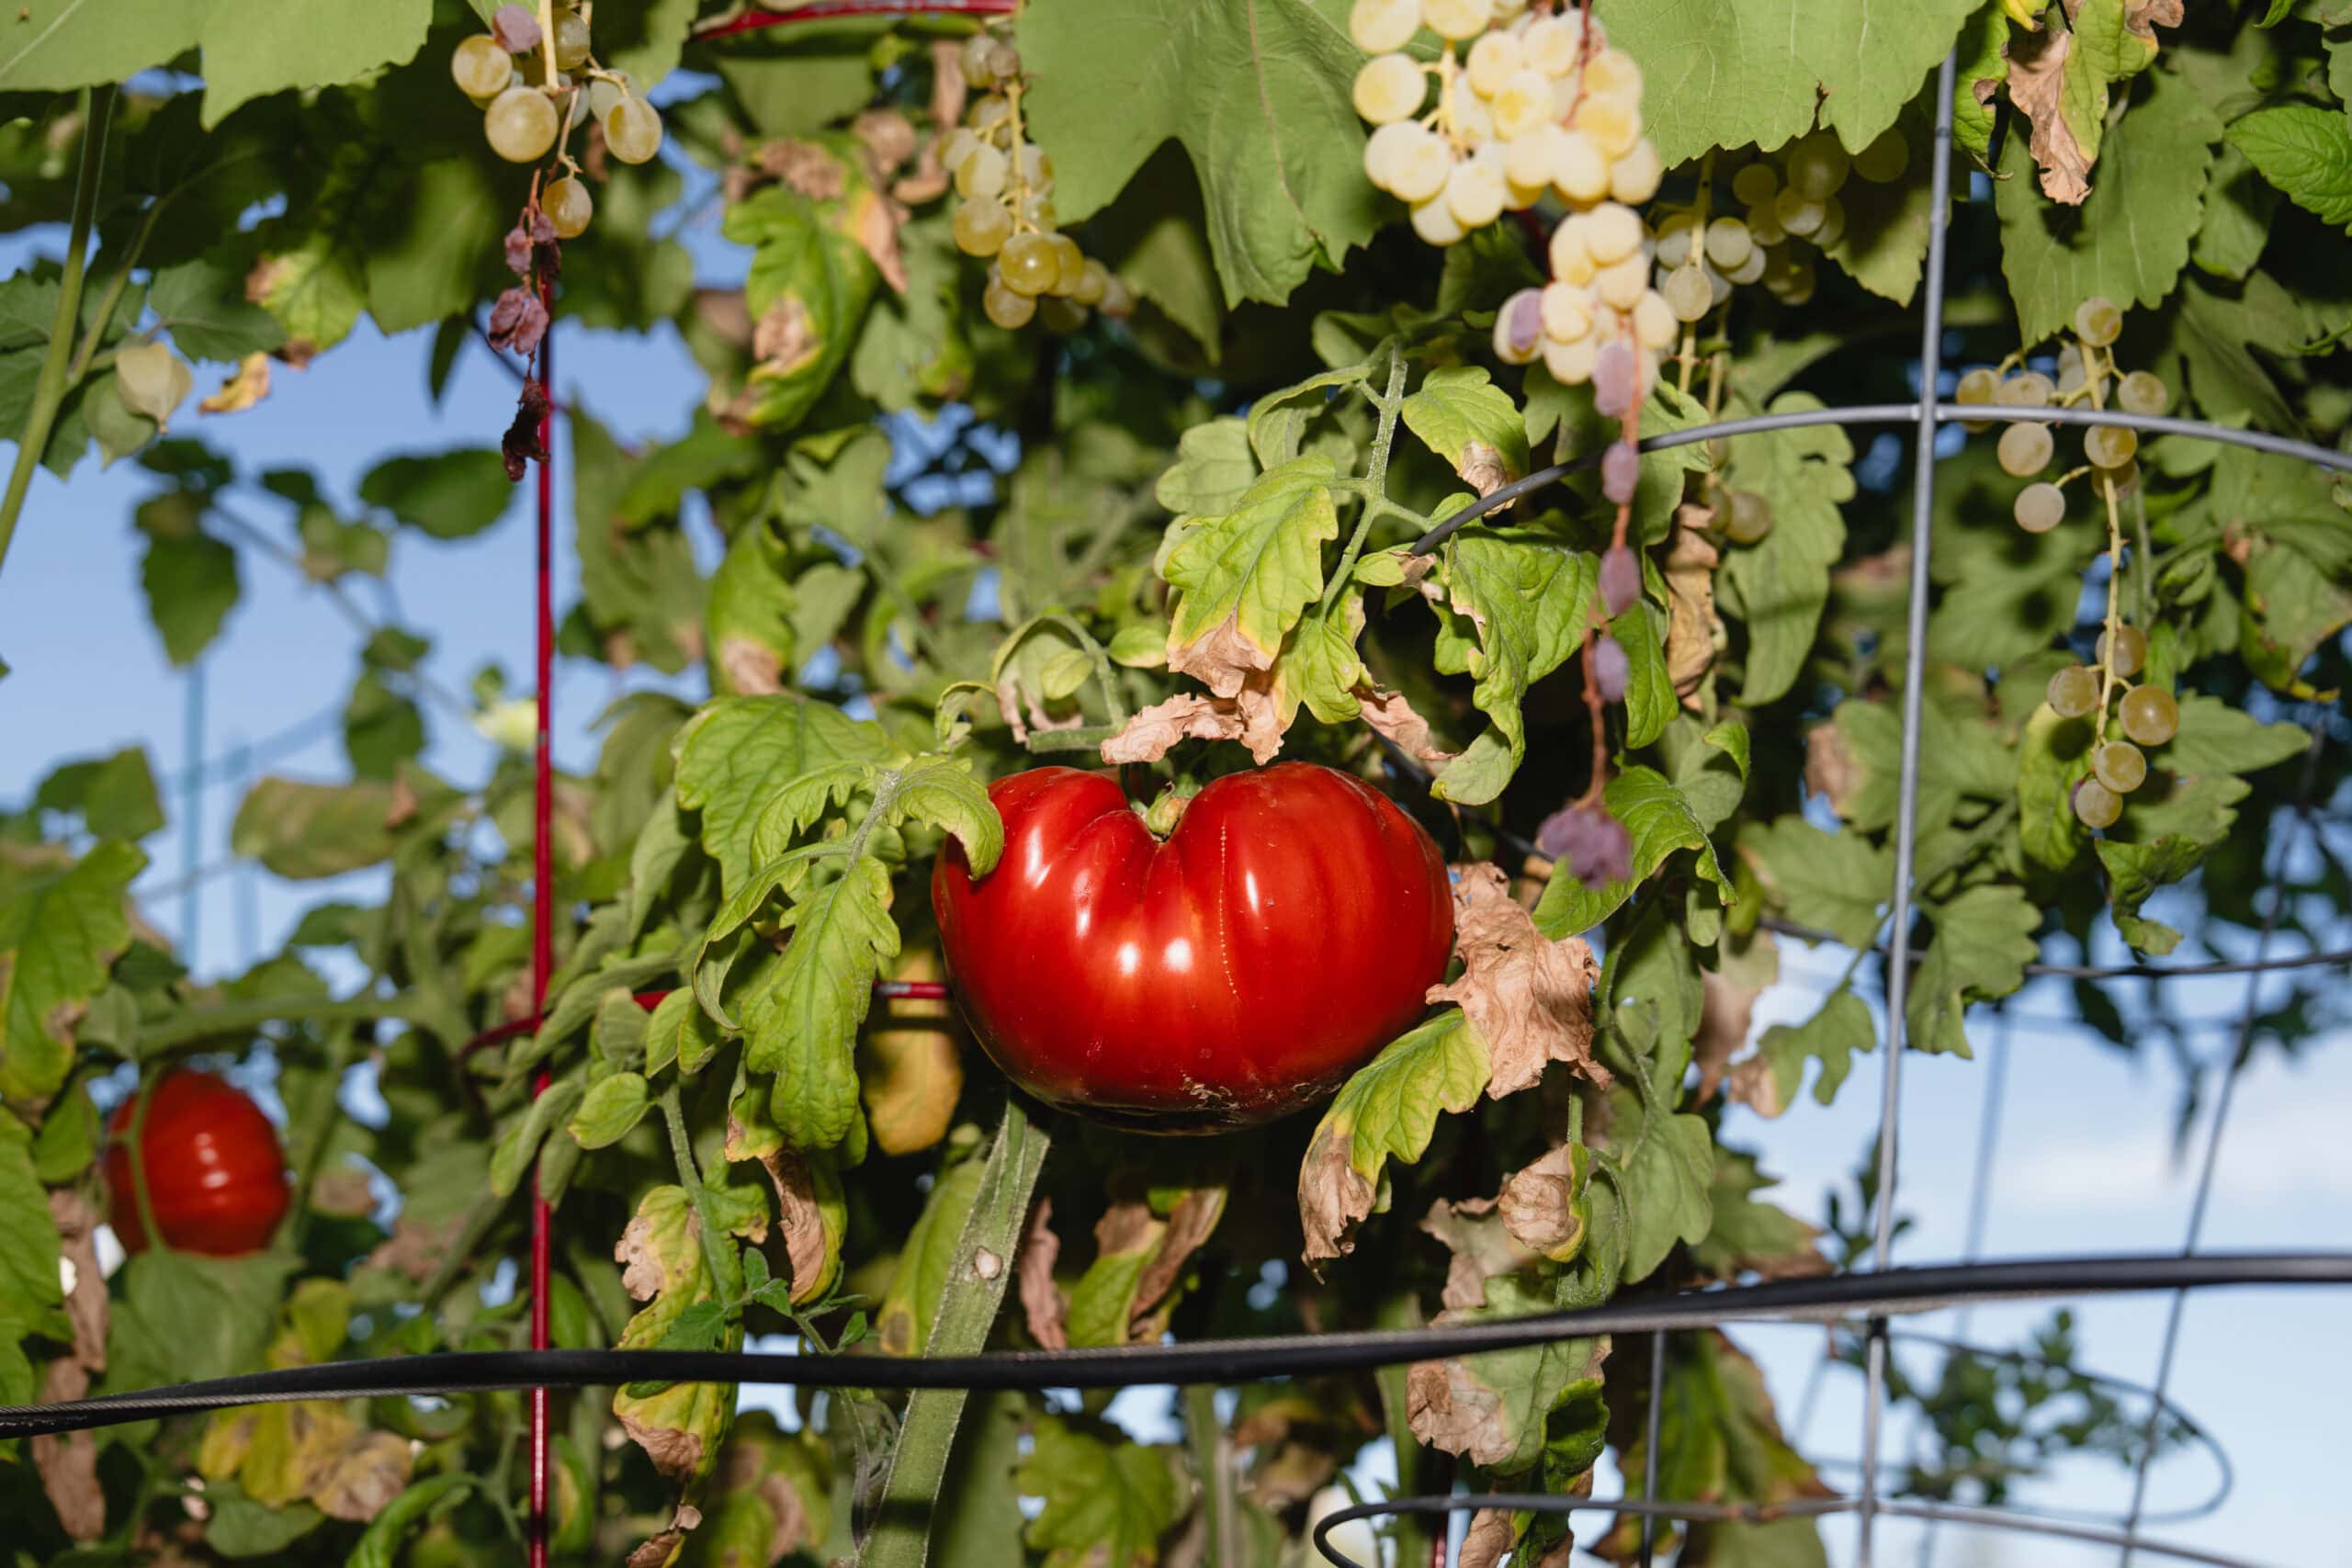
Once you've chosen your plants, let the selected tomatoes stay on the vine past the point where you'd normally harvest for eating. When they're ready – soft flesh, deep color, and past the point you’d want to eat them – cut them open and scoop the seeds and surrounding gel into a jar. You can combine seeds from several tomatoes in one jar, as long as they are the same variety (for example, Brandywine or Cherokee Purple).
Ferment the seeds.
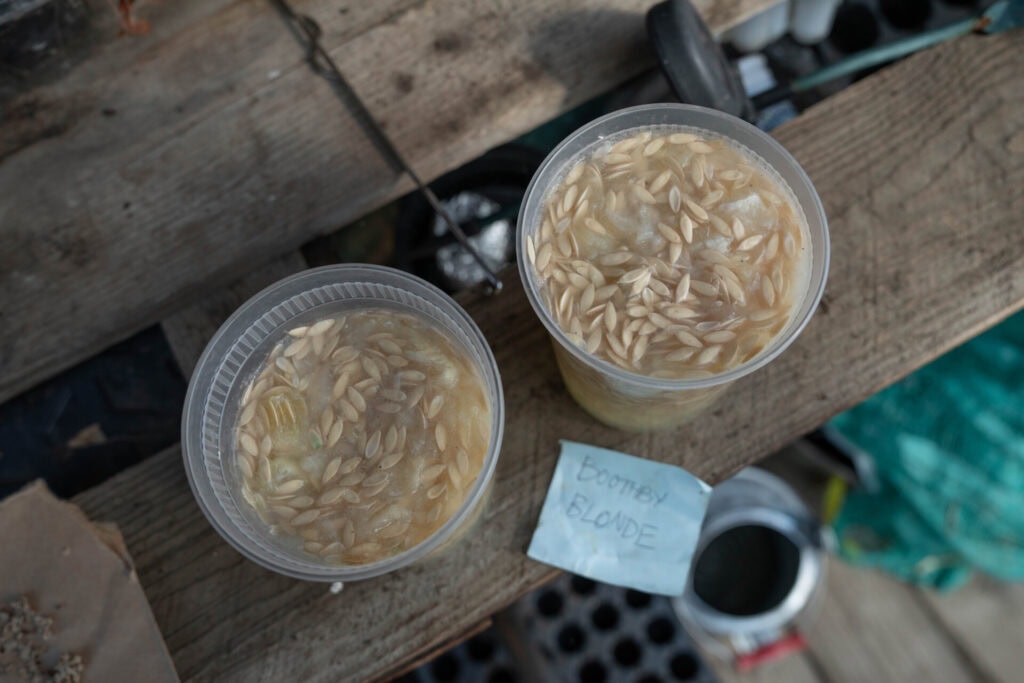
This is the step that surprises most beginners. Add water to the jar – just enough to cover all the seeds – cover it with cheesecloth or a paper towel (use a rubber band to hold it on), and let it sit at room temperature for two to three days.
The mixture will ferment. You'll likely see bubbling, a scummy layer forming on the surface, and a noticeable smell. This is normal. Each tomato seed is coated with a gel that inhibits germination, helping it survive inside a ripe fruit without sprouting prematurely. Fermentation breaks that coating down so the seeds can be properly cleaned, dried, and stored.
Clean and separate.
After about three days, with clear signs of fermentation, pour out the water, fill the jar about halfway with fresh water, and stir. Viable seeds settle to the bottom, while pulp and lighter material float to the top – including immature, nonviable seeds. Pour off the water and the floating matter, then repeat the washing process several times until the water is mostly clear and there’s little or nothing floating.
This step also gives you a rough read on your seeds’ quality. If nothing sank, the seeds were too immature, and you need to let the tomatoes ripen further before saving their seeds.
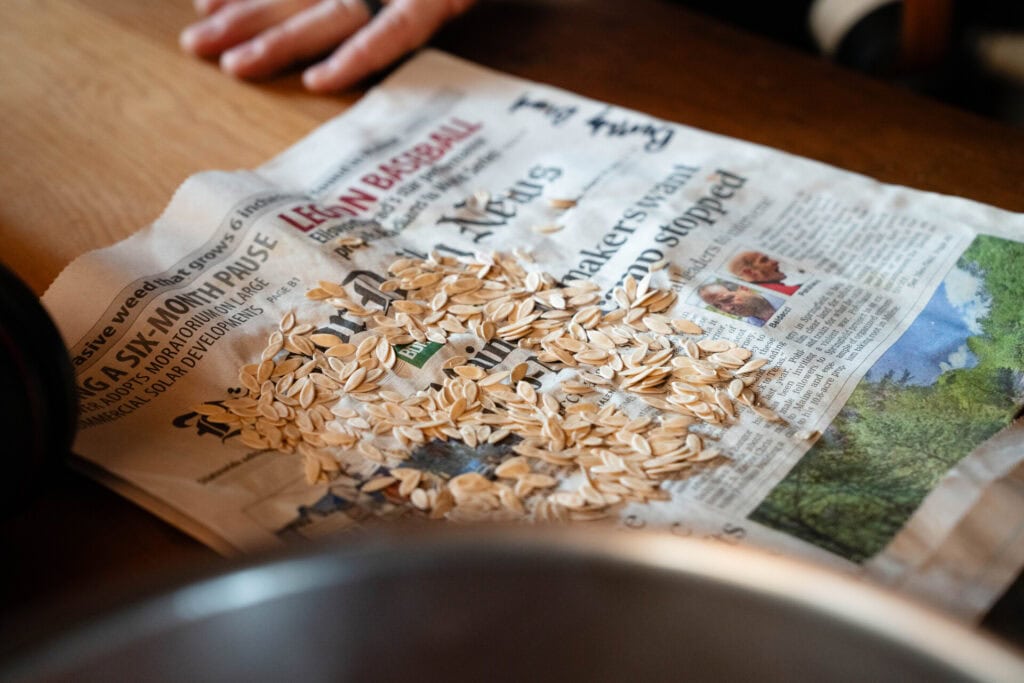
Dry thoroughly.
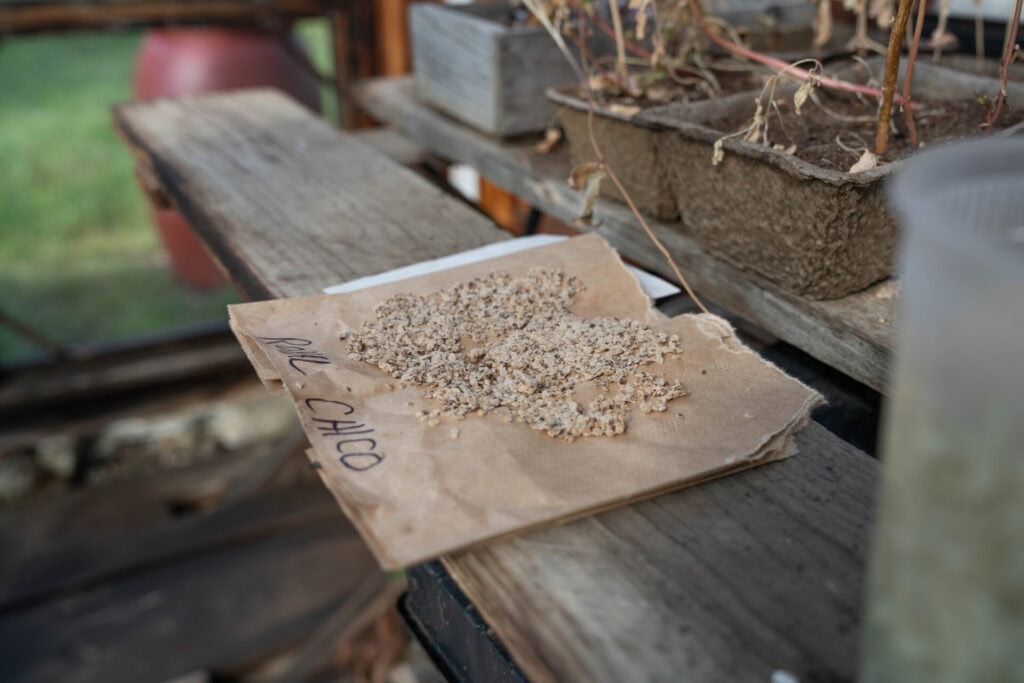
Pour the cleaned seeds into a strainer, shake off the excess water, and spread them in a single layer on a piece of newspaper or paper towel. Label the paper with the variety name and year.
Let them dry completely in a well-ventilated spot for several days. This is one of the most important parts of the process. Seeds that aren't fully dry will mold in storage or fail to germinate.
Store What You Saved
Paper envelopes or small glass jars both work well. Even a simple zip-top bag will do. The main thing is keeping moisture out. A cool, dry location is enough for most home gardeners. Dryness matters more than temperature.
Tomato seeds stored properly can remain viable for four to six years, though saving and resaving from your own plants every season keeps them well-adapted to your conditions.
One More Thing
Walk through the process with one or two tomato varieties from beginning to end this season. Pay attention to which plants stood out and which you'd grow again.
The steps become familiar quickly. You start to recognize what full maturity actually looks like on a tomato, how long your seeds need to dry in your climate, and which plants in your particular garden are worth carrying forward. From there, the same thinking applies across other crops.
Excited to build your own stock of high-quality seeds? Join Will Bonsall, the founder of the Scatter Seed Project and a seed saver for over 50 years, in our Seed Saving class and learn how to save seed from your entire garden. In his class, Will walks you through wet and dry processing methods, how to handle cross-pollinators like squash and corn, hand pollination techniques, proper storage, and how to select the best plants to carry forward year after year, all at your own pace, from home.
Seed Saving
Join Will Bonsall, author, farmer, and 50-year seed saver as he shows you, step-by-step, how to save seeds from your garden plants year after year, so you never have to buy seeds again.