In this final article of our vermicomposting series, we’ll walk through how to develop an easy and consistent weekly routine that helps you manage the bin you’ve carefully established.
The Weekly Check
Before you add anything to the bin, take a minute to assess it. This small habit catches problems early and keeps the bin’s ecosystem running smoothly.
Start with the smell. A healthy bin smells like fresh soil or earth after rain. If it smells like ammonia or rotting garbage (or otherwise sour), the bin has too many nitrogen-rich scraps and not enough carbon to balance them out. Add a handful of shredded cardboard, dried leaves, or wood chips and let those materials start to break down over a few days before feeding again. Until you get into a consistent feeding rhythm with your worms, it may even be worth checking on them twice a week.
Check the moisture. Squeeze a handful of bedding. It should feel like a wrung-out sponge — damp but not dripping. If water runs out when you squeeze it, the bin is too wet: fluff the bedding, add dry carbon materials (browns like wood chips and leaves), and check the drainage holes. If the bedding feels dusty or crumbly, it's too dry. Add a light misting of water or mix in some damp bedding to restore moisture gradually.
Look for compaction. Gently loosen any areas that feel dense or packed down. Worms need to move through the bedding freely, and airflow keeps the bin healthy.
Check the drain holes. Make sure they're clear. If leachate is pooling in the bottom rather than draining, the holes may be clogged with bedding, castings, or possibly food (insufficiently crushed egg shells are a common culprit here).
Check the last feeding spot. If recognizable bits of food are still there, wait before adding more. If the scraps have mostly broken down and are hard to distinguish from the surrounding bedding, the bin is ready for a new pocket of buried food.
Look for uninvited guests. Worm bins inevitably attract other hungry critters to the feast. It’s normal to find some rolly pollys, springtails, or millipedes in the bin, and these can all play a helping role (so long as they don't take over). But if you find more than a few slugs, snails, ants, flies, mites, or centipedes, take action – these will compete with the worms for food or directly harm your worm population. (More on that in the troubleshooting section below.)
Feeding Consistently
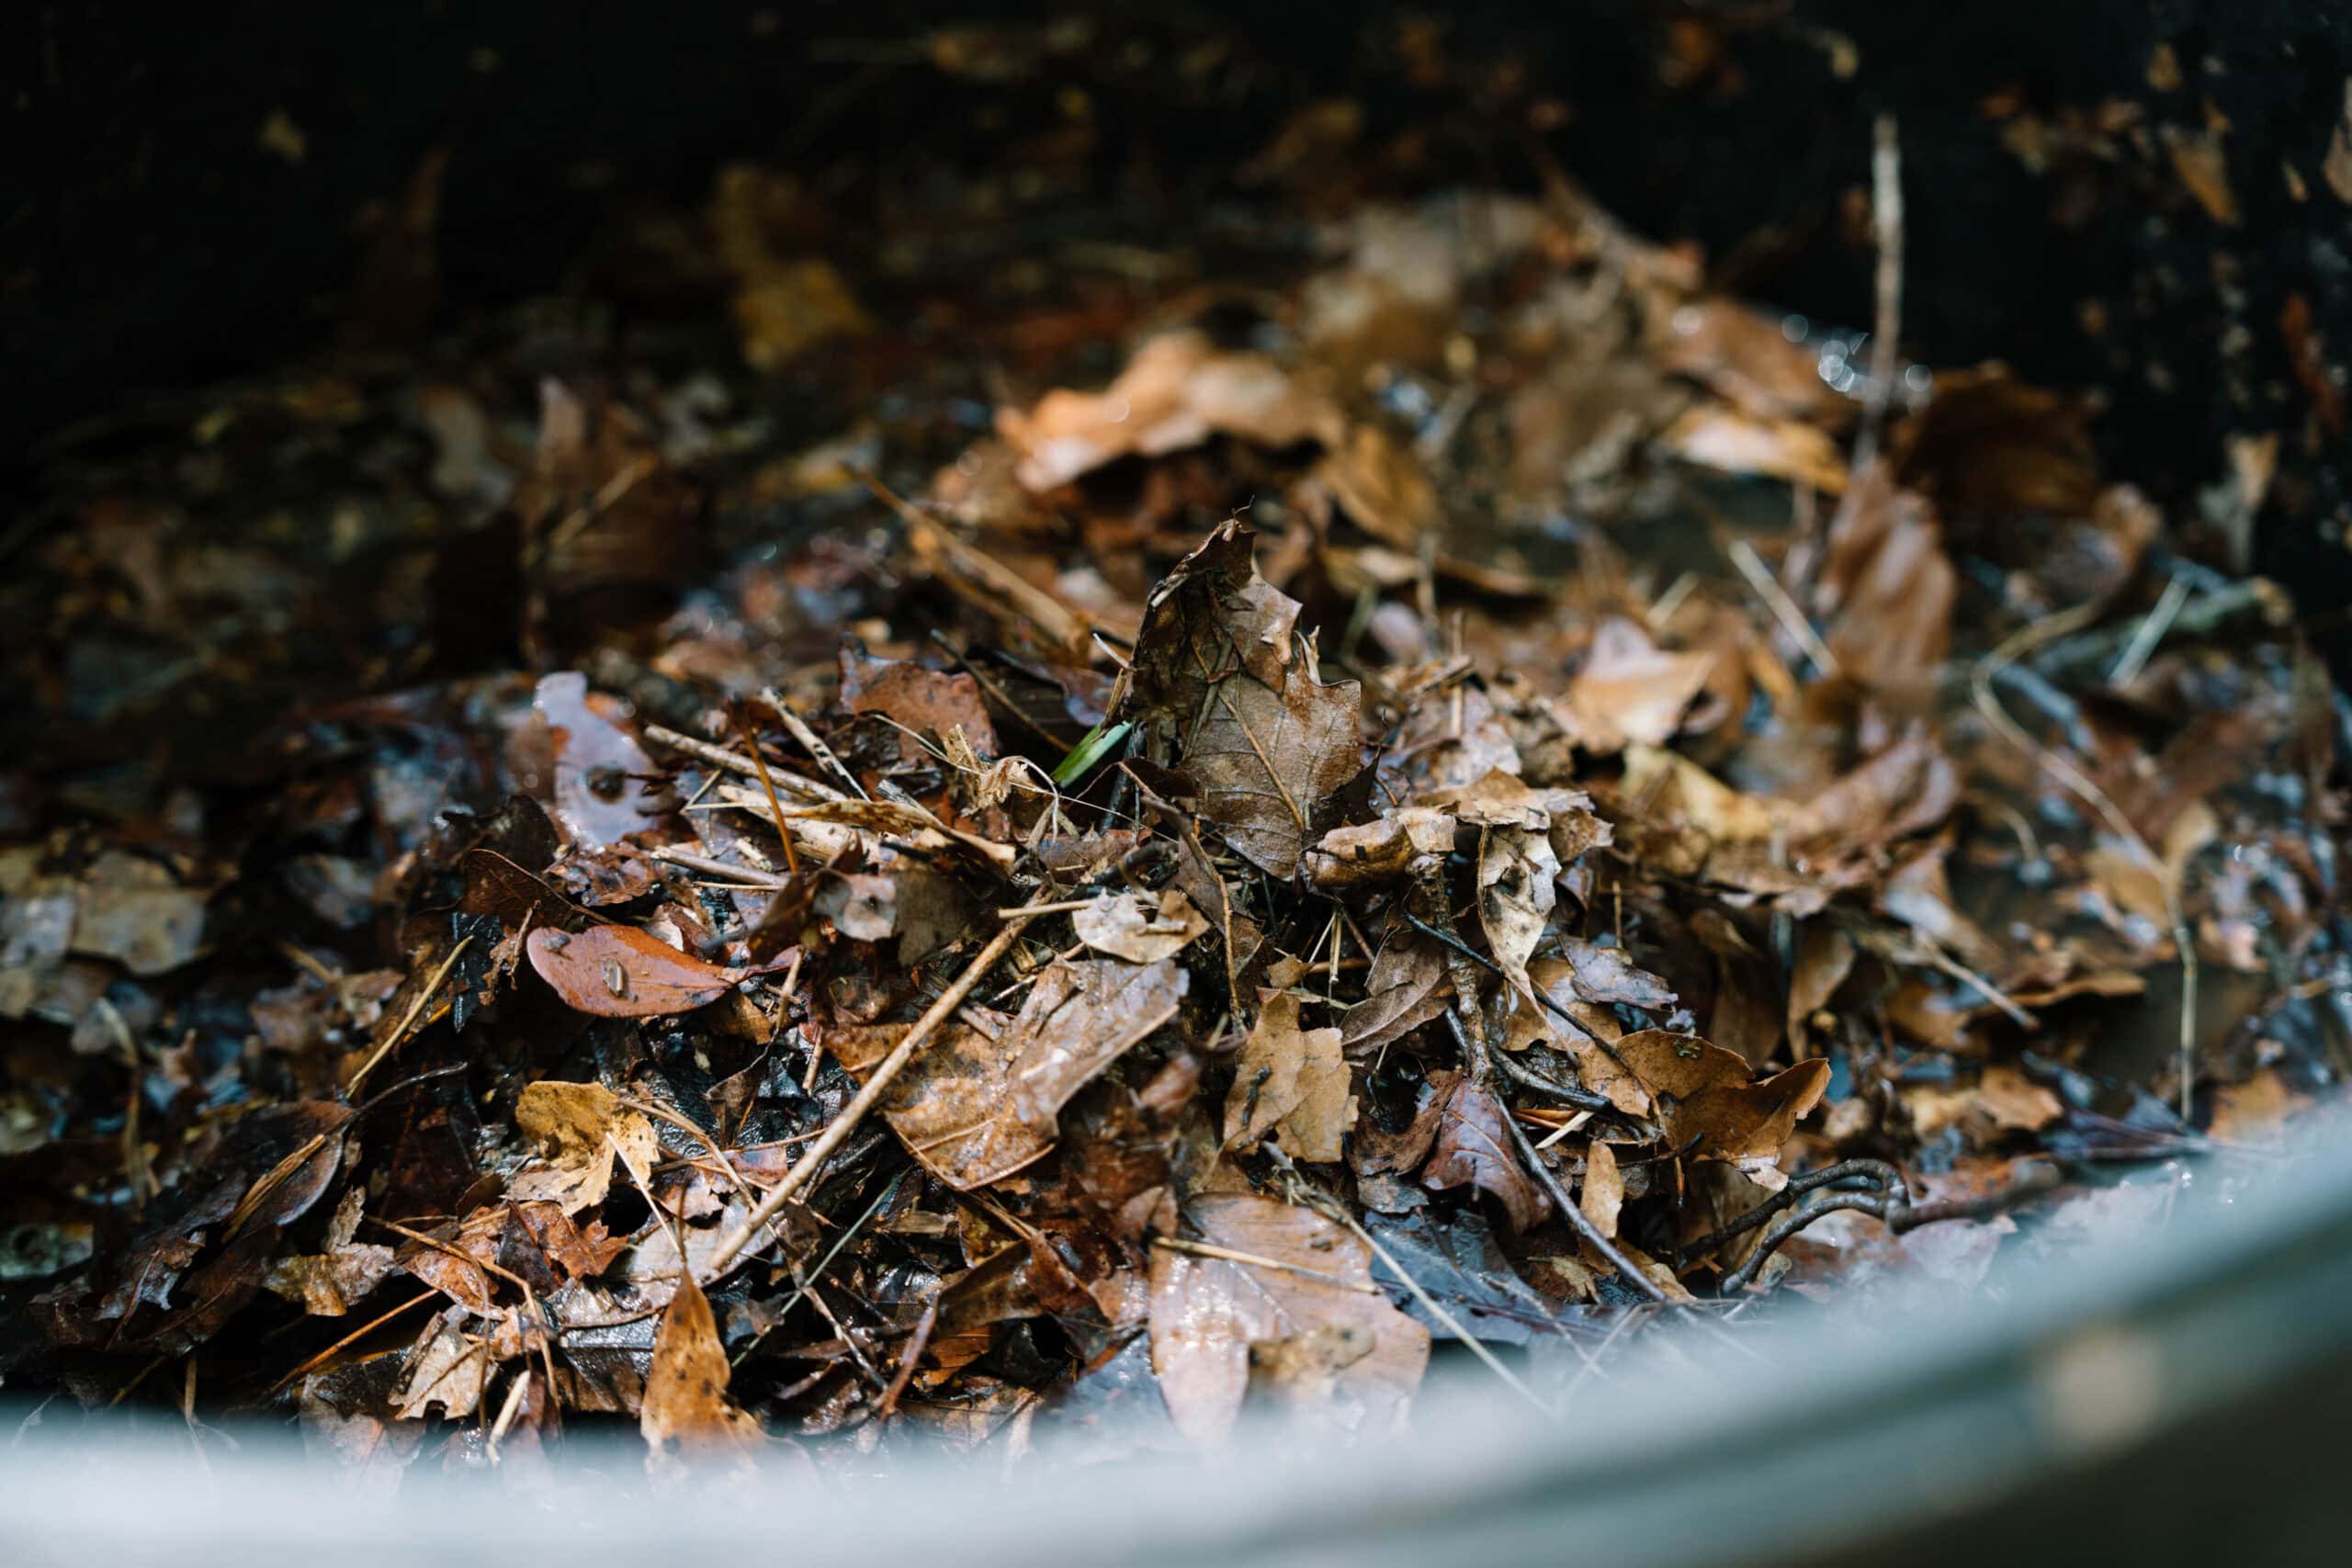
From the start, develop the habit of adding a small amount of carbon-rich bedding material each time you feed the worms (see the first post in this vermicompost series for recommendations on what to feed your worms). The carbon absorbs excess moisture, keeps odors down, minimizes the number of competitors attracted to the bin, and helps maintain airflow.
Instead of leaving food scraps on the surface, bury them in the bedding and cover them completely with brown carbon-rich materials. Exposed food invites competitors and creates odors. Be mindful about rotating where you bury the food each week so no single area gets overloaded.
Every couple of months — or whenever you've been feeding a lot of high-acid foods like coffee grounds or fruit scraps — add a small handful of grit. Crushed eggshells work well and contribute calcium to the eventual castings.
When to Harvest
Now for the exciting part: reaping all the wonderful benefits of your worm farm.
You'll know it's time to harvest when most of the bin's contents have transformed. The original bedding layers and food scraps should be broken down beyond recognition, and the material should look and smell like rich, finished compost – fine, dark, and a little crumbly. This typically takes two to four months in an active bin, though it varies by worm population, feeding frequency, and temperature.
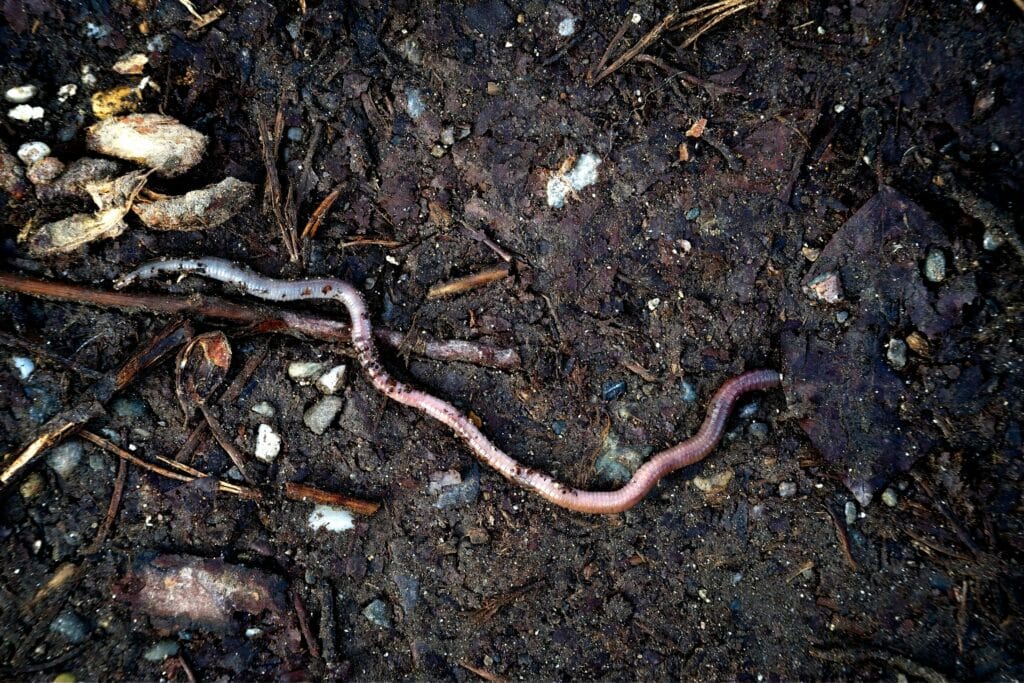
How to Harvest Worm Castings
The simplest method for harvesting takes advantage of the fact that worms avoid bright light (in other words, they’re “photosensitive”).
On a sunny day, uncover the bin and let it sit in direct sunlight for about ten minutes. The worms will burrow down away from the light, concentrating toward the bottom.
Begin scooping material from the top, working toward the center. Set it aside in a pile or wide tray. As you work down and start seeing worms, stop and move to a new section. Continue until you've removed as much finished casting material as you can without disturbing large numbers of worms.
Watch for worm cocoons as you work — small, lemon-shaped capsules that are easy to miss. Set them aside in a container with a little bedding so they can be returned to the bin. Each cocoon can hold multiple worm babies, so it’s worth trying to keep these safe.
Once you've removed the castings, return the remaining worms to the bin and refill it with fresh bedding, a small amount of living soil or compost, grit, and a fresh round of kitchen scraps. If you need a refresher, take a look at how to make a worm bin here.
The final step before using castings in the garden is to sift them through a half-inch (12 mm) hardware cloth screen or garden sieve. The finer material is ready to use immediately (and we’ll look at some of those possible applications in a moment). Anything that doesn't pass through isn't fully finished. You can either return it to the bin or use it as mulch around established plants where it will finish composting in place.
Homestead Scale Composting
Join Noah Sanders from Redeeming the Dirt as he shows you how to build incredible, living compost for tastier, healthier, abundant homegrown vegetables!
How to Use Worm Castings
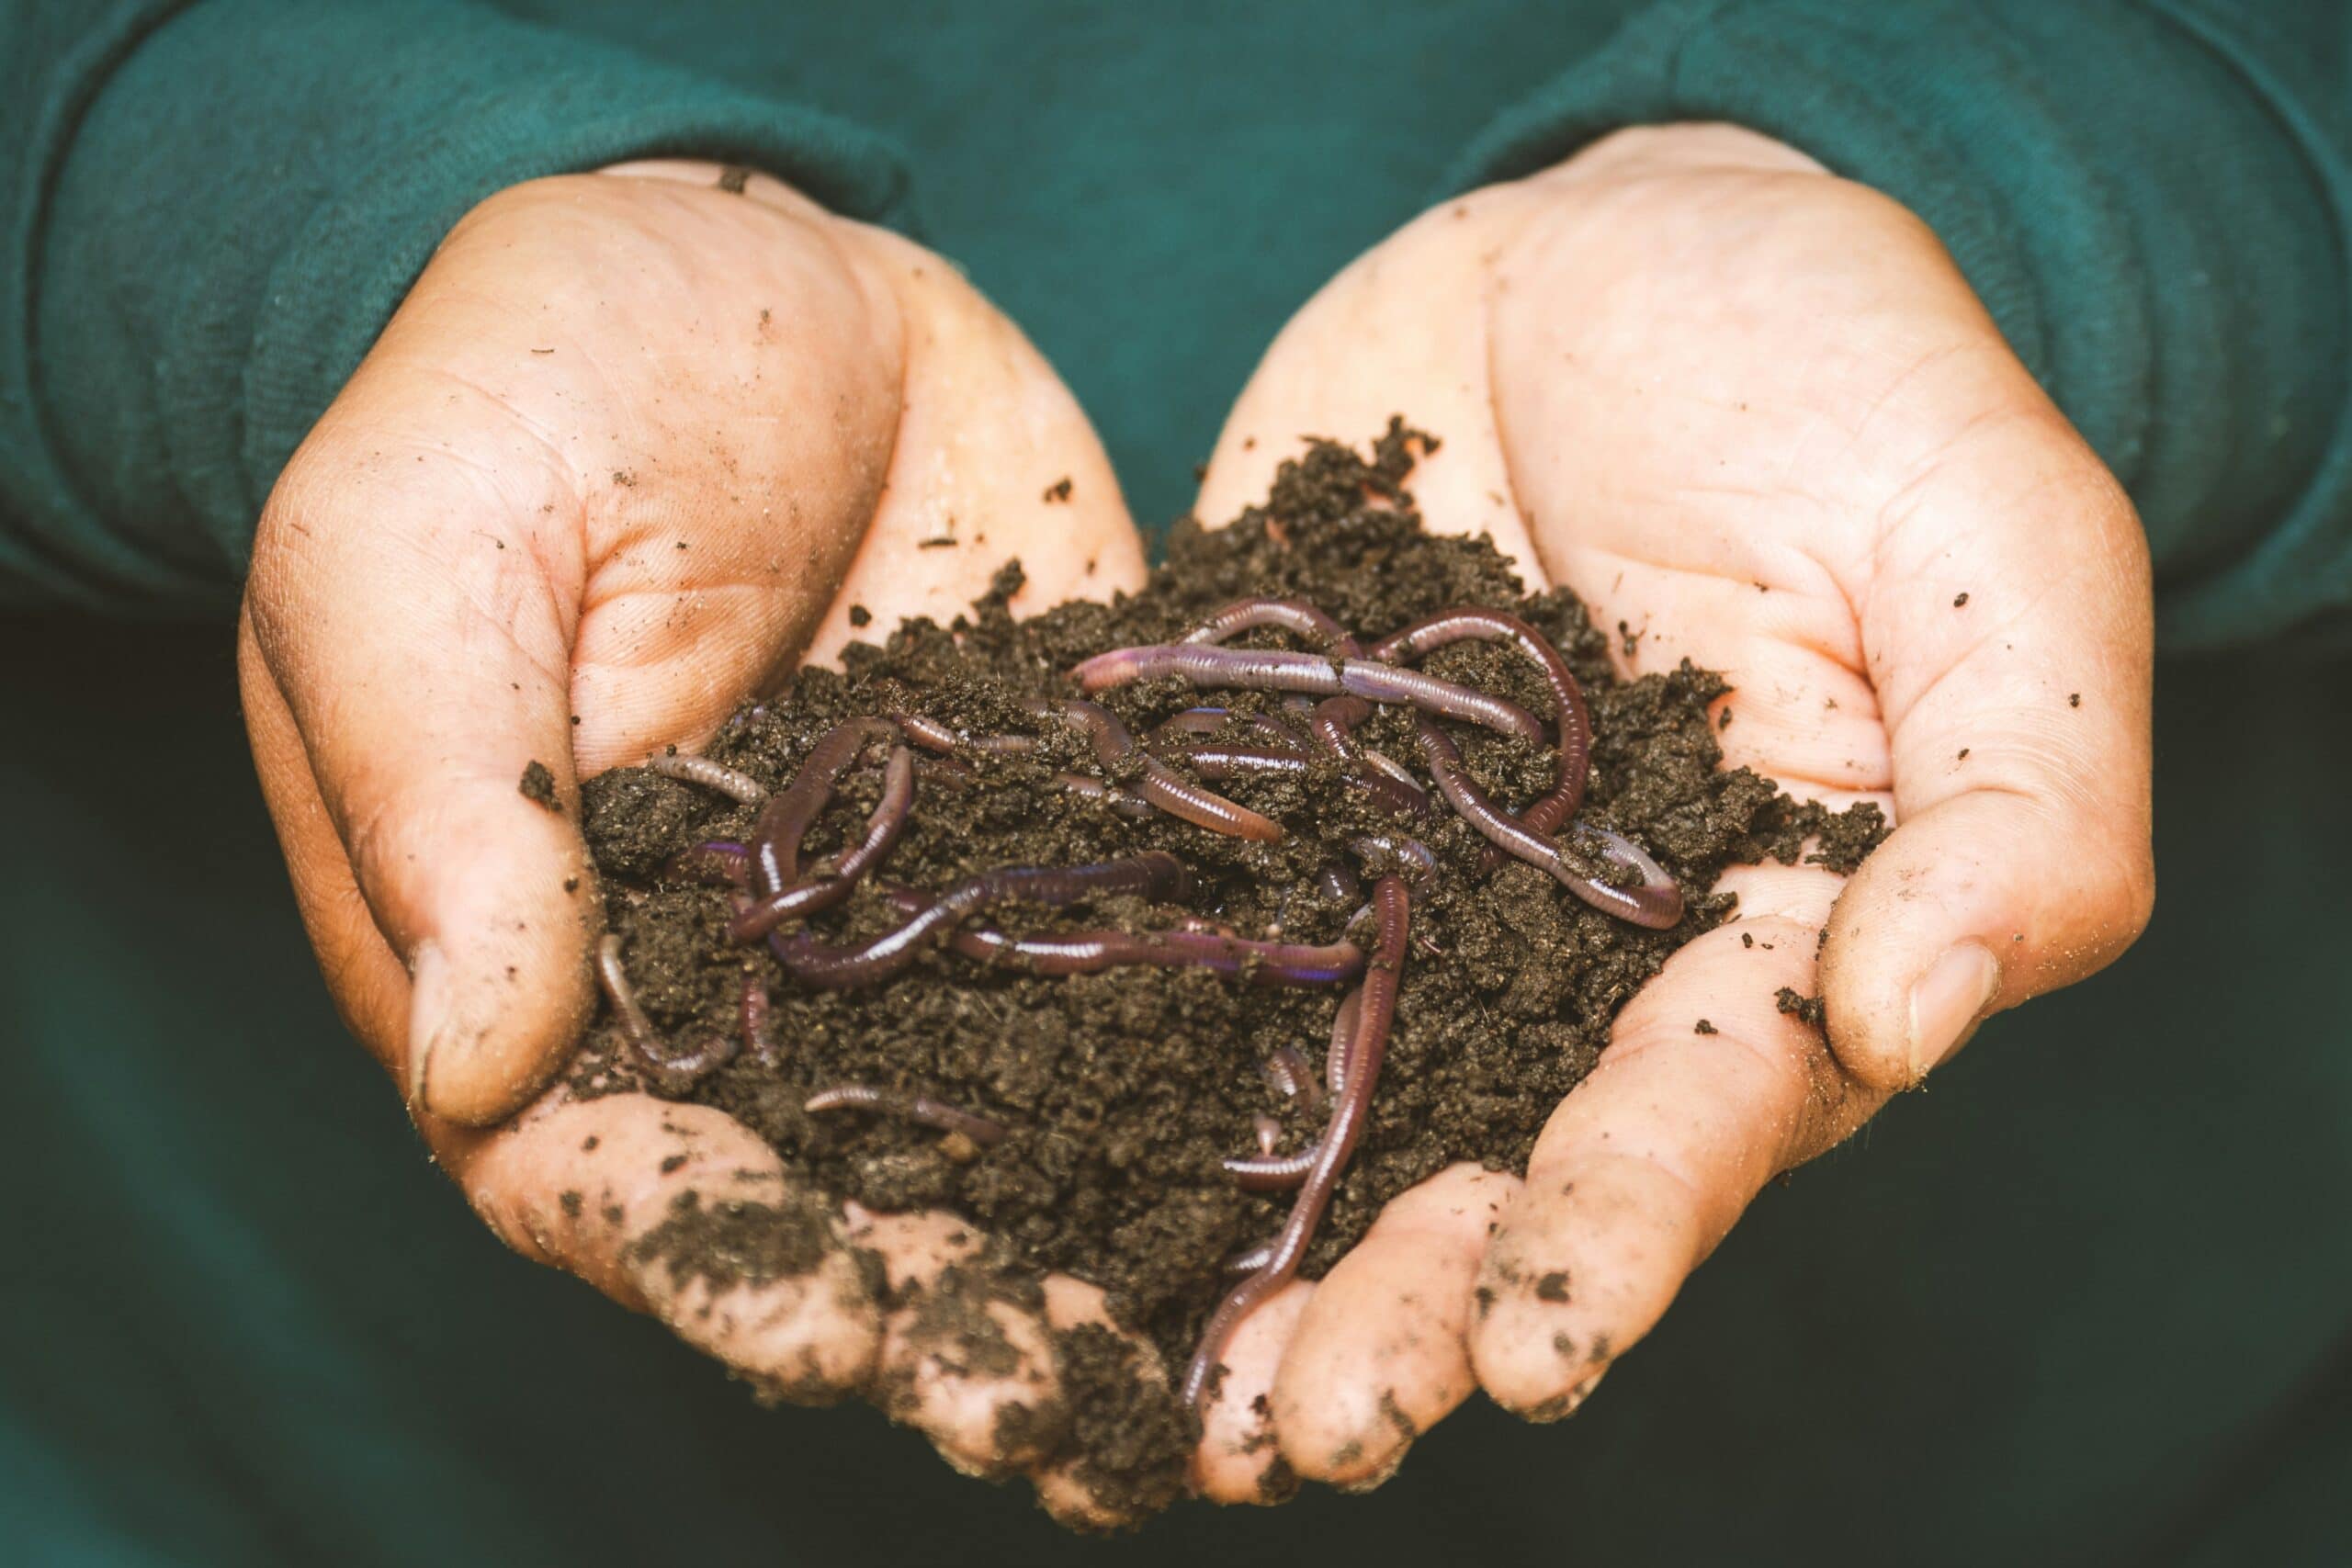
Worm castings are one of the most forgiving and beneficial soil amendments you can work with. Sometimes called “black gold,” castings can improve soil structure and nutrient uptake for plants, soften transplant shock, and enhance root development. They’re gentle enough to use directly on plants without risk of burning and can even be used with seedlings.
Here are several ways that castings can be used:
- Blend a small amount into potting soil or seed starting mix, roughly one part castings to four or five parts base material
- Work them into the top few inches of a garden bed, container, or pot before planting
- Side-dress established plants by sprinkling a thin layer around the base and watering it in
- Make a simple casting tea by soaking a cup or two of castings in a gallon of water for 24 hours, then use the liquid to water seedlings or container plants
A little goes a long way, and even small amounts make a noticeable difference in plant performance. When you see how your plants respond, you’ll be hooked on vermicomposting!
How to Use Worm Leachate Safely
Leachate is the liquid that drains from the bottom of the bin. It contains some nutrients and beneficial microbes, but it's not the same as brewed compost tea and should be used with a bit more care.
Always dilute it before applying — one part leachate to ten parts water is a reasonable starting point. Use it in garden beds and around the base of established plants, fruit trees, and shrubs. Don't apply it right before harvesting edible leaves, and use it fresh rather than storing it. If you need to hold it for a day, keep it in a sealed container in the refrigerator and use it within 24 hours.
If the leachate smells strongly unpleasant, toss it into your thermal compost pile and focus on fixing the bin first before using the liquid on plants.
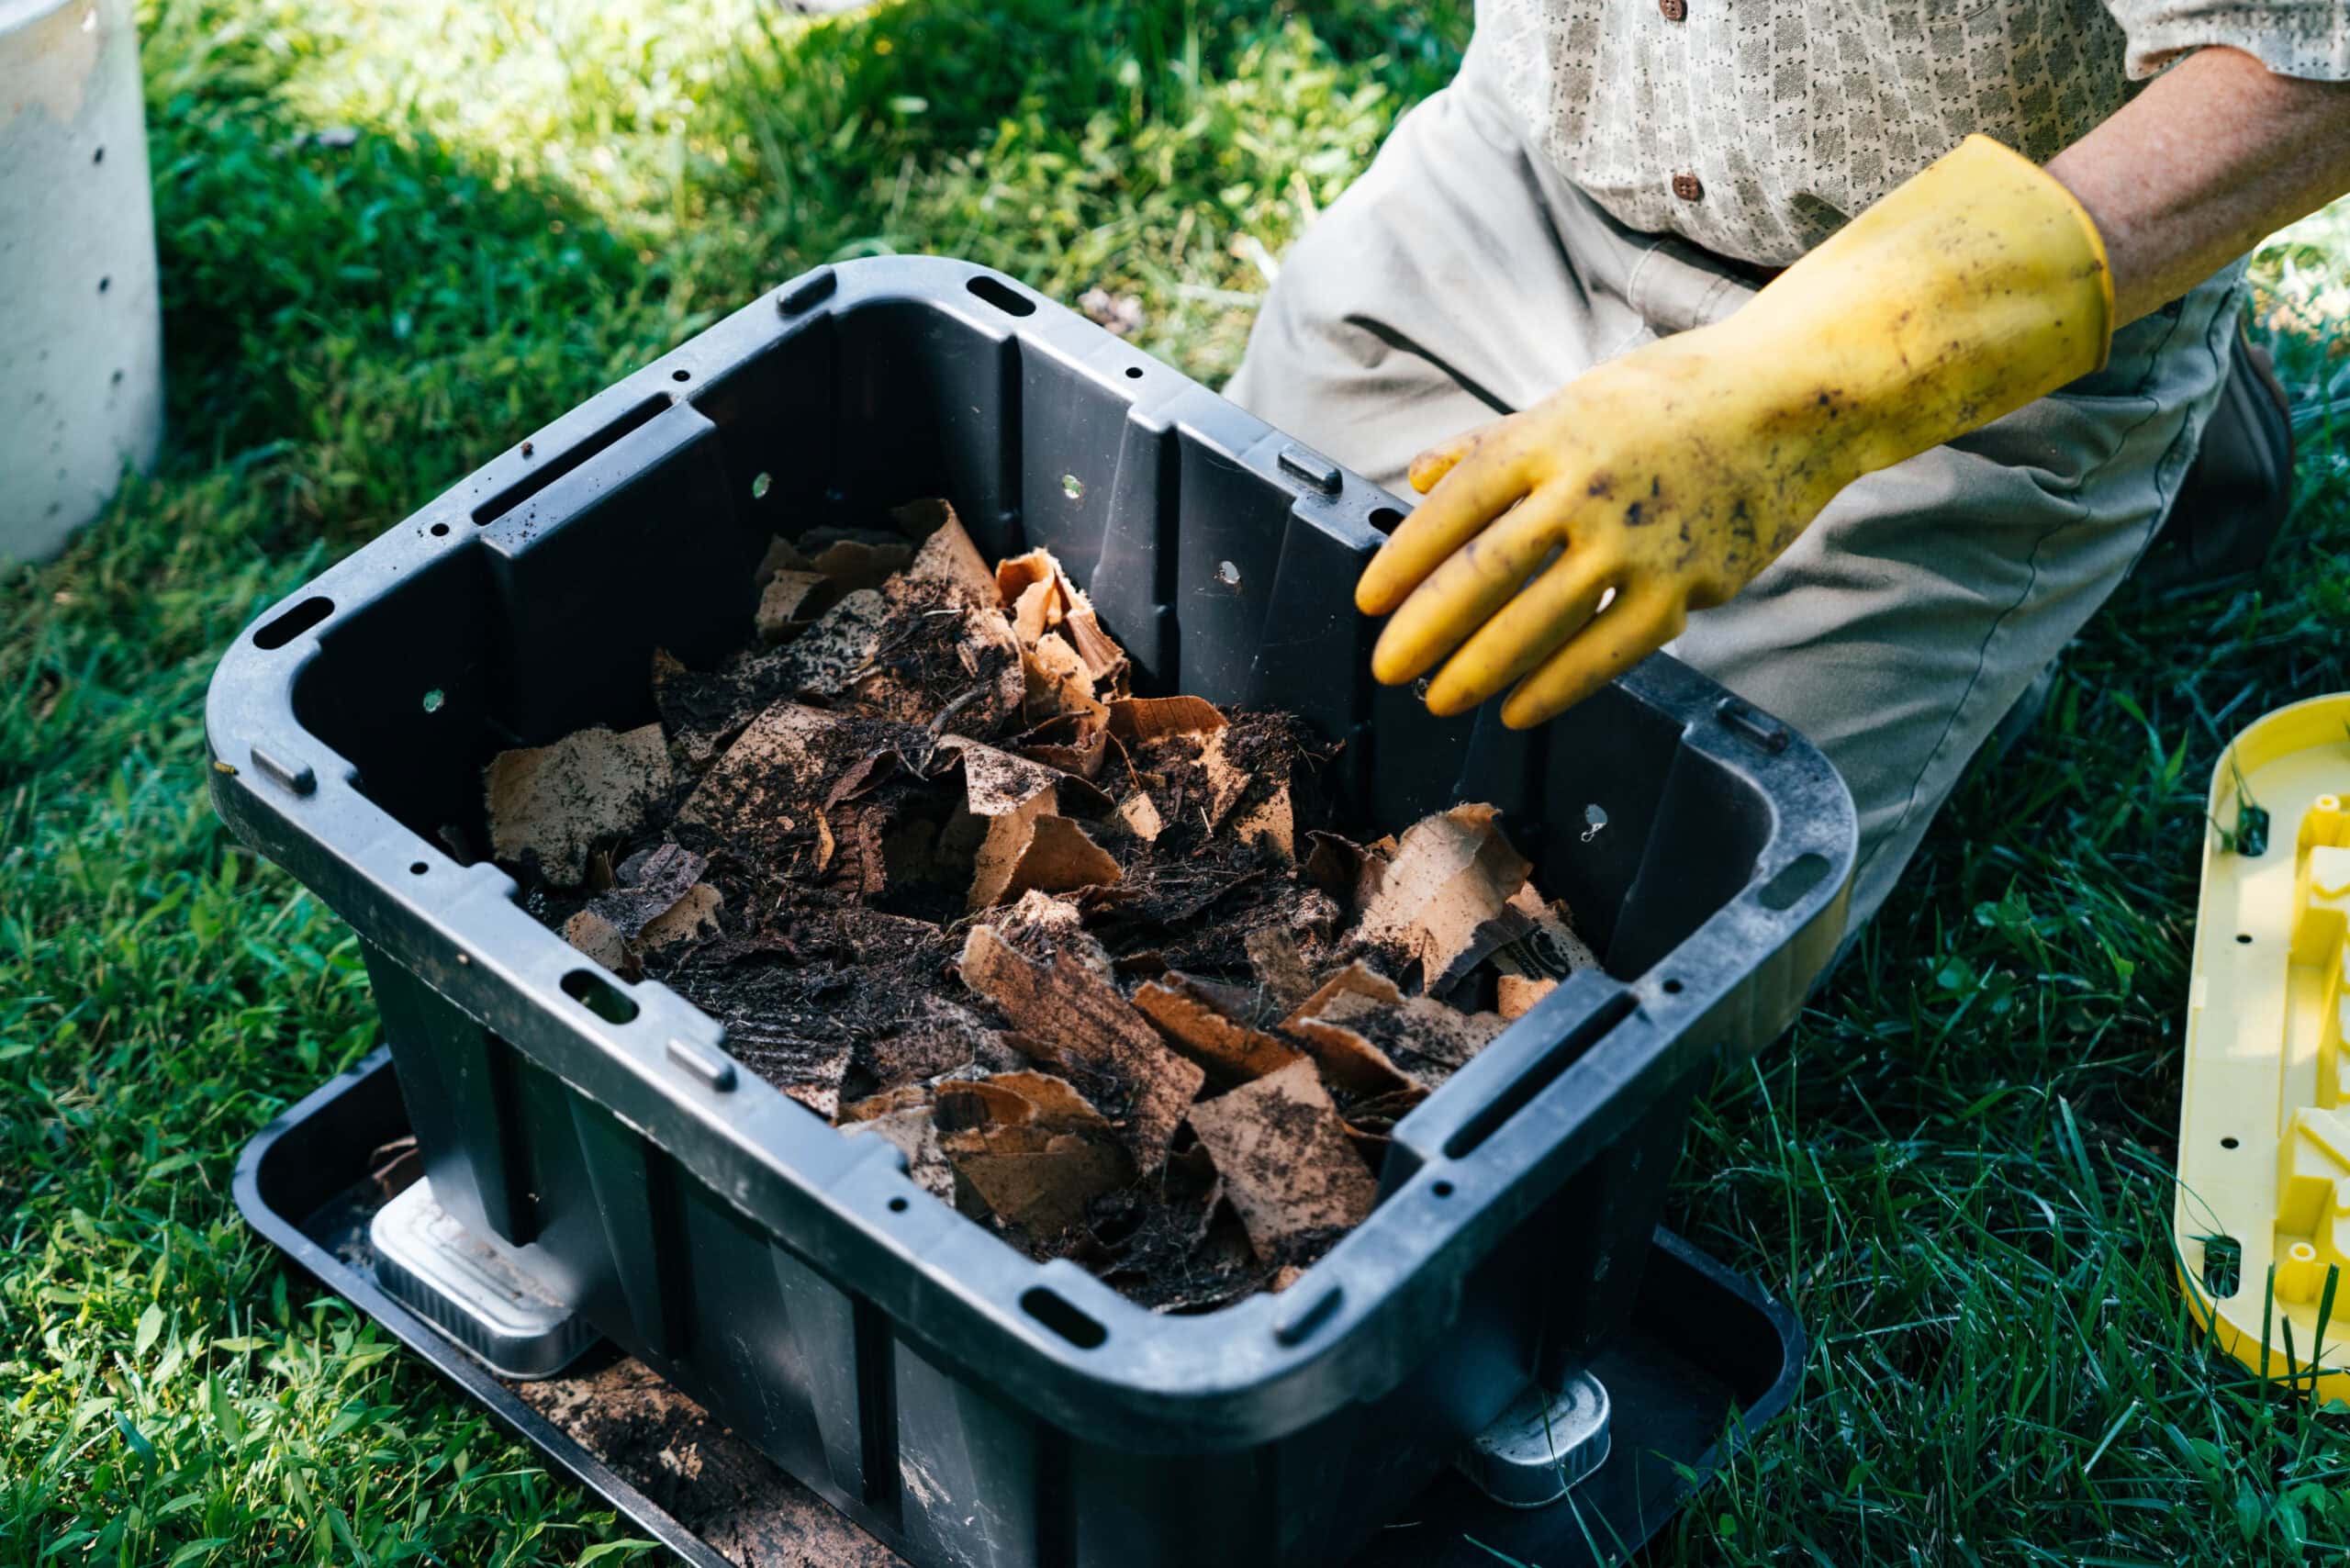
Simple Troubleshooting
Troubleshooting your worm bin is usually fairly straightforward once you know the cause behind the issue you’re facing. We’ll take a look now at the most common problems and their likely solutions.
Too wet: Add dry bedding — shredded cardboard or newspaper, wood chips, or dried leaves or hay — fluff gently, and check drainage.
Too dry: Add moisture slowly and recheck in a day or two.
Inactive bin (food not breaking down): The worm population is still growing, or the bin is too hot or too cold. Chop food scraps smaller and reduce feeding to match what the worms can actually get through. If that doesn’t do the trick, check the bin’s interior temperature, and make the necessary adjustments to better adapt the bin to current weather conditions.
Sour or rotten smell: Pause feeding, add dry bedding, and restore airflow.
Ants: Check moisture first. If the bin is outdoors, rub petroleum jelly around the legs of the stand to prevent climbing or sprinkle food-grade diatomaceous earth around the bin. Eggs can be laid in the soil and compete with the worms for food, so remove the top layer of material in your bin.
Fruit flies: Make sure scraps are always buried. Try freezing fruit scraps for 24 hours before adding them — this kills larvae and speeds decomposition. Sticky tape works well for flies and scraping the top layer also helps.
Mites: If mites are taking over your bin, hand remove the areas with mites. You can even bait them with an avocado or banana peel, and when they congregate on that scrap, pull it out and toss it. Pausing feeding and trying foods with lower water content are also good strategies to use with moisture-loving mites.
Black soldier fly larvae: Reduce exposed food and keep scraps fully covered under browns. Hand removal is recommended here as well.
Too many slugs, snails, centipedes, or even beneficial critters: Remove by hand and sprinkle food-grade diatomaceous earth around the bin to help with creepy-crawlies.
Thankfully, when it comes to your worm bin, most issues have a solution and it’s rare that you’ll need to completely start over with a new bin. Simply by slowing down feedings and correcting the habitat, you give the worms a chance to catch up and regain control.
One More Thing
There’s a practical element to maintaining a worm bin that we haven’t yet covered here, and that’s location.
We talked about bin placement previously in the context of adapting to your local climate, but it’s important to consider placement in terms of convenience and accessibility, too. You want your worms close enough to the kitchen that getting to them isn’t a chore, and close enough to your garden that harvesting and applying your “black gold” is a breeze.
Once you incorporate the weekly worm bin check into your existing homestead routines, you’ll find that the bin really doesn't need much time or attention. Visit it once or twice a week and take a few minutes to assess. Feed if it's ready (overfeeding is one of the most common beginner mistakes), but no need to hover. Over time those quick check-ins become second nature, and the bin runs almost on its own, turning kitchen scraps into one of the most useful soil amendments you can put in the garden.
Serious gardeners know that the best compost is the kind produced right on site. After over a decade of teaching thousands how to make low-cost, fast turnaround compost, Noah Sanders has brought his expertise to the School of Traditional Skills and broken down his method step by step into a self-paced class. For the full system on building long-term fertility from the ground up, explore the Homestead Scale Composting Class with Noah Sanders.
Homestead Scale Composting
Join Noah Sanders from Redeeming the Dirt as he shows you how to build incredible, living compost for tastier, healthier, abundant homegrown vegetables!