But rosemary has a reputation for being particular. Some gardeners find it thrives from the start. Others plant it in what seems like the right spot and watch it struggle without quite understanding why.
If that second experience sounds familiar, you are not alone. Rosemary has specific preferences that make a real difference in how to grow it once you know what they are. And after you learn the simple steps to propagate rosemary from cuttings, one healthy plant can eventually become many.
Understanding Rosemary's Growth Habits
Rosemary is a woody-stemmed perennial herb native to the Mediterranean. In warmer climates (USDA zones 8-10), it can remain productive for many years outdoors. In colder regions, it is more frost-sensitive and may need winter protection or container growing so it can be moved indoors before hard freezes arrive.
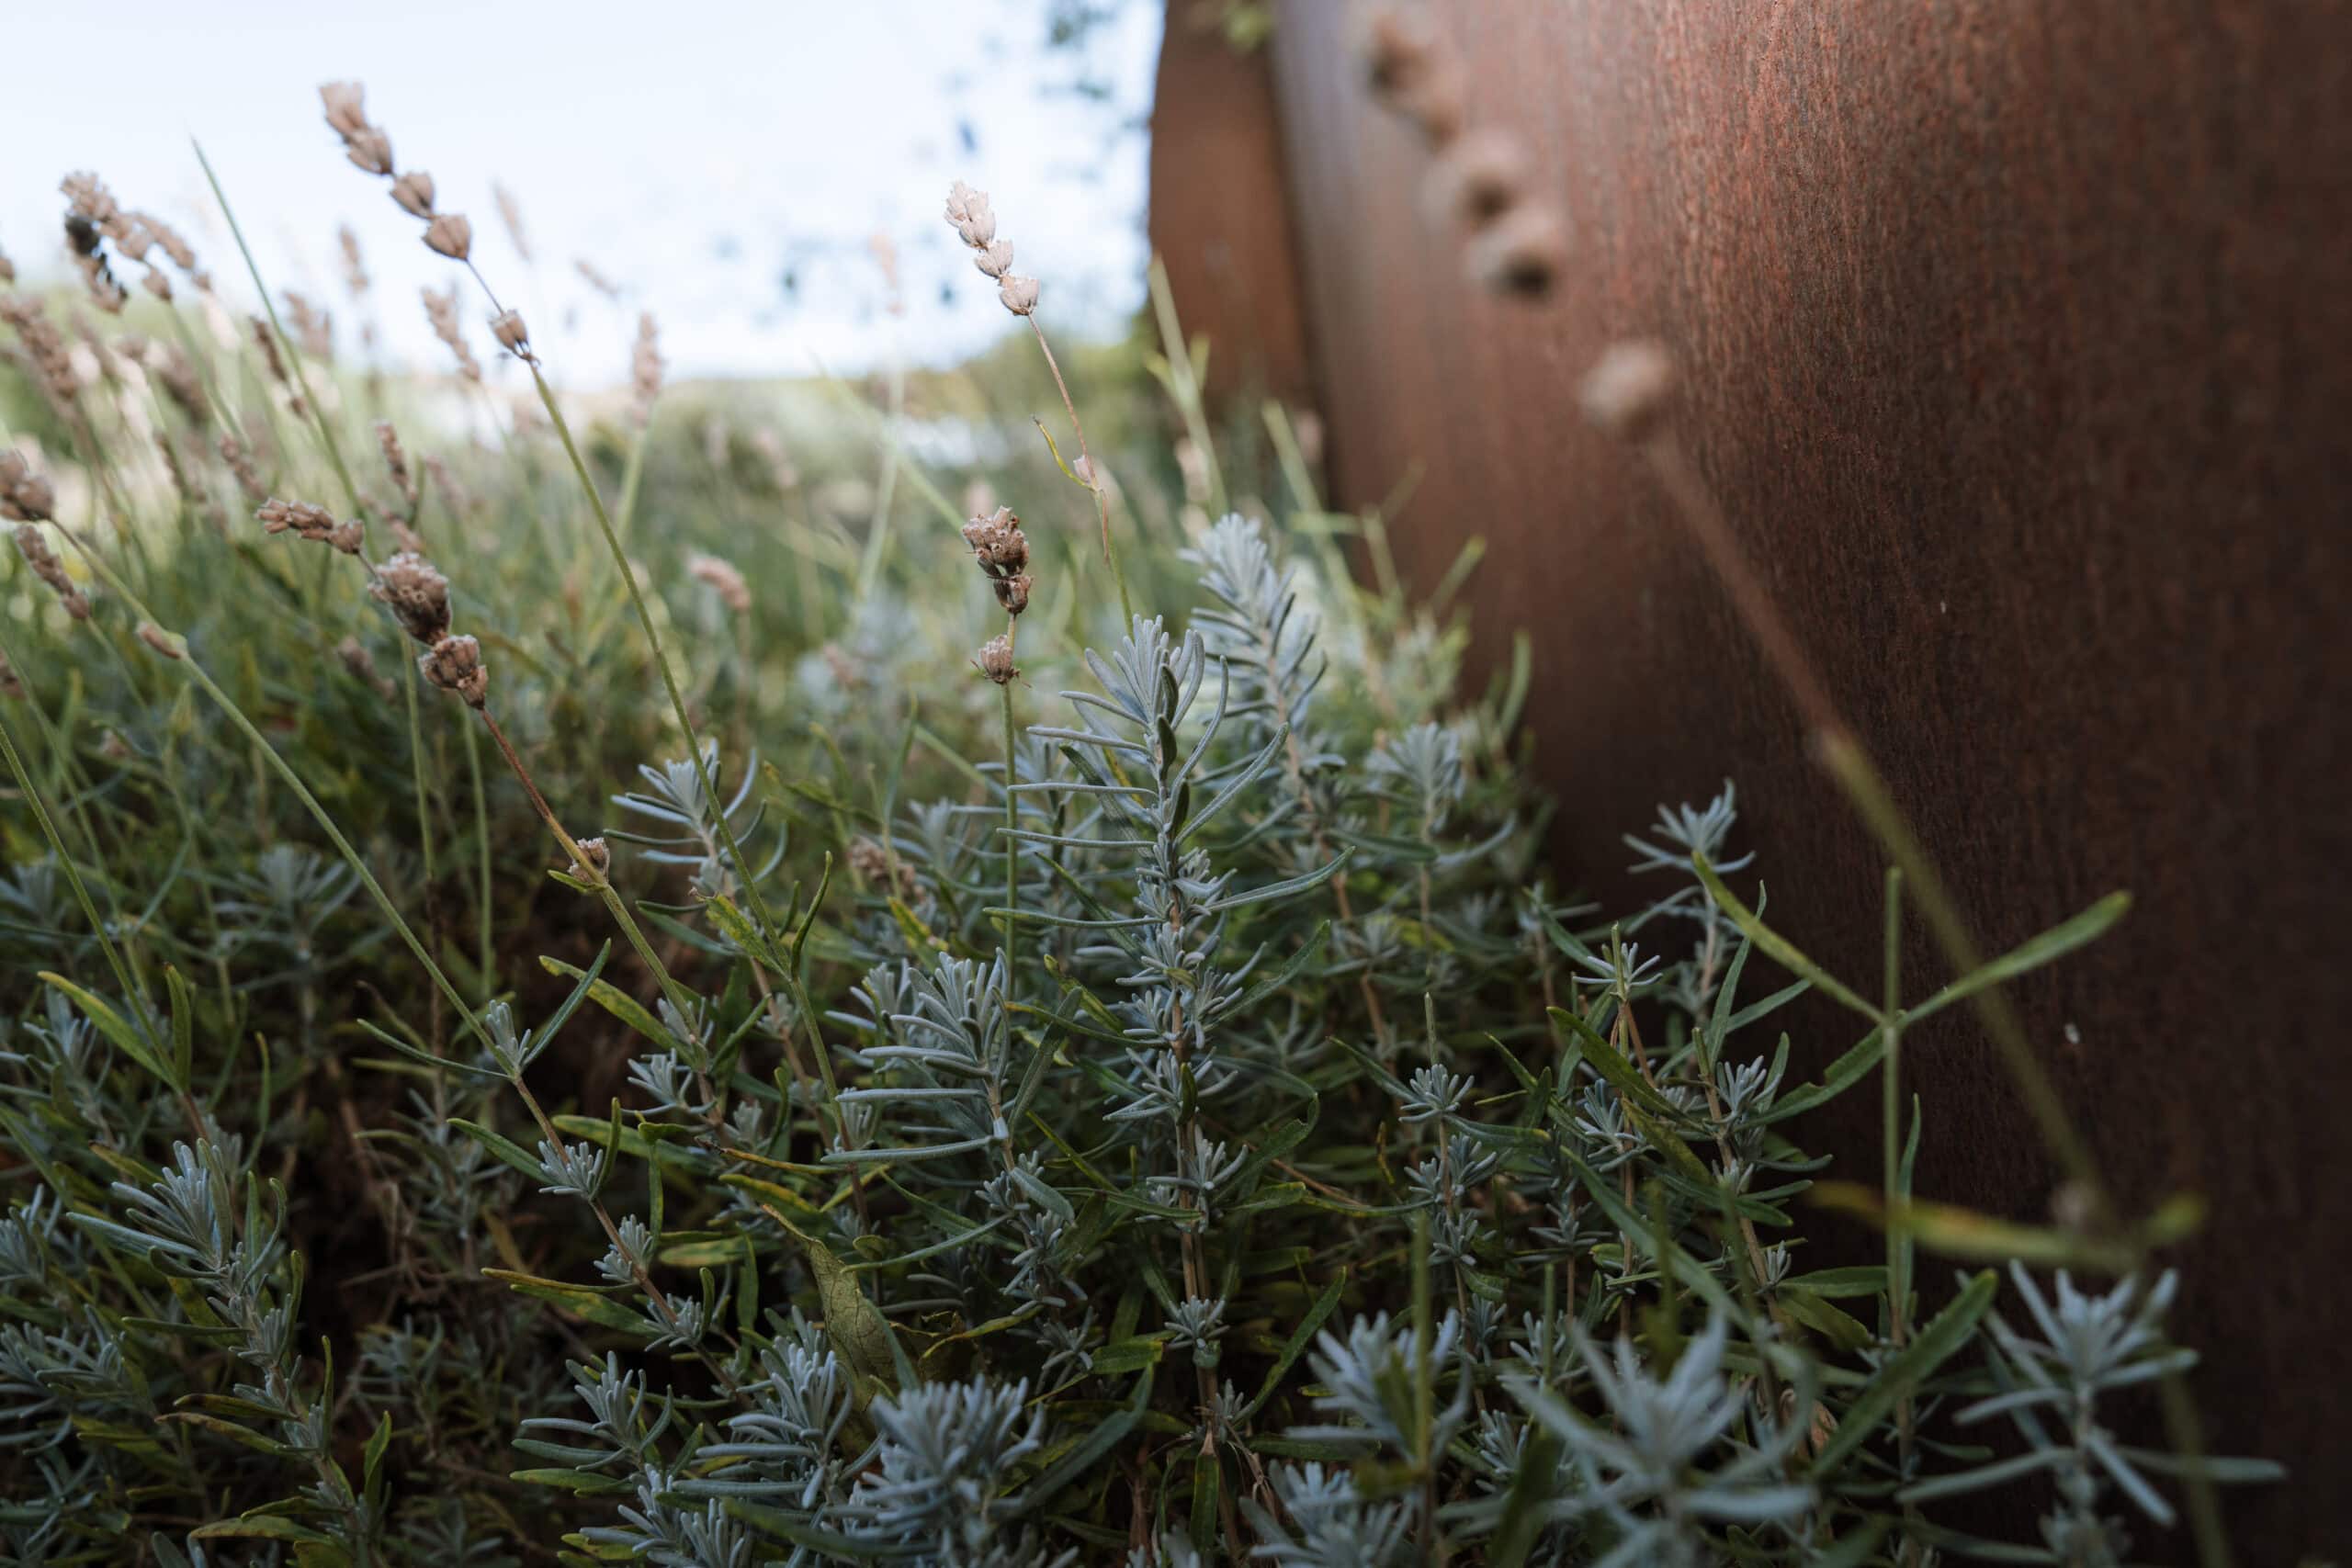
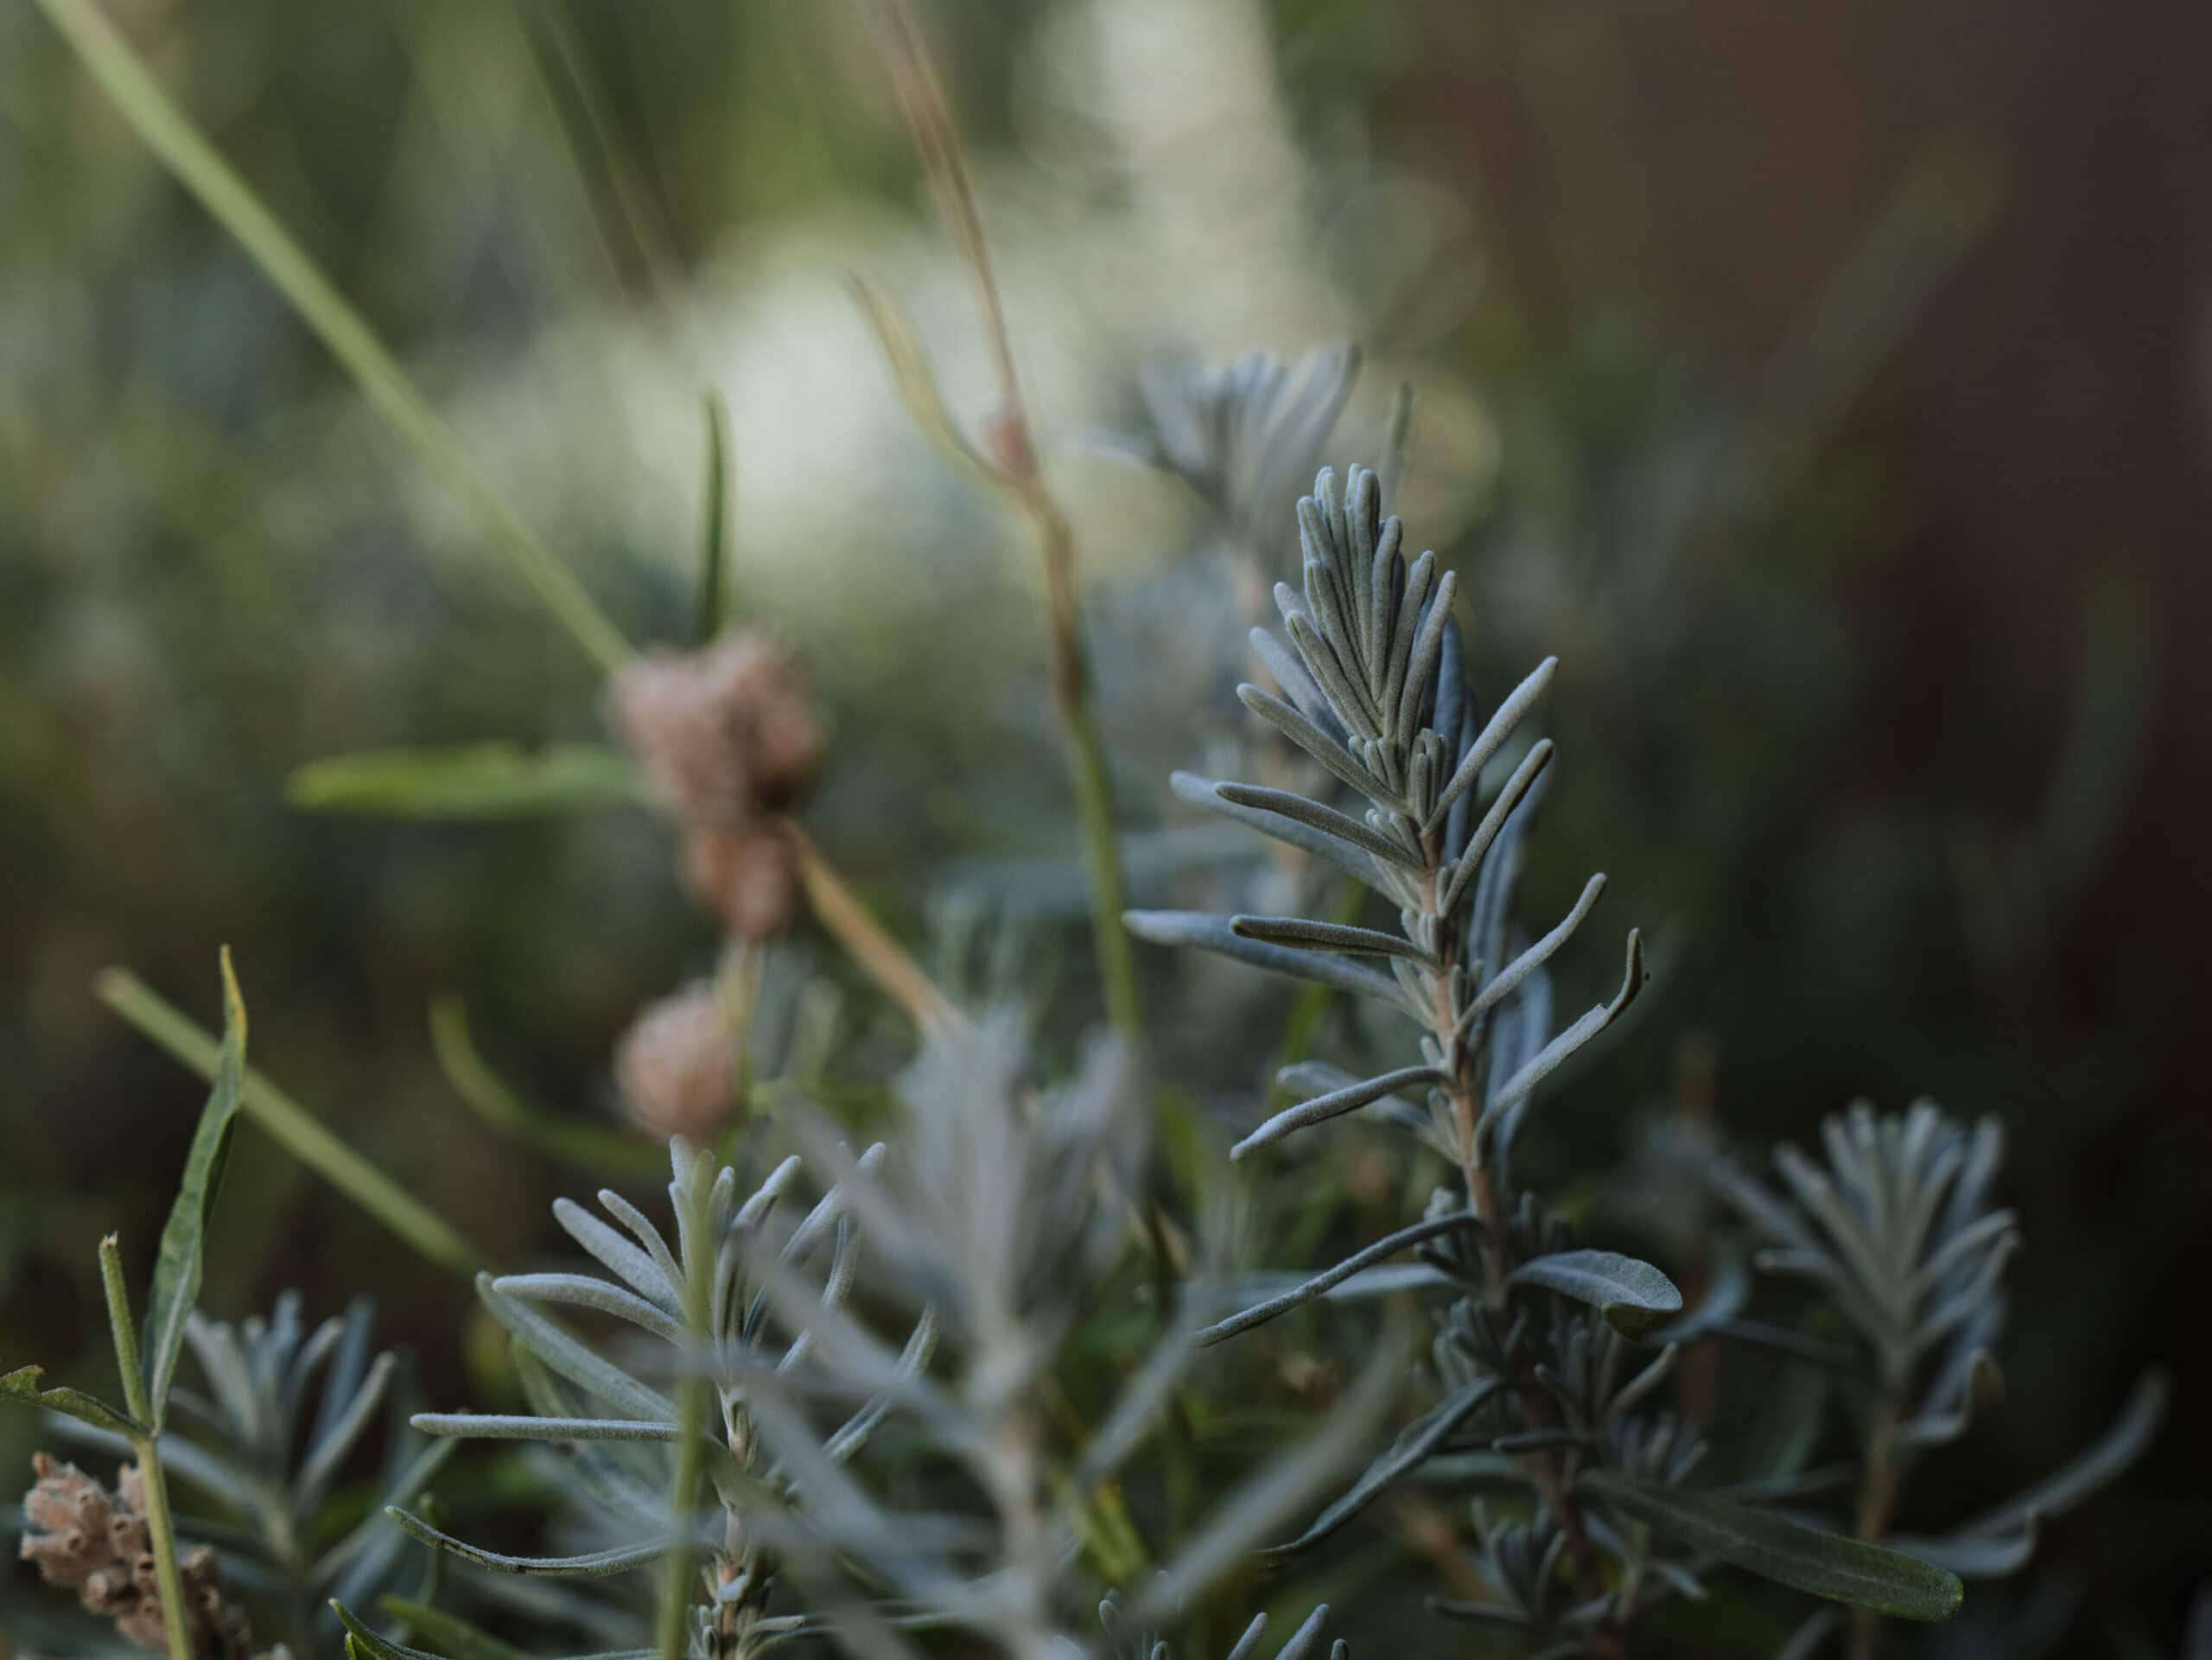
Unlike herbs that prefer consistently moist soil, rosemary thrives in drier conditions. Its needle-like leaves and woody stems are well adapted to heat, sunlight, and lean soil. Because of this, it fits naturally alongside other Mediterranean herbs like thyme, sage, oregano, and lavender.
As rosemary matures, its stems become more woody and shrub-like. Regular harvesting and pruning help encourage softer new growth and keep the plant from becoming overly leggy over time. A well-maintained rosemary plant can reach three to five feet tall in ideal conditions, though most home gardeners keep theirs pruned to a more manageable two to three feet.
Choosing the Right Location for Growing Rosemary
Where you plant rosemary matters more than almost anything else.
Rosemary needs at least six hours of direct sunlight each day to grow well. It also needs good airflow and prefers conditions that lean dry rather than damp. In fact, more rosemary plants die from overwatering and poor drainage than from any other cause. It struggles in heavy, wet soil and often performs better in raised beds, sandy soil, or containers where excess moisture can escape more easily. If your soil tends to stay wet after rain, container growing is worth considering from the start rather than as a last resort.
Placing your herb garden close to home also makes a real difference. When herbs are easy to reach, you are more likely to water, harvest, and pay attention to them regularly. For rosemary in a container, that proximity also makes it easier to bring indoors before hard frost arrives.
Preparing the Soil for Rosemary
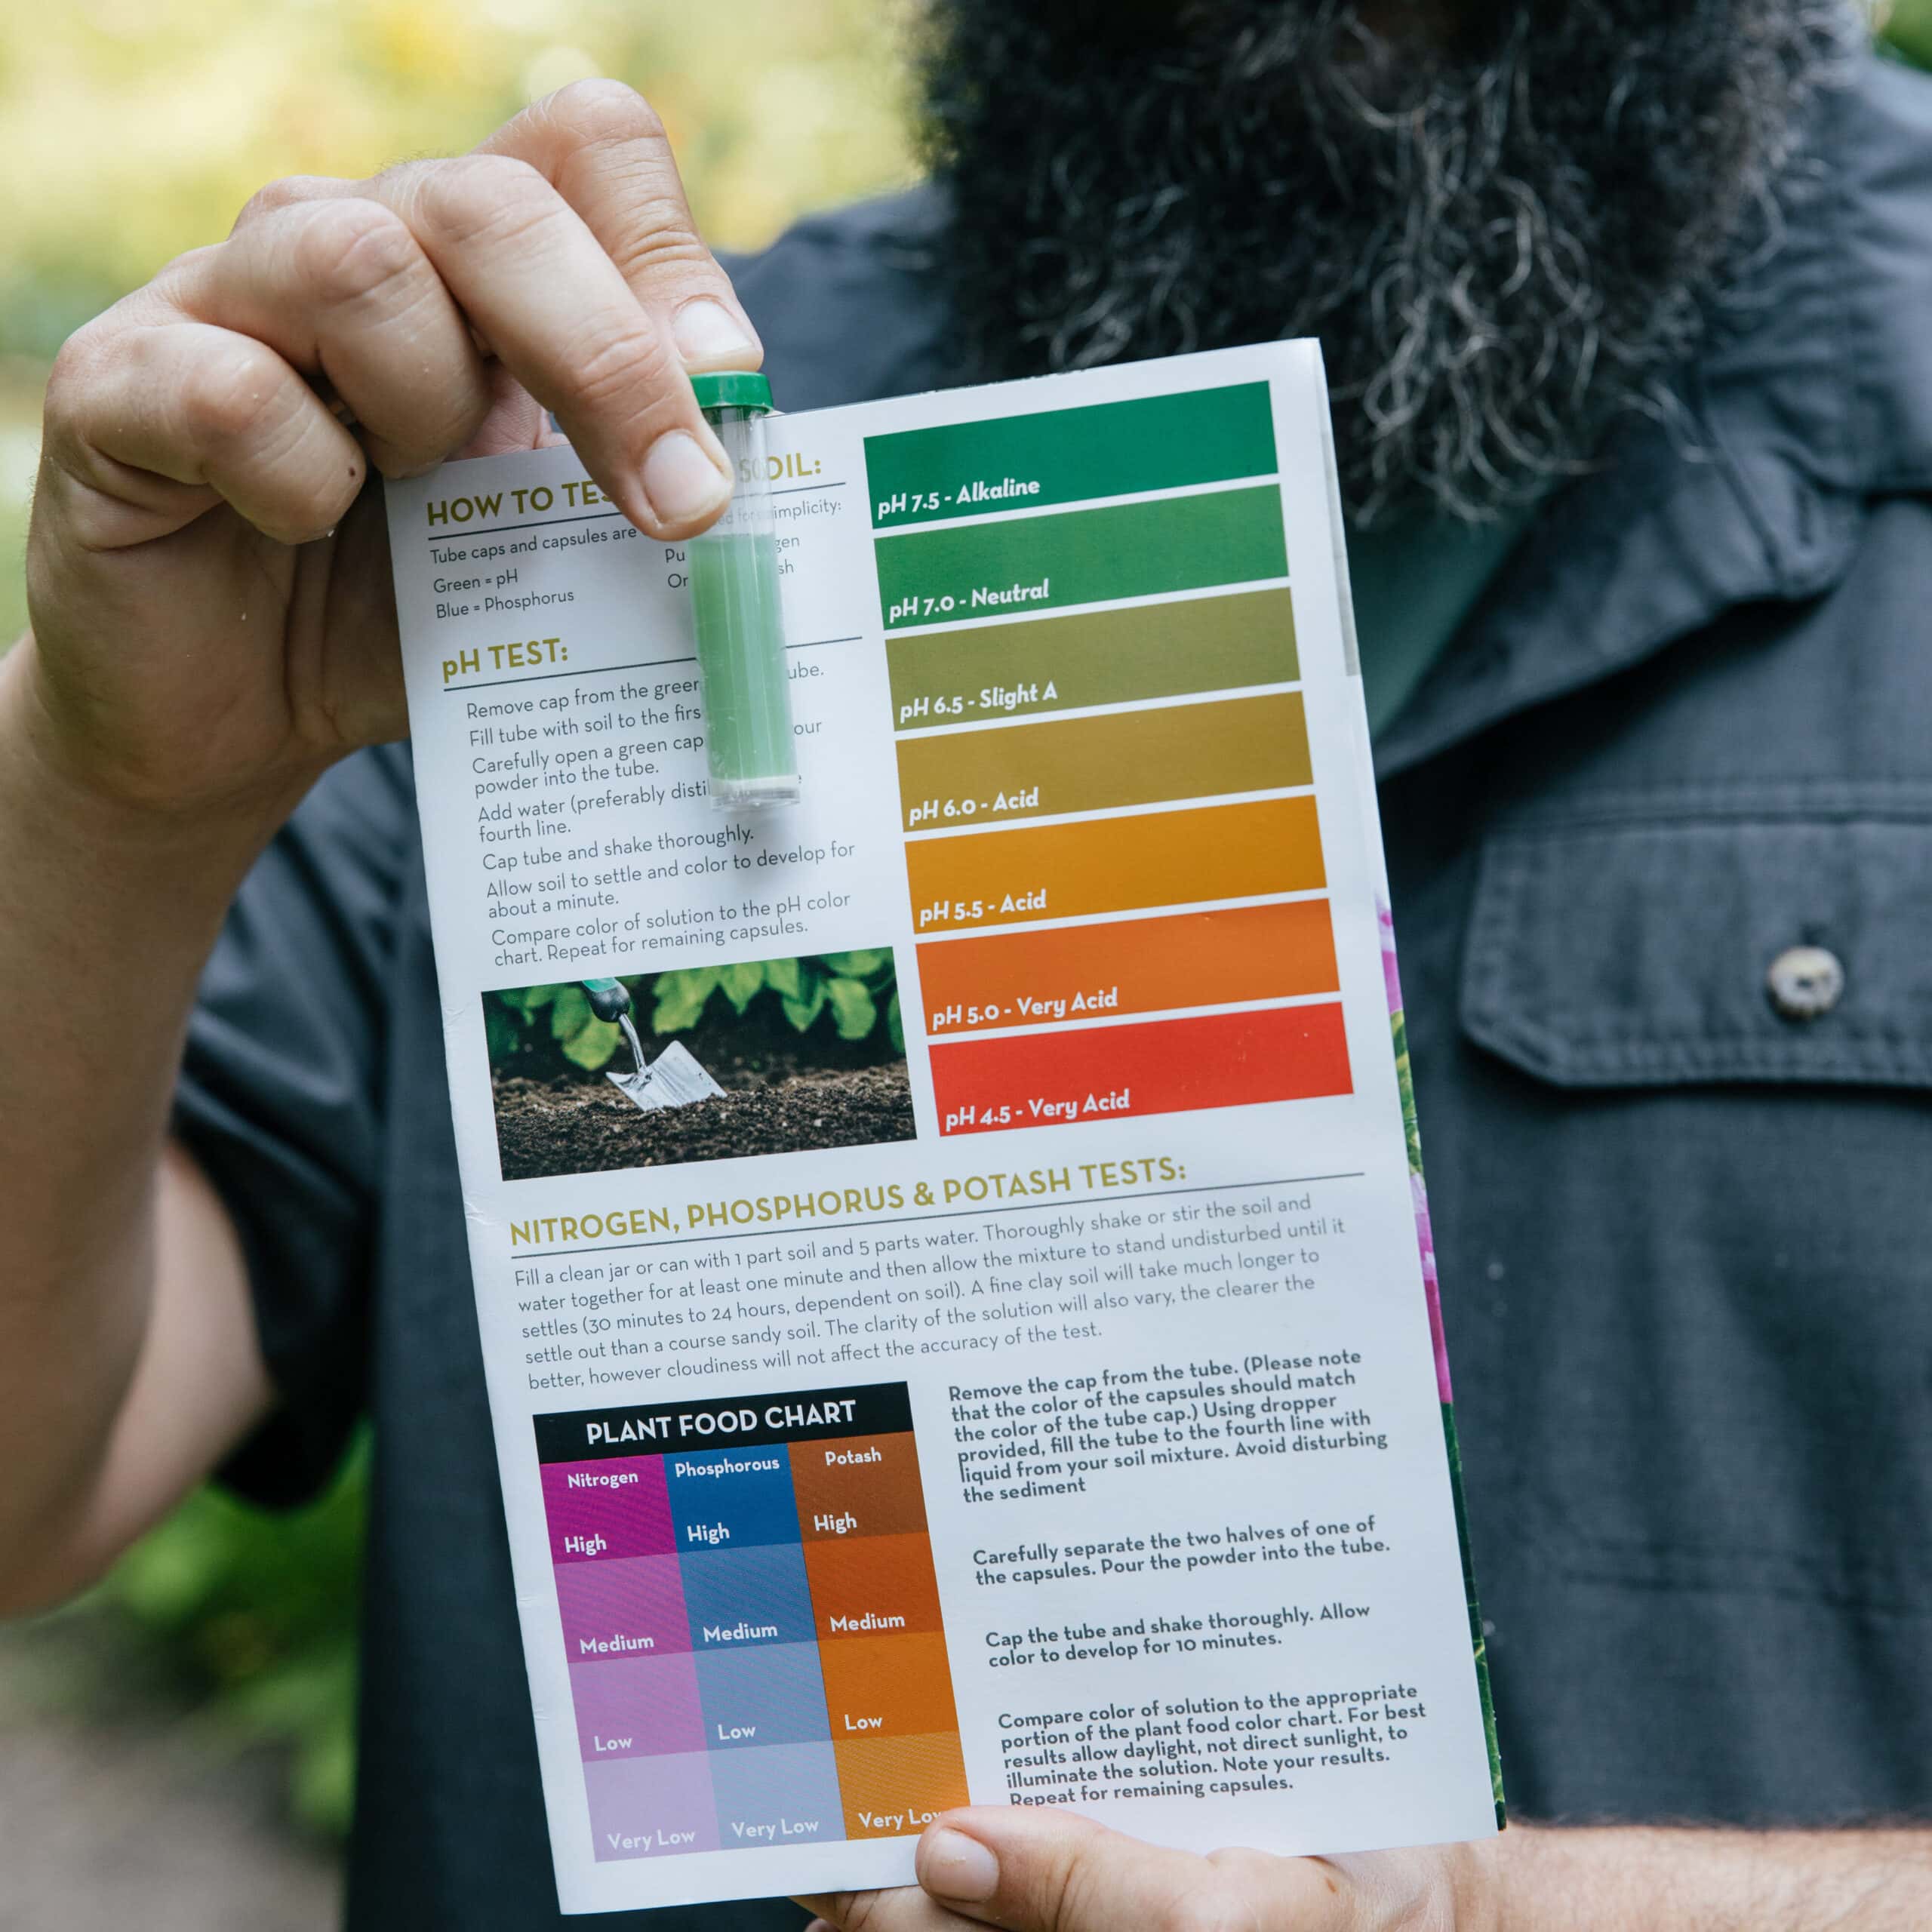
Choose a light, well-drained soil with a near-neutral pH between 6.0 and 7.5. A simple soil test can tell you where your soil sits and whether any adjustments are needed before planting. Discover the simple steps to test your soil, and what to do with your results, in our full Herb Gardening class with herbalist Bevin Cohen.
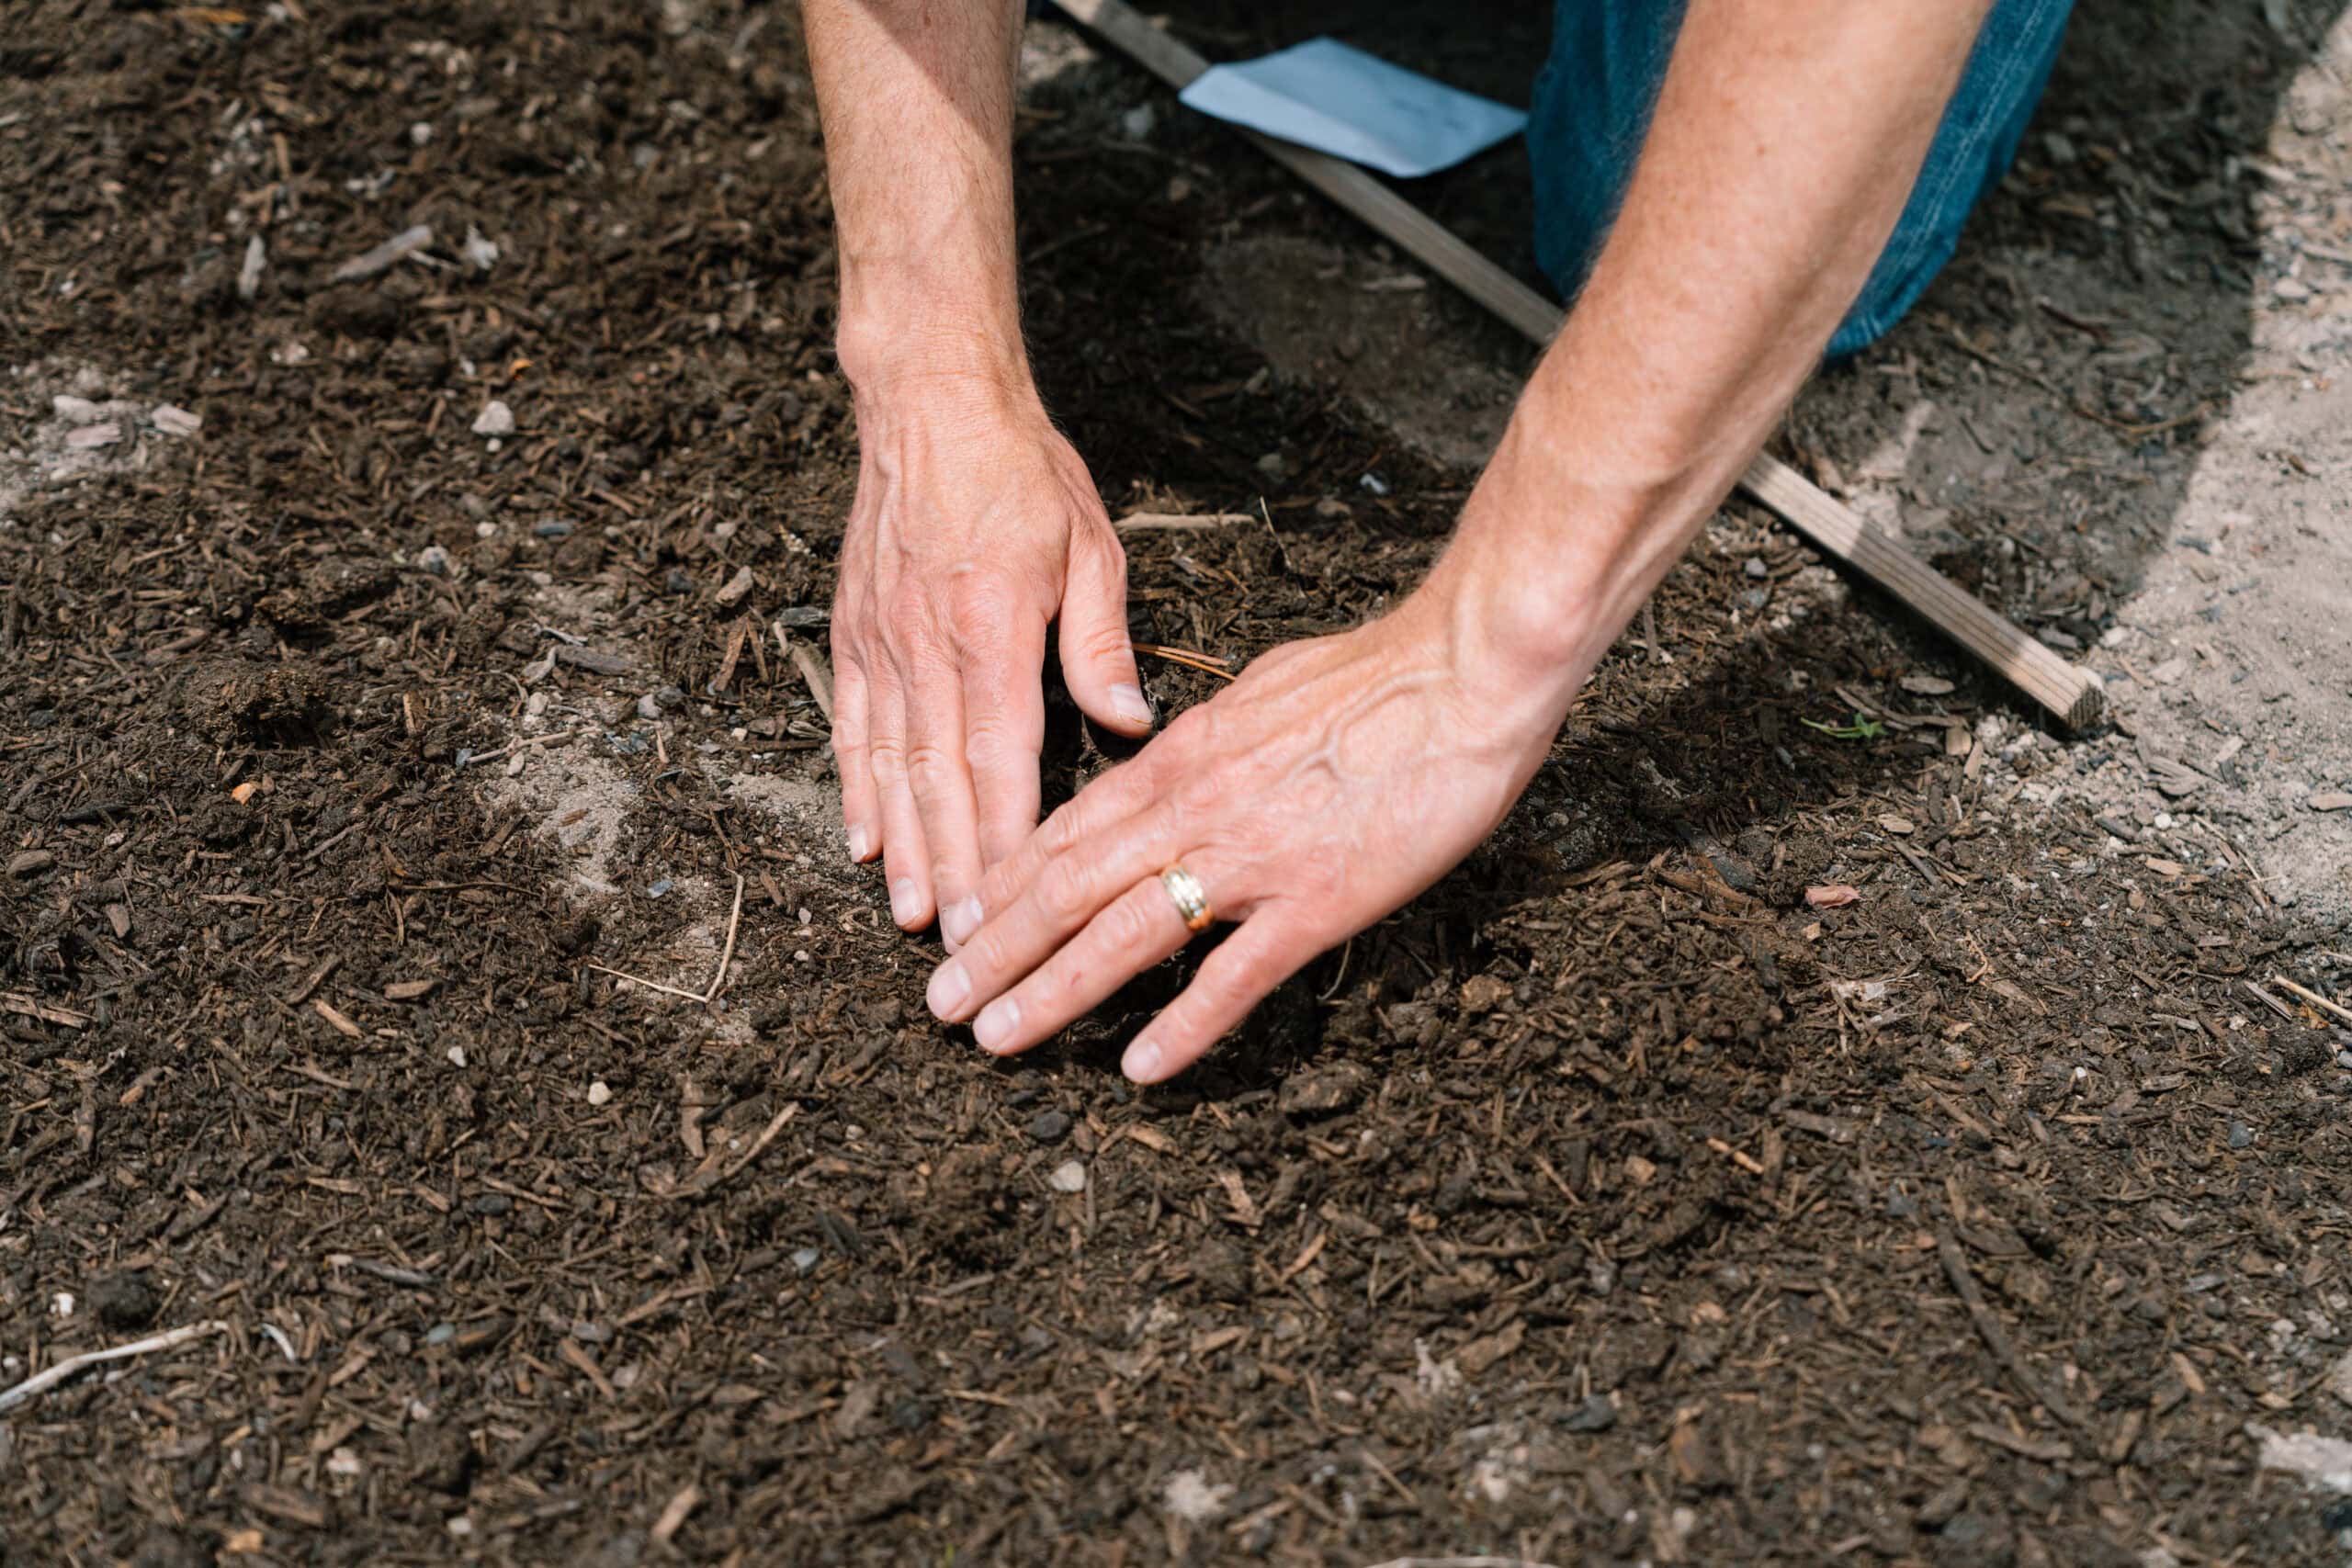
If the soil feels dense or compacted, adding compost can improve structure and drainage. But remember that rosemary generally performs better in leaner soil than in overly rich soil that holds moisture. It does not need heavy fertility to thrive. In fact, soil that is too rich can produce lush foliage with less concentrated flavor.
Good compost builds living soil over time. It supports the microbial activity that healthy roots depend on, improves drainage and structure, and contributes to stronger plant growth. Building healthy soil takes time, but each season builds on the one before it.
For container growing, use a well-draining potting mix rather than garden soil. A mix designed for succulents or cacti often works well for rosemary, or you can blend standard potting soil with coarse sand or perlite to improve drainage.
Propagating Rosemary From Cuttings
While rosemary can be started from seed, propagating from cuttings is usually the better choice. Seed germination tends to be slow and inconsistent. Taking a cutting from an established plant is simpler, faster, and more reliable. Plus, once you have a healthy, happy plant, propagating is free.
How to Take and Root a Rosemary Cutting
Start by choosing a healthy stem with soft, flexible growth rather than older woody material. Look for a stem where leaves are attached directly to the main stem. Cut a section about four to six inches (10.2 to 15.2 cm) long, making your cut just below one of these leaf attachment points, or leaf nodes. This is where the plant naturally produces roots most easily. Strip the leaves from the lower two inches of the stem, leaving the top foliage intact.
You should have a bare stem at the bottom and leafy growth at the top – this is the start of the new plant.
You can start, or root, the cutting in water or directly in soil. Both mediums work by encouraging the stem to grow new roots from the bare section you've prepared. Water lets you watch the roots develop, which some gardeners find reassuring, before you plant it in soil. Rooting in soil skips the transplant step and often produces sturdier roots from the start, but you don’t get to see the roots grow.
For water, place the stripped end in a glass with about two inches of water and set it in a spot with bright, indirect light. Change the water every few days to keep it fresh. Roots should begin to appear within two to three weeks.
For soil, fill a small container with moistened potting mix and use your finger or a pencil to create a planting hole. Insert the stripped end of the cutting about two inches deep, then firm the soil gently around it. Place the container in indirect light and keep the soil lightly moist but never waterlogged.
Humidity helps cuttings root more successfully, especially during dry weather. You can loosely tent a clear plastic bag over the cutting, but leave it open enough for air to circulate. Too much trapped moisture can encourage mold.
Check the cutting weekly by giving it a very gentle tug. When you feel resistance, roots have formed. Once you see new growth emerging from the tip, the cutting is established and ready for stronger light. Gradually move it into more direct sun over the course of a week or two, then transplant it into the garden or a larger container when it has developed a solid root system.
Most cuttings root within three to five weeks, though some take longer depending on conditions. If you're new to propagating rosemary, take several cuttings at once and expect some to struggle, while others succeed.
Take notes and photos as you go, so you can see which process worked best!
Caring for Your Rosemary Plant
Growing rosemary successfully over the long term comes down to a few key practices.
Watering
Water deeply but infrequently, allowing the soil to dry out somewhat between waterings. A good rule is to let the top inch or two of soil dry before watering again. Constantly wet conditions can stress the plant and lead to root rot over time. Container-grown rosemary may need more frequent watering than plants in the ground, but the same principle applies: err on the side of too dry rather than too wet.
Pruning and Harvesting
Regular pruning helps maintain a healthier shape and encourages bushier growth. Harvesting rosemary naturally acts as pruning, especially during the active growing season. When harvesting, try not to remove more than one-third of the plant at a time. Smaller, regular harvests are easier on the plant and encourage continued growth.
The best time to prune is in early spring before new growth begins, or after the plant has finished flowering. Remove any dead or damaged wood, and trim back leggy stems to encourage branching.
Herb Gardening
Grow your own fresh, flavorful herbs! In this class, you’ll learn how to select, plant, and care for a thriving herb garden, whether in pots or directly in the ground.
Placement and Companion Planting
Rosemary also benefits from thoughtful placement within the garden. Taller herbs should not shade shorter plants that need full sun. In the northern hemisphere, shorter herbs are generally best positioned to the south of taller plants so sunlight can reach them fully.
Rosemary pairs well in the garden with other Mediterranean herbs that share its preference for full sun and dry conditions. Thyme, oregano, sage, and lavender all make good neighbors and can often be planted together in the same bed or large container.
Winter Care
For gardeners in colder climates, protecting rosemary through winter takes some planning. Container-grown plants can be moved indoors to a sunny window before the first hard frost. Keep indoor rosemary in the sunniest spot available and reduce watering frequency since growth slows in winter.
In-ground rosemary in borderline zones (zone 7) may survive with heavy mulching and a sheltered location, but bringing plants inside or growing them in containers from the start is the more reliable approach.
Troubleshooting Common Rosemary Problems
Even with proper care, you may encounter issues when growing rosemary. Here are the most common problems and how to address them.
Yellowing Leaves
Yellow leaves usually signal overwatering or poor drainage. Let the soil dry out more between waterings and check that excess water can escape freely from containers. If the plant is in heavy clay soil, consider moving it to a raised bed or container.
Leggy, Sparse Growth
Insufficient sunlight causes rosemary to stretch toward the light, producing long stems with sparse foliage. Move the plant to a sunnier location and prune back leggy growth to encourage bushier regrowth.
Powdery Mildew
White, powdery coating on leaves indicates fungal growth, often caused by poor air circulation and high humidity. Improve airflow around the plant, avoid overhead watering, and remove affected foliage. In severe cases, organic fungicides containing neem oil or sulfur can help.
Root Rot
Wilting despite moist soil, mushy stems, and a foul odor from the soil all point to root rot. This is nearly always fatal and results from consistently waterlogged conditions. Prevention is the only real cure: ensure excellent drainage and water less frequently.
One More Thing
Growing rosemary requires learning how the plant responds in your particular space. Some gardeners grow it in raised beds. Others keep it in containers they move with the seasons. Both approaches can work well.
Start with one healthy plant and give yourself time to learn its rhythms. Over time, it often turns into several with a cutting for a new bed, a plant shared with a neighbor, or another container near the kitchen door.
Ready to go beyond rosemary? Our Herb Gardening class at the School of Traditional Skills walks you through establishing a productive herb garden from the ground up. You'll learn how to design your herb garden, how to build soil that supports healthy growth, planting strategies, and preservation methods that keep your harvest usable year-round. In just a few hours, you'll gain the confidence to grow a diverse herb garden that benefits your family and builds your homestead skills.
Herb Gardening
Grow your own fresh, flavorful herbs! In this class, you’ll learn how to select, plant, and care for a thriving herb garden, whether in pots or directly in the ground.