This is the final article in our five-part series on Dehydrating the Summer Harvest. Also in this series: Starting with Dehydration | Dehydrating Summer Produce | Using Herbs for Powdered Greens | Homemade Beef Jerky. All five articles are drawn from our full Dehydrating class with Darcy Baldwin, where she walks you through dehydrating food step by step.
The Three Enemies of Dehydrated Food
As Darcy Baldwin tells us in her class, the “worst things” for your food storage are “air, light, and water.” What do each of those do to your food?
- Air introduces oxygen that degrades color, flavor, and nutrients over time
- Light breaks down vitamins and fades color, so food should be stored in a dark pantry or in opaque containers
- Moisture – the most immediate threat – leads to softening and eventually mold
Every storage decision that we’ll get into below revolves around controlling these three things.
The Best Containers for Dehydrated Food
Glass jars are the gold standard for long-term storage, but there are a couple other options to consider.
Glass Jars: The Standard
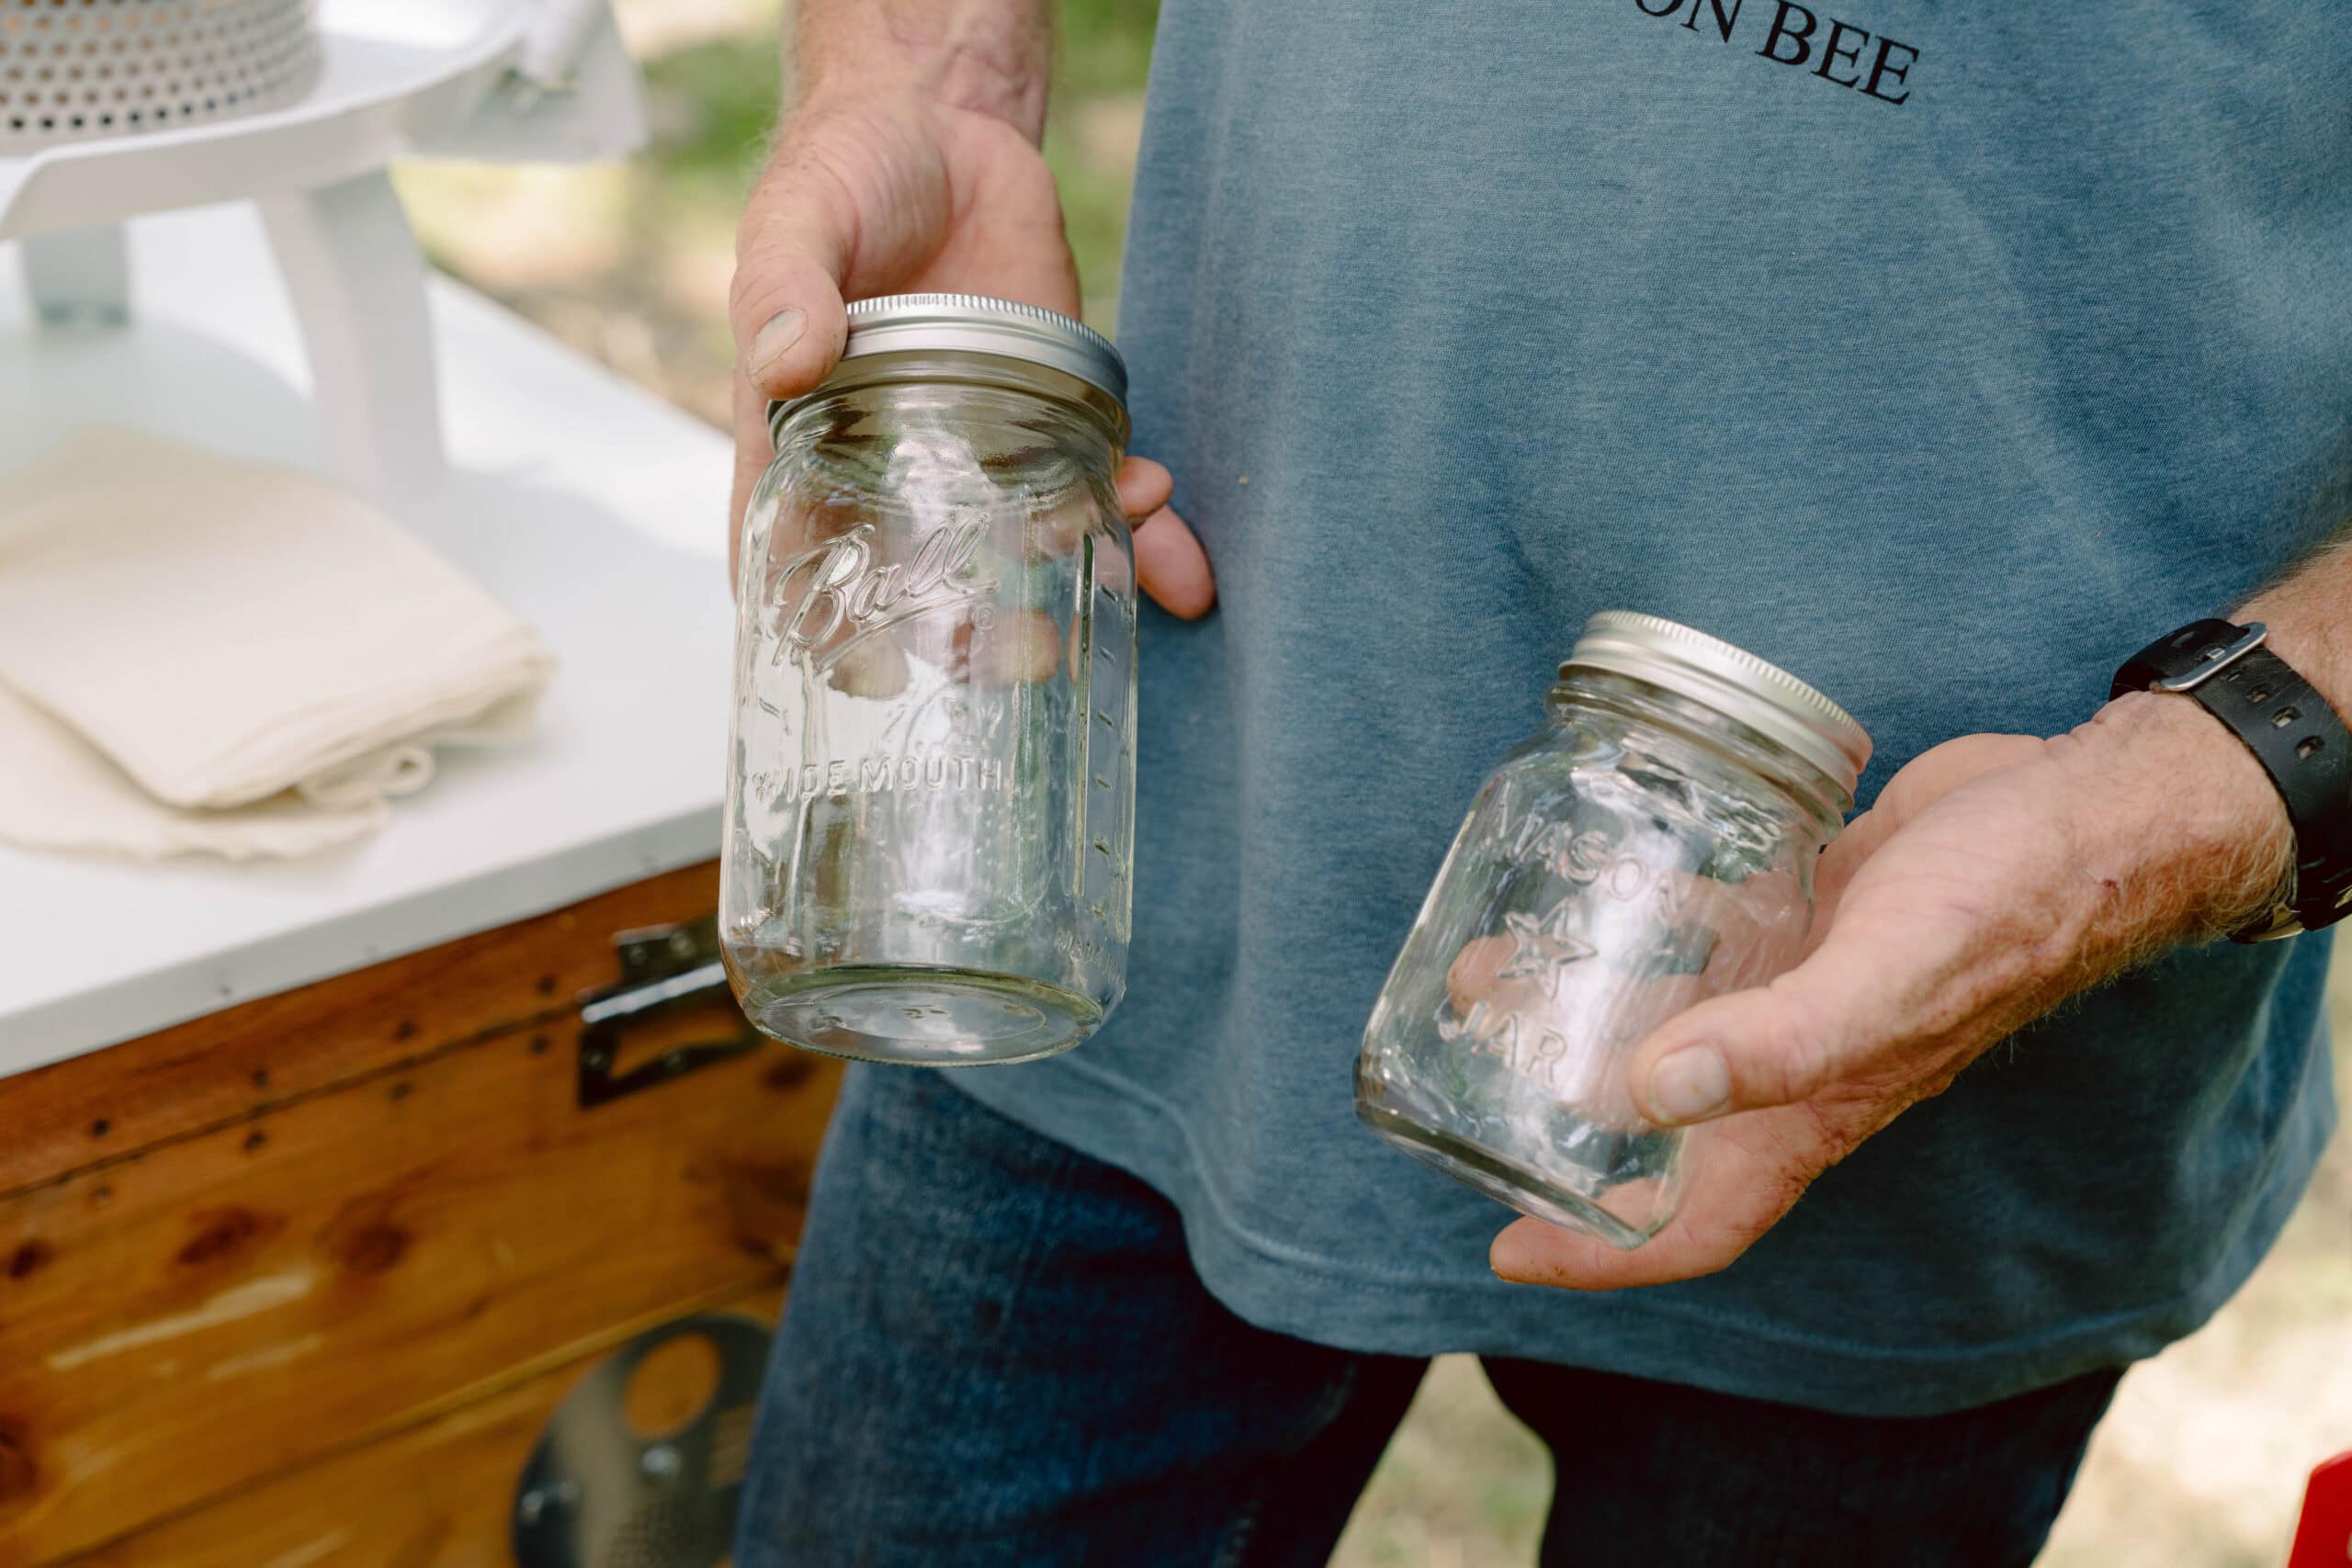
Canning jars (wide or regular mouth) are the original airtight containers, and they’re ideal. But reused commercial glass jars are also excellent (for example, pasta sauce or salsa jars). The key is to use the right size jar for the amount of food you’re storing. Too much headspace allows too much air and moisture in the jar, meaning a greater risk of spoiling.
The good news is that there’s no need to sterilize. It’s enough to clean the jar with hot soapy water and dry it completely before filling.
Mylar Bags: When They Make Sense
These are a convenient option for camping, RV travels, or long-term bulk storage. Darcy’s “trick” is to seal these bags with a hair straightener if you don't have an impulse sealer.
The problem with Mylar for everyday use is that it’s out of sight, out of mind. It’s easy for a bag to get pushed to the back of a shelf and hidden behind other items, so that’s why Darcy predominantly uses jars.
What About Plastic?
Avoid plastic containers for long-term storage. Many aren’t actually airtight, and there’s the added concern that dehydrated food (with its sharp edges) can create micro-punctures in plastic vacuum bags, allowing air to slowly infiltrate.
Vacuum Sealing – Is it Worth it?
“An airtight container is all you need to store your foods in. Doing vacuum sealing or any other method to add to it is a benefit, but it's not necessary.” — Darcy Baldwin
A vacuum-sealed jar extends the shelf life of your food beyond what a simple airtight jar provides. It’s a worthwhile step if you have the tool, and a decent small handheld version can run you as little as $40.
Just be sure to put the ring back on once you’ve vacuum sealed the mason jar. And stick to jars – vacuum seal bags are NOT recommended for dehydrated food because of the sharp edges we talked about before.
Moisture Absorbers vs. Oxygen Absorbers
“A moisture absorber is something that helps control the moisture in the air or in your jar. An oxygen absorber removes the oxygen that's in your jar.” — Darcy Baldwin
The most-asked storage question is whether to use moisture absorbers (also known as desiccant, or gel, packs) or oxygen absorbers. They have two different functions, and are appropriate in different situations.
When to Use a Moisture Absorber (Desiccant Pack)
Moisture absorbers are for those jars you open frequently. Every time you open a jar, you introduce moisture from the air, so this little tool is absolutely essential in high-humidity environments.
What sorts of foods are most susceptible to damage from moisture? Powders (like your green powders or spice blends) can clump easily when exposed to moisture. Fruit is also prone to softening more quickly, so you can add a desiccant pack to slow reabsorption of moisture from the air.
The benefit of these packs is that they can be left in the jar, even as you access certain dehydrated foods frequently.
When to Use an Oxygen Absorber
Oxygen absorbers are intended for long-term storage – these are jars you don’t plan to open for months or a year. They remove the oxygen that’s in the jar, but once a jar is opened and exposed to air, the oxygen absorber should be replaced with a new one. Bottom line? These are not for the jars that you’re regularly using in your cooking.
Oxygen absorbers come in different sizes, so grab the size you need for the container you’ll be using. (The chart with this information is included in the skill sheet for Darcy’s Dehydration class at the School of Traditional Skills.)
Dehydrating
Fill your shelves with long-lasting, nutritious snacks, meals, and ingredients all while staying on (or below) budget! Learn the art of dehydrating foods and create a bounty of dried fruits, vegetables, herbs, and even jerky, ensuring you have a healthy, flavorful stockpile all year round.
Labeling and Organizing Your Pantry
We’ve said it throughout this series, but always label every jar before it goes on the shelf with the food contents and date.
Sharpie and painter's tape is the simplest system, since the tape peels off cleanly for reuse. Dissolvable labels are another option, and we provide links for that (and the other recommended supplies) in the class skill sheet.
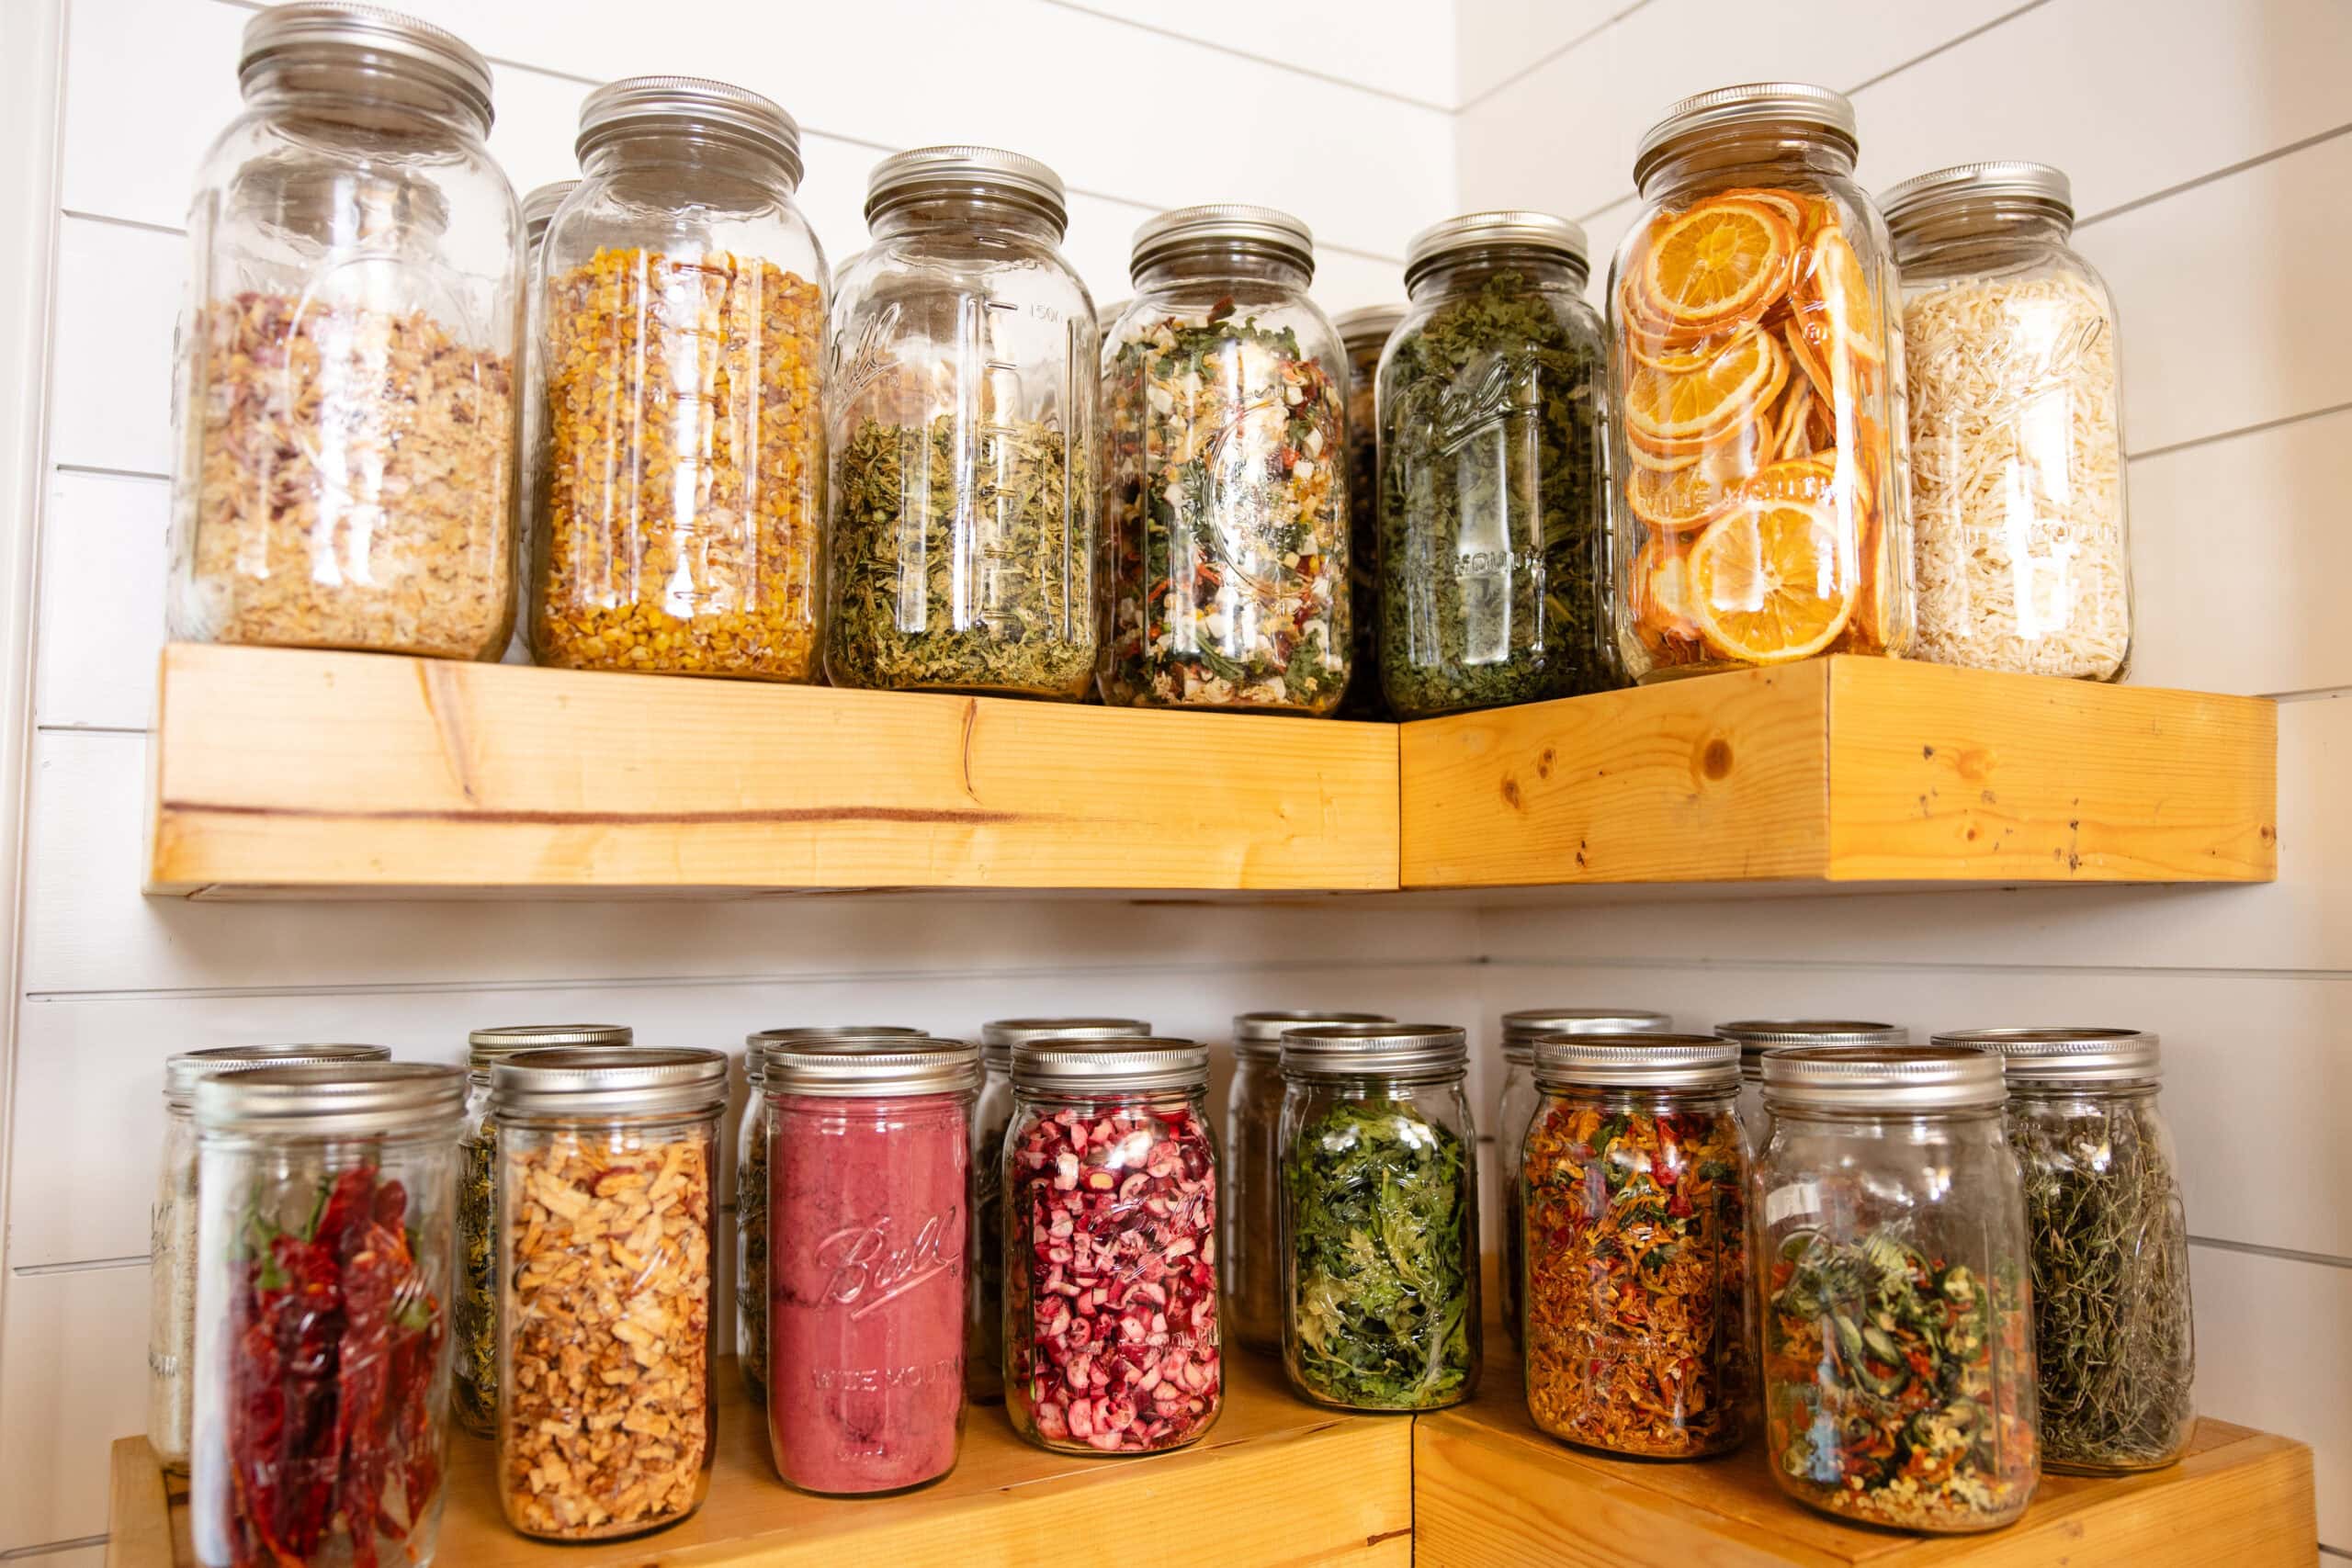
Rotate stock by using the oldest jars first. Put new jars at the back, and pull from the front. Keep it all organized by category – one shelf for vegetables, one for fruit, one for herbs and powders – so it’s easy to pull down the jars you need as you cook.
How Long Does Dehydrated Food Last?
Optimally dehydrated food lasts for about two years. According to the National Center for Home Food Preservation, you may start to see a reduction in nutrients, texture, and flavor after the two-year mark, but your mileage will vary with your food and your storage situation. Below are the dehydrated food shelf life ranges for the major food groups:
- Herbs and spices: 1–3 years (flavor fades before safety does)
- Fruit slices and fruit leather: 1–2 years
- Vegetables: 1–3 years, though root vegetables can go longer
- Powdered greens: 1–2 years
- Jerky: 1–2 months at room temperature (but it can last up to 6 months refrigerated, or up to 1 year frozen)
Vacuum sealing extends these windows – the more you remove air, the longer it lasts.
Ultimately, the real test of whether your food is still good is sensory: if there’s no mold, and it still smells and tastes right, it's fine.
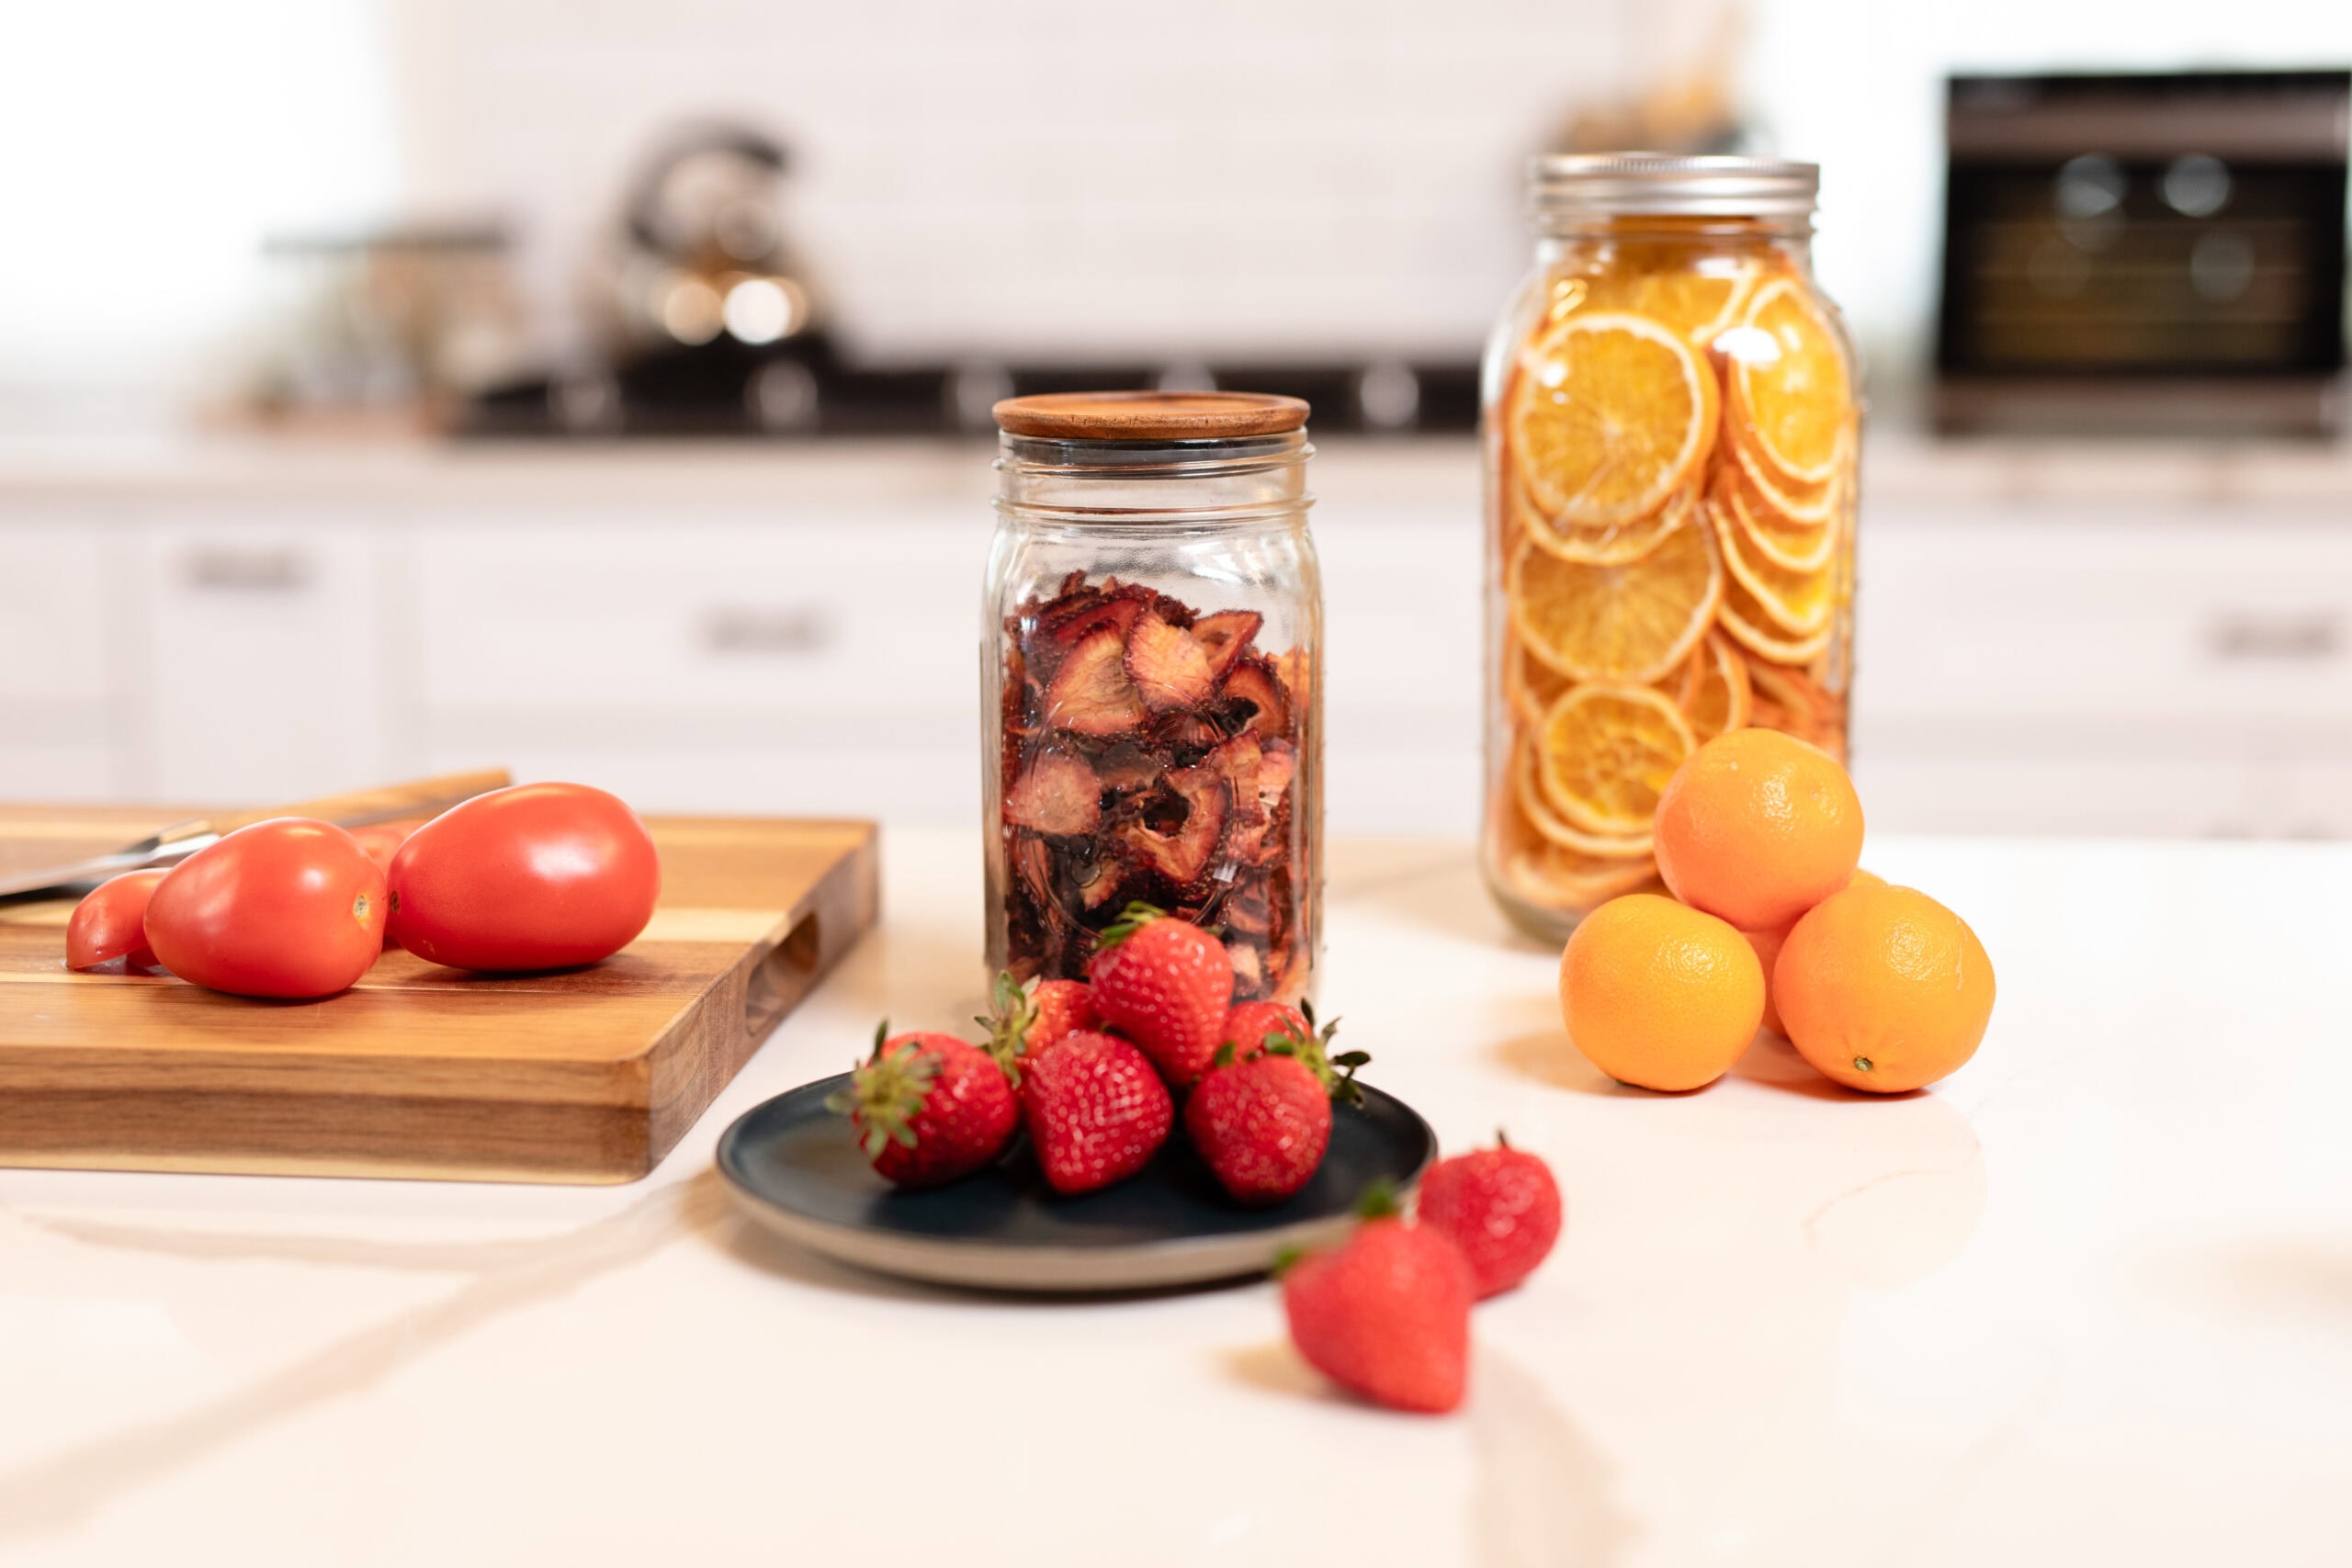
How to Use Your Dehydrated Pantry in Winter Cooking
Your dehydrated pantry is a work of art – beautiful to look at, but only useful if you cook from it regularly.
The key to rehydrating is knowing the equivalent ratios between dried foods and fresh. Dried foods have less volume, so they should generally be rehydrated using this ratio:
One cup of fresh equals ¼ to ⅓ cup dried (for most vegetables) or 1 tablespoon powdered
So if your zucchini recipe calls for two cups of freshly grated zucchini, rehydrate ½ cup of dried zucchini, re-measure it, and make adjustments as needed to get to the needed two cups.
There are several rehydration methods included in the class skill sheet, but the most straightforward option is to cover the dried food with warm or hot water, and let it sit for 20–45 minutes before adding it to a recipe.
Uses That Don't Require Pre-Rehydrating
Several items don’t require the additional pre-rehydration step and can be incorporated as-is into a dish while it cooks or be eaten in their dehydrated state. The list includes:
- Soups and stews: add dried vegetables directly because they rehydrate as the dish cooks
- Powdered greens: add directly to sauces, eggs, casseroles, smoothies, and baked goods
- Dried herbs: use exactly as you would store-bought dried herbs
- Fruit leather: eat as-is
- Jerky: eat as-is or crumble into trail mix, grain bowls, or chili
Uses That Benefit from Rehydrating First
Plan ahead for these items, which should ideally be rehydrated prior to consumption:
- Sliced fruit in baking (pies, cobblers, and crisps): rehydrate 20–30 minutes in warm water before using
- Dried tomatoes in pasta sauce: soak 15 minutes in warm water, or add to sauce as it heats
- Dried mushrooms: soak in warm water and re-use the soaking water as a broth
The full rehydrating guide, drying time and temperature charts, and step-by-step lessons for everything covered in this series are included in the Dehydrating class with Darcy Baldwin.
Commonly Asked Questions About Storing Dehydrated Food
Not for long-term storage. Most plastic containers are air-permeable, and dehydrated food's sharp edges cause micro-punctures in plastic vacuum bags. Glass jars with airtight lids are the preferred option. If you don’t have canning jars, use commercial pasta sauce or salsa jars.
Check for visible mold, unusual or off smells, or significant texture changes (like soft, sticky, or tacky when it should be firm and dry). If food has gone soft and there's no visible mold, you can re-dry and test. When in doubt, discard.
No, shelf-stable food does not require refrigeration. That's why we dehydrate! Refrigerating can actually introduce moisture through condensation when you move cold jars to a warm room. Instead, store your jars in a dark pantry at a cool, consistent room temperature.
Conditioning allows you to double-check over a few days to make sure that your food is dry before you store it long-term. With the contents of your jar loosely sealed and at room temperature, shake daily to redistribute any residual moisture. If you see condensation inside the jar during conditioning, the food needs more time in the dehydrator before storing. If, after 5–7 days of conditioning, you have confirmed the food is fully dry, then seal the jar properly and put it into storage.
Cover with warm or hot water and let it sit for 20–45 minutes. Use the soaking water in your cooking if it tastes good – it holds nutrients and flavor.
For soups and stews, you can skip rehydrating and add the dried vegetables directly into the broth because they’ll rehydrate as the dish cooks over 20–30 minutes.
One More Thing
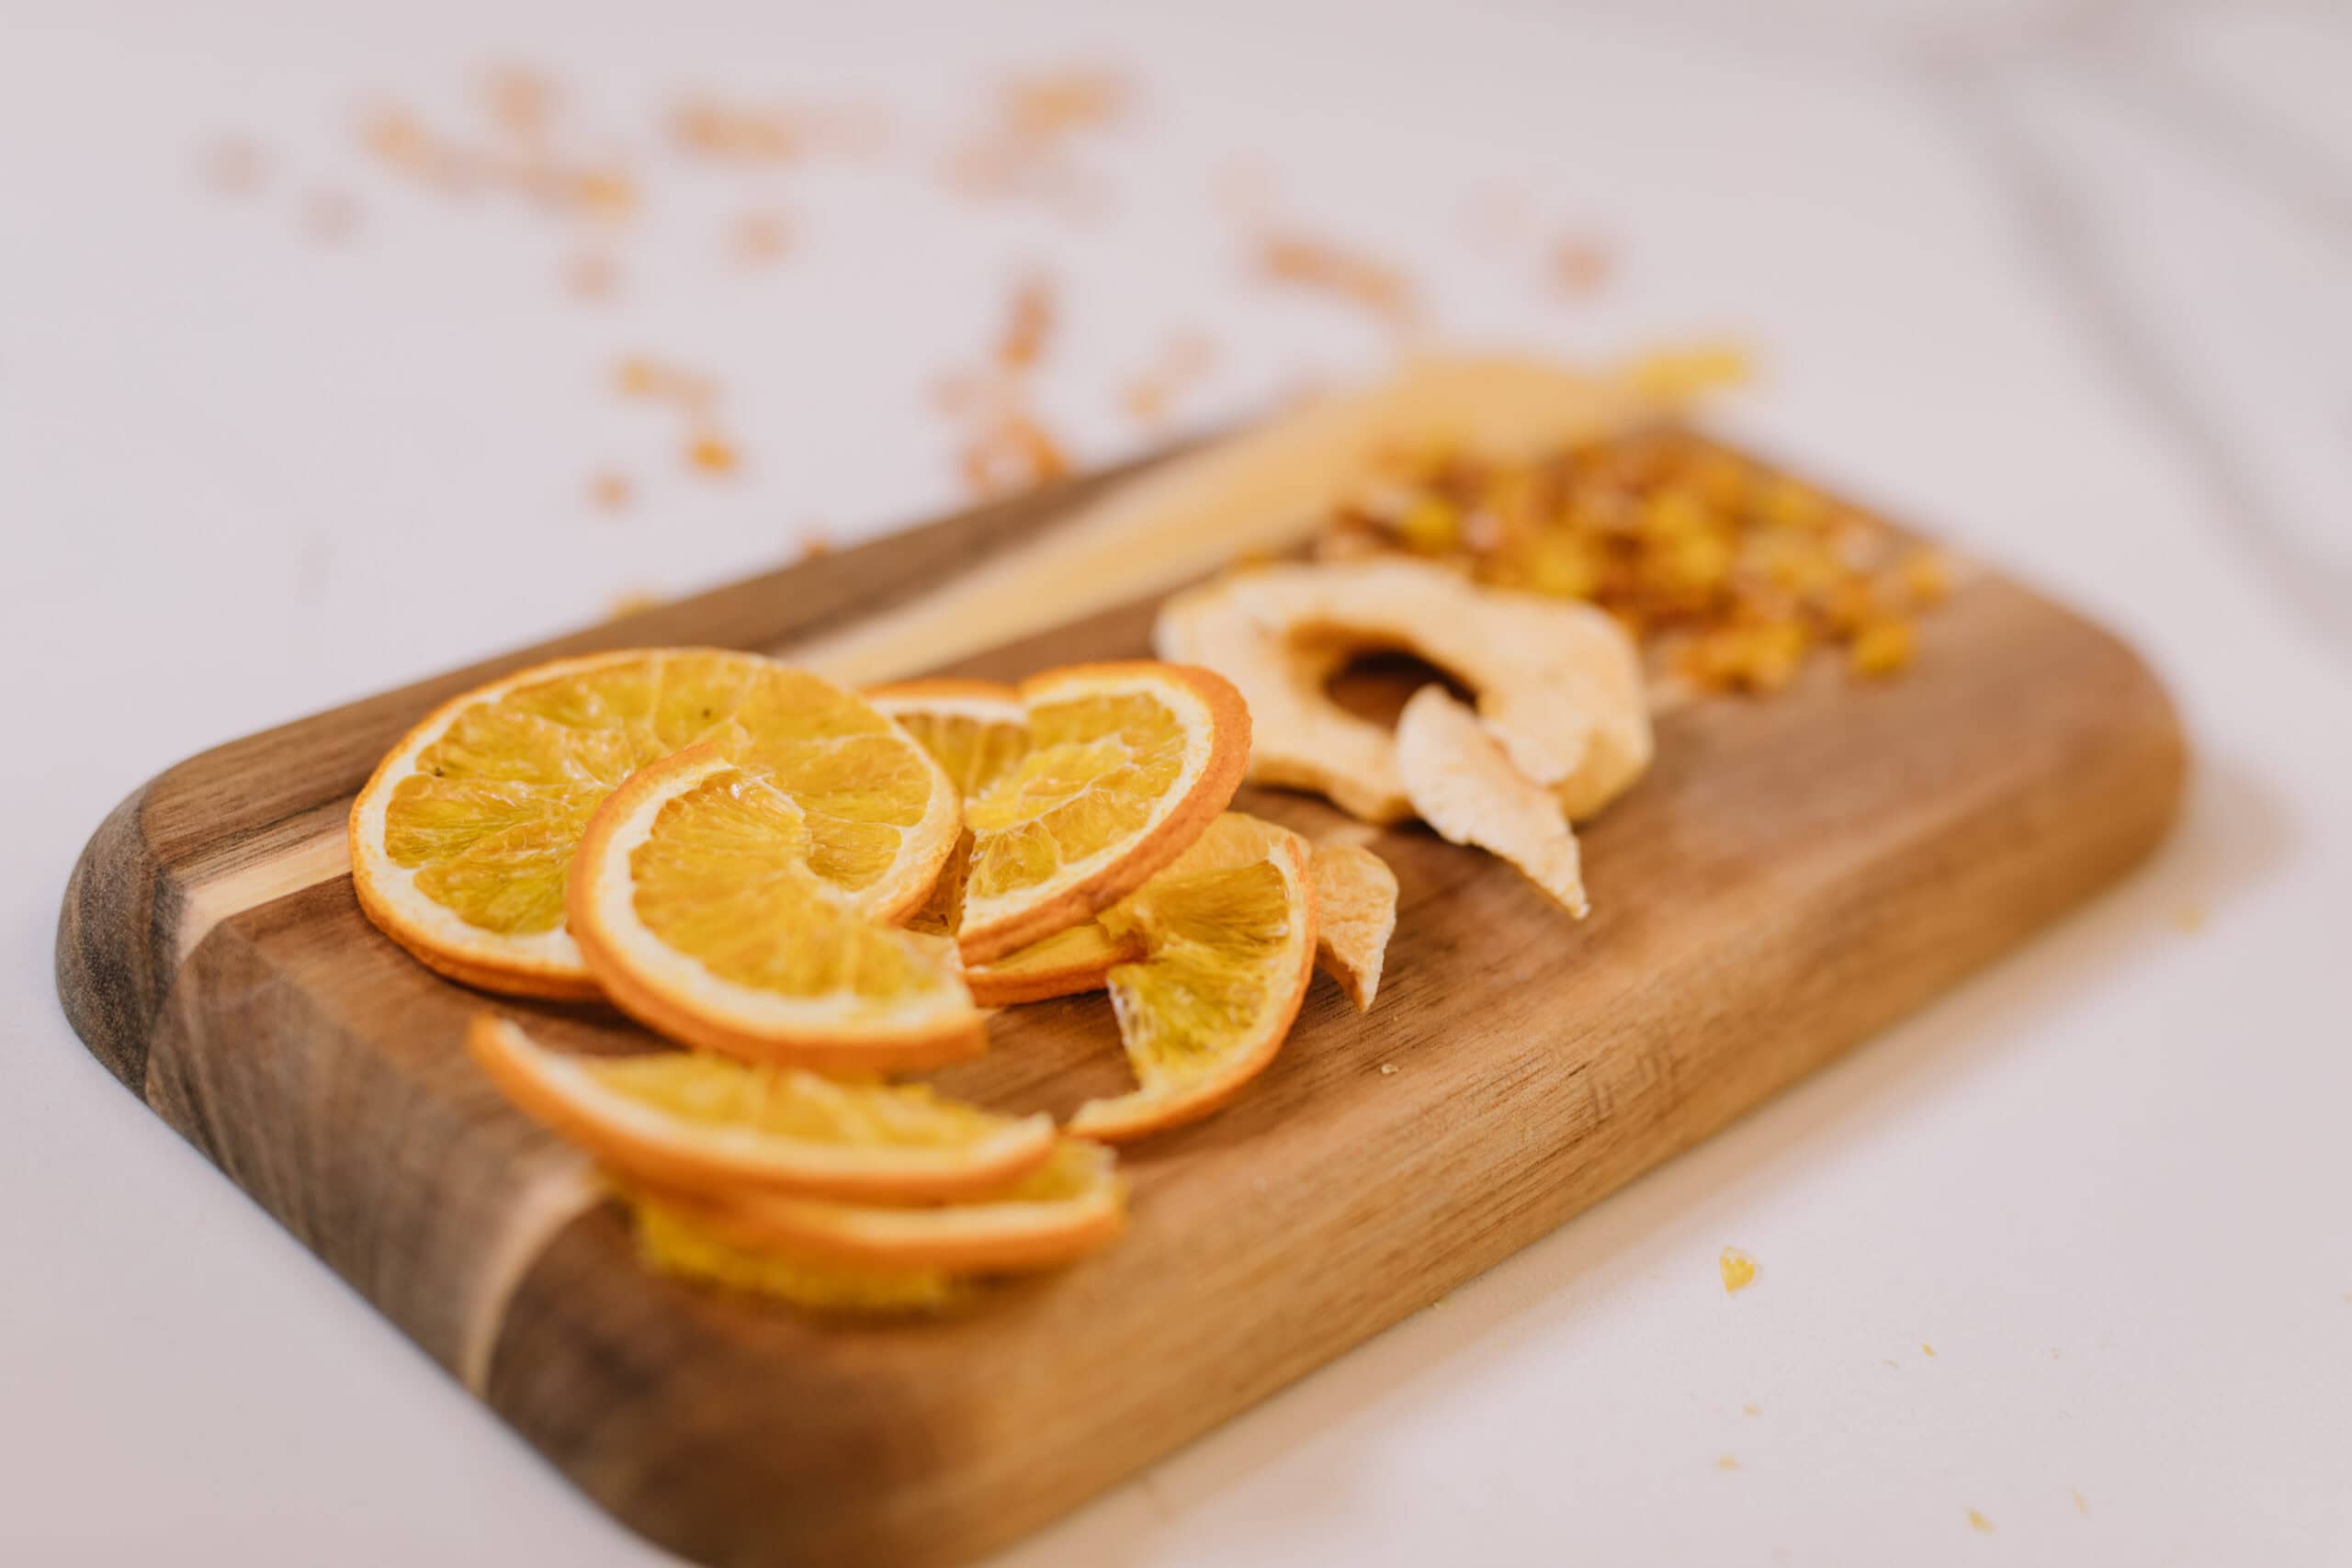
Invest a little time now to get the summer harvest into a jar, and your efforts will pay off all year.
One of the best ways to put your new dehydrating skill to work is by making shelf-stable, ready-to-eat meals that require just hot water to rehydrate. Darcy calls these her “Meals in a Jar,” and they’re soups that can be prepared in a variety of flavors within a few minutes.
She provides a couple of recipes in her class skill sheet, like her taco soup, but here’s a simple veggie soup you can try. Layer dried carrots, celery, onion, garlic, corn, peppers, tomatoes, and herbs in a wide-mouth jar. Add a packet of broth base or a crumbled bouillon cube. Label the jar with the contents and rehydration instructions (typically, you’ll add 4–6 cups of water to the jar’s contents and simmer those in a pot for 20–30 minutes). When the winter sniffles strike, open the jar, add the water (and a cooked protein, if you like), and enjoy your soup! No standing-at-the-stove-for-hours required.
Ready to stock your pantry now with high-quality, low-cost dehydrated foods? Learn the ins and outs of Darcy’s method with her class on Dehydrating at the School of Traditional Skills.
Dehydrating
Fill your shelves with long-lasting, nutritious snacks, meals, and ingredients all while staying on (or below) budget! Learn the art of dehydrating foods and create a bounty of dried fruits, vegetables, herbs, and even jerky, ensuring you have a healthy, flavorful stockpile all year round.
Darcy Baldwin of The Purposeful Pantry didn't just learn how to dehydrate food; she built it into the rhythm of her daily life. Over two decades, she studied with the National Center for Home Food Preservation and other extension services, learning the safest methods for preserving everything from beef jerky to greens to medicinal herbs. Today, she's taught thousands how to run their dehydrator nearly every day of the year, saving their families thousands of dollars while reducing food waste and packing more nutrition into meals their kids will actually eat. Her approach makes dehydrating a practical, sustainable habit that pays off every single week.