This article is the fourth in a series on Summer Preservation. See article one here, article two here, and article three here. If you’re ready to take the next step, check out our class on Dehydrating with Darcy Baldwin of The Purposeful Pantry. Once you know how and which vegetables to blanch, you’re well on your way to learning how to dehydrate your summer produce!
Frozen Vegetables Don't Have to Taste Like Frozen Vegetables
Freezing vegetables seems pretty self-explanatory, but there’s a proper technique for preparing your summer vegetables for longer-term storage in the freezer. The secret to locking in that fresh summer taste? Blanching. Not every vegetable needs to be blanched, but if you skip this essential step for those that do, you end up with a brown, mushy mess.
Since no one wants to eat green beans reminiscent of cardboard, this article will walk you through the process for making frozen vegetables that actually taste good.
What is blanching?
If you’re new to blanching, this is one of those essential cooking methods that every serious home chef should know. It involves a quick boil followed by an ice bath, but we’ll break down the technique step by step in a moment.
What does blanching do for frozen vegetables?
This technique is probably most notable for turning your green vegetables a pretty, vibrant green, but there are so many more benefits to blanching your vegetables prior to freezing.
Stopping enzyme activity. Vegetables contain enzymes that continue to break down color, flavor, and texture even when frozen. That degradation can also lead to nutrient loss, but blanching stops all those processes in their tracks.
Locking in color. Blanching keeps green beans green (not brown) and broccoli bright (not dull).
Preserving texture. Blanching prevents mushiness when thawed.
Killing surface bacteria. It makes vegetables safer and longer-lasting.
What happens if you don't blanch vegetables before freezing?
The results are less than stellar. For vegetables that benefit from blanching – including peas, green beans, broccoli and cauliflower, corn, zucchini and summer squash, celery, and leafy greens – expect:
- To see your vegetables turn brown or dull within two to three months
- The flavor to become off or bitter
- The texture to become mushy and fibrous
Ultimately, you may end up with a bad batch of frozen vegetables.
Which vegetables don't need blanching before freezing?
There are a few vegetables that can go straight to the freezer with minimal or no processing. These include:
- Peppers, both hot or sweet – these freeze beautifully raw because they have tough cell walls that can handle the cold
- Onions – chop and freeze raw
- Herbs – freeze in olive oil or water (many folks like to use an ice cube tray to portion them out)
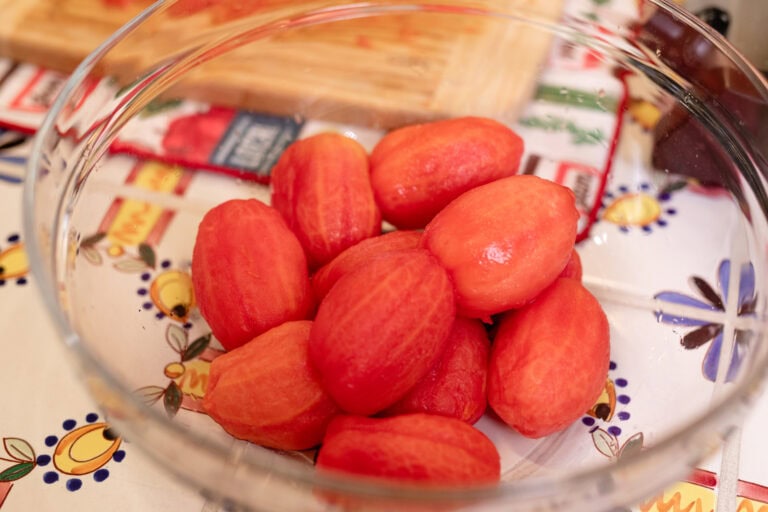
- Tomatoes – freeze whole for future sauce-making
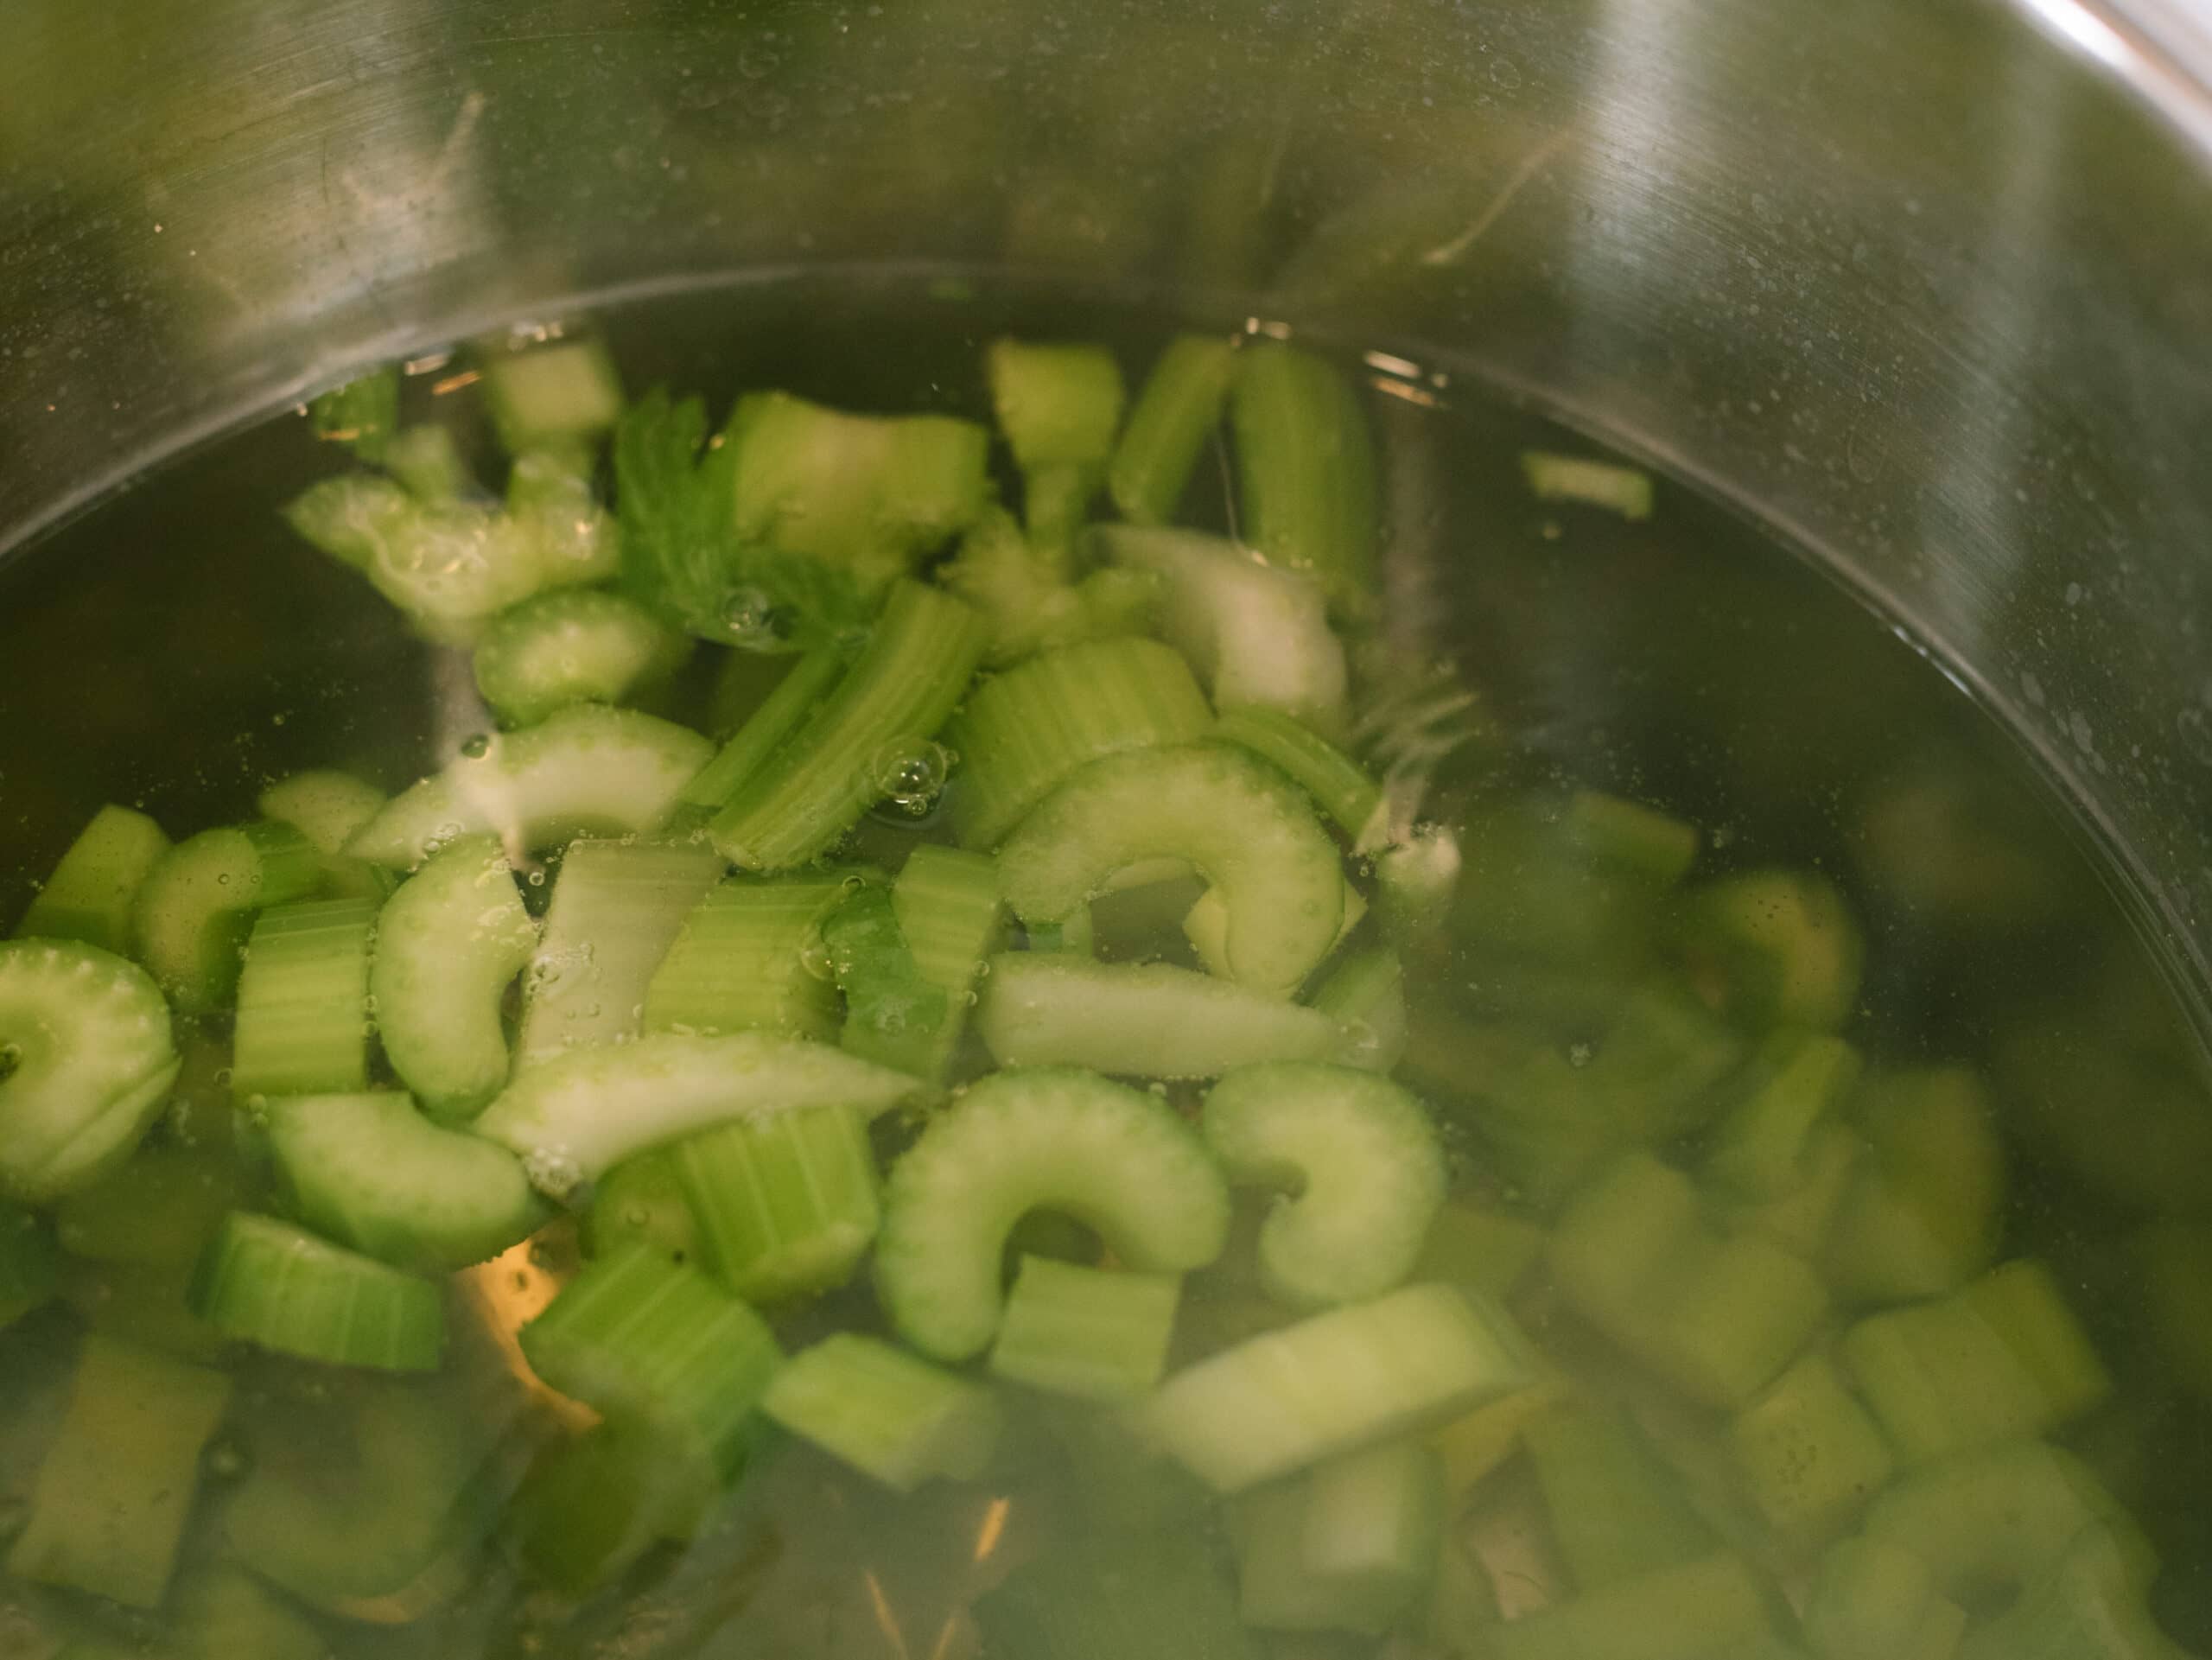
The Blanching Process (Step-by-Step)
What do I need to blanch vegetables at home?
You likely already have everything you need to begin blanching your vegetables. If you’re ready to begin now, gather the following materials:
- Large pot of boiling water
- Large bowl of ice water (a few handfuls of ice cubes and some cold water should be good)
- Slotted spoon, strainer, or sieve
- Kitchen timer
The Basic Process
Step 1: Prep the vegetables
This is the time to wash, trim, and cut them to size before putting them to boil.
Step 2: Boil
Put your vegetables into the pot of rapidly boiling water, and start the timer immediately. If you’re making your way through a mountain of vegetables and don’t have a pot large enough to tackle the job all at once, just make sure you get the water back up to a boil before sticking in the next batch.
Step 3: Ice bath
As soon as the timer goes off, move the vegetables immediately to the ice water. A larger sieve or strainer is preferable here to a slotted spoon, but work with what you have.
Step 4: Drain thoroughly
Shake off the excess water, since water becomes ice crystals in the freezer, and ice crystals produce freezer burn.
Step 5: Freeze
Spread the pieces out in a single layer on the tray, stick them in the freezer until they’re frozen to the touch (called “flash freezing,” since it can be done ‘in a flash,’ or under 30 minutes), and then bag them.
Why the Ice Bath Matters
When cooking pasta, most folks remove it from the boiling water and run cold water over it. With blanching, we do something similar when we transfer the boiling vegetables to the ice water. This step instantly stops the cooking process, avoiding overcooked, mushy vegetables.
How to Freeze Early Summer Vegetables
You’re already familiar with the benefits of freezing foods from our first article on strawberries – namely, better flavor and nutrition retention, not to mention the ease and speed with which you can get the job done.
If you’ve opted for freezing a bunch of your early summer vegetables (at least for now – remember that you can still can or dehydrate it at some later time!), here’s a brief guide you can reference when the harvest is plentiful.
Peas
- Blanching time: 2–3 minutes (small peas need 2 minutes, large peas 3)
- Why this works: Peas freeze well because they have a high sugar content that locks in sweetness
- Pro tip: Freeze peas within 2–3 hours of picking because those sugars convert to starch fast (and try to harvest in the morning – that’s when they’re most crisp and flavorful)
- How to use: Add frozen peas directly to soups or stir-fries (no thawing needed)
Green Beans
- Blanching time: 3 minutes for whole beans or 2 minutes if they’re cut into one-inch (2.5 cm) pieces
- Prep: Trim the ends and leave them whole, or cut them into smaller pieces
- Pro tip: French-cut green beans (sliced lengthwise) blanch faster and offer a fancier presentation
- How to use: Enjoy a side of green beans steamed from frozen, or add them to casseroles, chicken pot pie, or stir-fries
Broccoli and Cauliflower
- Blanching time: 3 minutes for florets
- Prep: Cut into 1–1.5 inch (2.5–4 cm) florets
- Pro tip: Add 1 tablespoon of lemon juice or vinegar to the ice water bath, since this helps to keep broccoli bright green
- How to use: Roast from frozen and eat as a side or add to pasta, casseroles, or stir-fries
Corn
- Blanching time: 4 minutes for corn on the cob or 3 minutes for kernels
- Prep: Husk the cob and remove the silk
- Pro tip: You can blanch the cob and freeze it whole, but if you want to save on freezer space, let the cob cool down after blanching, cut the kernels off, and then freeze those
- How to use: Boil from frozen or add to soups
Zucchini and Summer Squash
- Blanching time: 3 minutes, whether sliced or cubed
- Prep: Slice the rounds in half or dice them smaller
- Pro tip: Zucchini releases a lot of water when thawed, so plan to use it for baking, soups, or sauces, but not as a standalone side dish
- How to use: Add frozen to soups, stews, or baked goods (zucchini bread!)
With all these items, remember to use the tray-freeze method so the veggies will freeze separately and not in one large mound. All it takes is a quick flash freeze before transferring them into your final storage container and sticking them in the freezer.
Water Bath Canning
Fill your pantry with healthy, delicious “fast food” you make at home! Discover water bath canning and make safe, tasty canned fruits and veggies so you always have a delicious supply of tomatoes, pickles, jams, pie fillings, green beans, and much more!
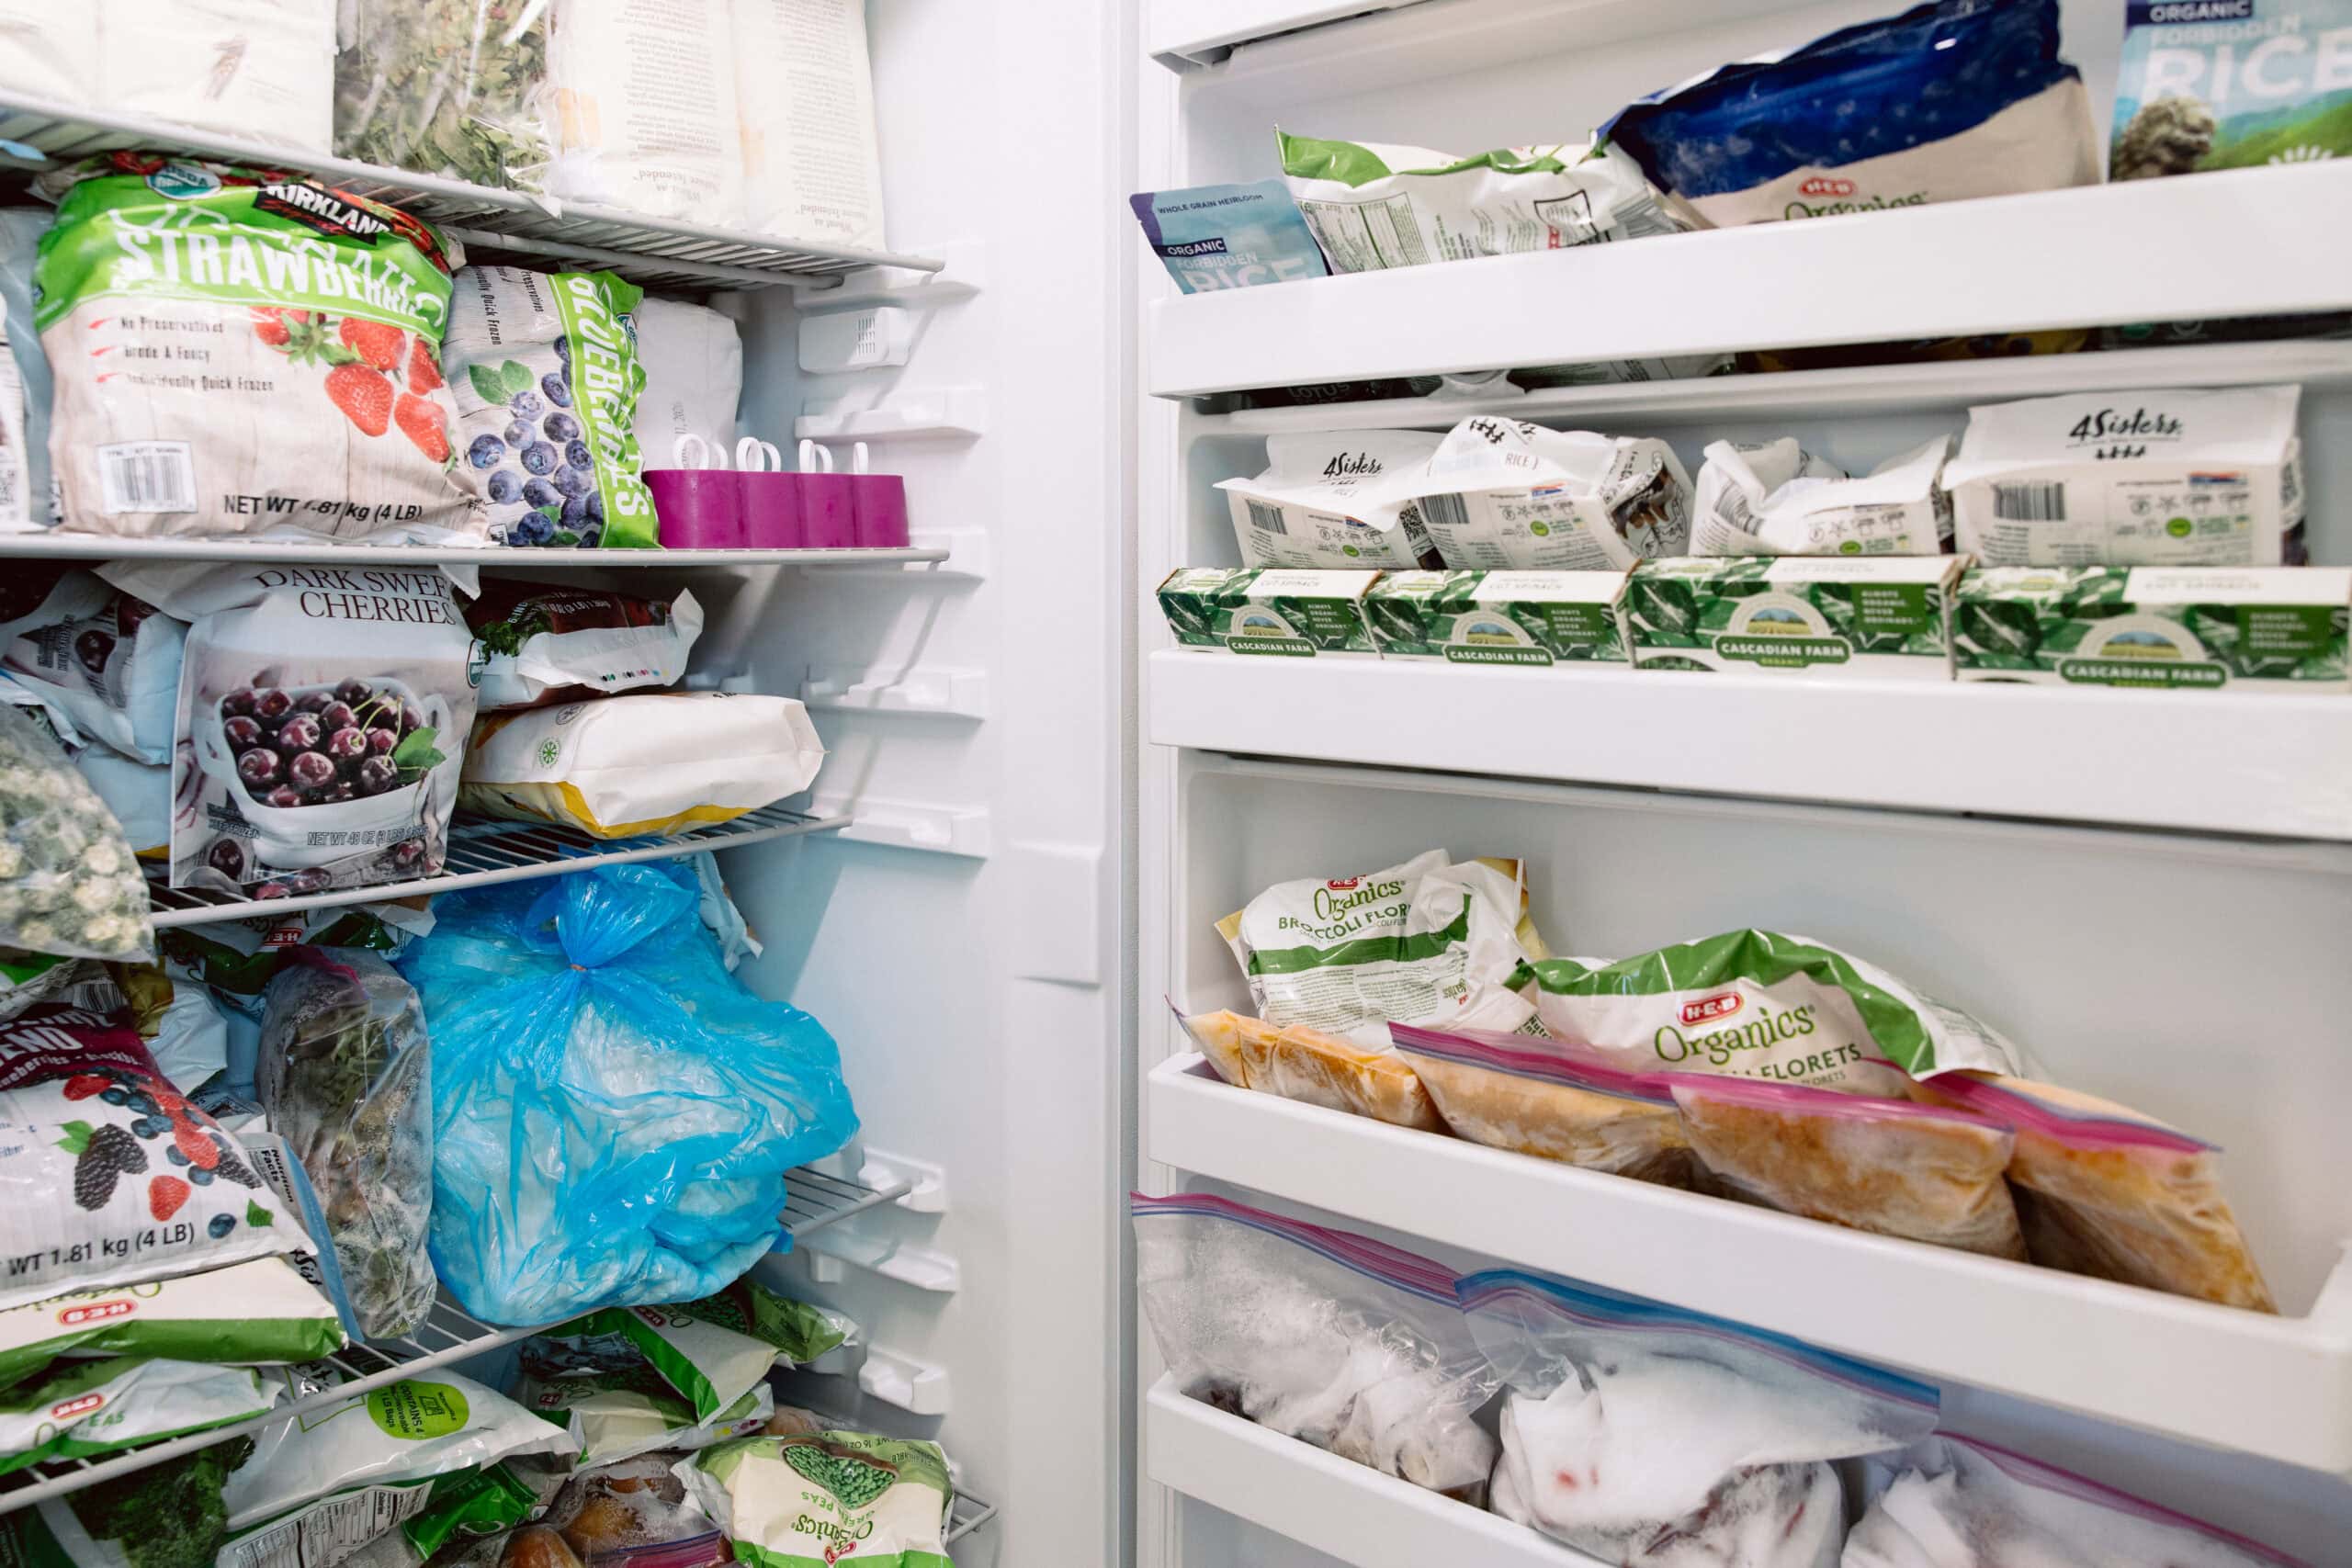
How do you prevent freezer burn on vegetables?
We’ve probably all experienced the disappointment of pulling out a bag of vegetables from the deep freezer, only to find that they’re covered in ice crystals. Are they safe to eat? Yes, but the flavor and texture are less than ideal. That, friends, is what we call freezer burn. But how does it happen, and how can we prevent it?
What Is Freezer Burn?
When food is exposed to cold air and temperature fluctuations in the freezer, ice crystals form on the surface, leaving behind dry, tough, discolored spots. It’s unappealing, but still technically edible – it just doesn’t taste great.
How to Prevent Freezer Burn
There are a few strategies you can use to keep your newly frozen veggies safe from freezer burn.
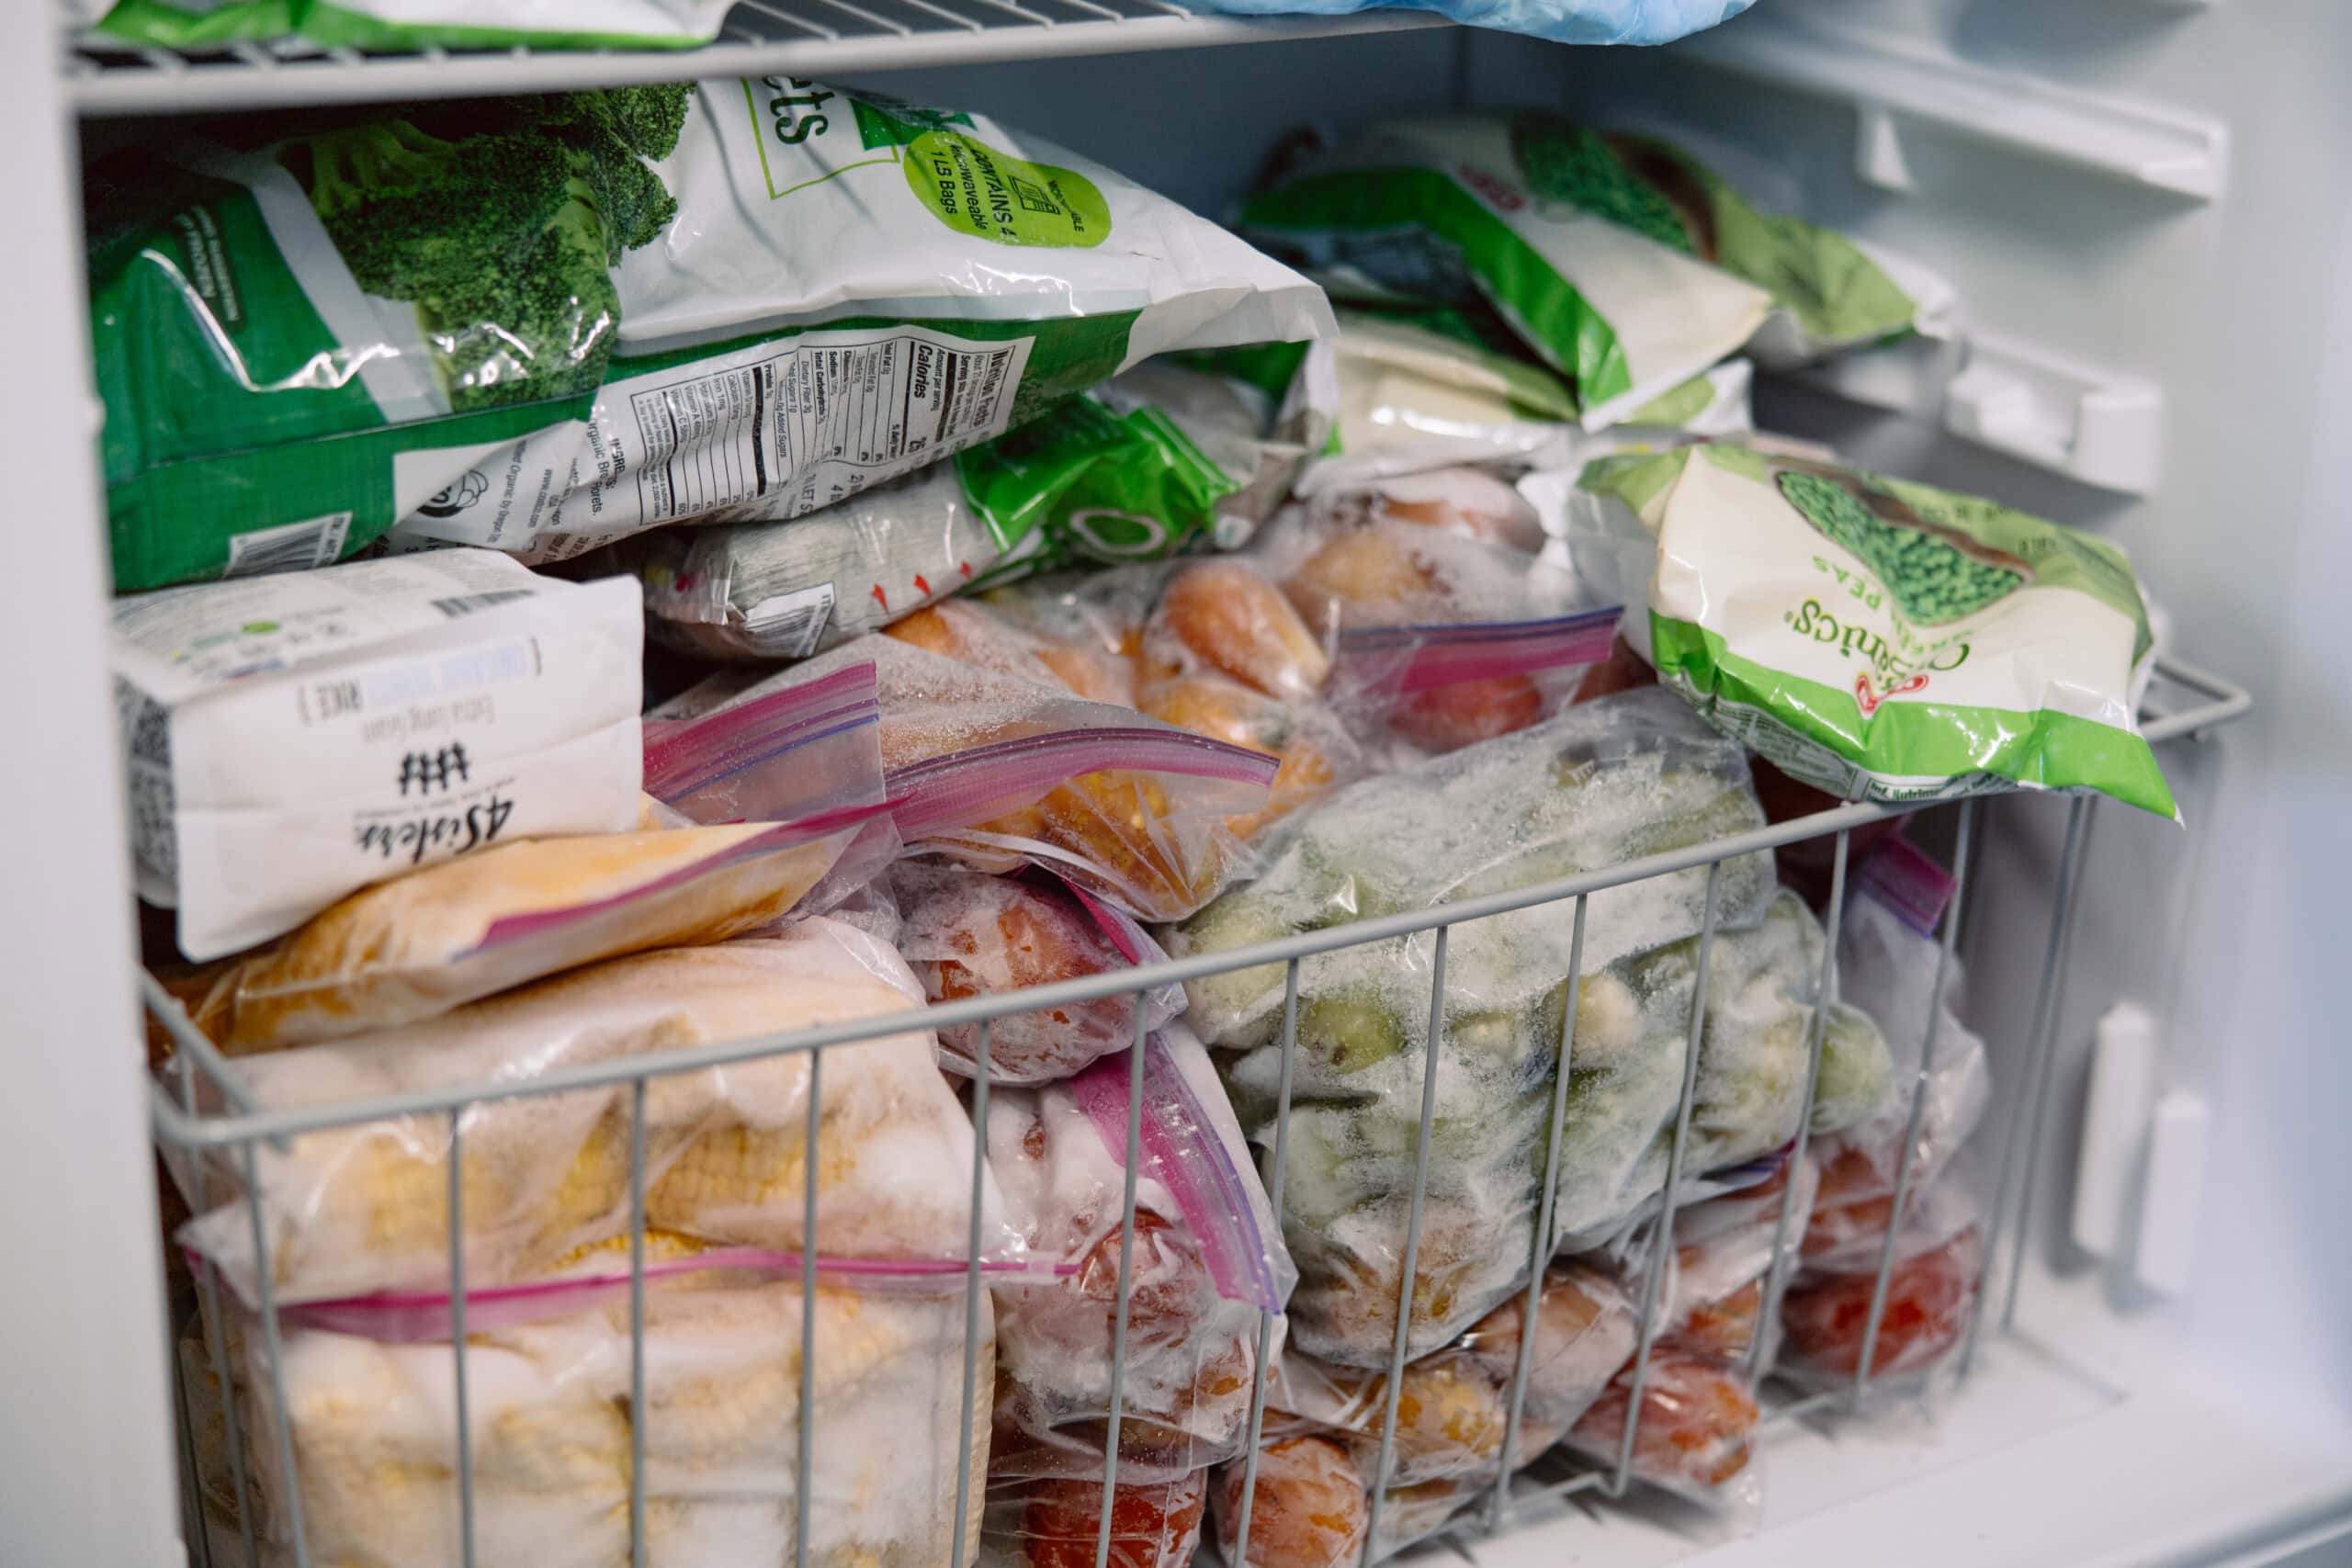
Use freezer-safe bags or containers
The options for freezer storage include:
- Freezer bags, not regular storage bags (they're not thick enough)
- Glass containers with tight lids
- Vacuum-sealed bags are the best option but require some specialized equipment
Remove as much air as possible
For freezer bags, press out the air before sealing, or use a straw to suck out the remaining air.
This is where a vacuum sealer shines. It removes 99% of the air, which makes it a worthwhile investment if you freeze a lot.
Label everything
When it comes to labeling, be systematic. Using freezer-safe markers or labels, write the contents, date, and estimated shelf life on the container. It’s helpful to also note whether the item is blanched or raw.
If you expect to go into your freezer in 6 months, pull out a container, and recall perfectly what’s inside without a label, think again!
Freeze in portions
Since small portions thaw faster, consider freezing foods pre-portioned out – 2-cup portions work well for most recipes. If you’re trying to use your freezer space as efficiently as possible, flat bags that stack will allow you to fit more than a mishmash of variously-sized or round containers.
Maintain consistent freezer temperature
Keep the freezer at 0°F (-18°C) or below and avoid frequent door opening. Temperature swings contribute to the formation of ice crystals.
How do you cook frozen vegetables from the garden?
All the blanching and freezing would be for naught if you didn’t eventually cook and enjoy your vegetables! The best part is that you’ve already done the prep prior to freezing your bounty, so the actual cooking time should be relatively quick.
Shelf Life Guide
If you labeled your frozen veggies when you stored them, you should know exactly how old they are when you go to open the freezer. Aim to cook the oldest things first, and try to use all the blanched items before a year is up. Properly blanched and sealed veggies will last 10–12 months at peak quality. After 12 months, if stored in a deep freezer, they should still be safe, but flavor and texture will begin to decline.
The unblanched vegetables won’t last nearly as long – you might get 2–3 months in the freezer before quality drops noticeably. That said, peppers will last 6–8 months, and possibly up to 1 year, with very little decline in flavor and texture.
Don't Thaw Before Cooking (Most of the Time)
Skip the thaw! Vegetables are best cooked from frozen since thawing first will actually turn them mushy.
The one exception is for vegetables that are going into baked goods, like zucchini in sweet bread. In that case, thaw it and then drain the water before mixing it into your batter.
How to Cook Frozen Vegetables
There are several cooking methods that could be used with frozen vegetables:
Steam: 3–5 minutes from frozen
Boil: Add to boiling water, cook 2–3 minutes
Stir-fry: Add frozen directly to a hot pan with oil
Roast: Spread on a baking sheet, roast at 425°F (218°C) for 15–20 minutes (they'll release water, then caramelize)
Add to soups: Toss in frozen during last 5 minutes of cooking
One More Thing
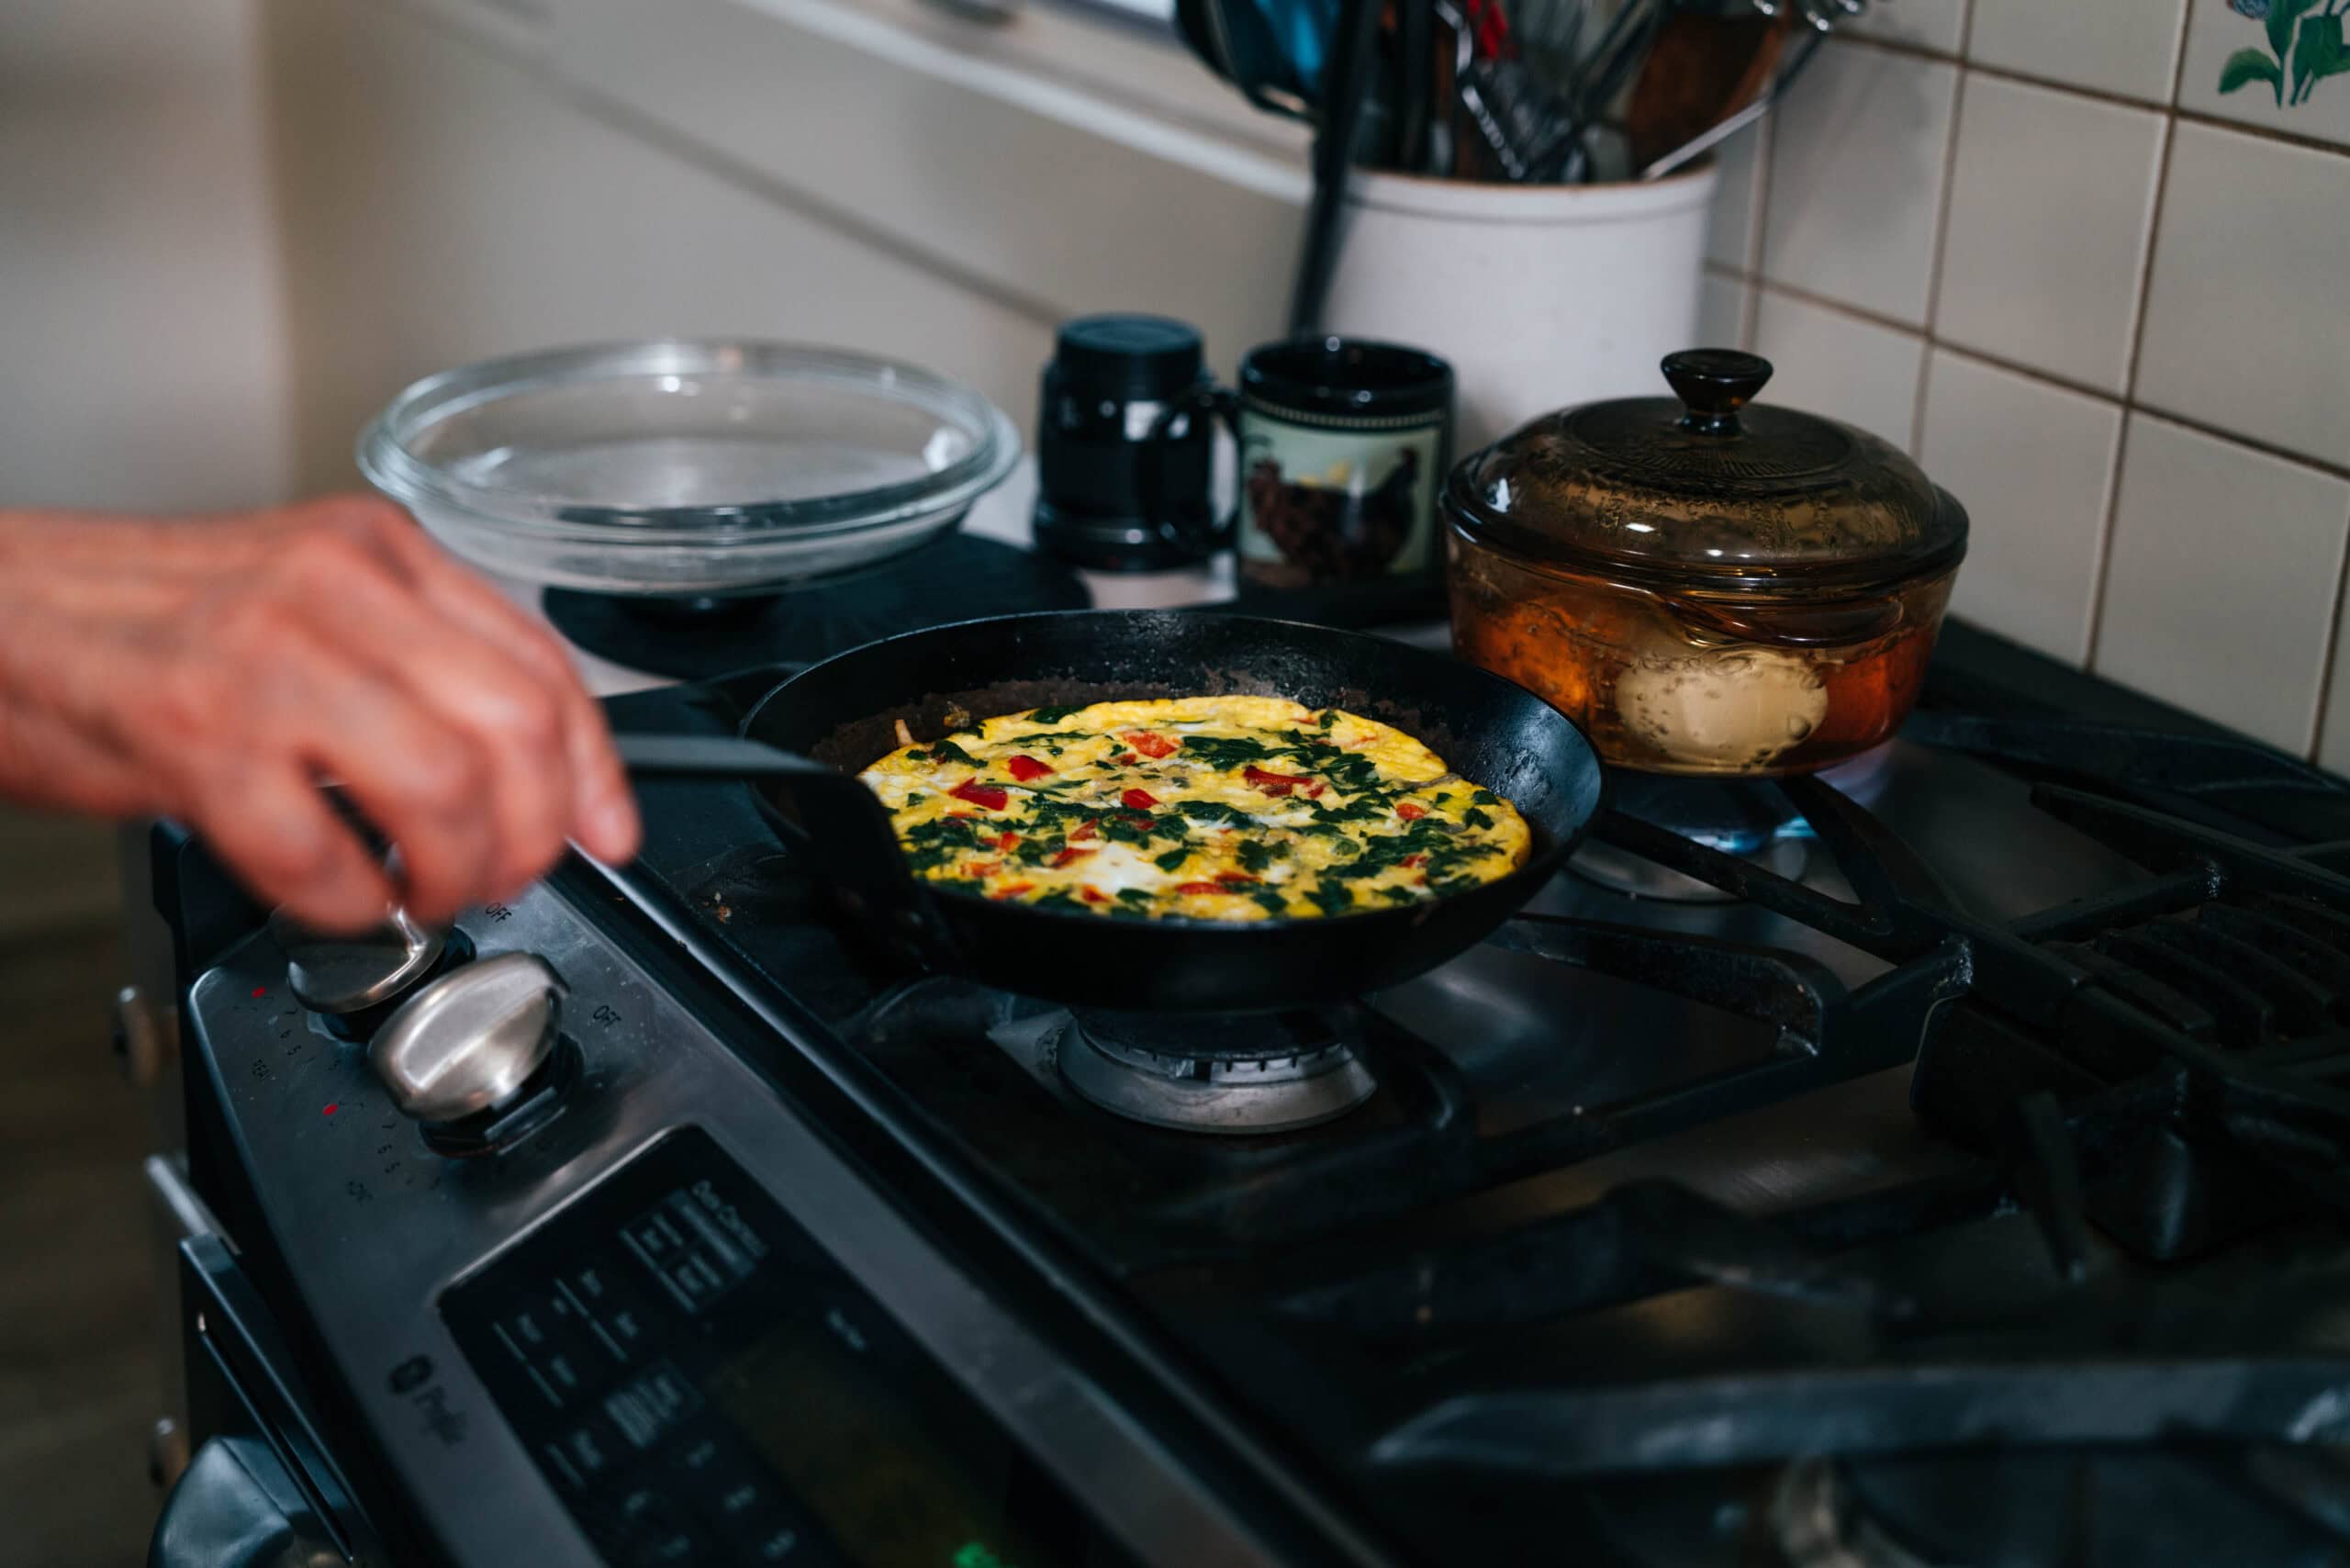
Freezing is an extremely simple and beginner-friendly way of preserving food. It works with just about every vegetable, except watery foods like cucumbers. And one of the great advantages of freezing your summer vegetables is that meal prep becomes faster and more convenient.
In fact, while you’re at it, why not prepare and freeze whole meals (in single-use containers, if you like, to avoid relegating a cooking pan to the freezer for weeks on end)? This is the easy heat-and-eat option you’ll reach for when your day goes south, you’re under the weather, or back-to-back activities leave you without time to cook an entire meal from scratch. And it’s way tastier, healthier, and cheaper than ready-made dinners from the grocery store or take-out from your local joint.
The other reason to love freezing is that it works in tandem with other preservation methods. It buys you precious time when the harvest is exploding, allowing you to get jars put up in the pantry once the garden’s output has slowed down. If you’re looking for longer-term, shelf-stable ways of preserving food, explore our many classes at the School of Traditional Skills. From Water Bath Canning with Mary Bryant Shrader and Dehydrating with Darcy Baldwin, to Pressure Canning and Freeze-Drying with Carolyn Thomas, our experienced teachers have the know-how and guided, step-by-step instruction to take you from hesitant to confident in no time.
Water Bath Canning
Fill your pantry with healthy, delicious “fast food” you make at home! Discover water bath canning and make safe, tasty canned fruits and veggies so you always have a delicious supply of tomatoes, pickles, jams, pie fillings, green beans, and much more!