This article is the first in a series on Summer Preservation. See article two here, article three here, and article four here. If you’re ready to take the next step, check out our classes on Water Bath Canning with Mary Bryant Shrader of Mary’s Nest and author of “The Modern Pioneer Cookbook,” Dehydrating with Darcy Baldwin of The Purposeful Pantry, and Pressure Canning and Freeze-Drying with Carolyn Thomas of Homesteading Family.
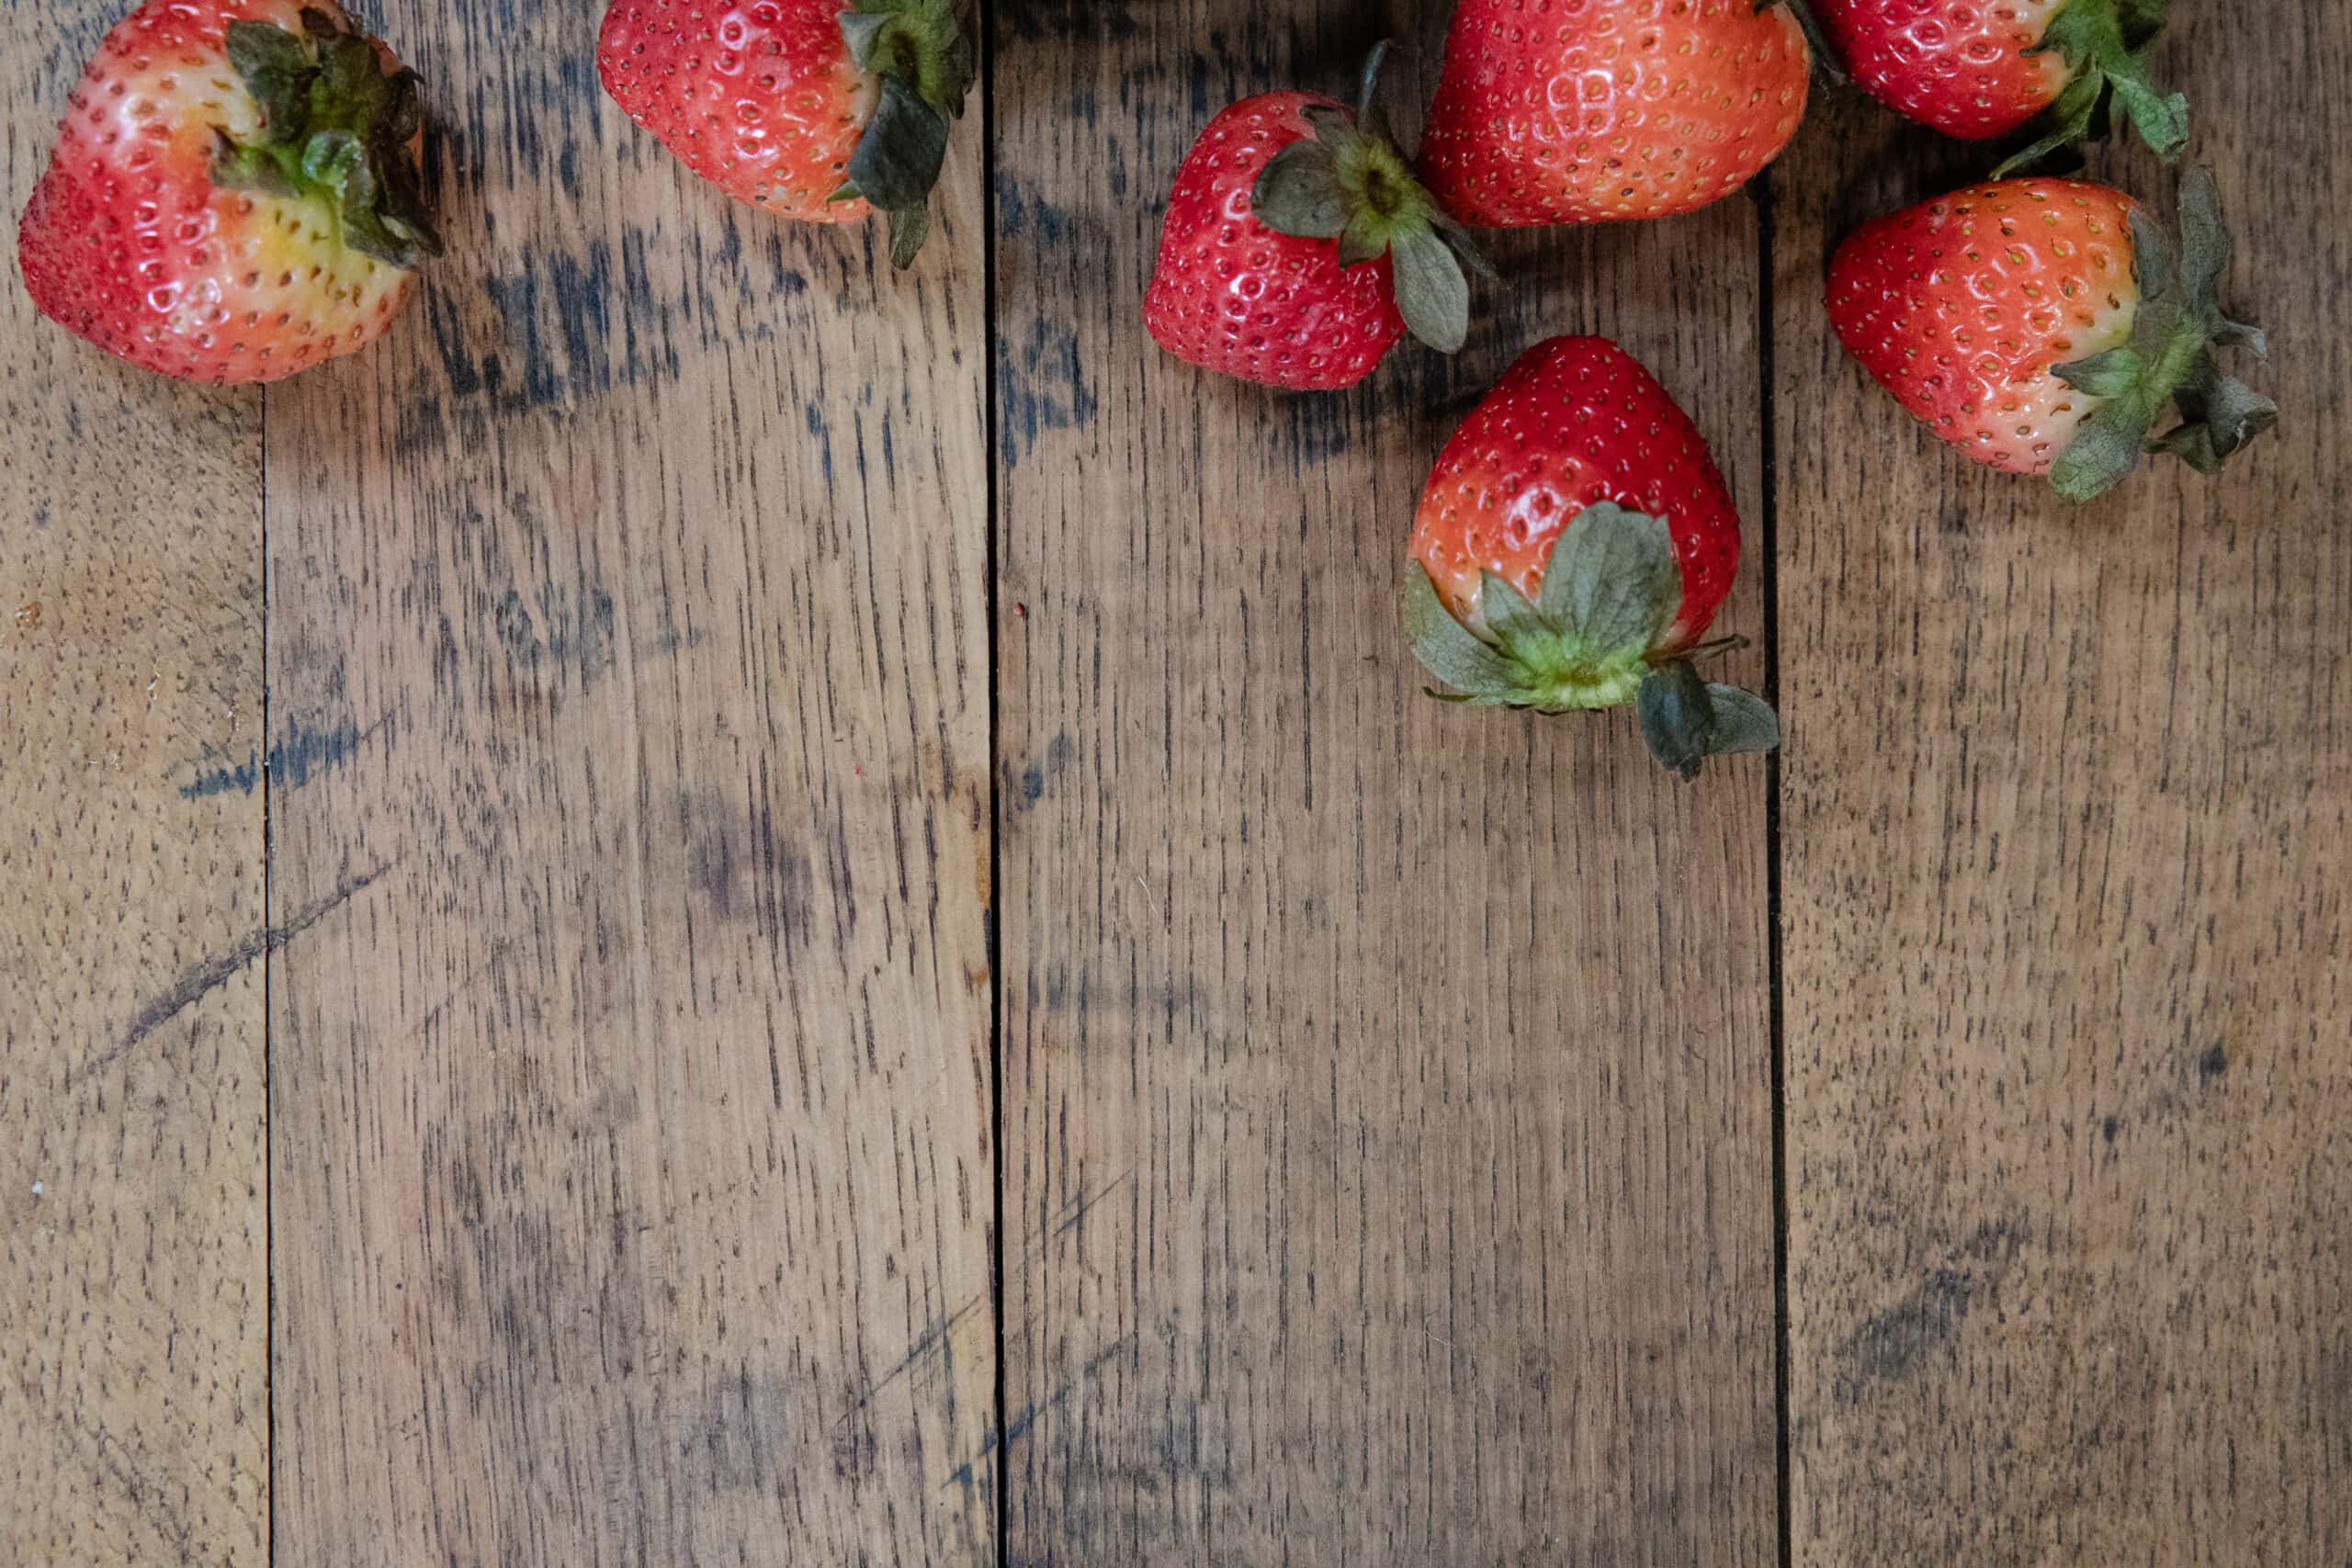
Thankfully, these delicious, juicy fruits are truly abundant because of their fast-growing, wide-reaching runners. And when May and June roll around, they’re cheap, too – you can score a flat of strawberries for as little as $15–20. Or, think outside the box, and find a neighbor with surplus strawberries who can trade you some of their fresh harvest in exchange for your help around their property.
Strawberry Season Waits for No One
However you source them, strawberry season is short, and you only have a few days to pick and process these highly perishable fruits before they turn to mush. So what do you do?
If you want to enjoy strawberries year-round (and who wouldn’t?), the clear choice is to preserve part of your harvest.
Why Strawberries Are Perfect for First-Time Preservers
Thankfully, if you’re new to food preservation, there’s good news. Strawberries may be the best food to start with because they offer that rare combination of flexibility and ease – flexibility because there are several preservation methods to choose from, and ease because they’re forgiving to work with and practically mistake-proof. A failed batch of strawberry jam may be disappointing, but it shouldn’t be dangerous.
This article will give you four proven preservation methods and help you pick the right one for your situation and goals, so you can realistically tackle 20 pounds (9 kg) or more of strawberries in an afternoon. The four options are:
- Freezing: Strawberries freeze beautifully without any special treatment.
- Canning: As a high-acid fruit, strawberries are great candidates for water bath canning and safe for beginners.
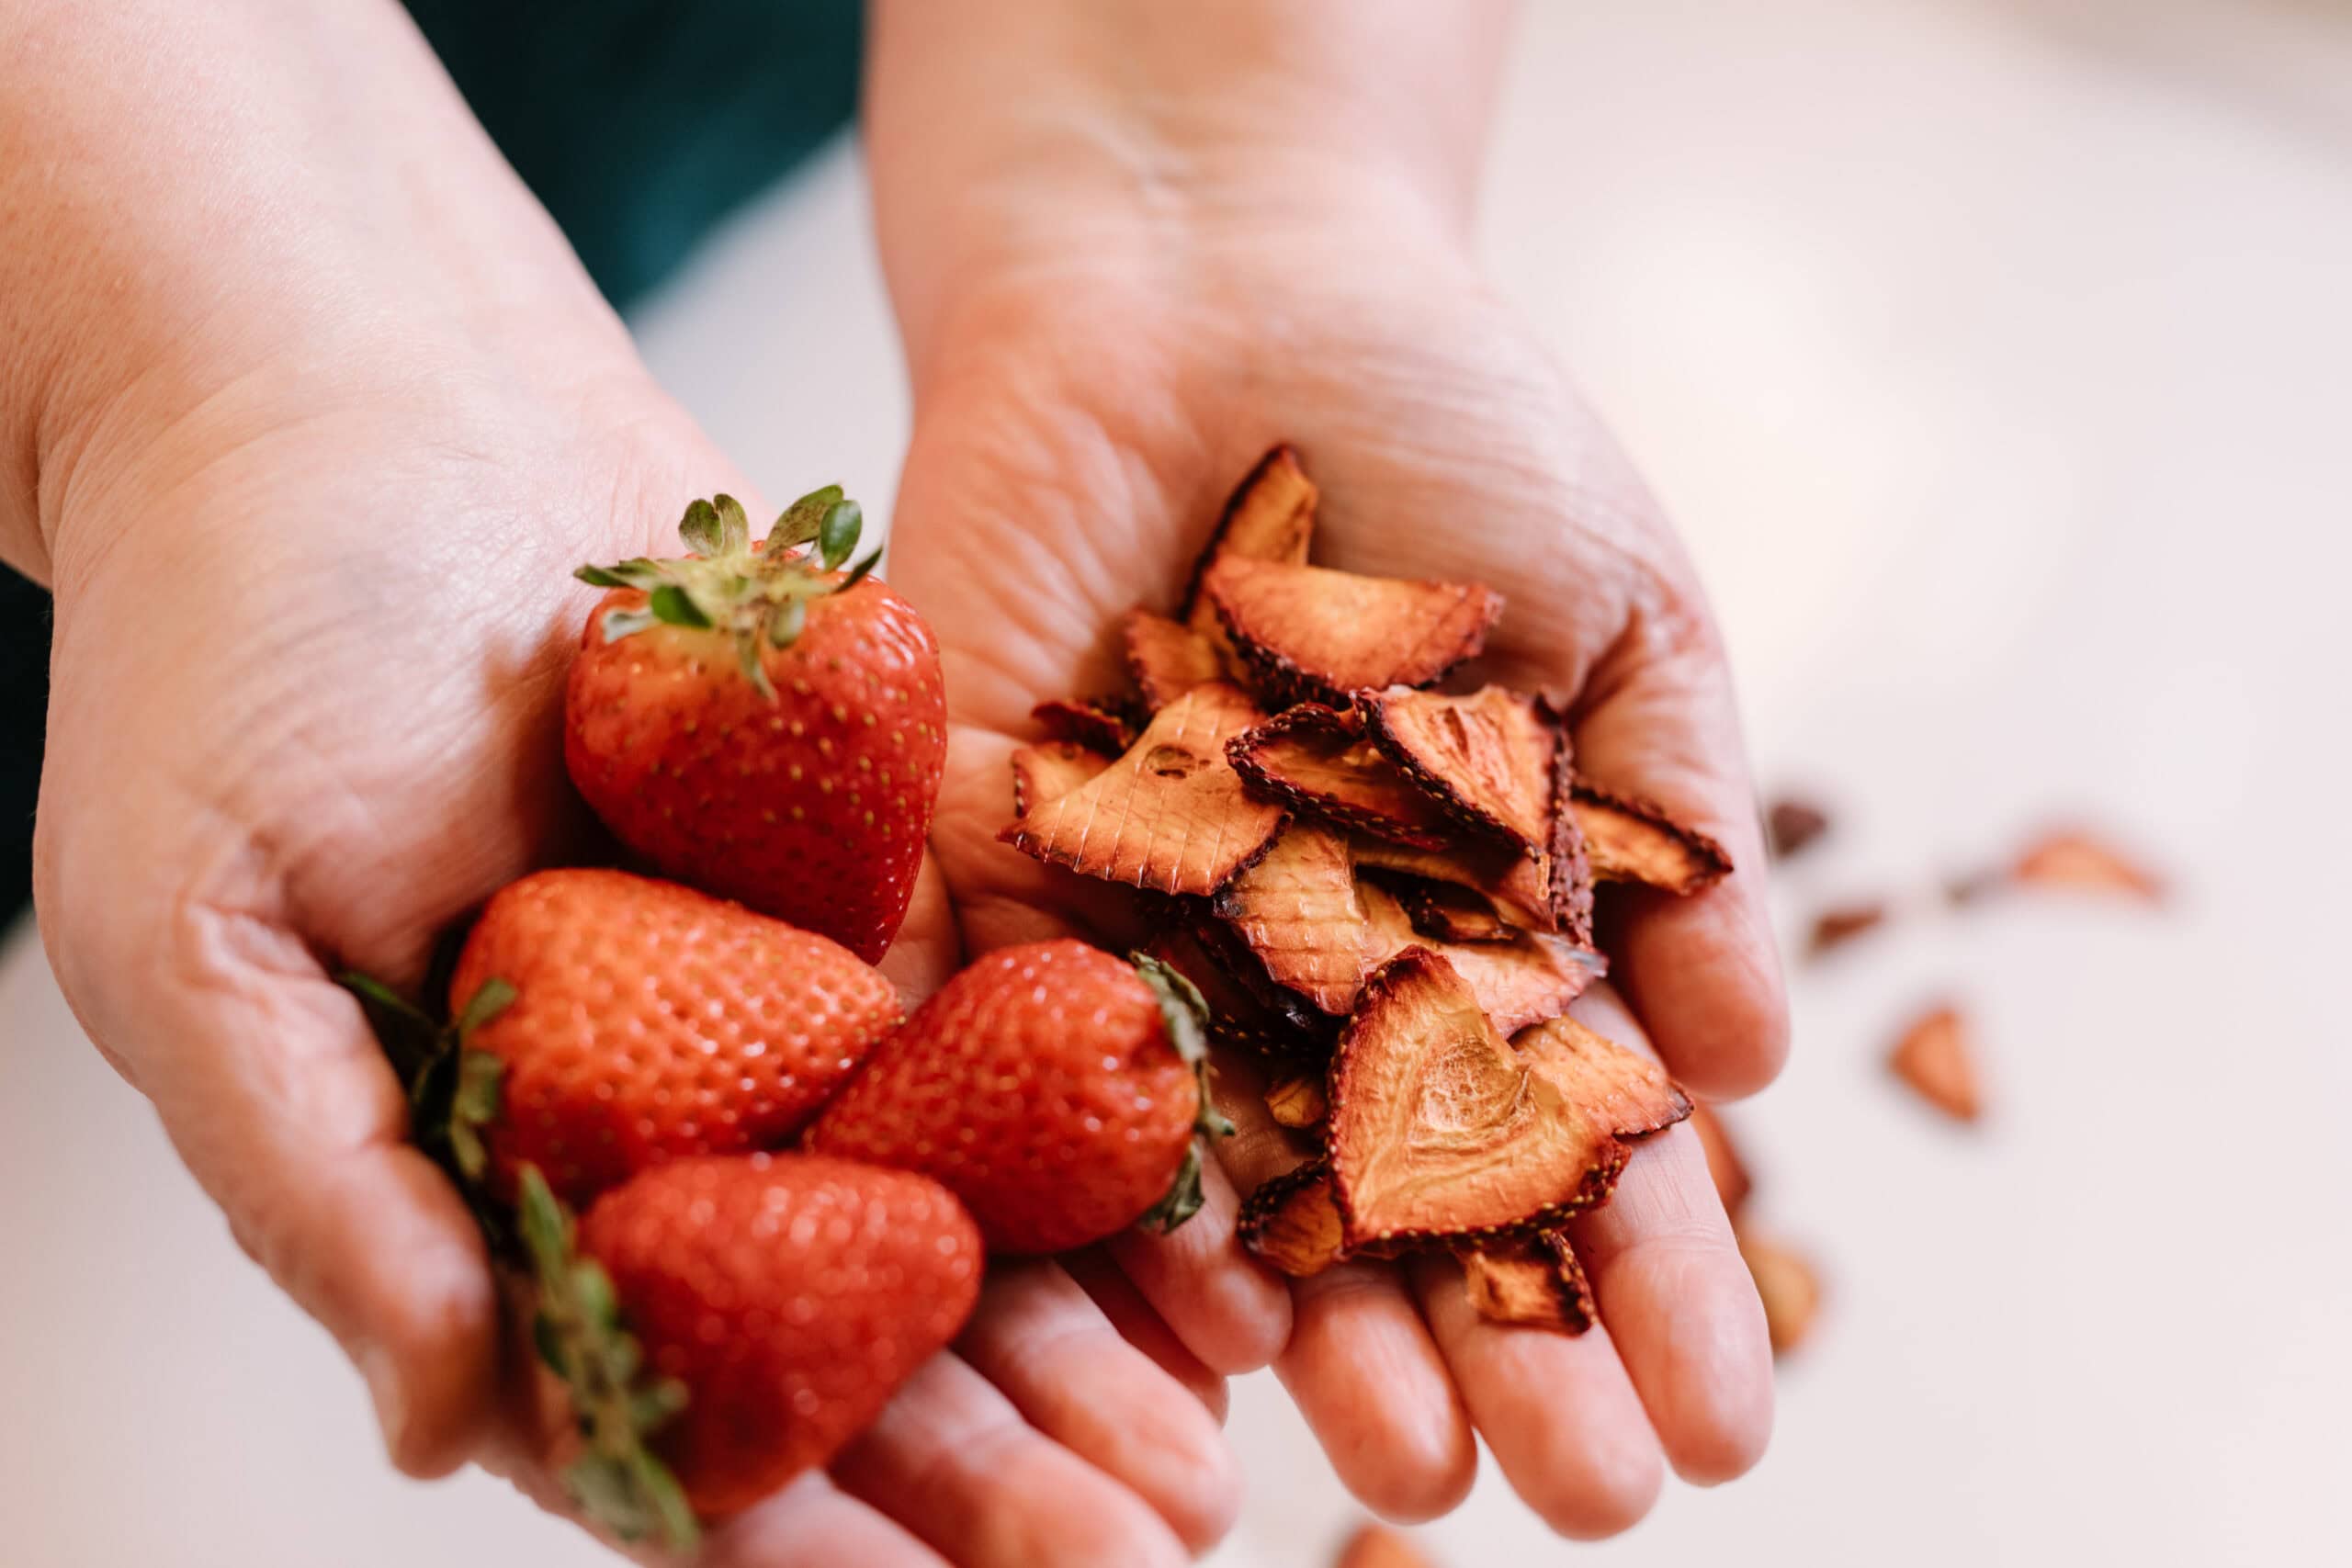
- Dehydrating: They dehydrate well and kids love these strawberry ‘chips’ alone or as a topping.
- Freeze-drying: This is the gold standard in terms of balancing long-term storage potential with nutrition retention, but the equipment comes at a high price. We’ll explore this method at the end.
We’ll look at each method in turn and address FAQs throughout the article.
Strawberry Preservation: Choosing the Right Method for the Job
There isn’t one ‘right’ method that works for everyone. The best method is the one that works for you, with the time, equipment, and goals you have now.
What is the best way to preserve strawberries?
Many experienced preservers use all four methods throughout the season, depending on the item in need of preservation and the end use for that food. Take tomatoes, for instance. Maybe you need dehydrated tomatoes (like sundried) for tossing into a Mediterranean salad, or want to can your tomatoes to have purées on hand for using in pasta sauce.
Here’s a handy breakdown of each preservation method covered in this article:
| Method | Time | Equipment | Shelf Life | Best For |
|---|---|---|---|---|
| Freezing | 30 minutes | Freezer, bags | 8–12 months | Smoothies, baking |
| Canning | 1–2 hours | Pot, jars, lids | 12–18 months | Jam, gifts, pantry stock |
| Dehydrating | 6–12 hours (mostly hands-off and dependent on the tool used) | Dehydrator or oven | 12–18 months | Snacking, trail mix, breakfast topping |
| Freeze-Drying | 24–36 hours | Freeze dryer ($2000+) | 20–25 years | Long-term storage |
We’ll start from the top and work our way down the list, beginning with how to freeze strawberries.
Freezing Strawberries (The Fastest Option)
This is the most straight-forward option, and probably something you’ve already been doing. But that doesn’t mean you can’t level up and learn some new tricks, especially if you’ve never tried the sugar pack method for improved texture that’s covered below.
Read on to explore why freezing strawberries may be a good bet for your situation.
Why Freezing Works So Well
Second only to freeze-drying, just freezing your strawberries retains flavor and nutrition better than any other method, providing fresh-tasting berries all year long.
No single-use equipment required – all you need are freezer-safe bags or containers – and you can get it done in under 30 minutes from start to finish.
Frozen strawberries have multiple uses, ranging from smoothies to baking to homemade ice cream. So many recipes that call for fresh strawberries can be swapped out for previously frozen ones (unless you’re decorating the top of a cake or some other delicate dessert). And they’re great simply on their own or added to your favorite breakfast grains.
How to Freeze Strawberries (Step-by-Step)
Here are two methods for freezing strawberries that are quick and easy to implement right away, without the need for special prep or tools. Whichever you decide, your strawberries should last 8–12 months in the freezer if properly stored.
Start by removing the green tops and tiny bit of white core (called “hulling”), and then rinse with cold water. Decide if you want to freeze the berries whole, sliced, or mashed with sugar for jam-making at a later date.
Then continue with one of the following options, each offering its own distinct advantage.
The tray-freeze method
The advantage of this method is that it prevents clumping.
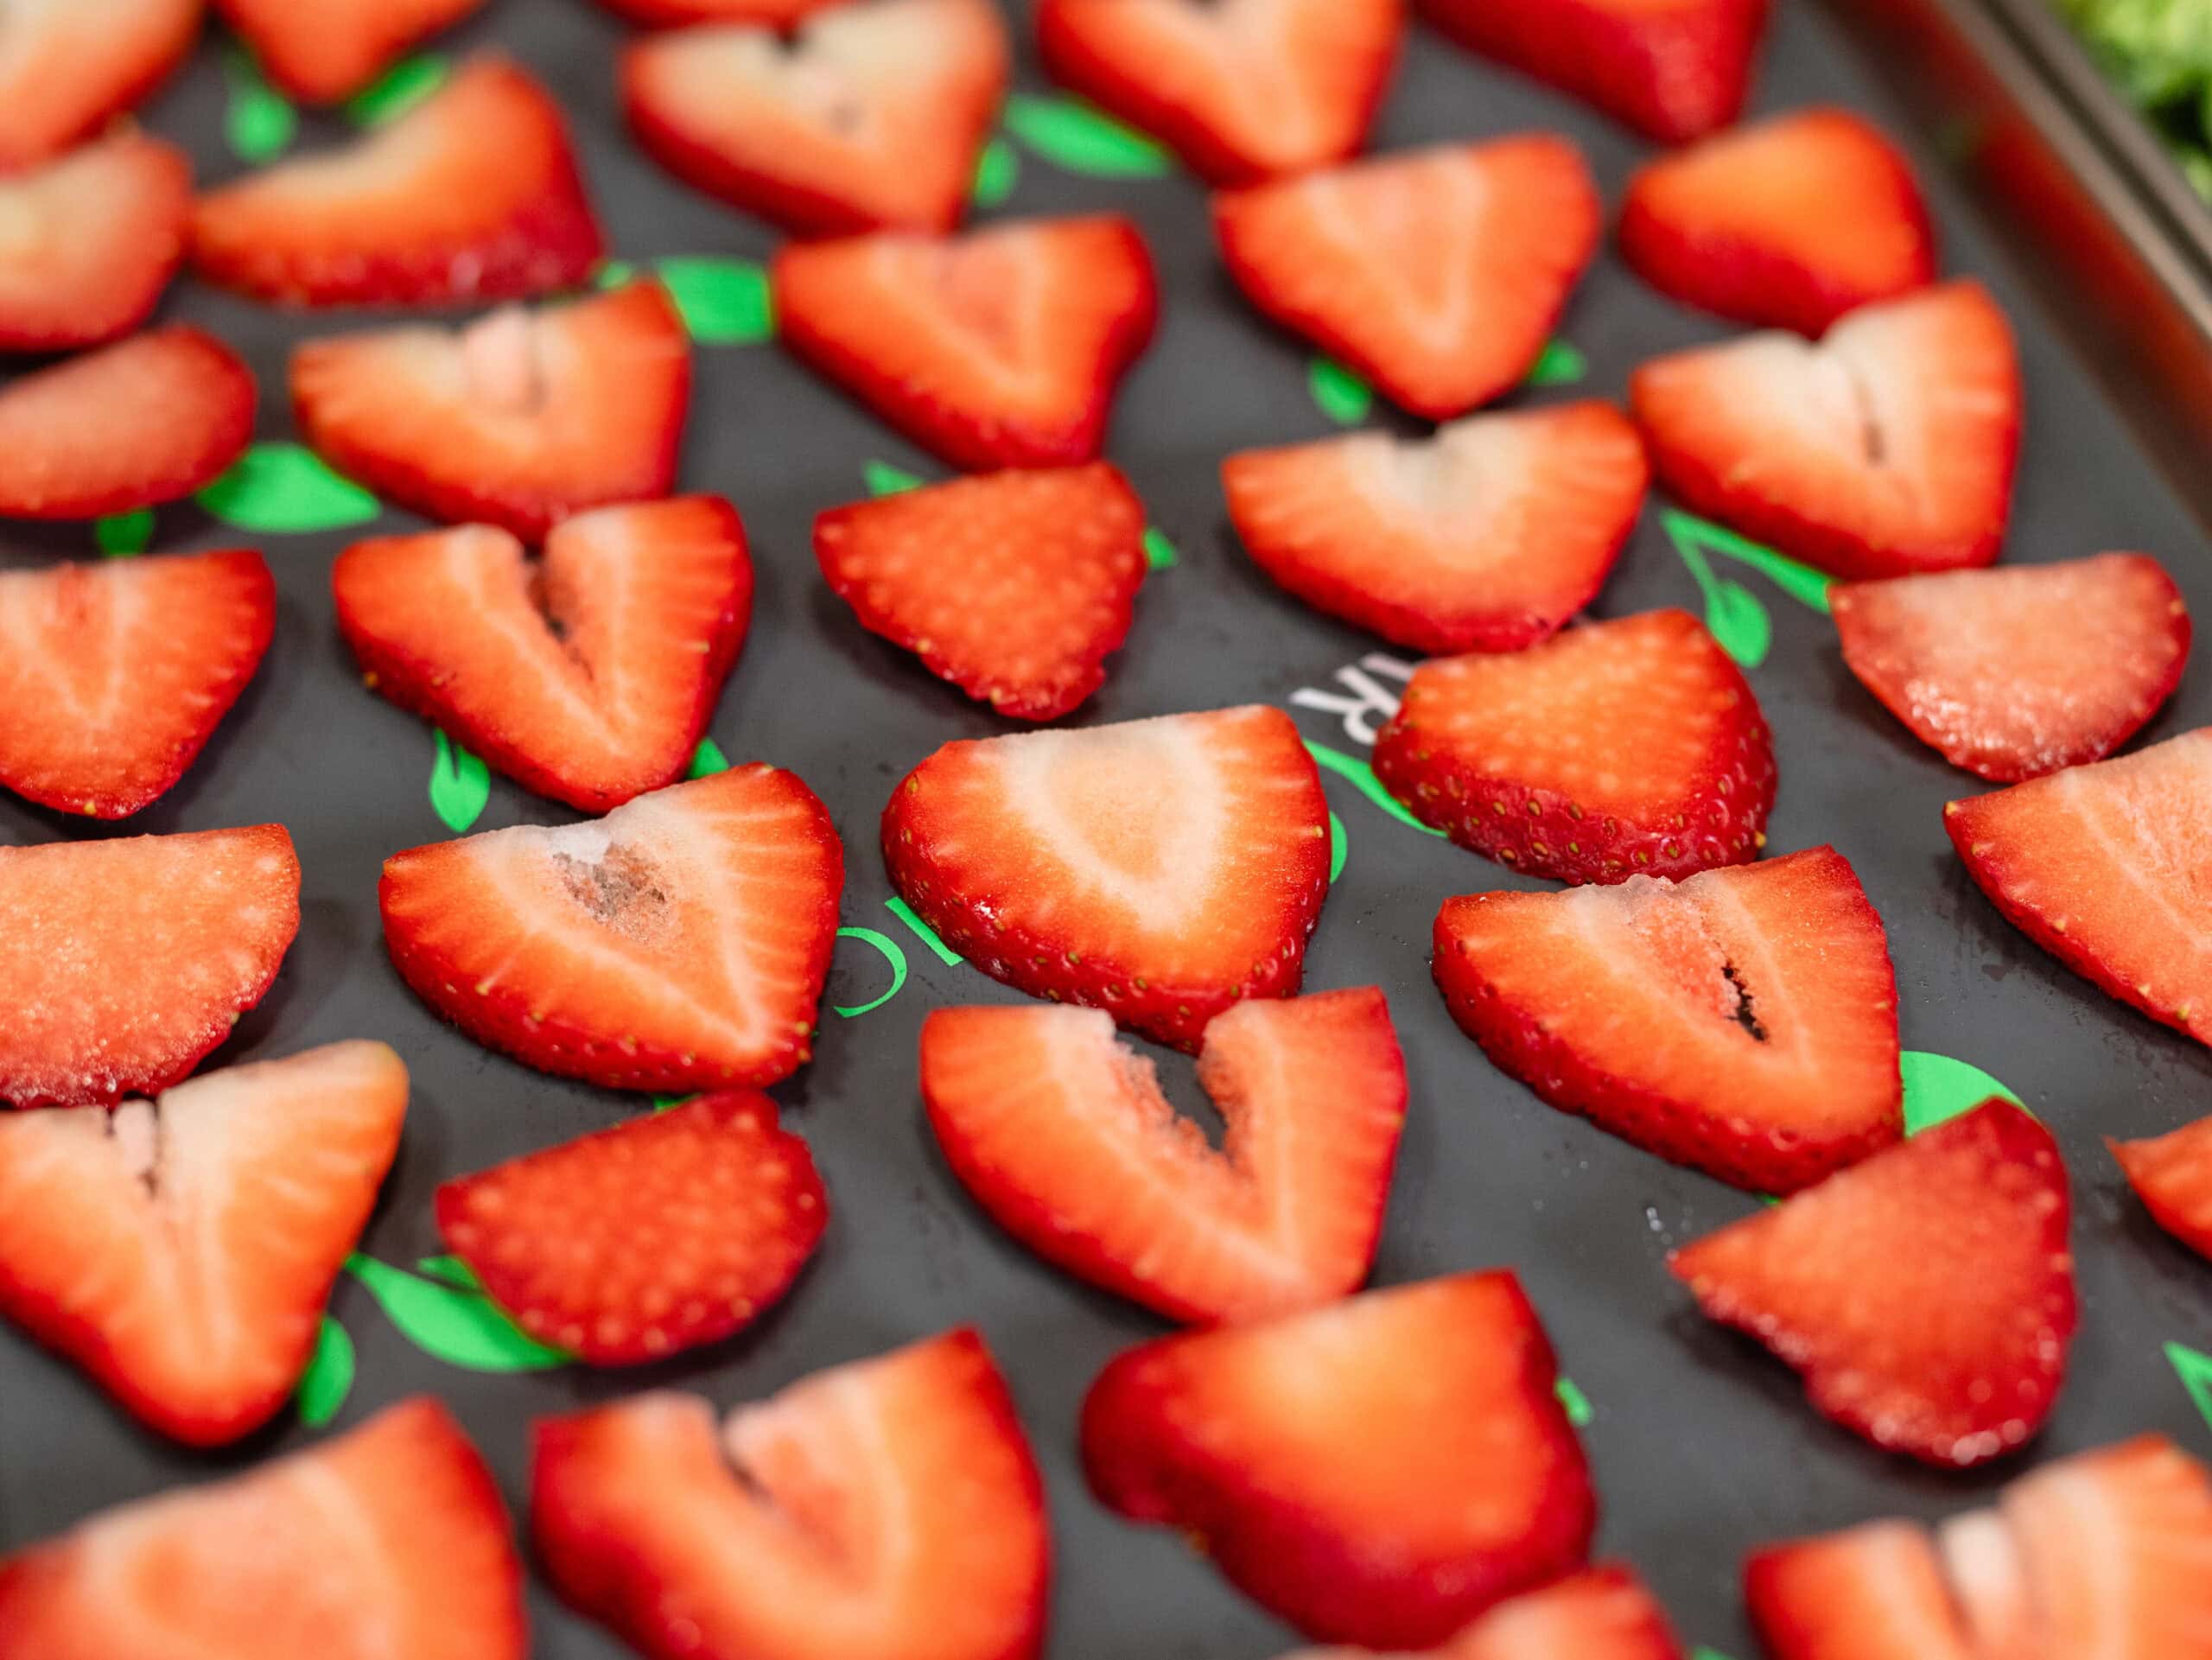
Spread the berries in a single layer on a baking sheet, ideally over a non-stick surface such as a silicone mat or piece of parchment paper. Flash freeze for about 20 minutes just to get their surface a bit frozen, and then pull them out of the freezer and transfer them into bags. Ensure you’ve removed as much air as possible from the bag and labeled it with the date before placing it back in the freezer for long-term storage.
The sugar pack method
Choose this method if you’re looking for better texture.
Toss the berries with 1/4 cup (about 50 g) of sugar per quart (0.95 l). Let it sit on your counter for 10 minutes while the sugar draws out the juice – this is what prevents the ice crystals from forming in the freezer. Then pack into containers and freeze, making sure to label these accordingly.
The results of this method are softer berries that thaw better for eating plain. This is the closest to fresh-tasting (with a little sugar added) that frozen strawberries can get.
Note: While this option is certainly the fastest, you’re constrained by the amount of available freezer space. For that reason, this route might be best if you’re dealing with a smaller volume of strawberries – say, 10 lbs (4.5 kg) or less.
Water Bath Canning Strawberries (The Shelf-Stable, Gift-Worthy Option)
If you are overflowing with strawberries (whether you grew them yourself or bought a flat from a local u-pick farm), give water bath canning a serious look. Unless you intend to eat all of those strawberries in the next two weeks, you probably don’t have the freezer space to dedicate to pounds and pounds of strawberries.
Is canning strawberries worth the effort?
A resounding “Yes!”, so long as you’ve got a couple hours to dedicate to this, and especially if you are swimming in strawberries.
The greatest advantage of canning over freezing is that you free up freezer space for other items (looking at you, whole pastured chickens). Canned strawberries are shelf-stable for 12–18 months, and your pretty jars of strawberry preserves will make a lovely gift or great barter tool.
What are canned strawberries good for? Well, jam, for one (and your toast and pancakes will thank you). But you could also can whole berries in syrup, or have a ready-to-use strawberry sauce or topping that doesn’t require any thawing and elevates just about any dessert or breakfast.
Consider, too, that once you learn this valuable skill, you can apply it to so many other foods that your family may already be growing and enjoying… tomatoes, peaches, pickles, and more!
Mary Shrader's Approach from the Water Bath Canning Class
In her class on Water Bath Canning, Mary teaches proper safety protocols both in terms of pH levels and processing times. She emphasizes using USDA-tested recipes, and is quick to encourage all beginners: If you can follow a recipe, you can water bath can safely.
Keep in mind that you can only water bath can high-acid foods – those with a pH of 4.6 or lower. (If you want to can low-acid foods, you need to pressure can them. For complete instructions, see our class on “Pressure Canning” with Carolyn Thomas.)
Strawberry jam is Mary’s go-to beginner project, and for good reason – it's easy and delicious. Below is the recipe from her class for a basic strawberry jam without pectin.
Equipment You Need
The supplies you need for water bath canning are only slightly more involved than those required for freezing, and chances are you have everything on hand already.
- Large pot (any stockpot is fine – you do not need a canner)
- Canning jars, lids, and bands
- Jar lifter or sturdy tongs
- Ladle and funnel (these are helpful but not required)
Here are the steps for canning strawberries and making a beautiful strawberry jam without pectin.
Basic Strawberry Jam Without Pectin
Ingredients:
- 5 lbs strawberries
- 1 large unpeeled green apple (or other tart apple), finely grated
- 7 cups white sugar (optional substitution: use ⅞ cups of honey in place of every 1 cup of sugar)
- ¼ cup store-bought bottled lemon juice
Step-by-Step Directions:
Step 1: Prep Your Jars, Lids, and Water Bath Canner
- Wash jars in hot soapy water, rinse well
- Put lids in a small pot of hot (not boiling) water
- Center the canner on a stovetop burner and place the rack in the bottom of the canner.
- Place the clean, empty jars on the rack and allow them to fill with water, filling the canner at least half full of water.
- Cover the canner and bring the water up to a boil, then turn the stovetop heat down to low.
- Heat an additional saucepan or tea kettle to have in reserve.
Step 2: Make the Jam and Perform the Gel Test
- Place a small plate into the freezer for your gel test later (see Step 3)
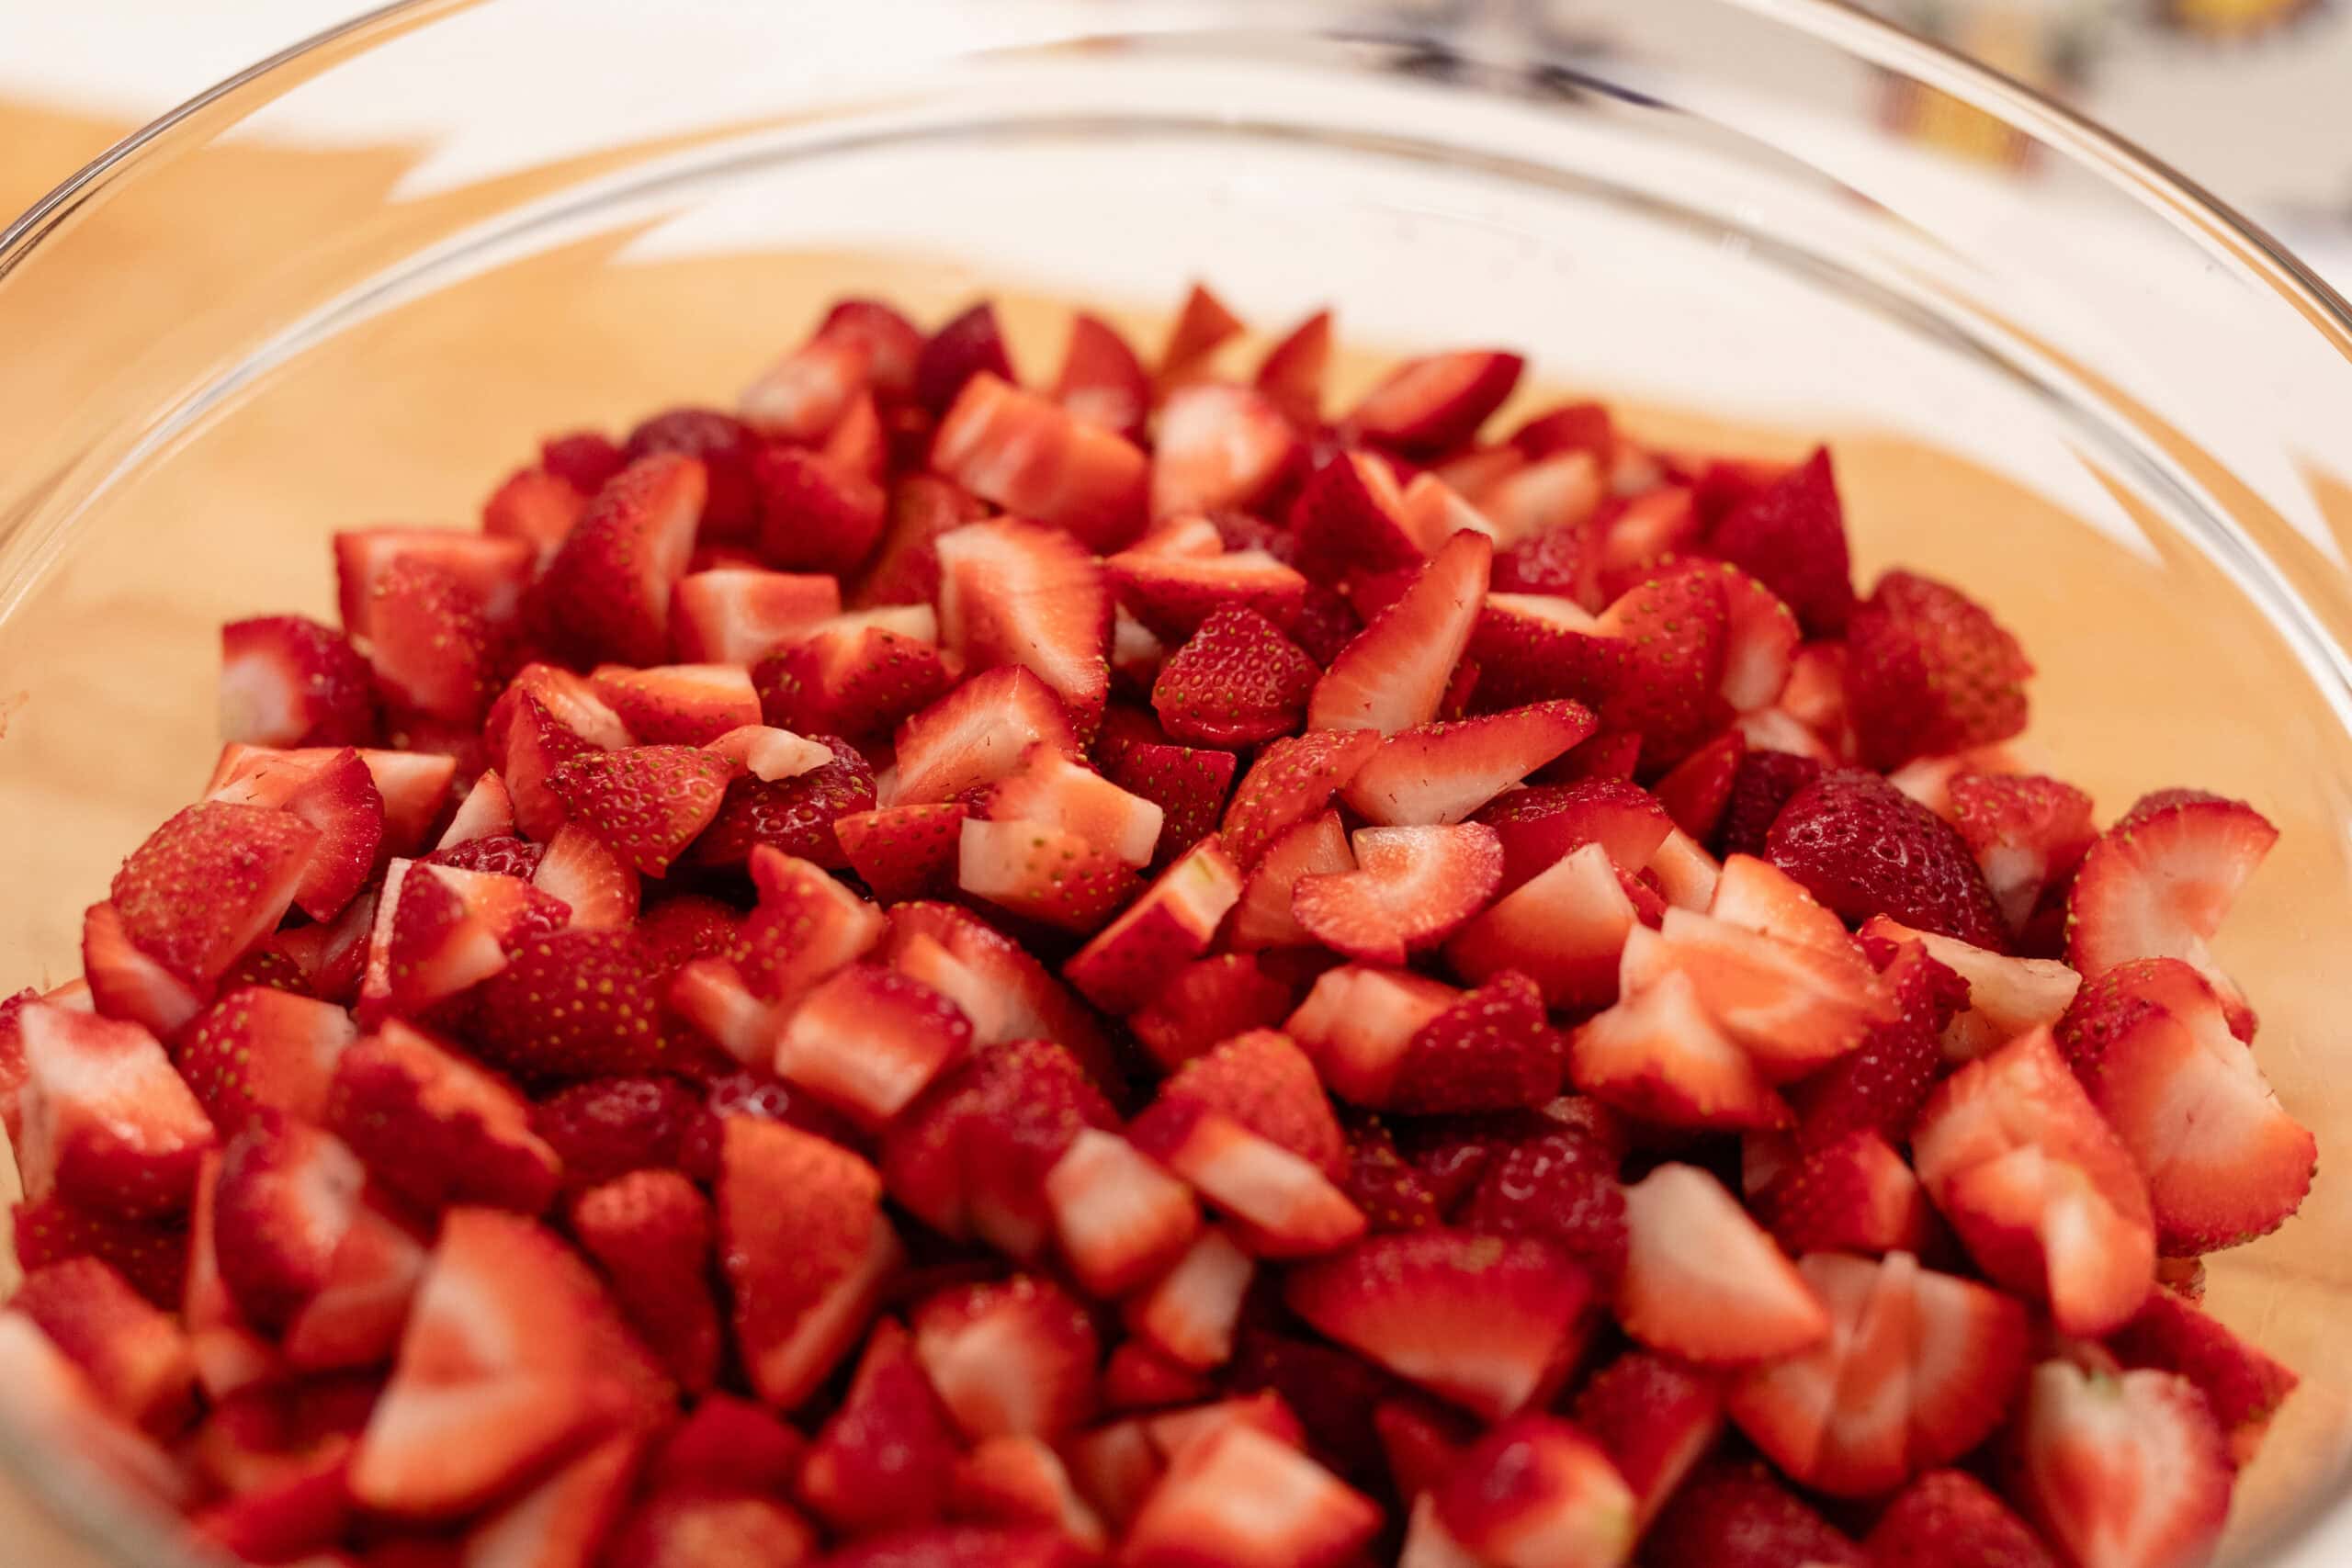
- Hull, wash, and slice the strawberries, then crush with potato masher
- Combine berries and tart apple in large pot
- Bring to boil, stirring constantly
- Mix in sugar and lemon juice, and bring again to a boil that can’t be stirred down
- Boil hard for 1 minute, then turn off heat and remove pan from burner
Step 3: Perform the Gel Test
- Pull out the chilled plate from the freezer
- Put a spoonful of jam onto the plate, and return the plate to the freezer to let the jam chill
- After a few minutes, pull the plate back out and run your finger through the jam – if it stays separated, the jam has gelled (or set) enough
- Otherwise, bring it back up to a boil, boil hard for one minute, stirring constantly, then repeat the gel test
Step 4: Fill the Jars
- Remove hot jars from water
- Ladle hot jam into jars, leaving ¼ inch headspace (space between jam and rim)
- Wipe jar rims clean with vinegar to remove any sticky residue that could prevent sealing
- Place lid on jar and tighten the band to “fingertip tight” (not super tight)
Step 5: Process in the Water Bath
- Place filled jars in pot of boiling water (water should cover jars by 1–2 inches)
- Return to steady boil and then start timer: 10 minutes for half-pints and pints (15 minutes if you're 6,000 feet or more above sea level)
Step 6: Remove and Cool
- Turn off heat and remove jars carefully with jar lifter, keeping them level
- Place jars on towel-covered counter (not directly on cold surface since thermal shock can break jars)
- Allow the jars to cool undisturbed for 12–24 hours
- You'll hear the lids pop as they seal (a popping sound means success!)
Step 7: Check Seals
- After 24 hours, remove the bands
- Test the lid seal using one of the approved methods
- Label each jar and store in a cool, dark place
Homemade jam made without store-bought pectin will be more runny (or softer-set, to use the technical term) than jam made with pectin, but it will be just as satisfying.
Water Bath Canning
Fill your pantry with healthy, delicious “fast food” you make at home! Discover water bath canning and make safe, tasty canned fruits and veggies so you always have a delicious supply of tomatoes, pickles, jams, pie fillings, green beans, and much more!
Dehydrating Strawberries (The Snack Option)
If you’re interested in another easy, low-stress preservation method, dehydrating is a great option. Let’s look at the why and how of dehydrating strawberries.
Why Dehydrate Strawberries
Dehydrated food isn’t only for hiking and camping, though it works great in both of those contexts.
More families are turning to dehydration as a way to extend the budget and make their own healthy foods at home (think roasted nuts or banana chips without questionable seed oils). Plus, they’re the ultimate convenience food – easy to take on-the-go and store in jars or bags. No freezer or shelf space required!
Dehydrating strawberries are one great way to start your food preservation journey. Kids happen to love eating dehydrated strawberries on their own – these ‘chips’ are like candy! But they can also be used in a variety of ways, whether mixed into trail mix and granola, or added as a topping to oatmeal or yogurt.
How to Dehydrate Strawberries
While freezing and canning can successfully be done with whole strawberries, the best way to dehydrate strawberries is to slice them first. And you don’t have to start with fresh berries – previously frozen strawberries are good candidates for dehydrating as well!
- Prep: Hull, wash, and slice the strawberries ¼ inch (0.6 cm) thick (tip: uniform thickness makes for more even drying)
- Optional pre-treatment: To preserve their color, slice or dip the strawberries in lemon juice before dehydrating (this is not required for safety, unlike in water bath canning, where the lemon juice was needed to lower the pH level of the jam)
- Load trays: Place the strawberries in a single layer without overlap on your parchment-lined trays
- Dehydrate: Set the dehydrator to run at 135°F for 8–12 hours, or until the strawberries are leathery-dry with no moisture when squeezed
- Cool and store: Let the strawberries cool completely and then store in airtight jars
Note: There are times that Darcy Baldwin runs her dehydrator 24/7, but she is quick to point out in her class that each family needs to decide whether running the dehydrator while members of the household are not in the house, or even overnight, is a risk they’re willing to take.
Oven Method
Fortunately, you don’t need a dehydrator to prepare these. Using an oven, set it to the lowest possible temperature (170–200°F, or 77–93°C) and leave the door cracked open.
Place the berries on parchment-lined baking sheets, and check every hour, rotating the trays once or twice during the process. Since the oven is running at a higher temperature, plan on keeping your strawberries in there for 6–8 hours.
Freeze-Drying Strawberries (The Long-Term Storage Option)
As Carolyn Thomas admits in her “Freeze Drying” class available at the School of Traditional Skills, “I was skeptical at first, but freeze-drying changed how we preserve food.”
After looking in depth at three excellent methods for preserving foods, you may be wondering when freeze-drying makes sense. The short answer: When your top priorities are to maximize long-term storage and the nutritional value of your foods.
What is the best way to preserve strawberries long-term?
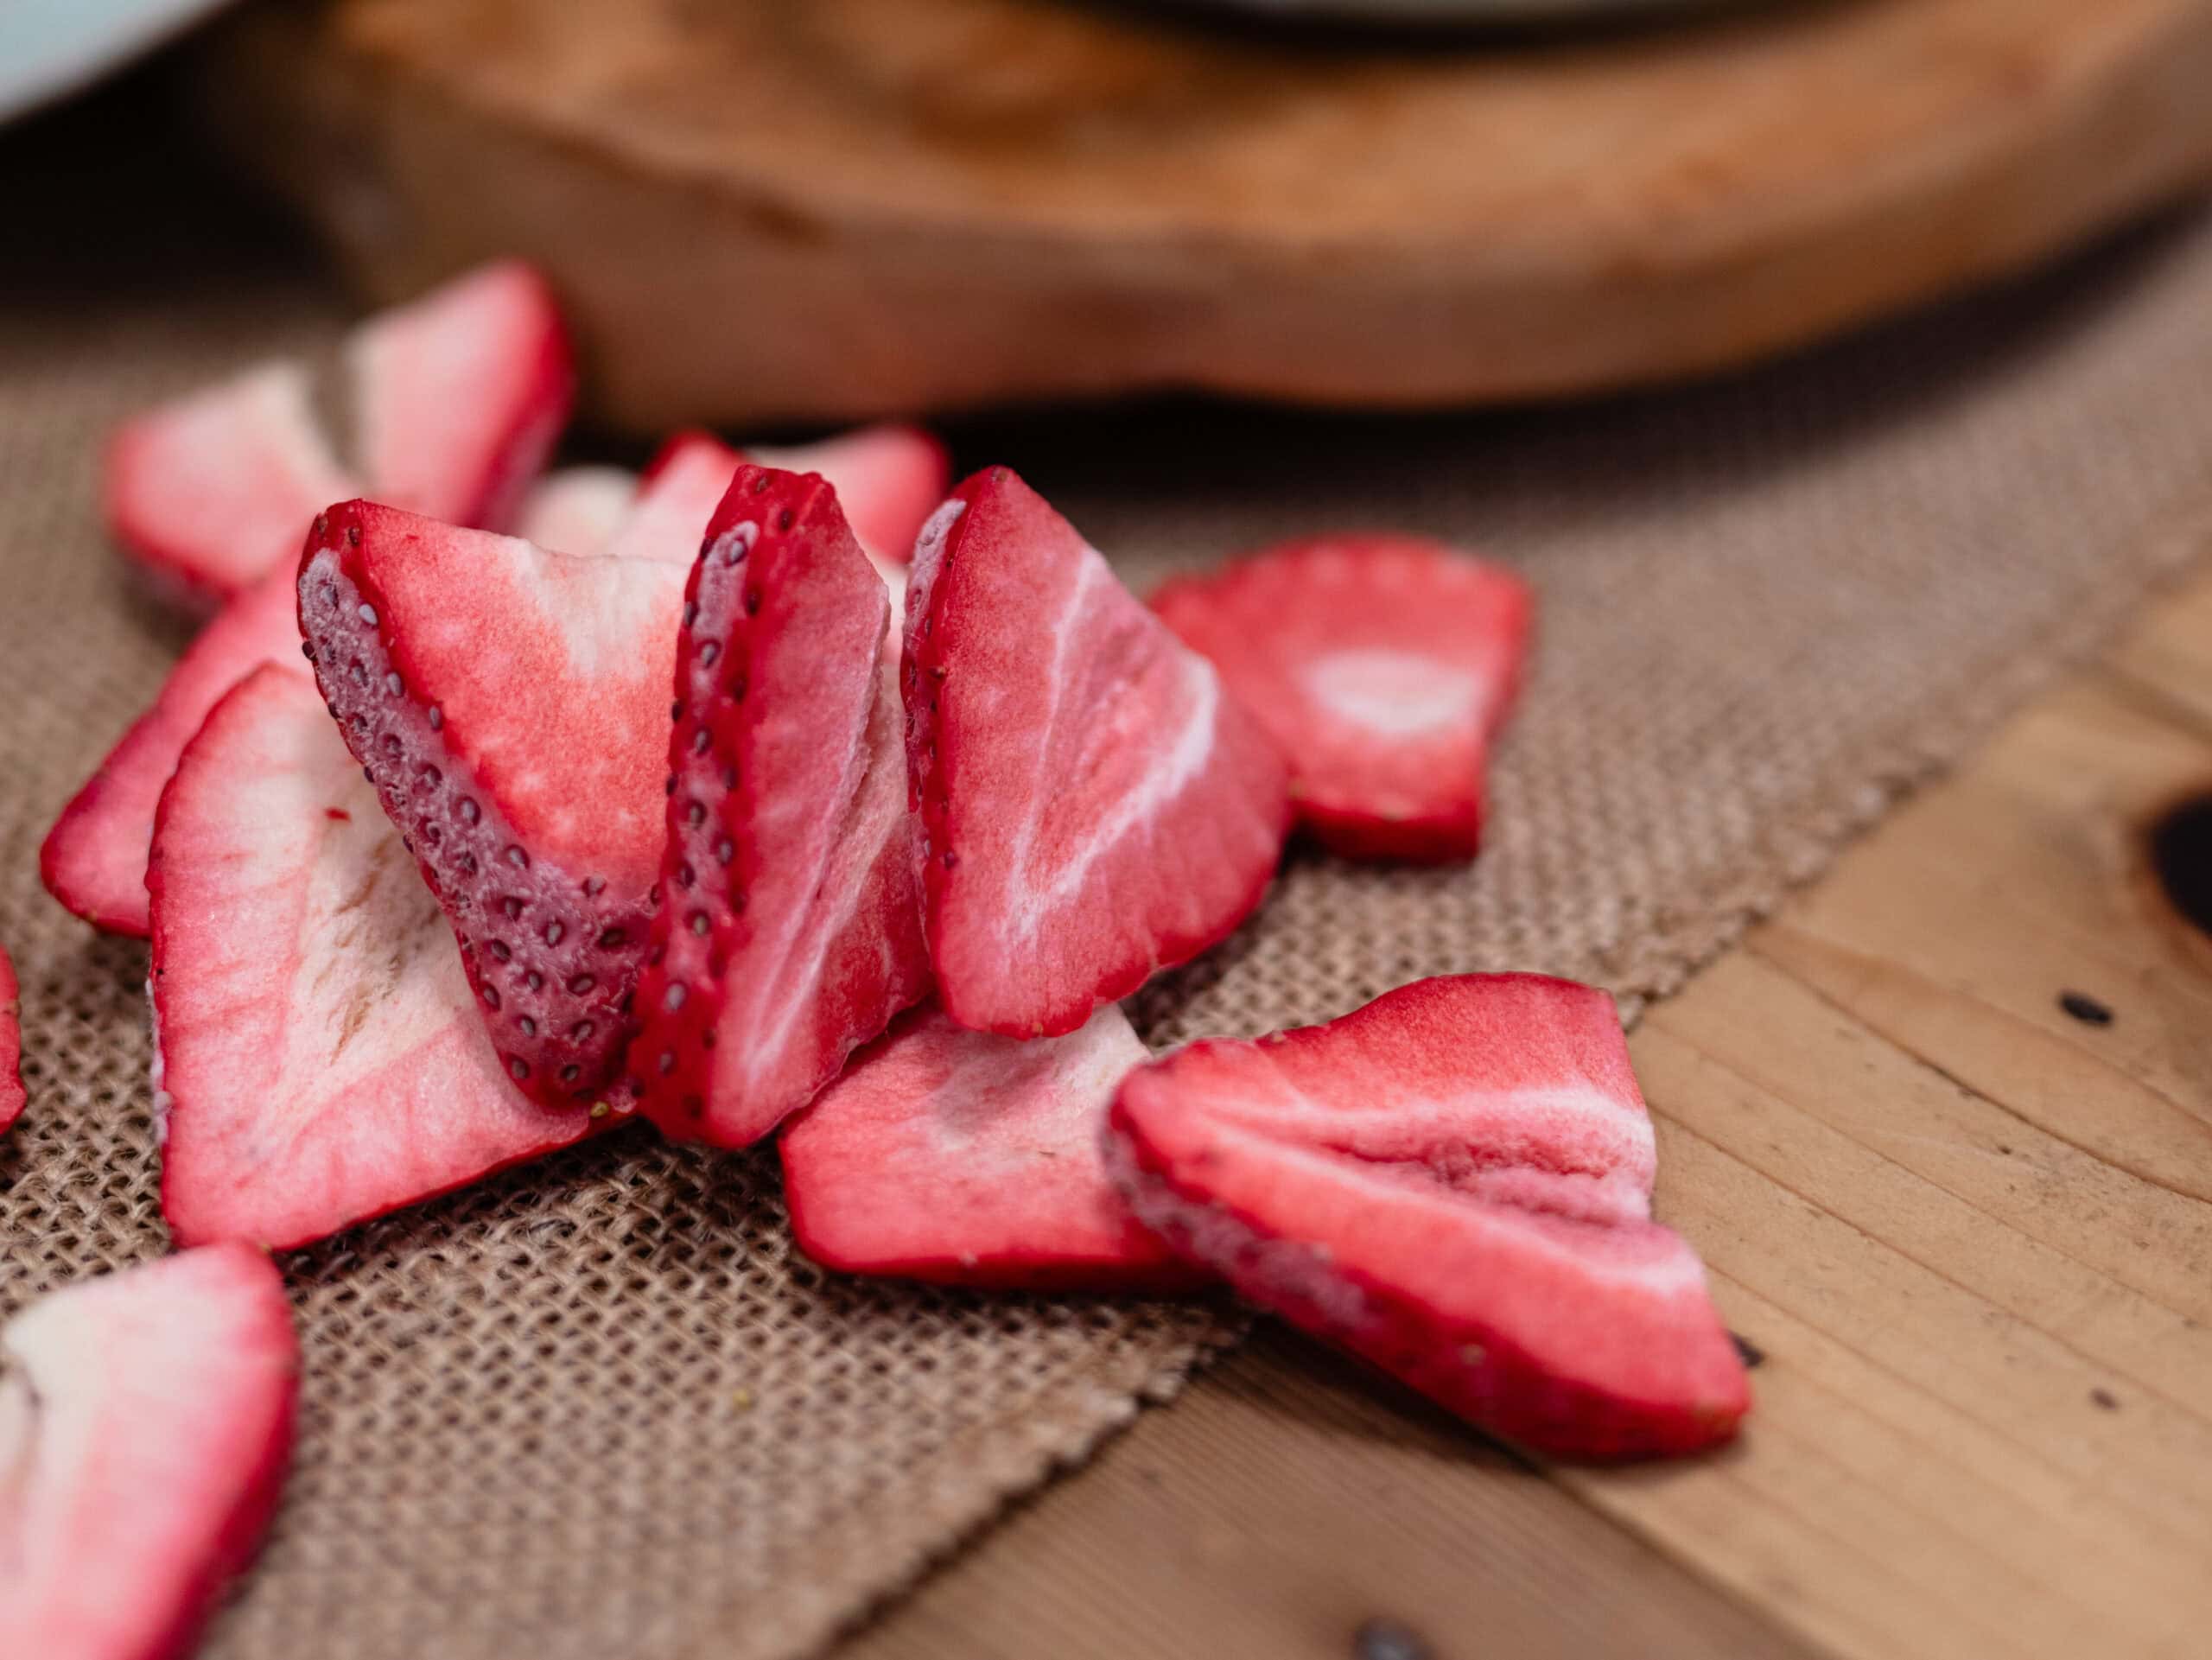
For true long-term storage, freeze-drying is the gold standard. When stored properly, the shelf life of freeze-dried foods can be 5–25 years. Freeze-dried strawberries retain 95 percent or more of their nutrition and taste almost identical to fresh when rehydrated. Freeze-dried strawberries taste exactly like fresh, the only difference being that freeze-dried berries have a slightly crunchy texture.
However, there is one serious downside: this approach requires a freeze dryer (a hefty, $2,000–3,000 investment for a home unit).
If you're serious about long-term food storage, freeze-drying is worth exploring. But for most homesteaders, freezing (8–12 months shelf life) or canning (12–18 months) provides plenty of long-term storage without the equipment cost.
Additional FAQs
Freezing is by far the fastest method – you can preserve strawberries in only 30 minutes using this technique. It’s a great option for when you're short on time or just getting started with food preservation. See above for more details on the “tray-freeze method” that prevents clumping, or the “sugar pack method” for freezing strawberries that won’t form ice crystals.
Absolutely! Three of these methods work well with basic kitchen equipment:
For freezing: All you need is freezer space and freezer bags or containers
For canning: Any large stockpot, canning jars, lids, and a jar lifter or sturdy tongs
For dehydrating: A dehydrator works best, but your oven on the lowest setting (170–200°F, or 77–93°C) with the door cracked open will work
The answer depends on how you'll use them later (see the best uses of frozen strawberries here and the best uses of canned strawberries here) and on what equipment you have on hand. Freezing is the fastest and simplest approach. Canning doesn’t necessarily require a pressure canner, but you do need canning jars, lids, and some sturdy tongs to lift the jars out of the hot water.
Tip: It’s not necessarily an either/or scenario – you could do both! In other words, if you’re short on time during the peak strawberry window, toss them in the freezer. If as the growing season continues, you find that your freezer space is increasingly at a premium, you can absolutely pull those strawberries out of the freezer. Just thaw them first and then can them, which will open up some limited freezer space in the process.
One More Thing
Whatever method you choose, start by mastering the basics. When you’re in this trial phase of experimenting and learning, don’t invest in any special equipment. Work with what you have, and see what becomes absolutely necessary as you develop your food preservation skillset.
Begin with freezing, canning, or oven dehydrating, and decide down the road if investing in a dehydrator – or even a freeze dryer – is really worth it to you and fits within your goals and budget. Like many homesteaders, you may find that you can go 5–10 years without investing in specialized equipment like a freeze dryer.
Take to heart Darcy Baldwin’s encouragement: “Be adventurous. Experiment. Yes, you may have a little food waste when a food or dish doesn't turn out exactly how you'd hoped, but the thing is, that isn't a waste. That's learning.” So go ahead and try different methods, take notes, and find what works best for you and your family.
In that spirit of expanding your know-how and trying new things, explore the food preservation classes at the School of Traditional Skills. We offer everything from Water Bath Canning and Dehydrating to Pressure Canning and Freeze Drying. With our expert instructors as your guides, you can build up your knowledge base incrementally, adding one technique at a time. Strawberries are just the beginning… learn how to preserve your whole harvest from the comfort of your own home!
And if you want to see all the methods in one place, join us for our Summer Preservation Summit this July 6–8! It will be a fantastic opportunity to build on what we’ve covered here and go deeper into each of these preservation methods.
Dehydrating
Fill your shelves with long-lasting, nutritious snacks, meals, and ingredients all while staying on (or below) budget! Learn the art of dehydrating foods and create a bounty of dried fruits, vegetables, herbs, and even jerky, ensuring you have a healthy, flavorful stockpile all year round.