This article is the fourth in a series on Late Spring Beekeeping. See article one here, article two here, and article three here. If you’re ready to take the next step, check out our class on Natural Beekeeping with Adam Martin of Bee Kept.
But the hard truth for first-time beekeepers is that most first-year hives don't produce surplus honey, and no surplus means no harvest.
In fact, taking honey too early – or taking too much honey – are the most common first-harvest mistakes that rookie beekeepers make. What do those miscalculations have in common? They both seek short-term gains rather than setting up the hive for long-term success.
Embracing a Long-Term View: Honey As a Shared Resource
Natural beekeeping demands that we shift our perspective.
Instead of seeing it as an inconvenience, consider it good news if your colony needs all its honey. Not only is it often a sign of health (hard work makes us hungry, too!), but a hive that keeps its honey and goes into winter strong will give you more honey in year two than one that was harvested too early.
This article will help you figure out if your hive is ready for harvest, how much honey to leave to your bees (remembering that your share is the surplus!), and when it’s better to wait another year before harvesting anything.
Why First-Year Hives Usually Don't Produce Surplus
It’s understandably disappointing as a first-time beekeeper to think of having to wait a whole ‘nother year before enjoying the fruits of your labors. (Imagine how those nut tree growers must feel!) But this isn’t just normal – it’s actually smart beekeeping.
The Hive That Is Building Itself Cannot Also Feed You
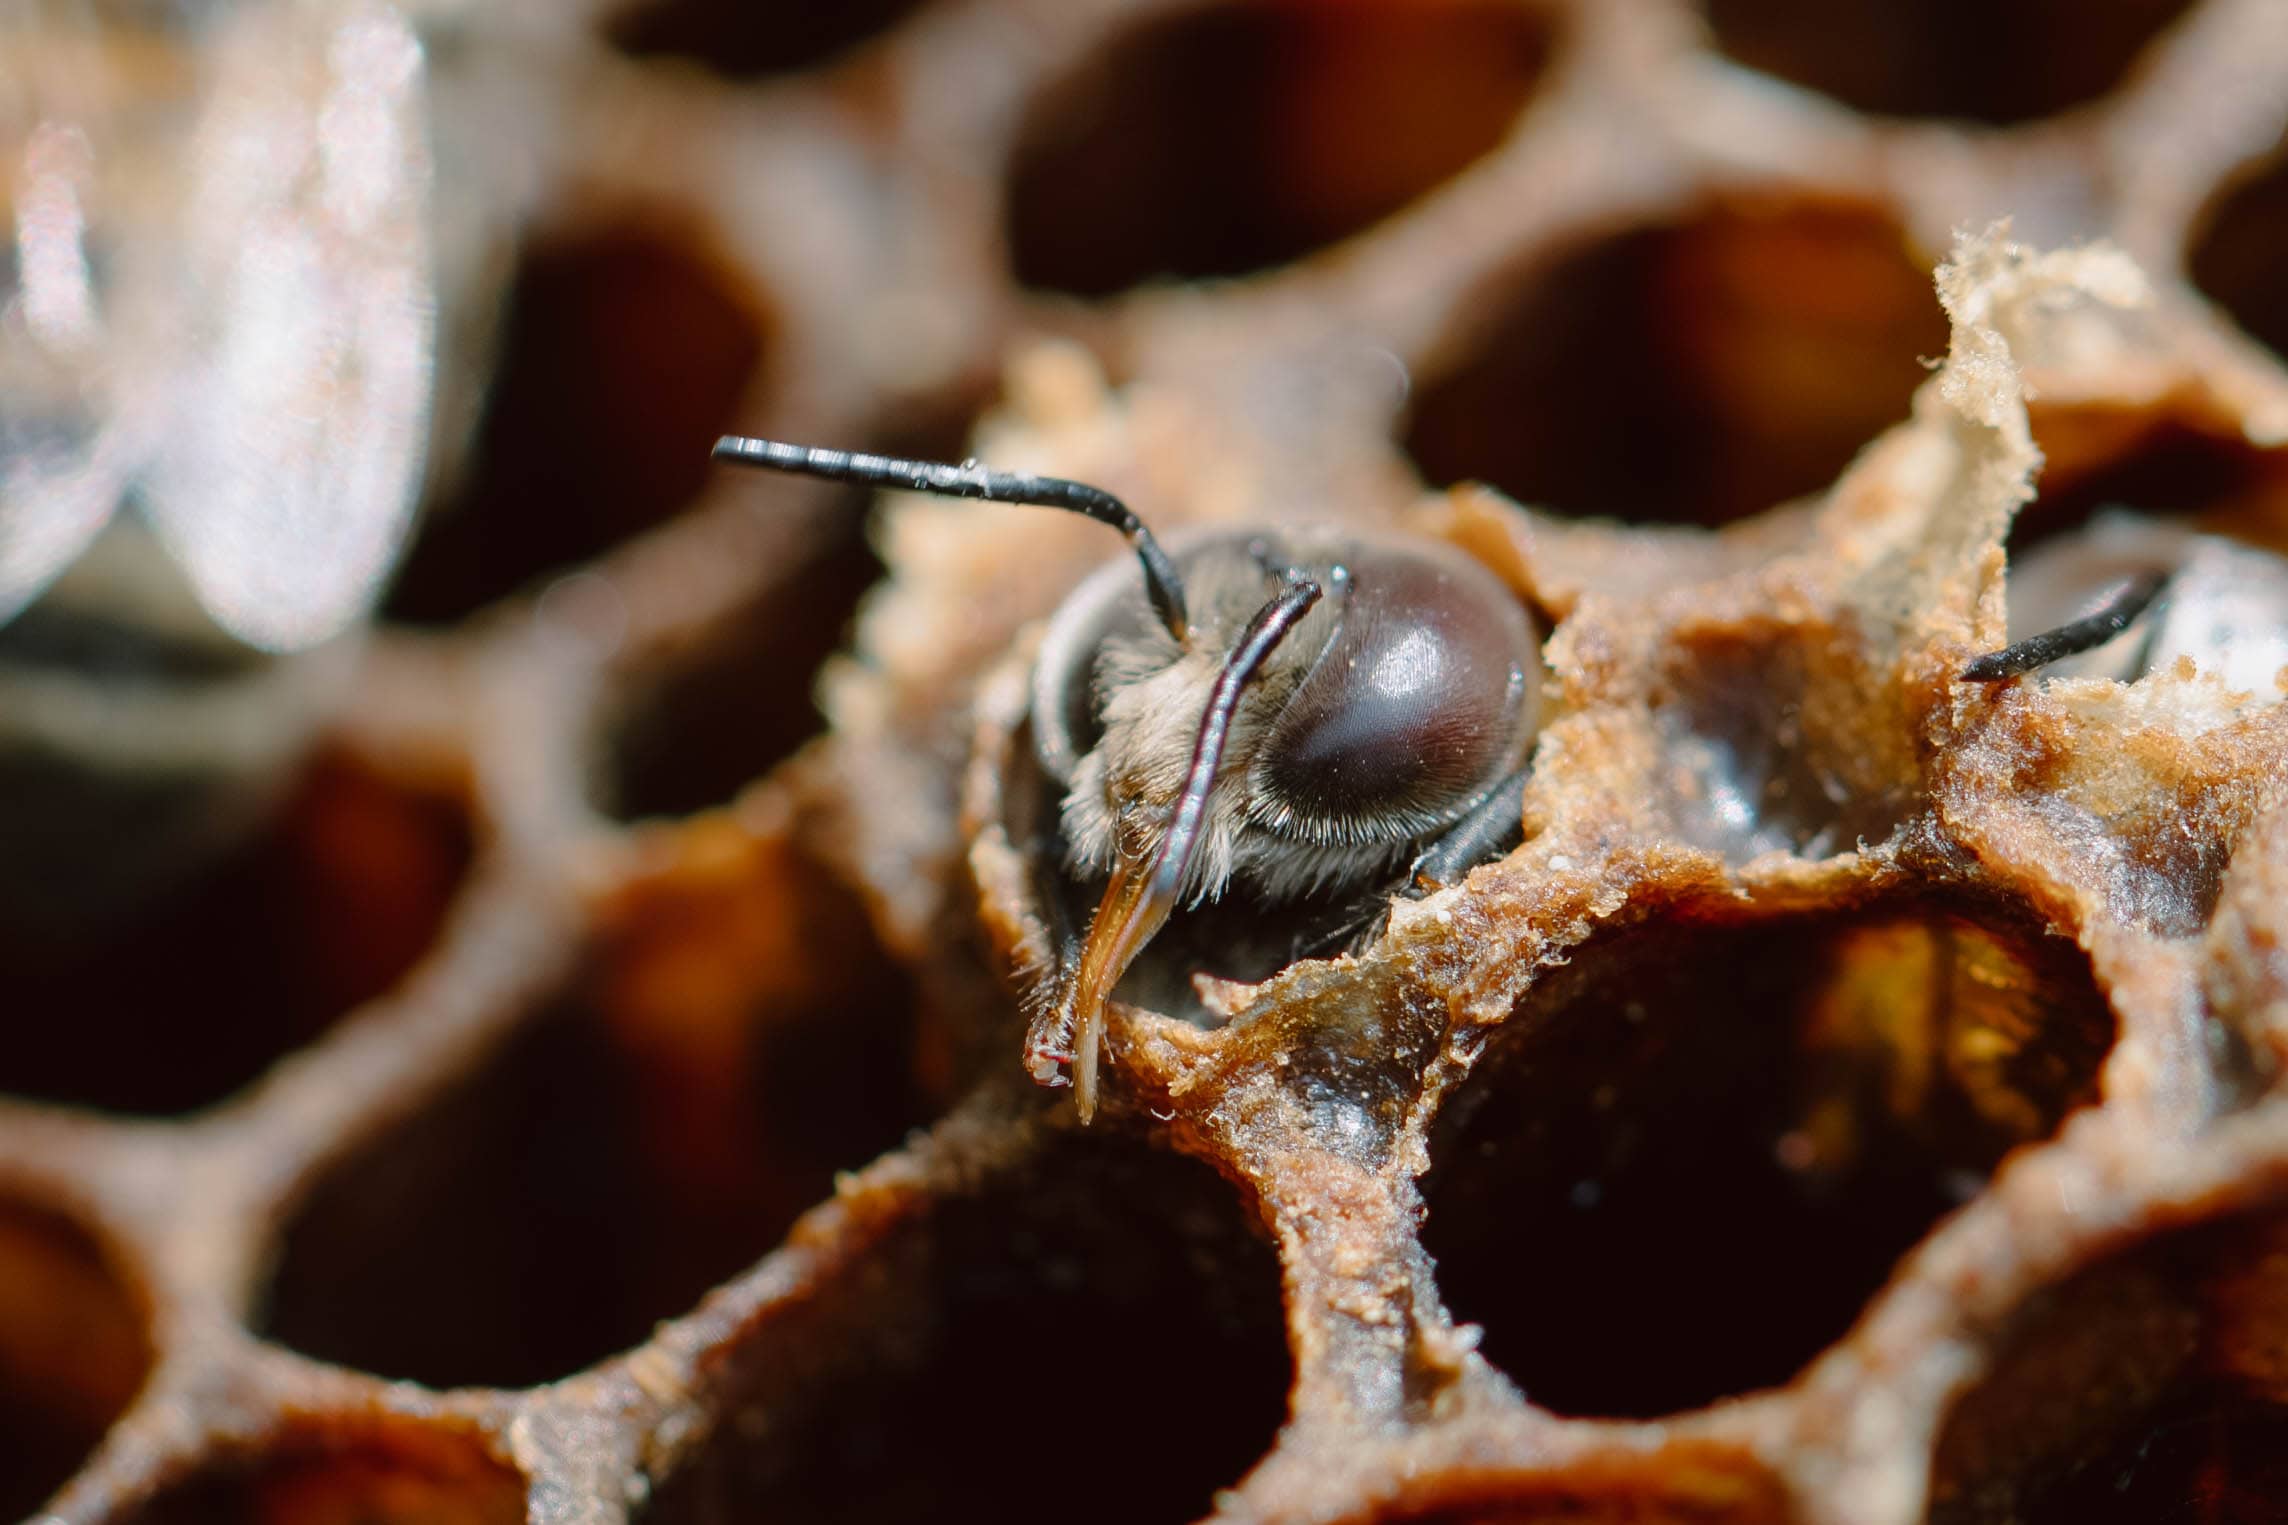
A first-year colony is building its house and getting it in order. Those bees need to propolize every last crevice of the hive. They need to draw out the comb, a big job. (Comb-building is metabolically expensive – bees have to consume about eight pounds, or nearly 4 kg, of honey to produce just one pound, or almost 0.5 kg, of wax!) And they’re trying to store up enough food for the coming winter, which is no small feat.
By the time they've built out the hive, filled brood frames, and stored winter reserves, there's often nothing left for harvest. This is especially true if you started from a purchased package of bees or with a small swarm.
Second-Year Hives Are Different
The difference in year two is that the comb is already drawn (assuming you haven’t been harvesting it). If the bees don't have to build their infrastructure, all the incoming nectar can get stored and go toward the surplus – your share.
That second summer is when most beekeepers see their first real harvest, and the numbers can be staggering. A strong second-year hive in a good location can realistically give 30–60 pounds (14–27 kg) of surplus honey. That’s the equivalent of about 11–22 quarts (10–21 liters) of honey!
Exceptions: When First-Year Hives CAN Produce
Of course, it’s not a hard-and-fast rule that a first-year hive can’t be harvested. There are exceptions, and your situation may very well fall into one of these three categories:
- You caught a large swarm early (April to May in most regions), and they had the full season to build and store
- You're in an area with an exceptionally strong and long nectar flow (think months, not weeks, as mentioned in article one of this beekeeping series)
- You started with drawn comb because you either purchased a nuc or are using established frames from another hive
The Three Signs Your Hive Is Ready to Harvest
There are three items to look at before you decide whether to harvest: your frames’ cap ratio, the number of frames that are ready, and the brood box. (These would all fall under the necessary reasons to open up a hive that we covered in article two of this series.)
Sign 1: Frames are 80 percent (Or More) Capped Honey
When bees first deposit nectar into the comb, it consists mostly of water. Between the bees’ processing and the water evaporating over time, the thin nectar turns into the thicker substance we know as honey.
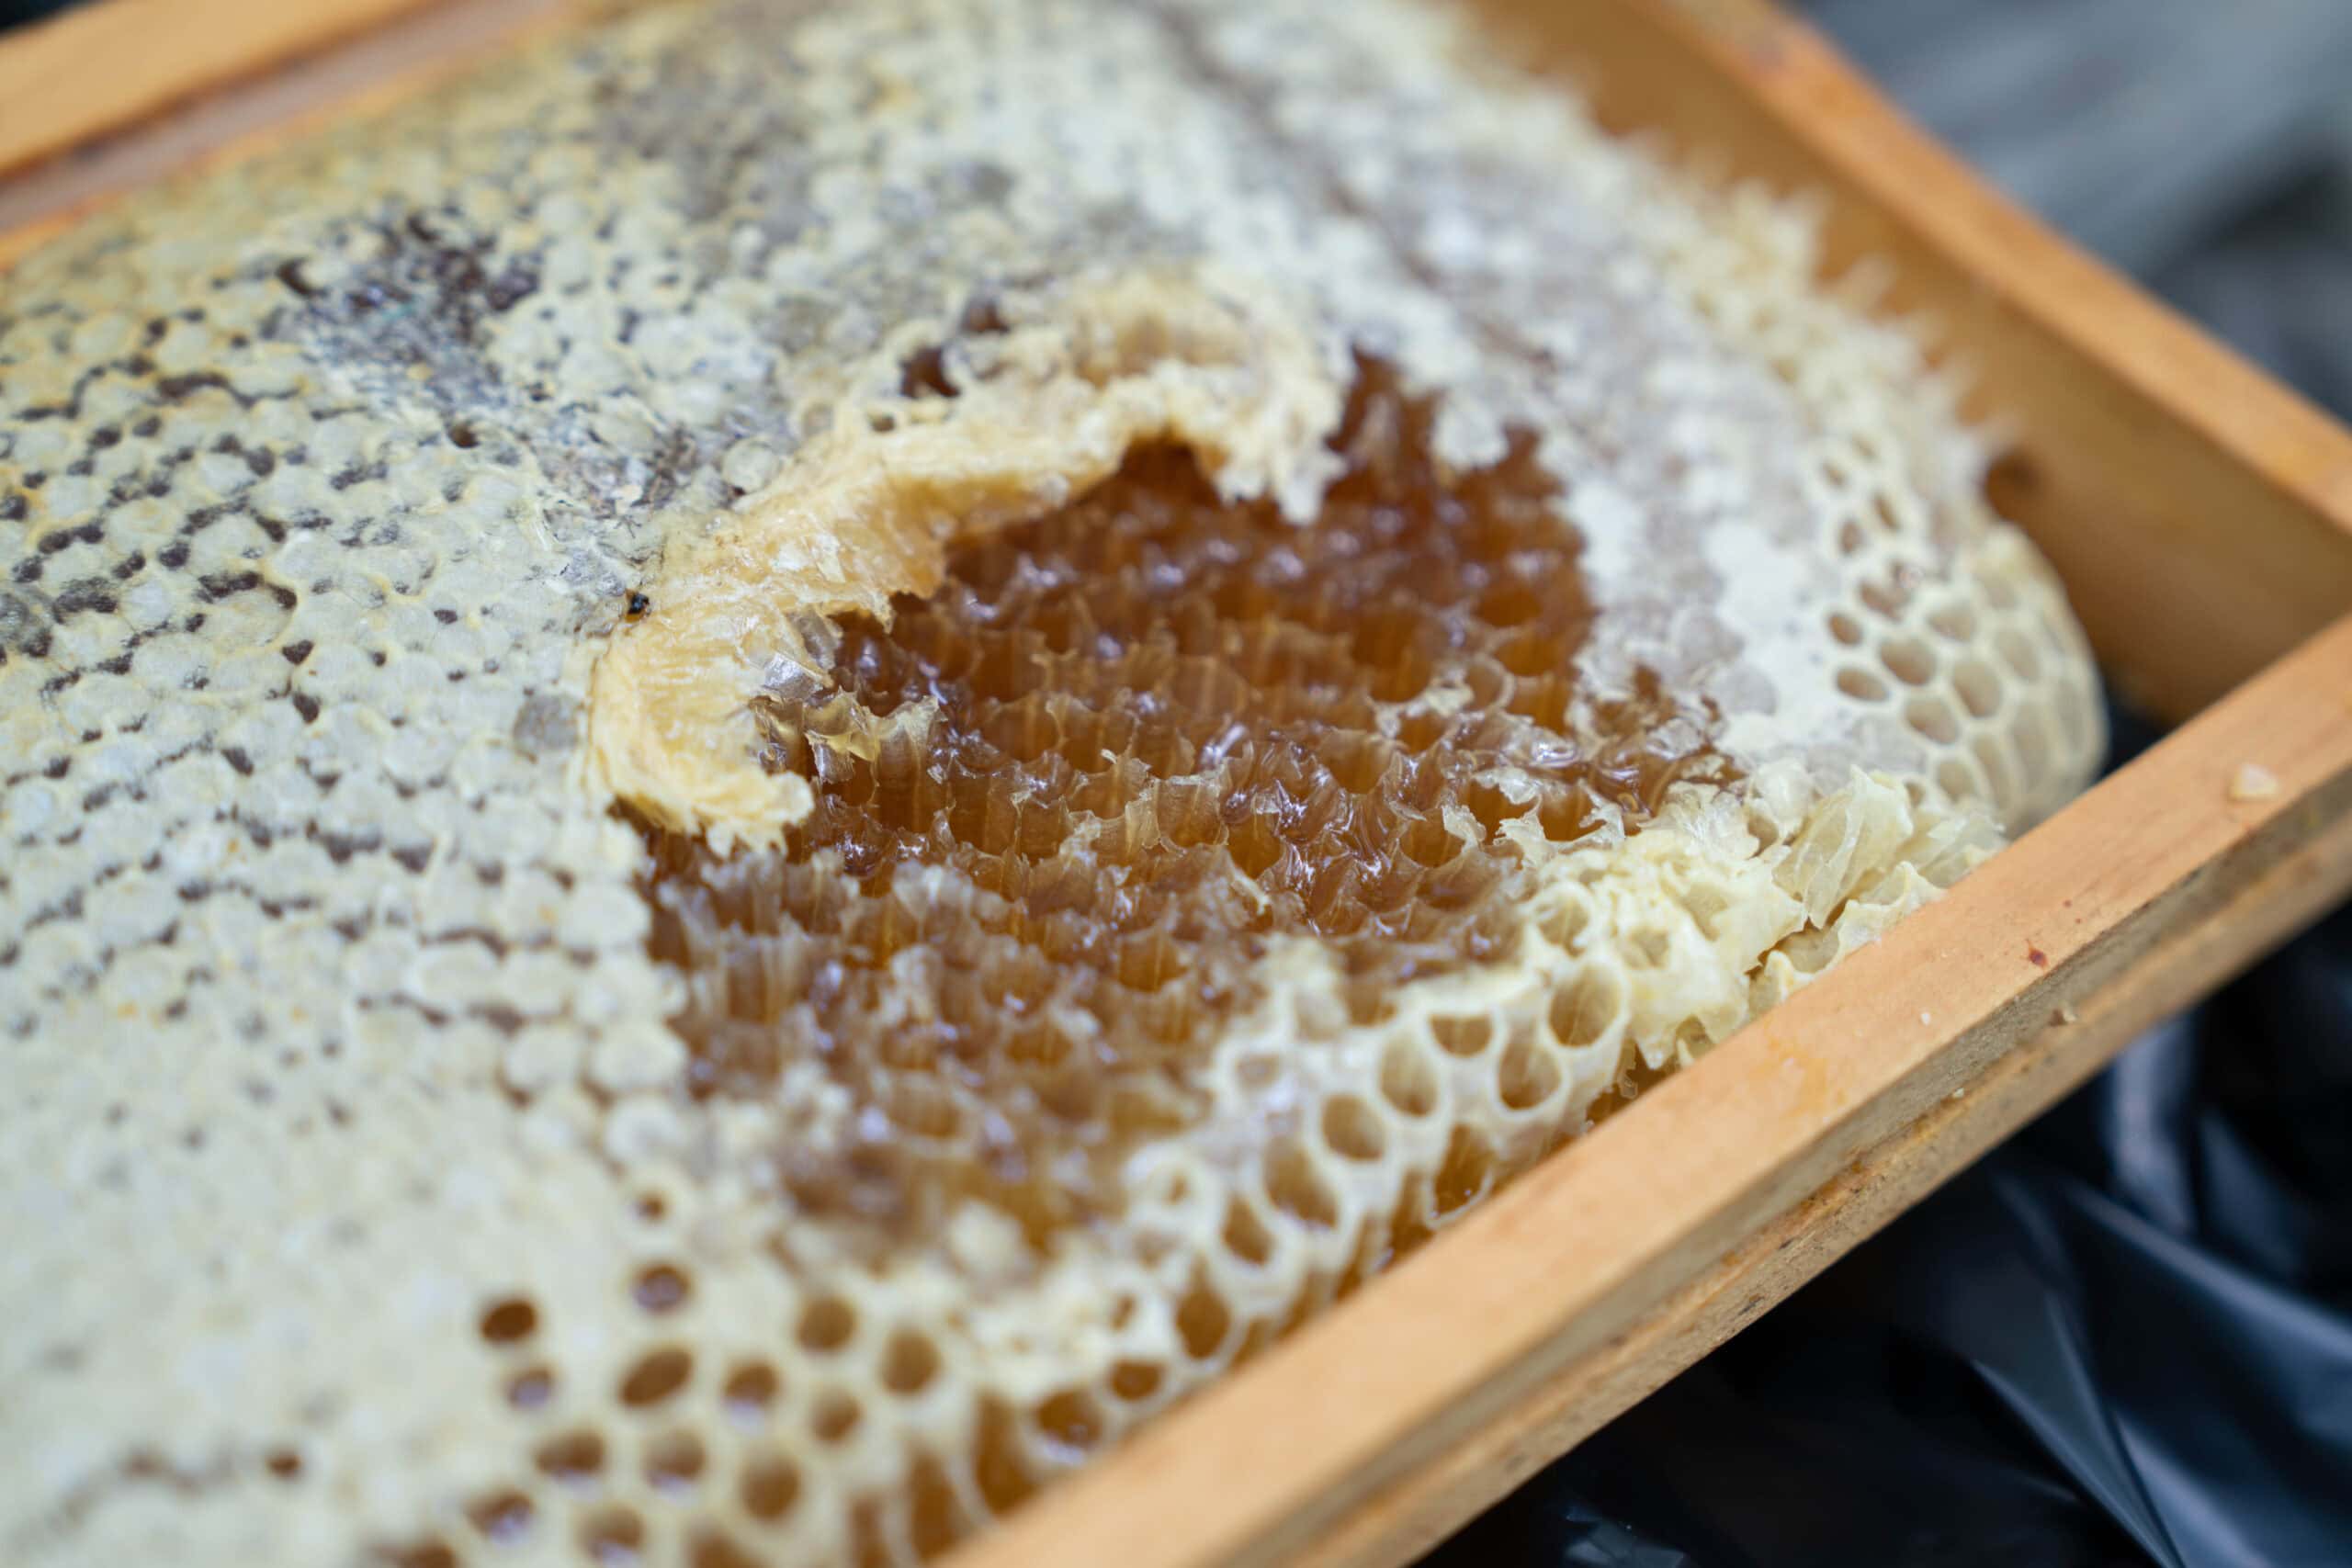
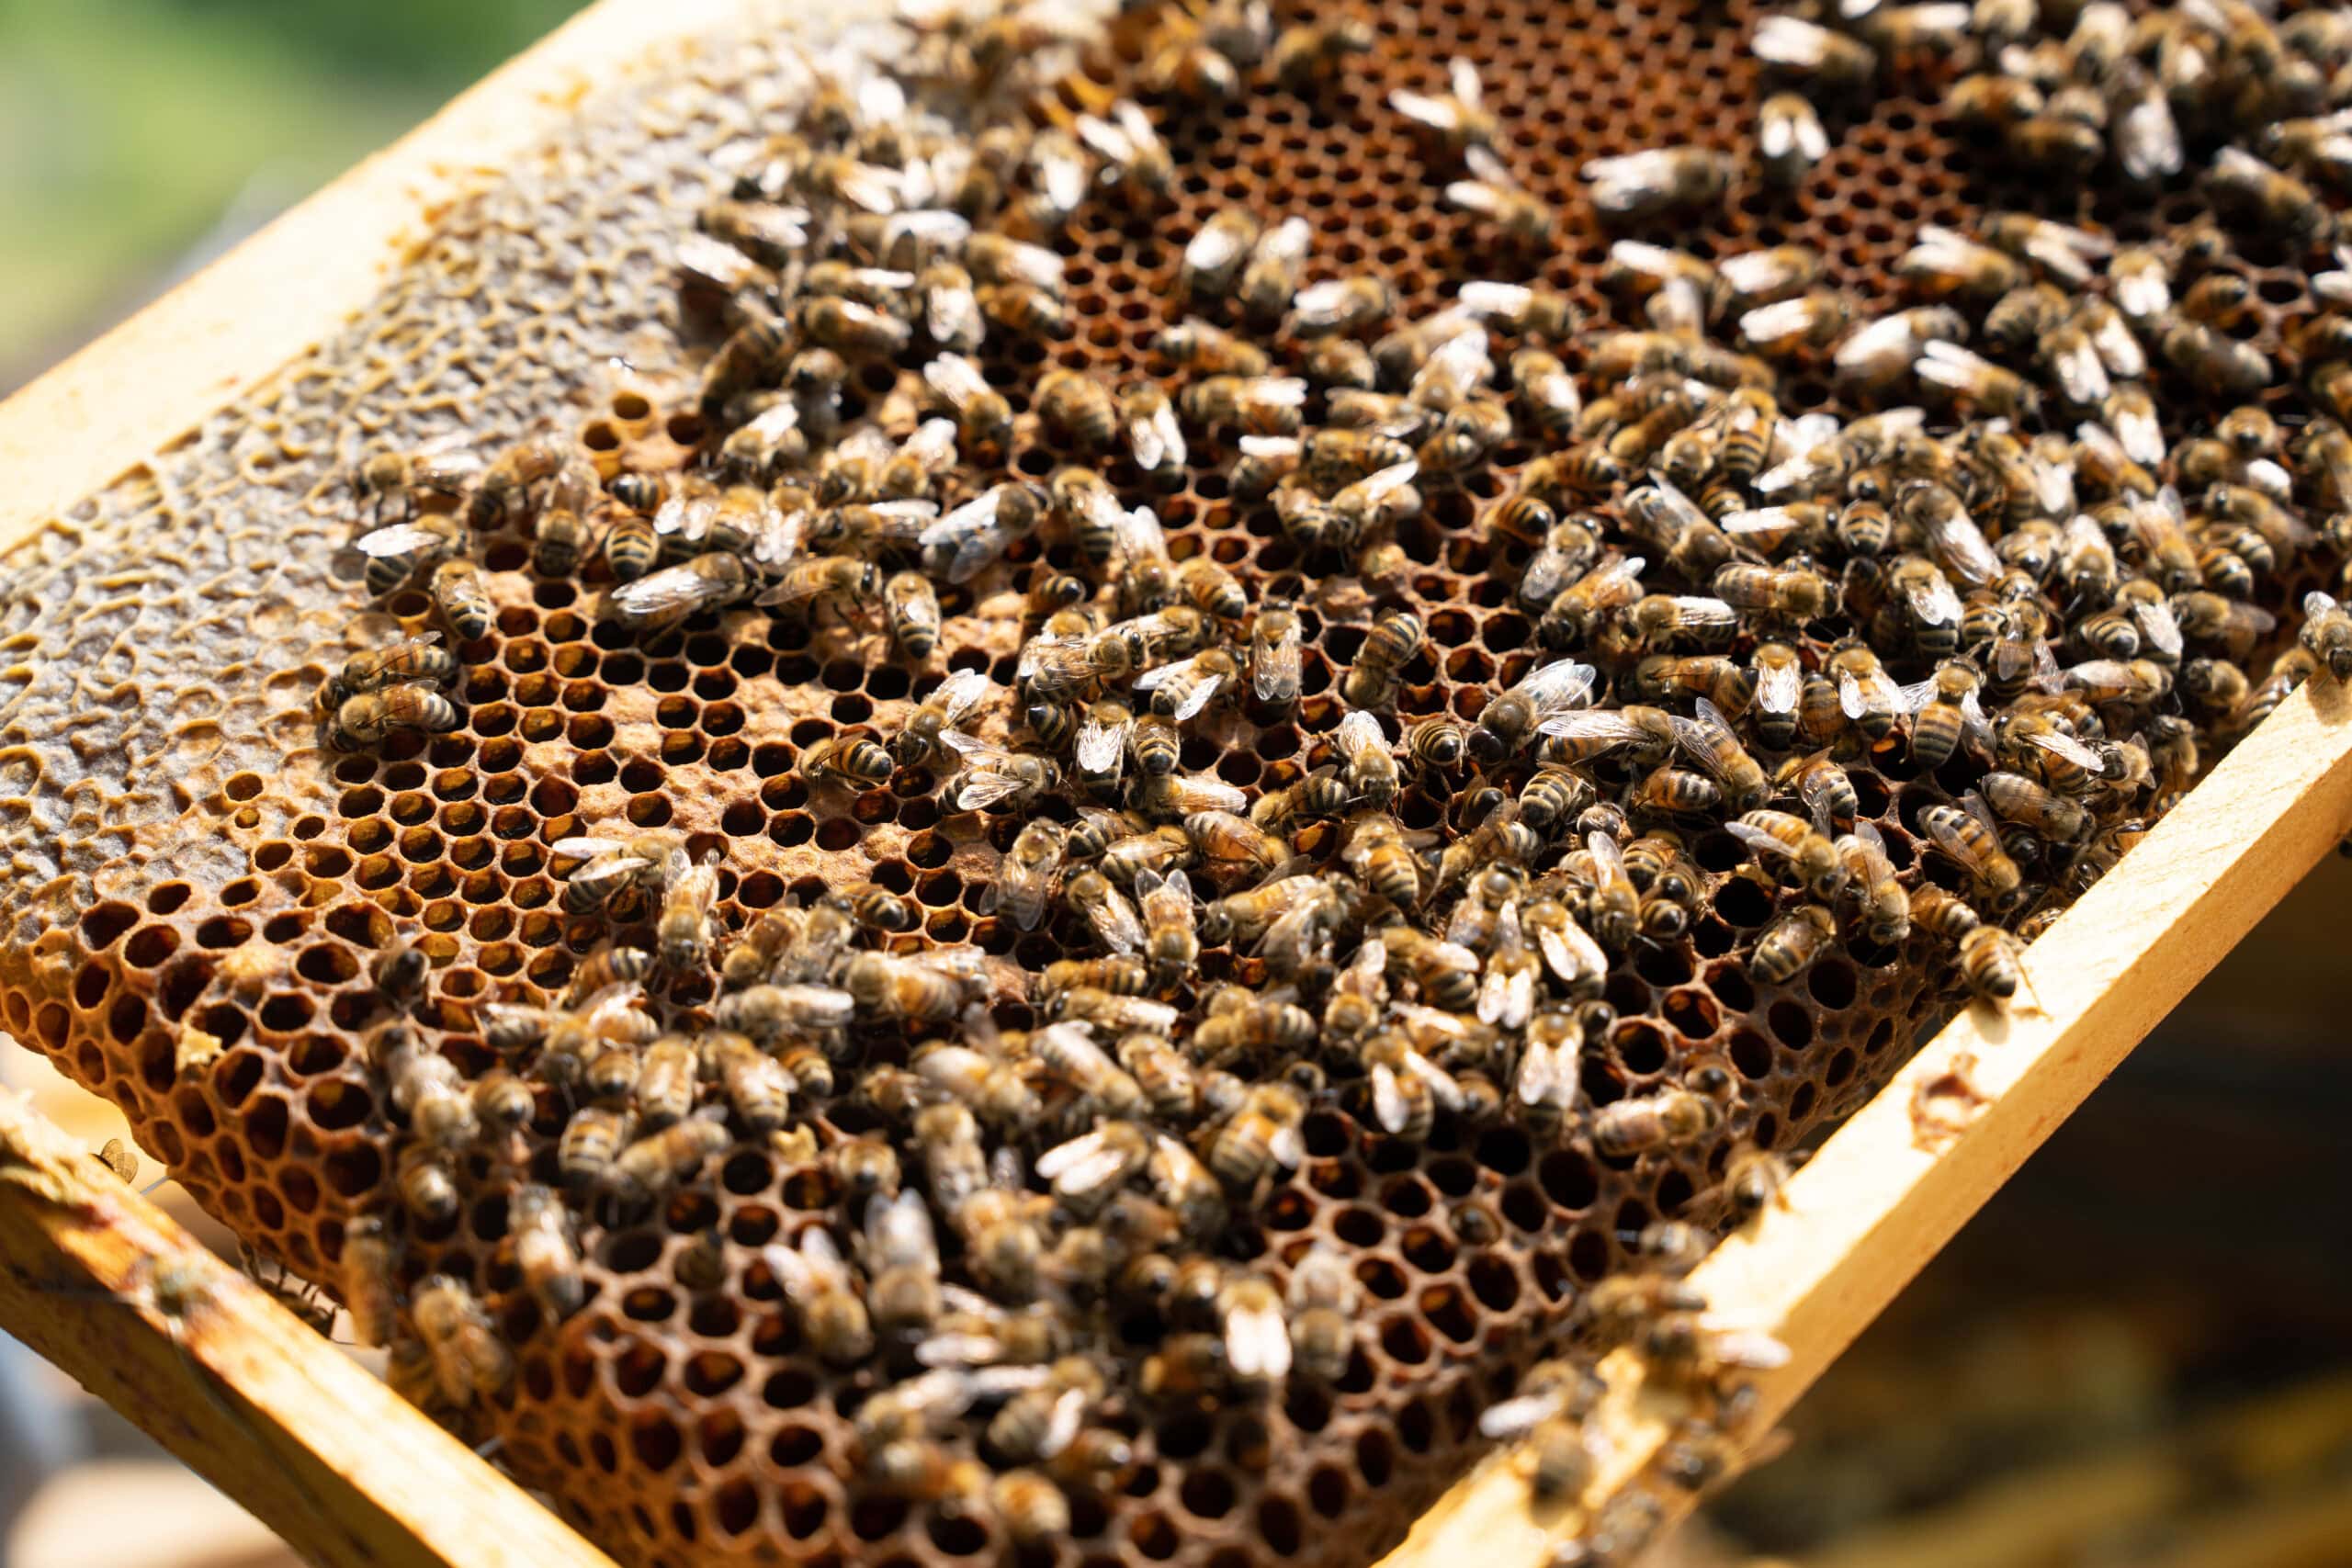
When the moisture content drops enough (to about 18 percent), bees seal each cell of honey with a thin layer of wax. That is what we call “capped honey,” and the rule of thumb that Adam Martin suggests in his class on “Natural Beekeeping” is to only pull frames where 80 percent of the cells have wax caps.
His rationale is plain: If you harvest nectar before it’s capped, its shelf life will be extremely short and a good deal of your harvest will spoil. If a frame is below that 80 percent threshold, just leave it and let the bees finish processing the nectar into honey.
Natural Beekeeping
Join Adam Martin from the Bee Kept as he shows you the natural sustainable way to keep bees!
Sign 2: You Have Multiple Full Frames (Not Just One or Two)
If you’re going to harvest, you need to go big or go home. In other words, it does not make sense to open the hive, pull frames, extract honey, and then return frames for just one or two jars of honey. It’s too much work for you, and too disruptive to the bees.
Practically speaking, you want at least 4 to 6 fully capped (80 percent or more) frames in the honey super to make it worth your while. That’s roughly 12–20 pounds (5–9 kg) of honey, or almost 4.5–7.5 quarts (4.2–7 liters).
Compare that to one frame of honey, which can weigh as little as 3–4 pounds (1.4–1.8 kg) and provide just 1–1.5 quarts (0.9–1.4 liters) of honey. That's just a sample, not a harvest.
Sign 3: The Brood Area Is Well-Stocked
Before you take honey from the honey super or frames, check the brood frames.
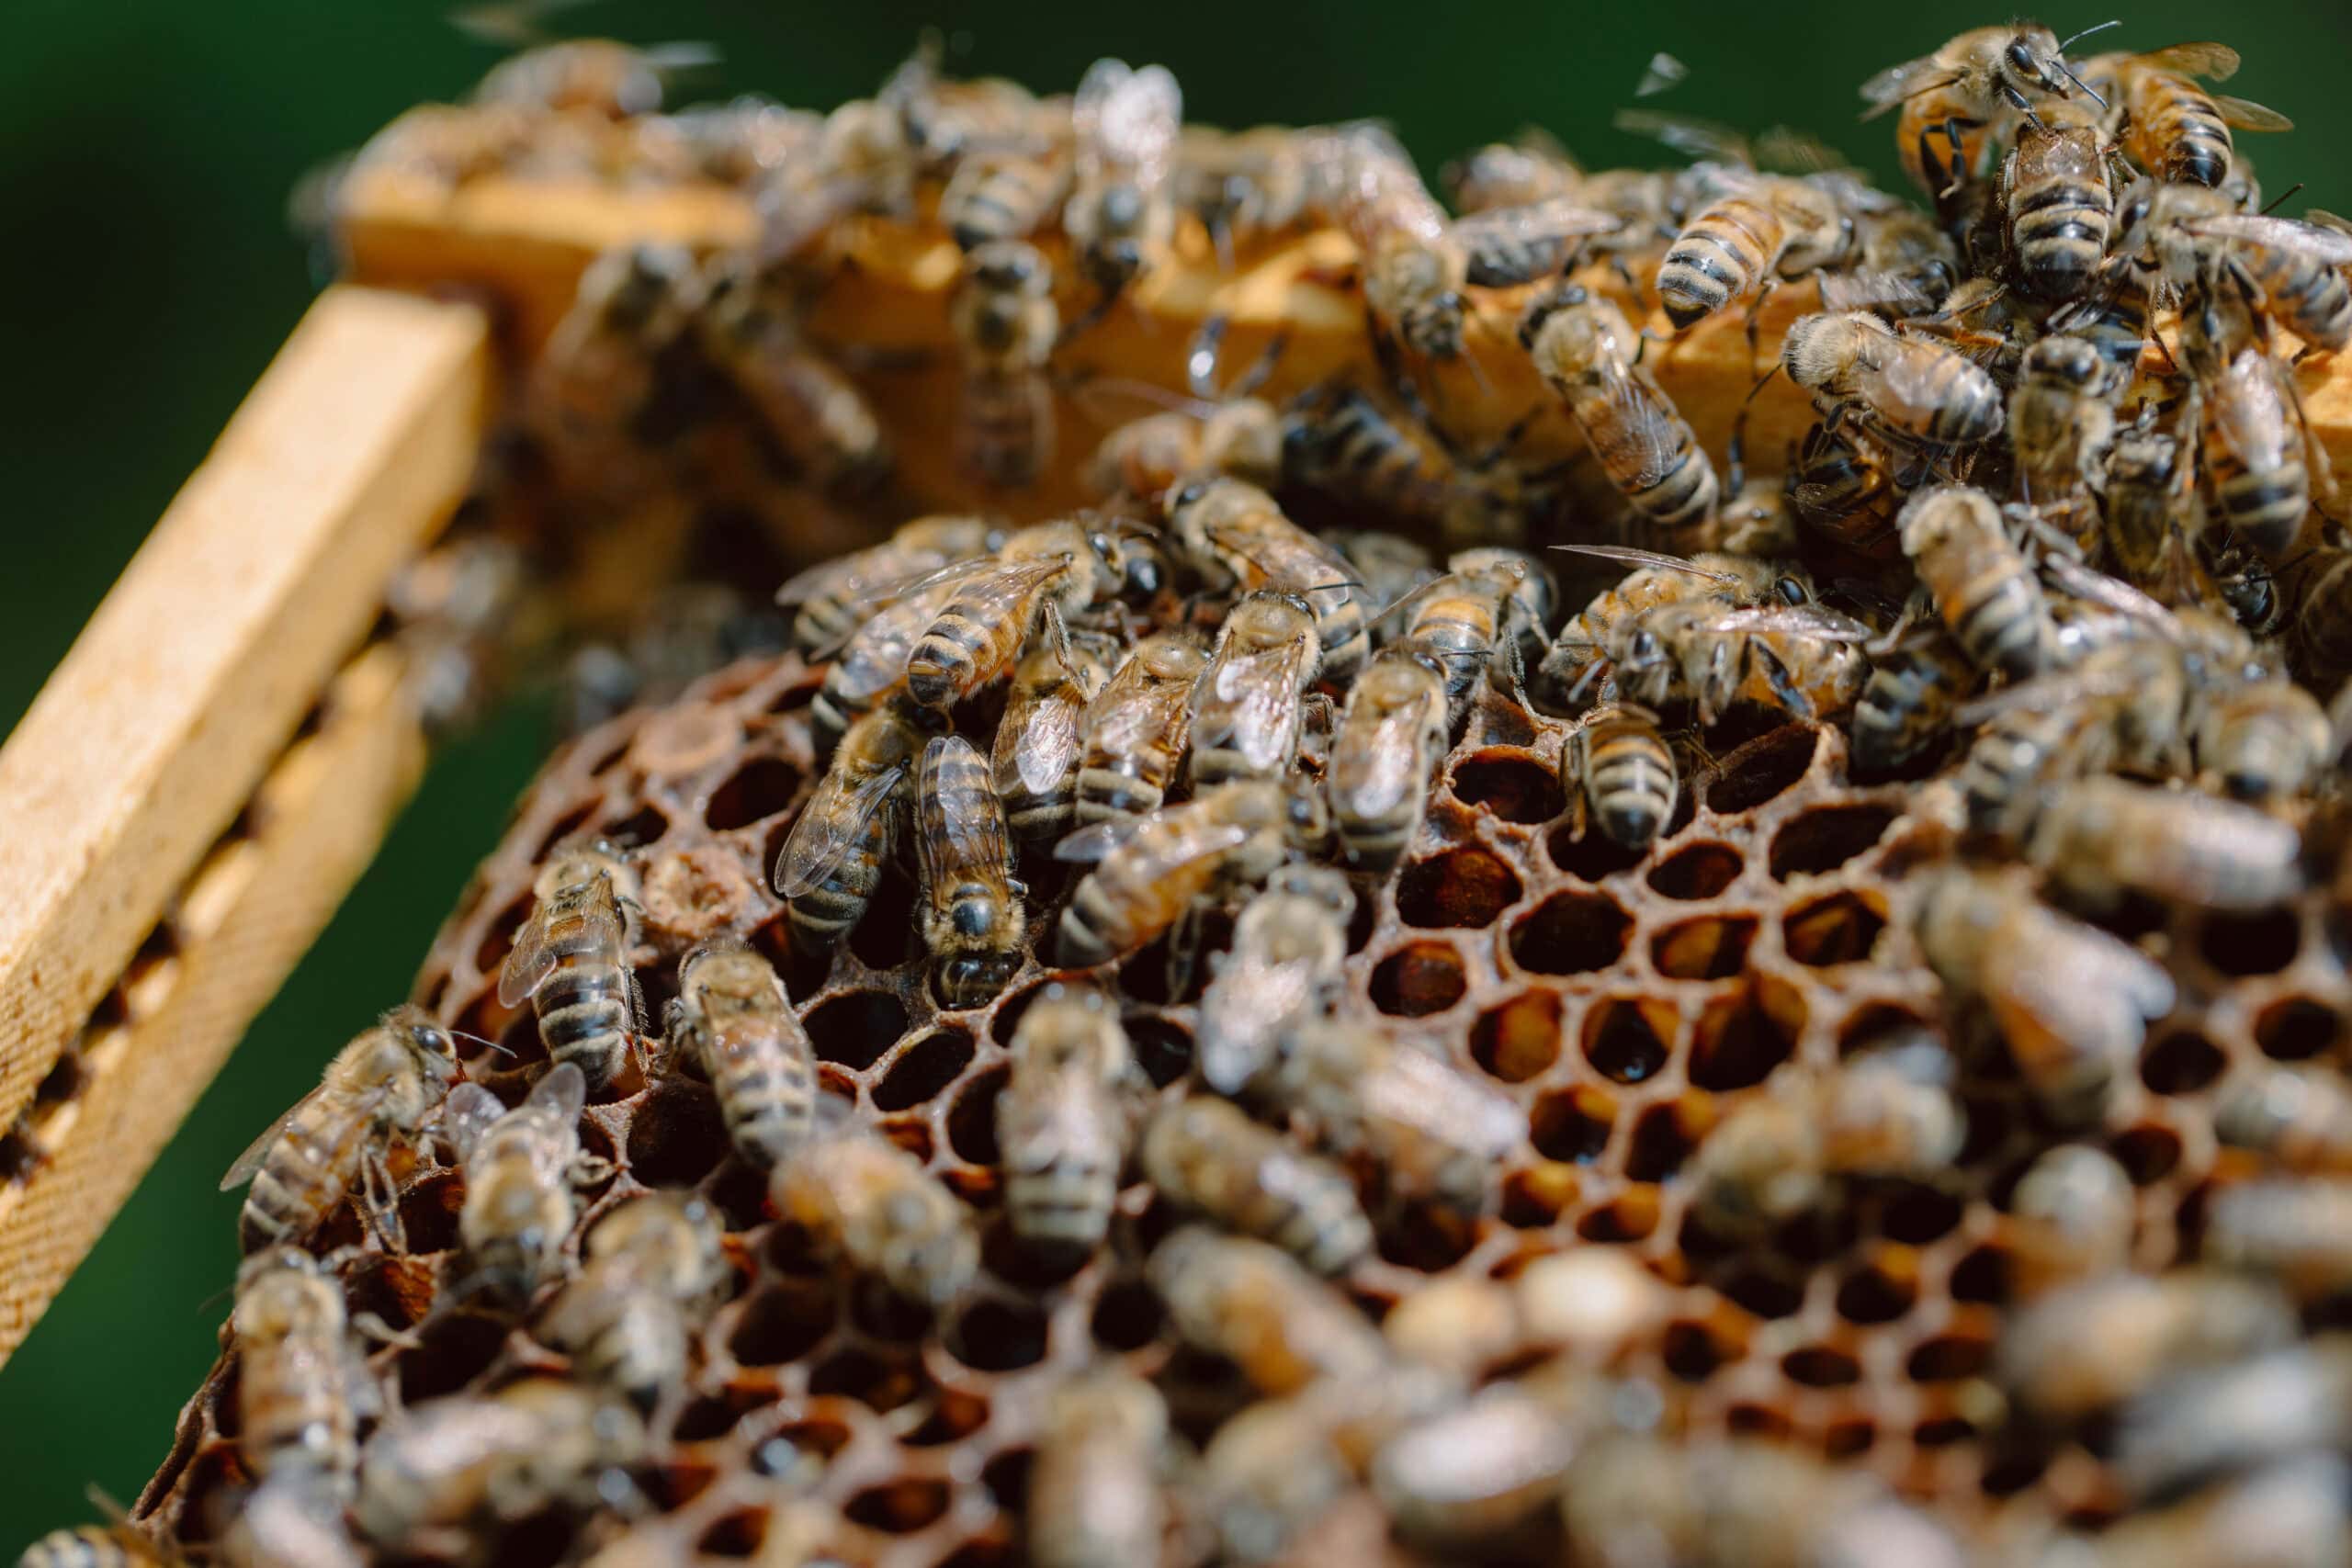
Are they surrounded by a thick “honey rainbow” (that arc of capped honey cells that sits above and around the brood nest)? This is the bees' winter reserve, and it should look robust.
If instead you’re seeing thin or patchy honey rainbows, don’t harvest anything – the bees will need every drop come wintertime.
How to Check If Your Hive Has Enough Stored
Those three signs give a good indication of whether or not you should harvest, but concrete numbers are helpful, especially when estimating how much honey is enough for your bees.
It can vary both by climate and colony size, but in the U.S., a colony needs, on average, 60–90 pounds (27–41 kg) of honey to overwinter successfully.
Regional Differences in Winter Reserve Needs
The colder your climate, the more honey you should plan on leaving your bees for the winter. Here’s the breakdown by USDA climate zone:
- Cold climates (zones 3–5): Bees cluster in the hive for 4–6 months in these areas. Plan on 80-100 pounds (36–45 kg) of honey, maybe more.
- Moderate climates (zones 6–7): These zones enjoy shorter winters, and the bees can still forage on warm days. Plan on 60-80 pounds (27–36 kg) of honey.
- Warm climates (zones 8–10): In the South, bees can forage almost year-round. Plan on 40–60 pounds (18–27 kg) of honey.
When in doubt, ask local beekeepers or your regional extension office what the rule of thumb is for your area.
Estimating Honey Stores Without Weighing
Happily, there are ways to estimate the amount of honey in your hive without pulling out a scale (because who wants to lug that thing from the bathroom out to their field, anyway?).
- Start with these points of reference: A fully loaded medium frame weighs about six pounds (2.7 kg), while a full deep frame is around eight pounds (3.6 kg).
- Next, do the math: For example, if your brood box has six to eight frames with thick honey arcs, you're looking at roughly 40–60 pounds (18–27 kg) stored in the brood area.
- Then, add the honey super frames: If you have eight fully capped frames in a super (or outside the brood nest, in the case of a horizontal hive), that's another 50–60 pounds (about 23–27 kg).
- Last of all, total it up: If the brood box plus the super combined come out to over 100 pounds (45+ kg) of honey, you have surplus to harvest.
Adam Martin’s Harvesting Rules of Thumb
Another quick and handy way to estimate how much to harvest is to use Adam Martin’s approach, as detailed in his “Natural Beekeeping” class, and look at the number of frames in your hive.
- For a Langstroth hive, a conservative rule of thumb is to follow the 2 to 1 ratio, leaving one full frame of honey (or uncapped nectar in the spring or summer, because they will turn that into honey before winter) for every two brood frames. Also, leave the ‘bookends’ of resource frames on either end of the brood nest.
- For a Layens hive, leave the 4–5” (10–13 cm) honey rainbow on the top part of each brood frame, plus one extra frame of capped honey as insurance.
As a natural beekeeper, Adam’s advice is to harvest less frequently, take less honey at one time, and err on the side of leaving too much for the bees rather than too little. This is one of the cornerstones of his sustainable beekeeping method, and over time it allows the beekeeper to enjoy generous harvests from fewer hives with minimal inputs.
The Heft Test
If you’re experienced and looking for the fastest, least invasive (albeit subjective) test possible, give the heft test a try. Simply lift the back of the hive slightly (no need to open, just lift from the outside). A heavy hive means it’s well-stocked, a light hive suggests your bees are low on reserves.
The key is to do this at several points during the year and before and after harvesting, so you can get a good sense for what “heavy” and “light” actually feel like.
What If You're Not Ready to Harvest?
If your hive didn’t pass the test for harvesting this time around, here are a few options of what you can – or should – do now to position yourself for a great harvest next year.
First-Year Hives: Be Patient
As we talked about earlier, if this is your first season and the hive is still getting established, don't harvest. Stay positive, and keep your eye on the prize: A hive that goes into winter with full honey stores is likely to explode in population next spring and give you two to three times the amount of honey in year two.
That said, it doesn’t hurt to do a little taste test this season. Pull one frame, cut a small chunk of comb with honey, and enjoy a mid-day snack. There will be more where that came from next year, and you’ll be grateful that you didn’t harvest prematurely and put the hive in jeopardy when your hive is flowing with honey the following spring.
Weak Hives: Don't Take Anything
We talked extensively in another article about what a weak hive looks like, and the signs include a low bee population, a thin brood pattern, no eggs, minimal honey stores, and poor foraging activity.
If your hive matches this description, your job is to help them survive winter, not put them in danger by taking their food.
Beyond not harvesting, there are a few more options for what you can do to support a weak hive, from combining with a stronger hive, providing full frames of honey from another hive, or reducing the size of the hive entrance to prevent robbing.
Tip from Adam: Down the line, once you’re in a rhythm of harvesting several frames of honey per year, you may want to put a couple of frames of honey in the freezer for a rainy day. You never know when you might have another hive struggling, which could benefit from that stored honey. (These are the sorts of gold nuggets that instructors like Adam Martin offer through their classes at the School of Traditional Skills!)
Late-Season Swarms: Plan for Next Year
If you caught a swarm in late June or July, your bees have only had two to three months to build up before the fall inspection. Give the colony more time to prepare for winter, and don't expect surplus honey from late-season swarms in year one.
This is a long game, and while it’s perfectly reasonable to want honey now, patient beekeepers are rewarded with abundance later.
How to Harvest Without Damaging the Hive
Finally, the moment you’ve been waiting for: the honey harvest.
Timing Your Harvest
The best time to harvest is late July to early September, depending on your region. You’re aiming to get in there after the main (spring to early summer) nectar flow, but with enough warm weather left for bees to reorganize and resupply if they deem fit. If you harvest too early (mid-June in many parts), you disrupt the nectar flow. Harvest too late (say October), and bees don't have time to fill the gaps before winter.
As with all timing recommendations, these are approximate and may vary depending on where you live. For instance, if you’re in the far South, you might harvest in June. In the North, that could be late August instead. Know your local nectar flow calendar, and get advice from beekeeping neighbors.
The Basics of the Extraction Process
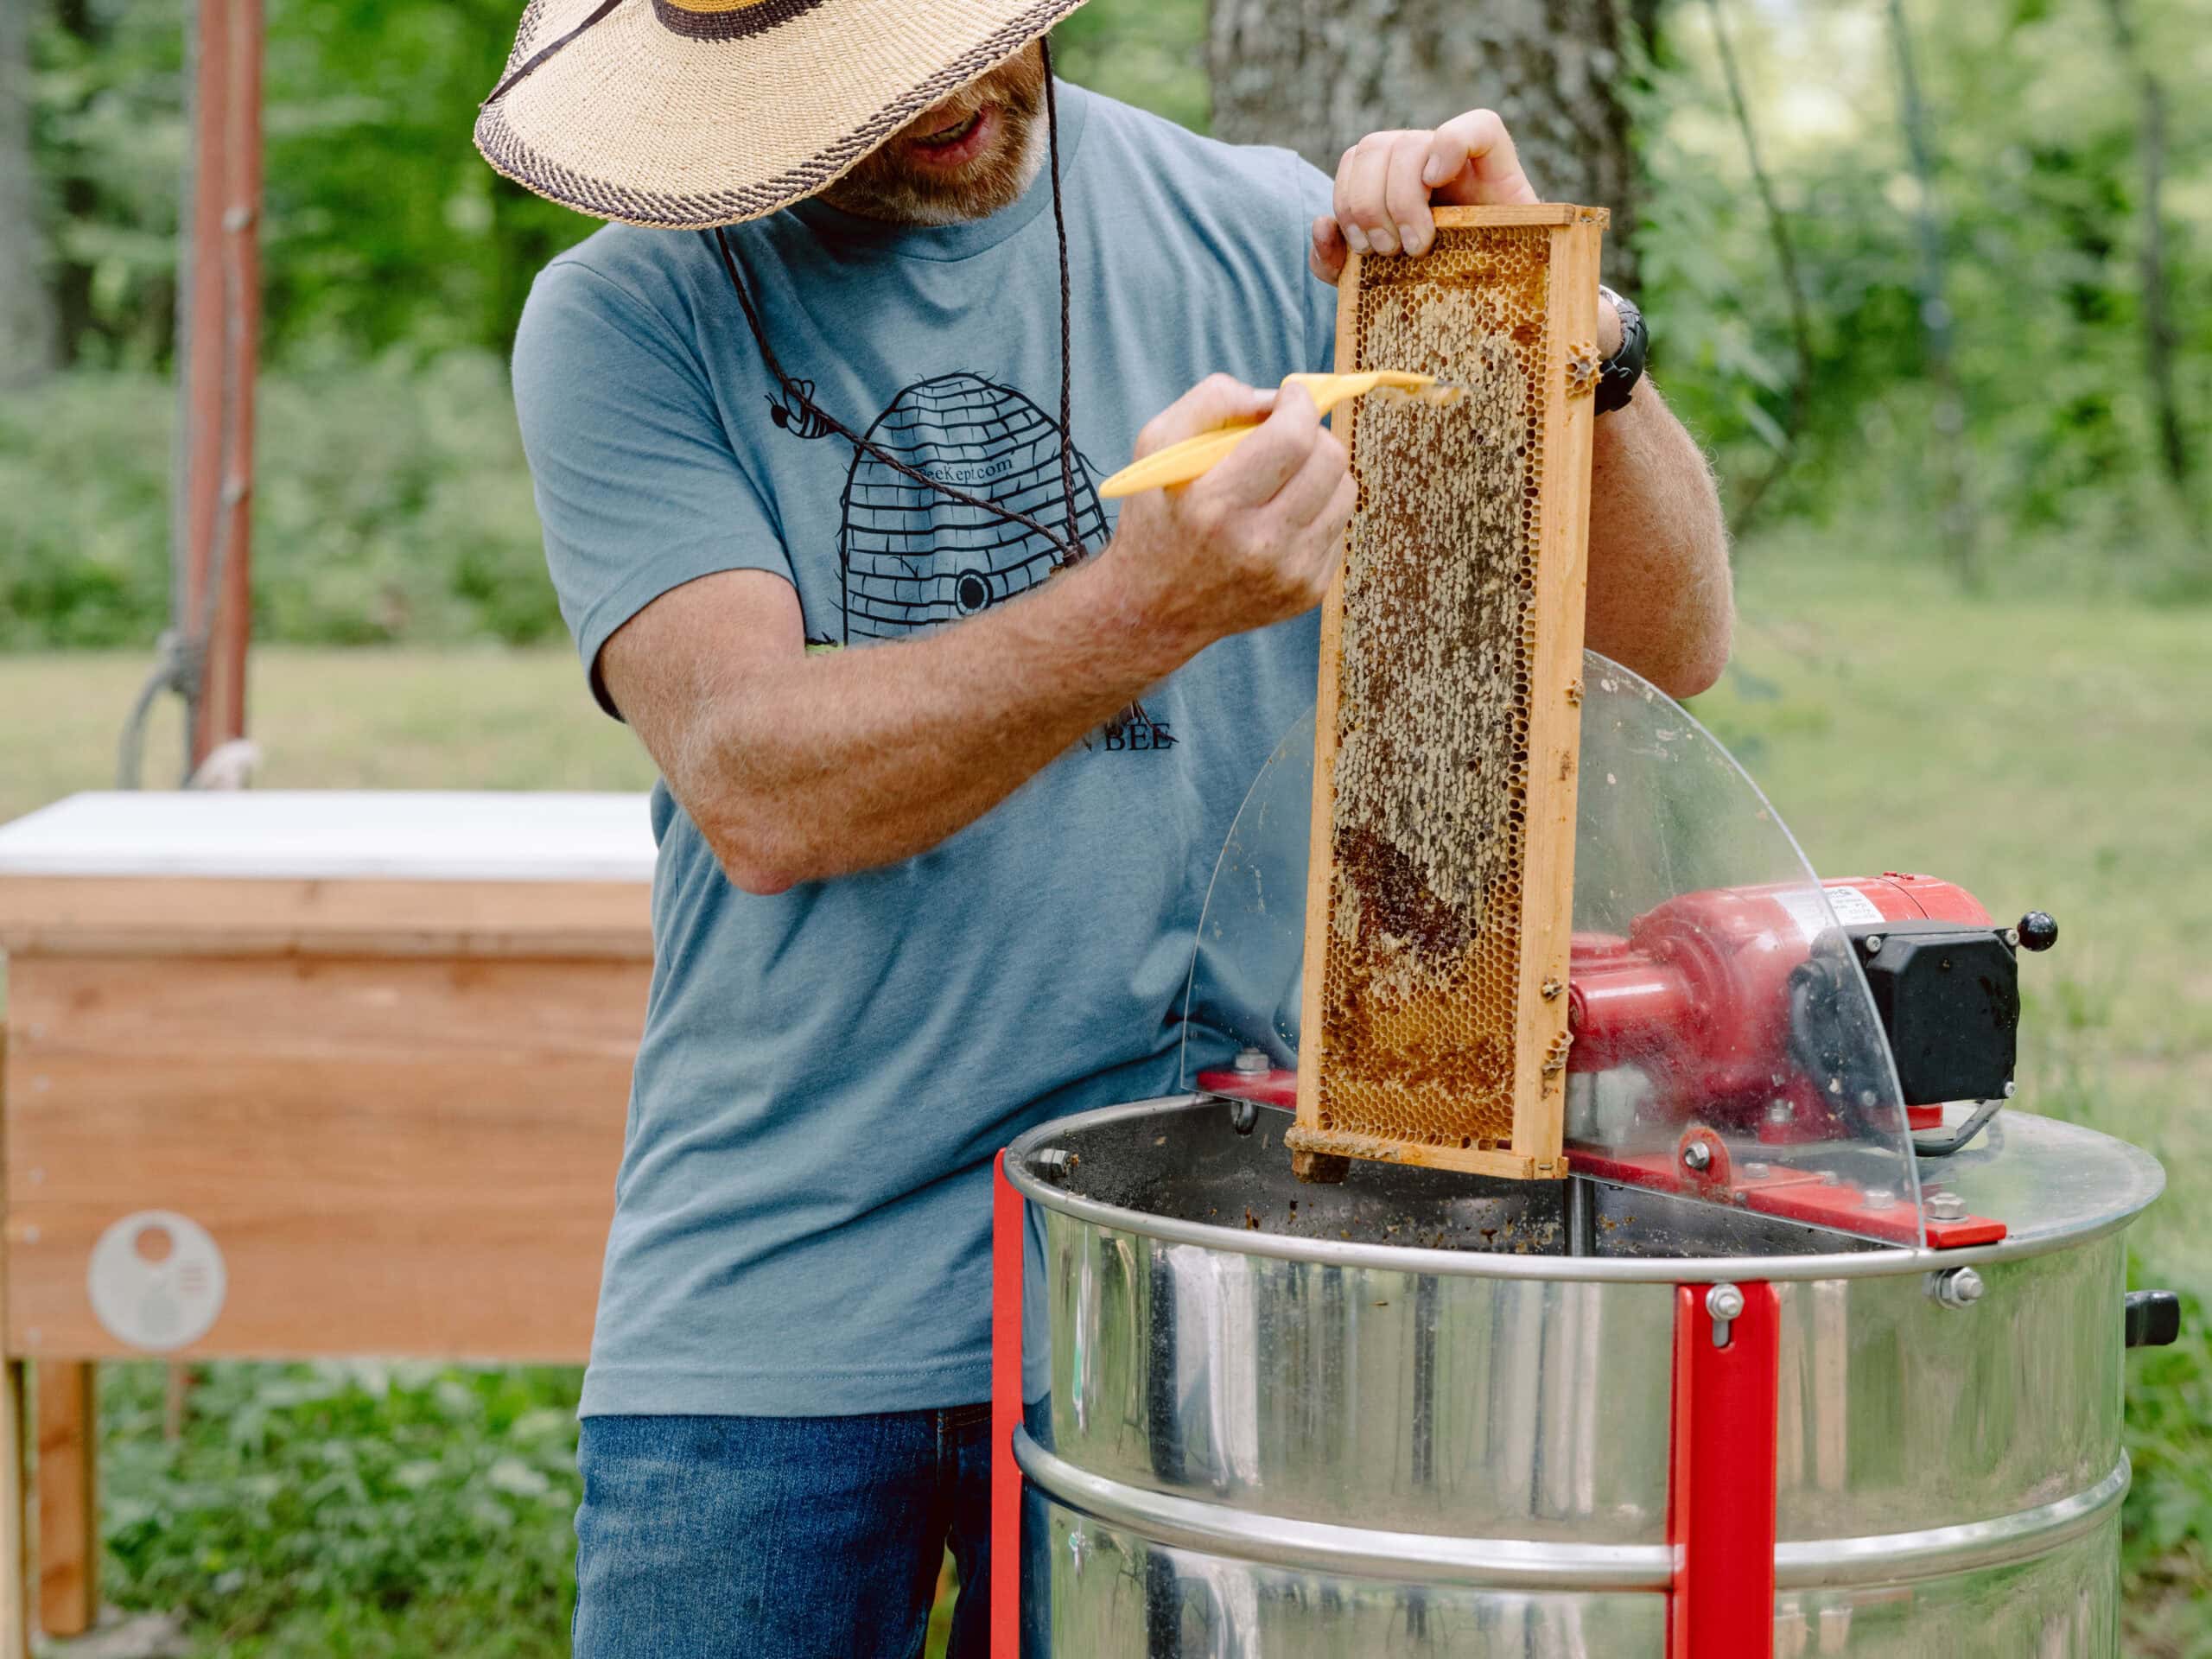
Once you’ve identified the frames you’re harvesting, the extraction process is pretty straightforward. The “Natural Beekeeping” class goes into more detail as far as supplies and the step-by-step process, but here’s a brief overview:
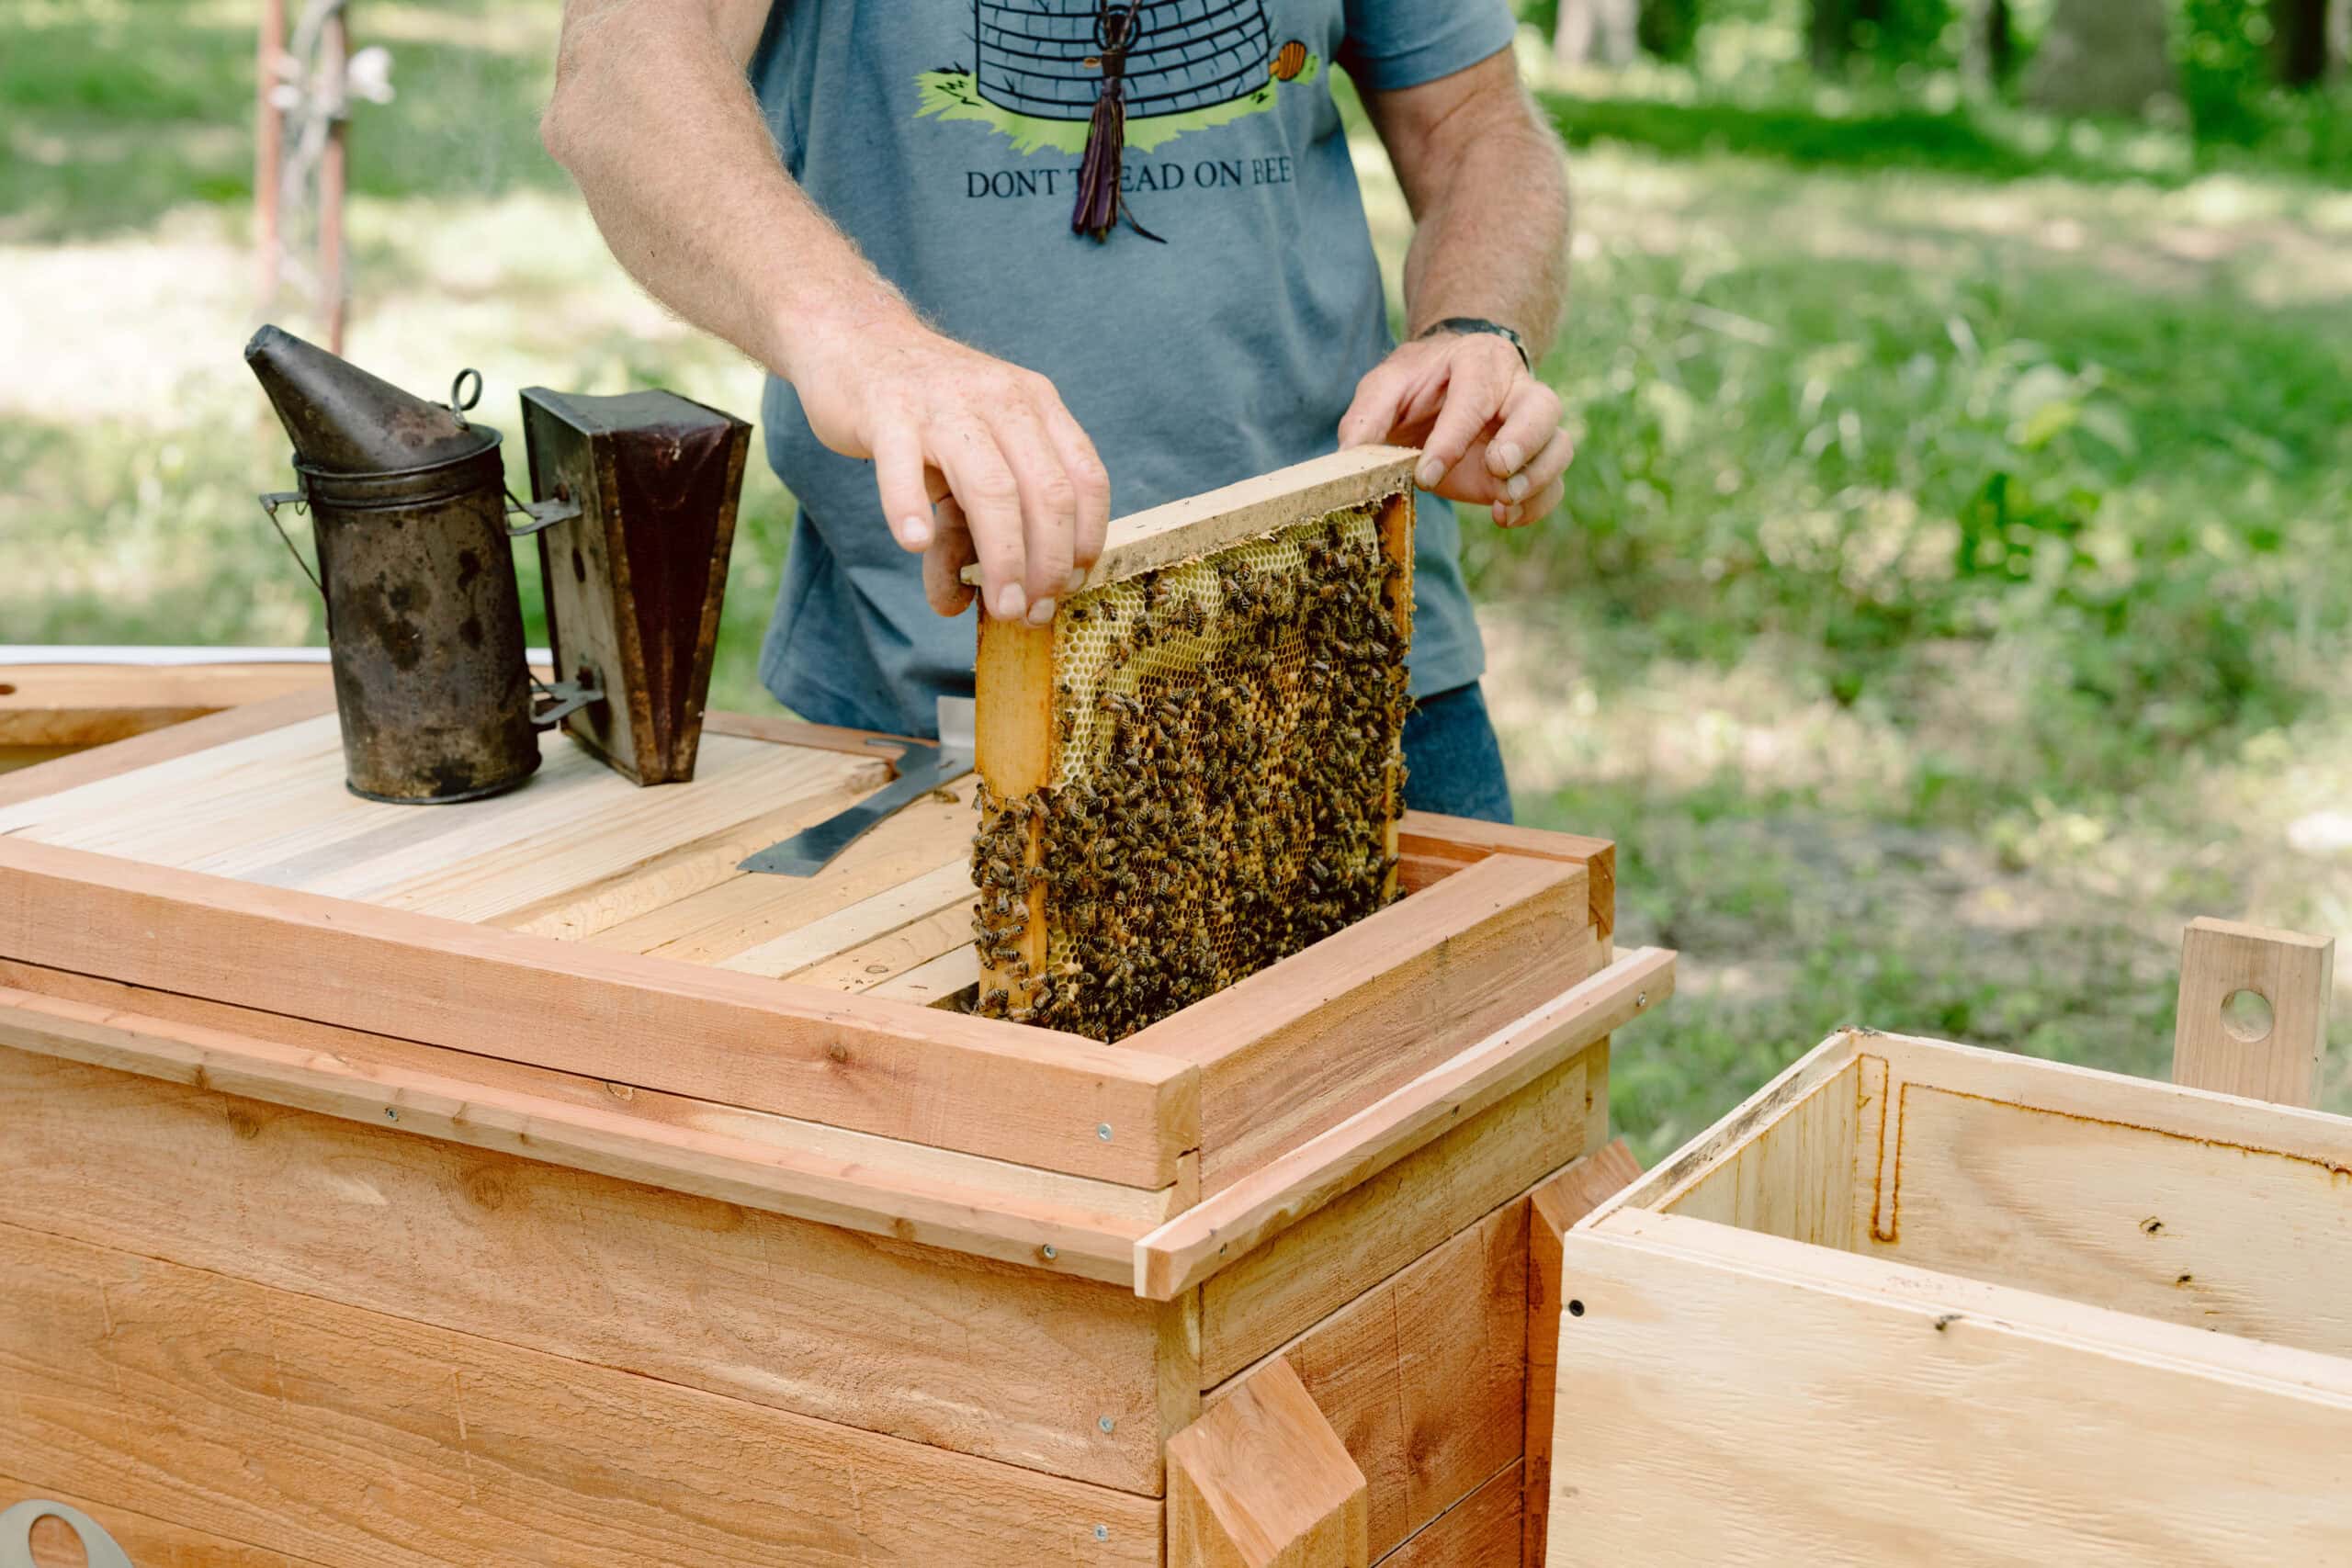
- First, remove the frames from the super, leaving the brood box alone (or in the case of a horizontal hive, the honey frames and the brood frames, respectively)
- Next, uncap the cells with a hot knife or uncapping fork, scraping gently to avoid damaging the comb
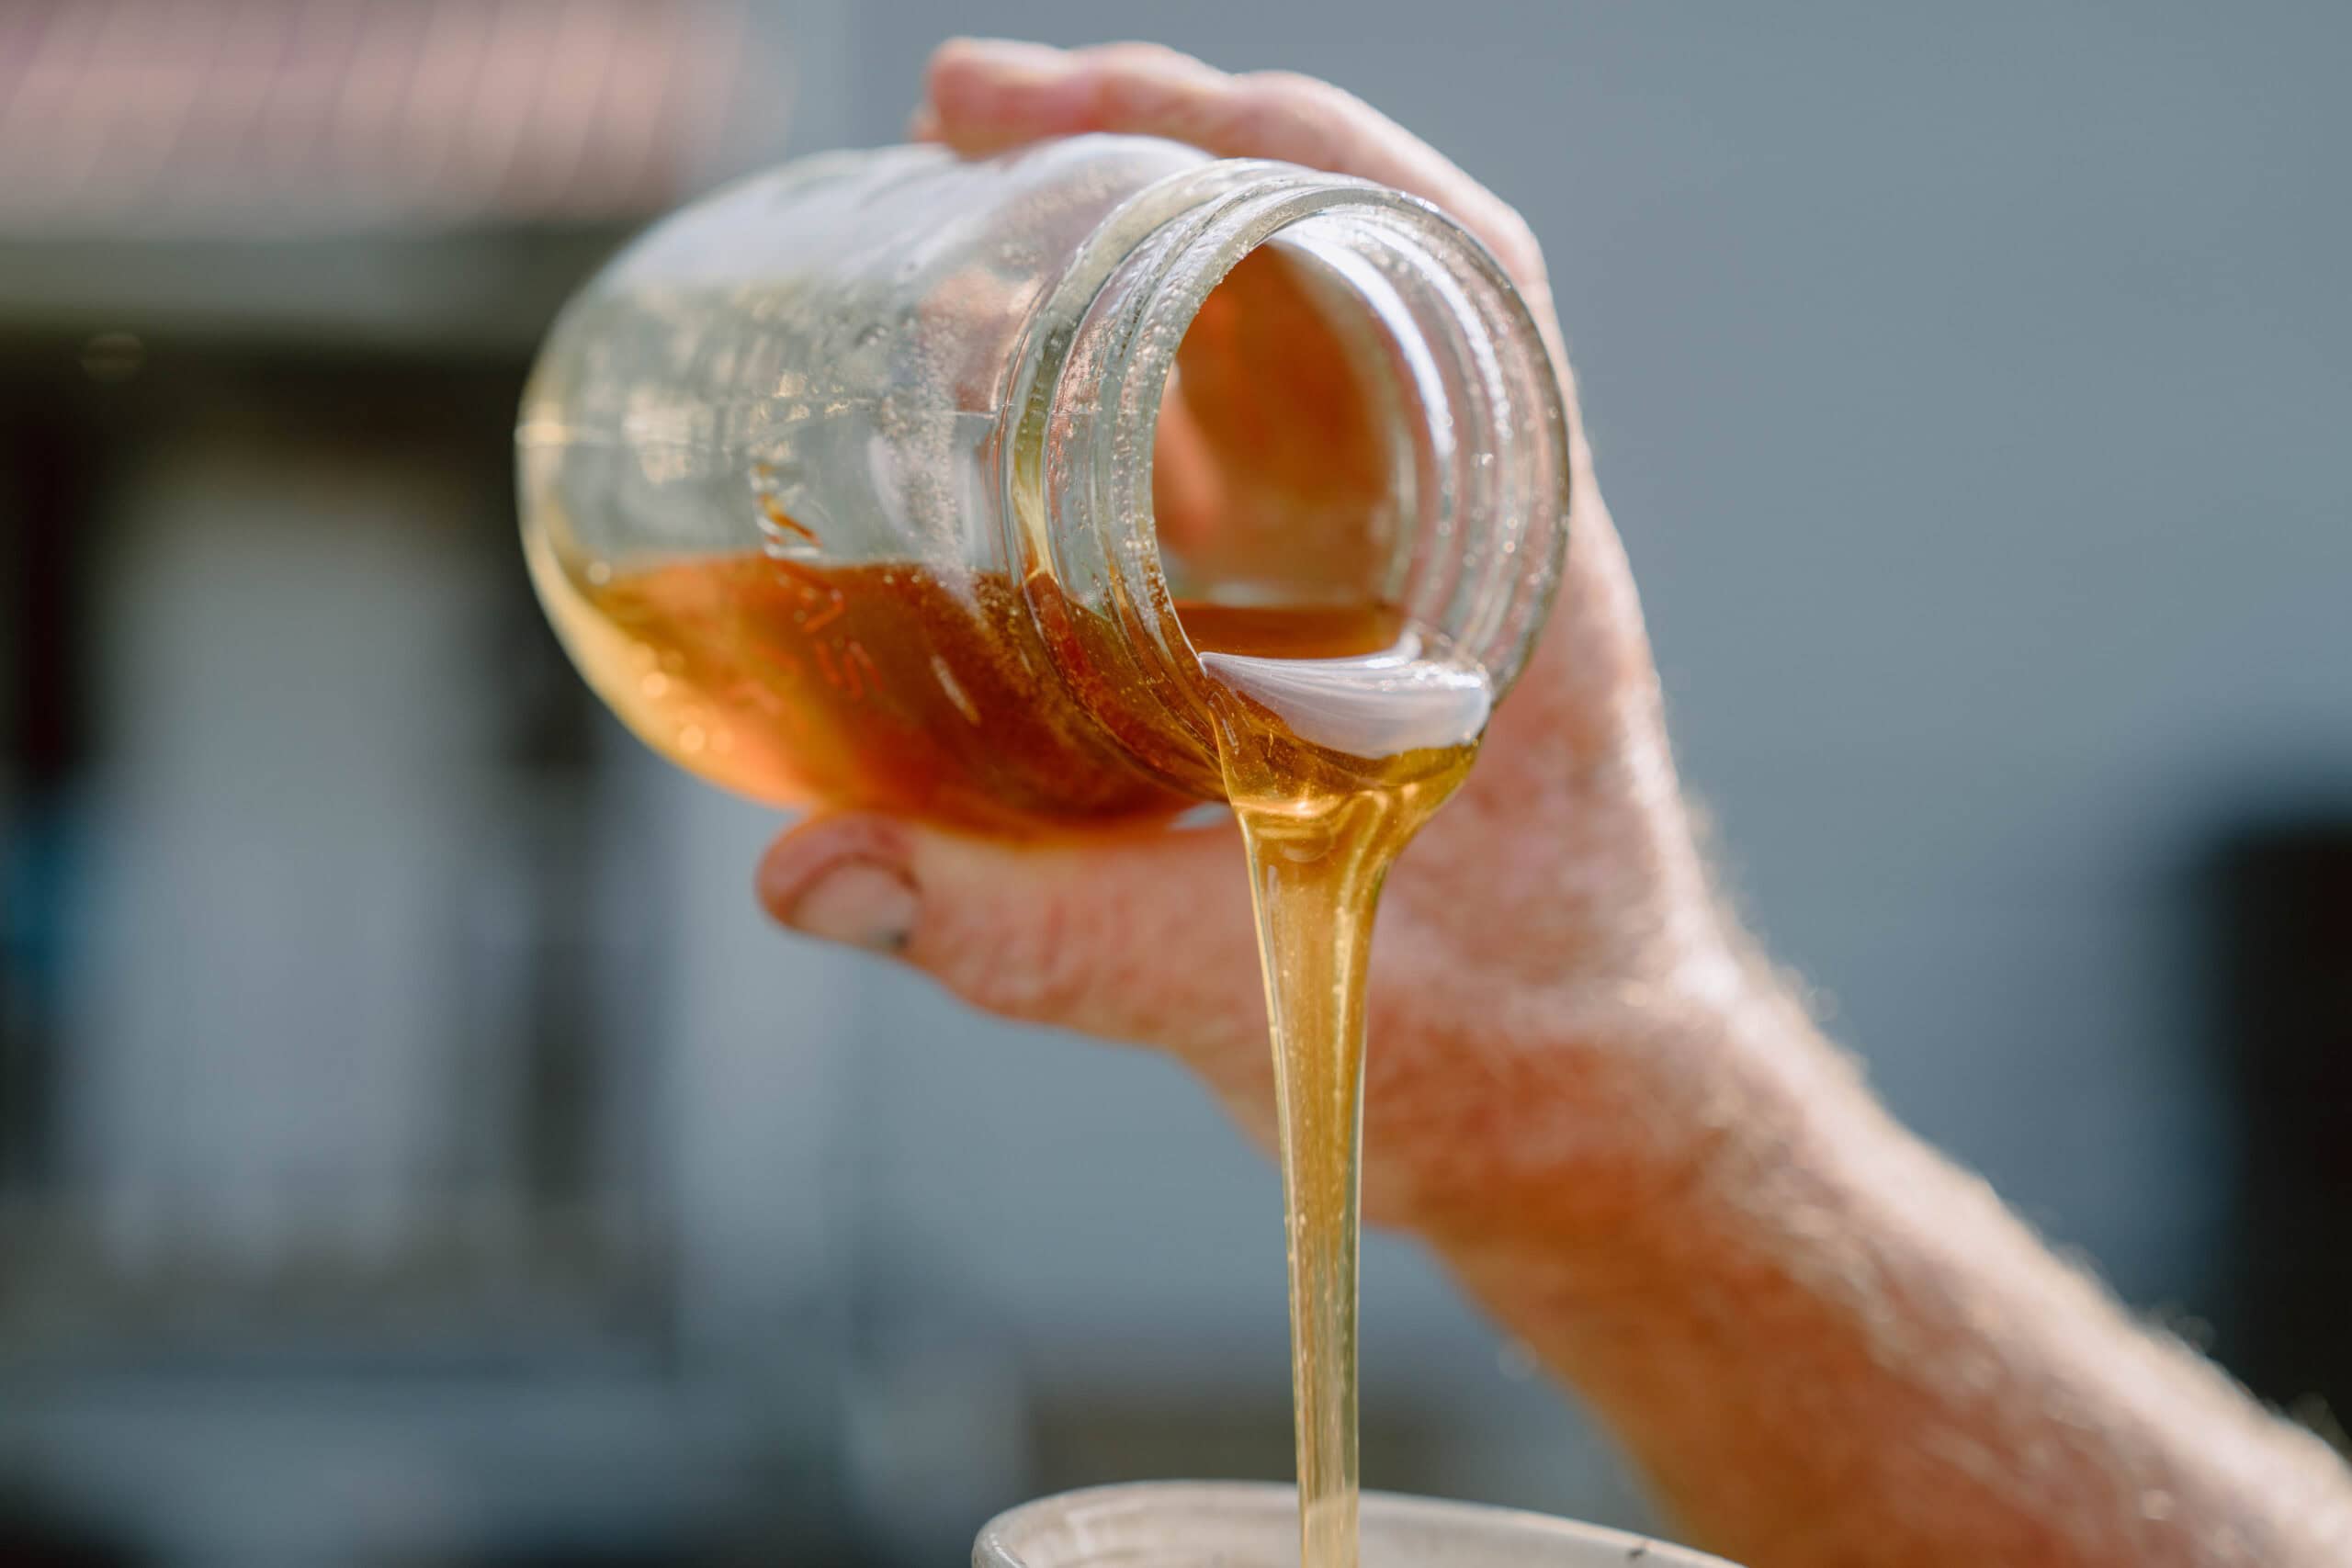
- Place your frames in the extractor and proceed to extract honey using a centrifuge extractor, which works by spinning the honey out of the comb
- Pour the honey from the extractor through a sieve or mesh to strain out the wax bits
- Bottle your honey and store it out of direct sunlight
- Before you forget, immediately return empty frames to the hive so the bees can clean and refill them (or store them for next season). If you’re also harvesting beeswax at this time, replace each frame with a new one. (If you’re ready to have some fun in the kitchen, or are looking for more reasons to keep bees, check out the final article in this series for tips on how to make an herbal beeswax salve!)
Note that if you’re acquiring an extractor, ensure that it works for the kind of hive and frames you use. In general, traditional extractors for Langstroth frames will not work for Layens frames.
One More Thing
Four articles deep into this series, you’ve probably noticed the pattern.
Following this natural method has implications for each step of the beekeeping journey, from how you set up your hive and prepare for swarm season, to how you conduct your inspections and finally harvest the honey. It’s an approach that benefits from an intentional, partnership-oriented mindset.
What does it offer in return? Healthier bees and honey, fewer management-intensive interventions like emergency feedings, and more peace of mind in the long run.
We’ve said it before, but it bears repeating: patience is the name of the game. Set yourself up for long-term success by holding back now, or by only harvesting what is truly surplus. The future payoff (read: larger harvests) should be worth the wait.
Convinced to give it a try? Learn the full natural beekeeping method from hive setup to harvest with Adam Martin's “Natural Beekeeping” class. And read on to finish our beekeeping series and learn how to make an herbal beeswax salve!
Natural Beekeeping
Join Adam Martin from the Bee Kept as he shows you the natural sustainable way to keep bees!