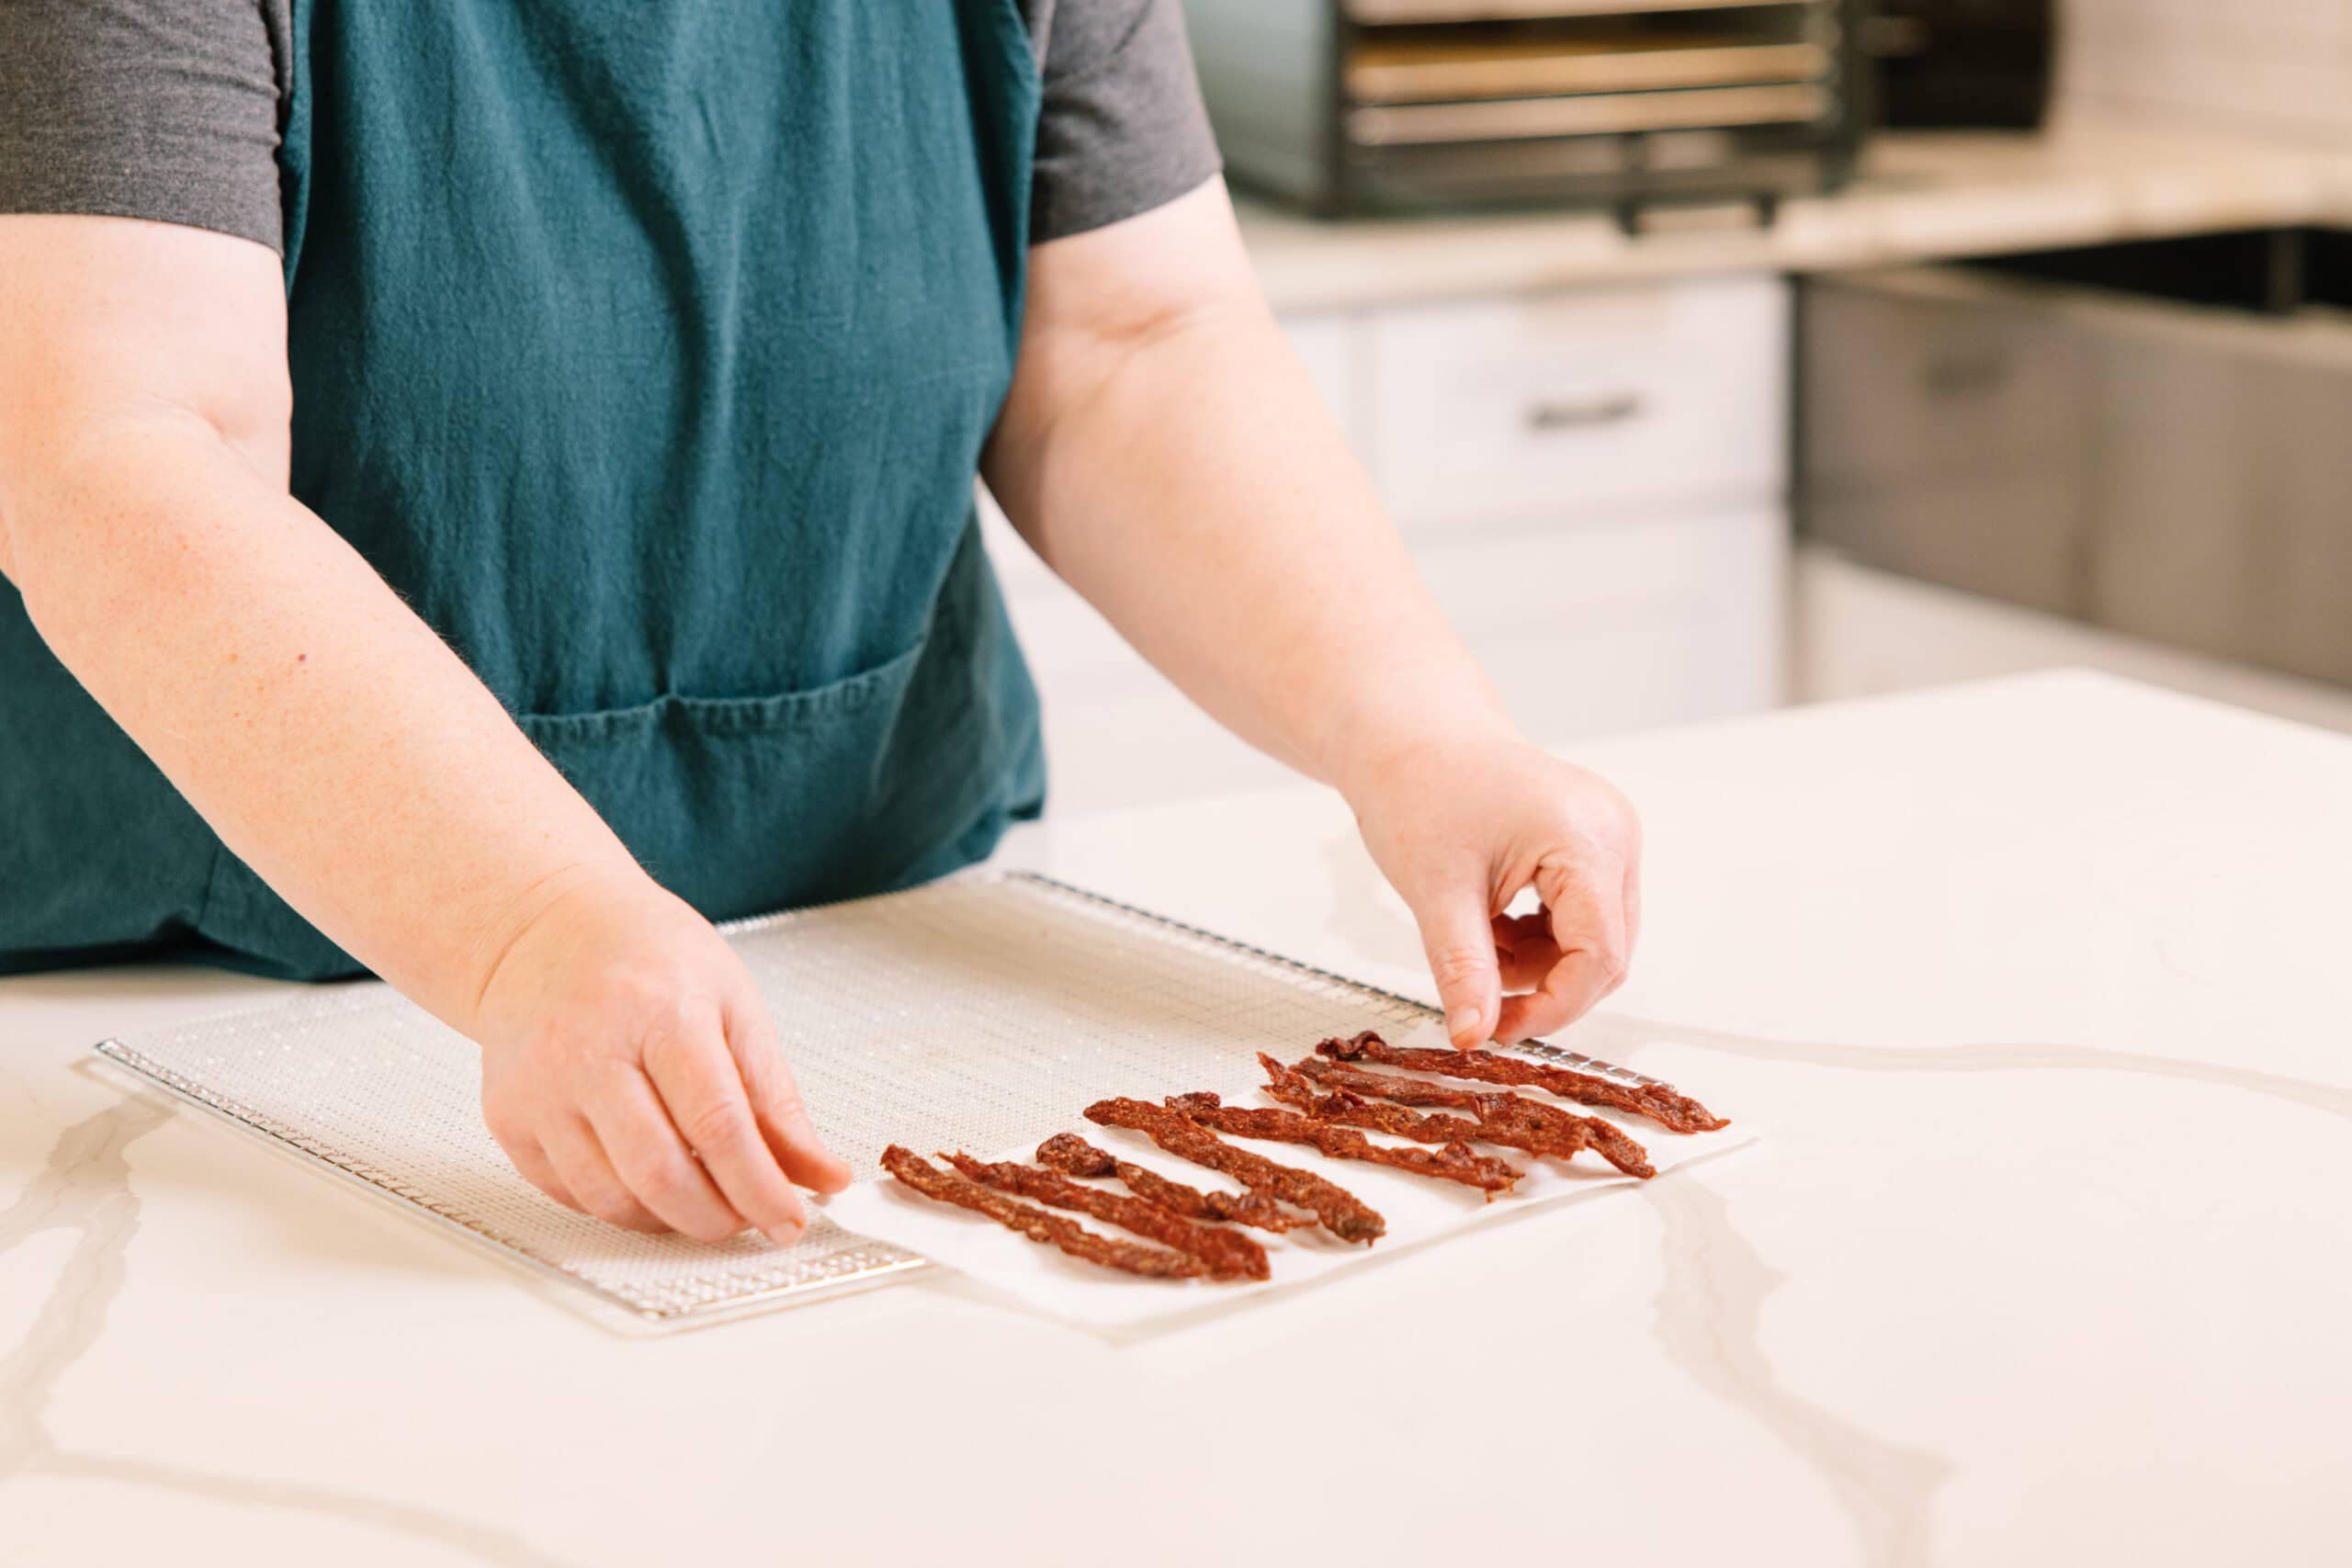
Before prices climb further, now may be a wise time to invest in a cow share. But what do you do with all those lean cuts that take more prep and time to cook? Make beef jerky!
In this post, we’ll walk you through just how to make safe, delicious beef jerky at home in your food dehydrator, from selecting the right cut to slicing, marinating, drying safely, and storing.
This is the fourth article in our five-part series, Dehydrating the Summer Harvest. If your garden or farmers’ market haul is overflowing right now, this series was made for you. Also in this series: Starting with Dehydration | Dehydrating Summer Produce | Using Herbs for Powdered Greens | Storing Dehydrated Food. All five articles are drawn from our full Dehydrating class with Darcy Baldwin, where she walks you through dehydrating food step by step.
Why Make Jerky at Home?
In a perfect world, maybe everything we eat would be home-cooked from scratch, but we all face real time and money constraints that make this impractical. Instead, we get to be strategic about what we choose to prepare ourselves versus buying ready-made.
Jerky is a prime example of something you should make yourself. But why?
Store jerky costs $8–$15+ per bag and is loaded with sugar and questionable ingredients. The homemade version costs a fraction of that, and it’s made from real ingredients that you’ve chosen, giving you full control over the sodium, sugar, and additives that go into your jerky. Not only that, but you also get to choose the quality of the meat and its cut, marinade, thickness, and texture, giving you truly superior results.
The other advantage of jerky is that it’s a long-season preservation project. If properly dried, salt cured, and stored in airtight containers, a batch could last 1–2 months on the shelf, up to 6 months in the fridge, and up to one year in the freezer.
No matter what meat you’re using, the key for longer-term storage is to select a low-fat cut. Here we’ll focus on beef.
Choosing the Best Cut of Beef for Jerky
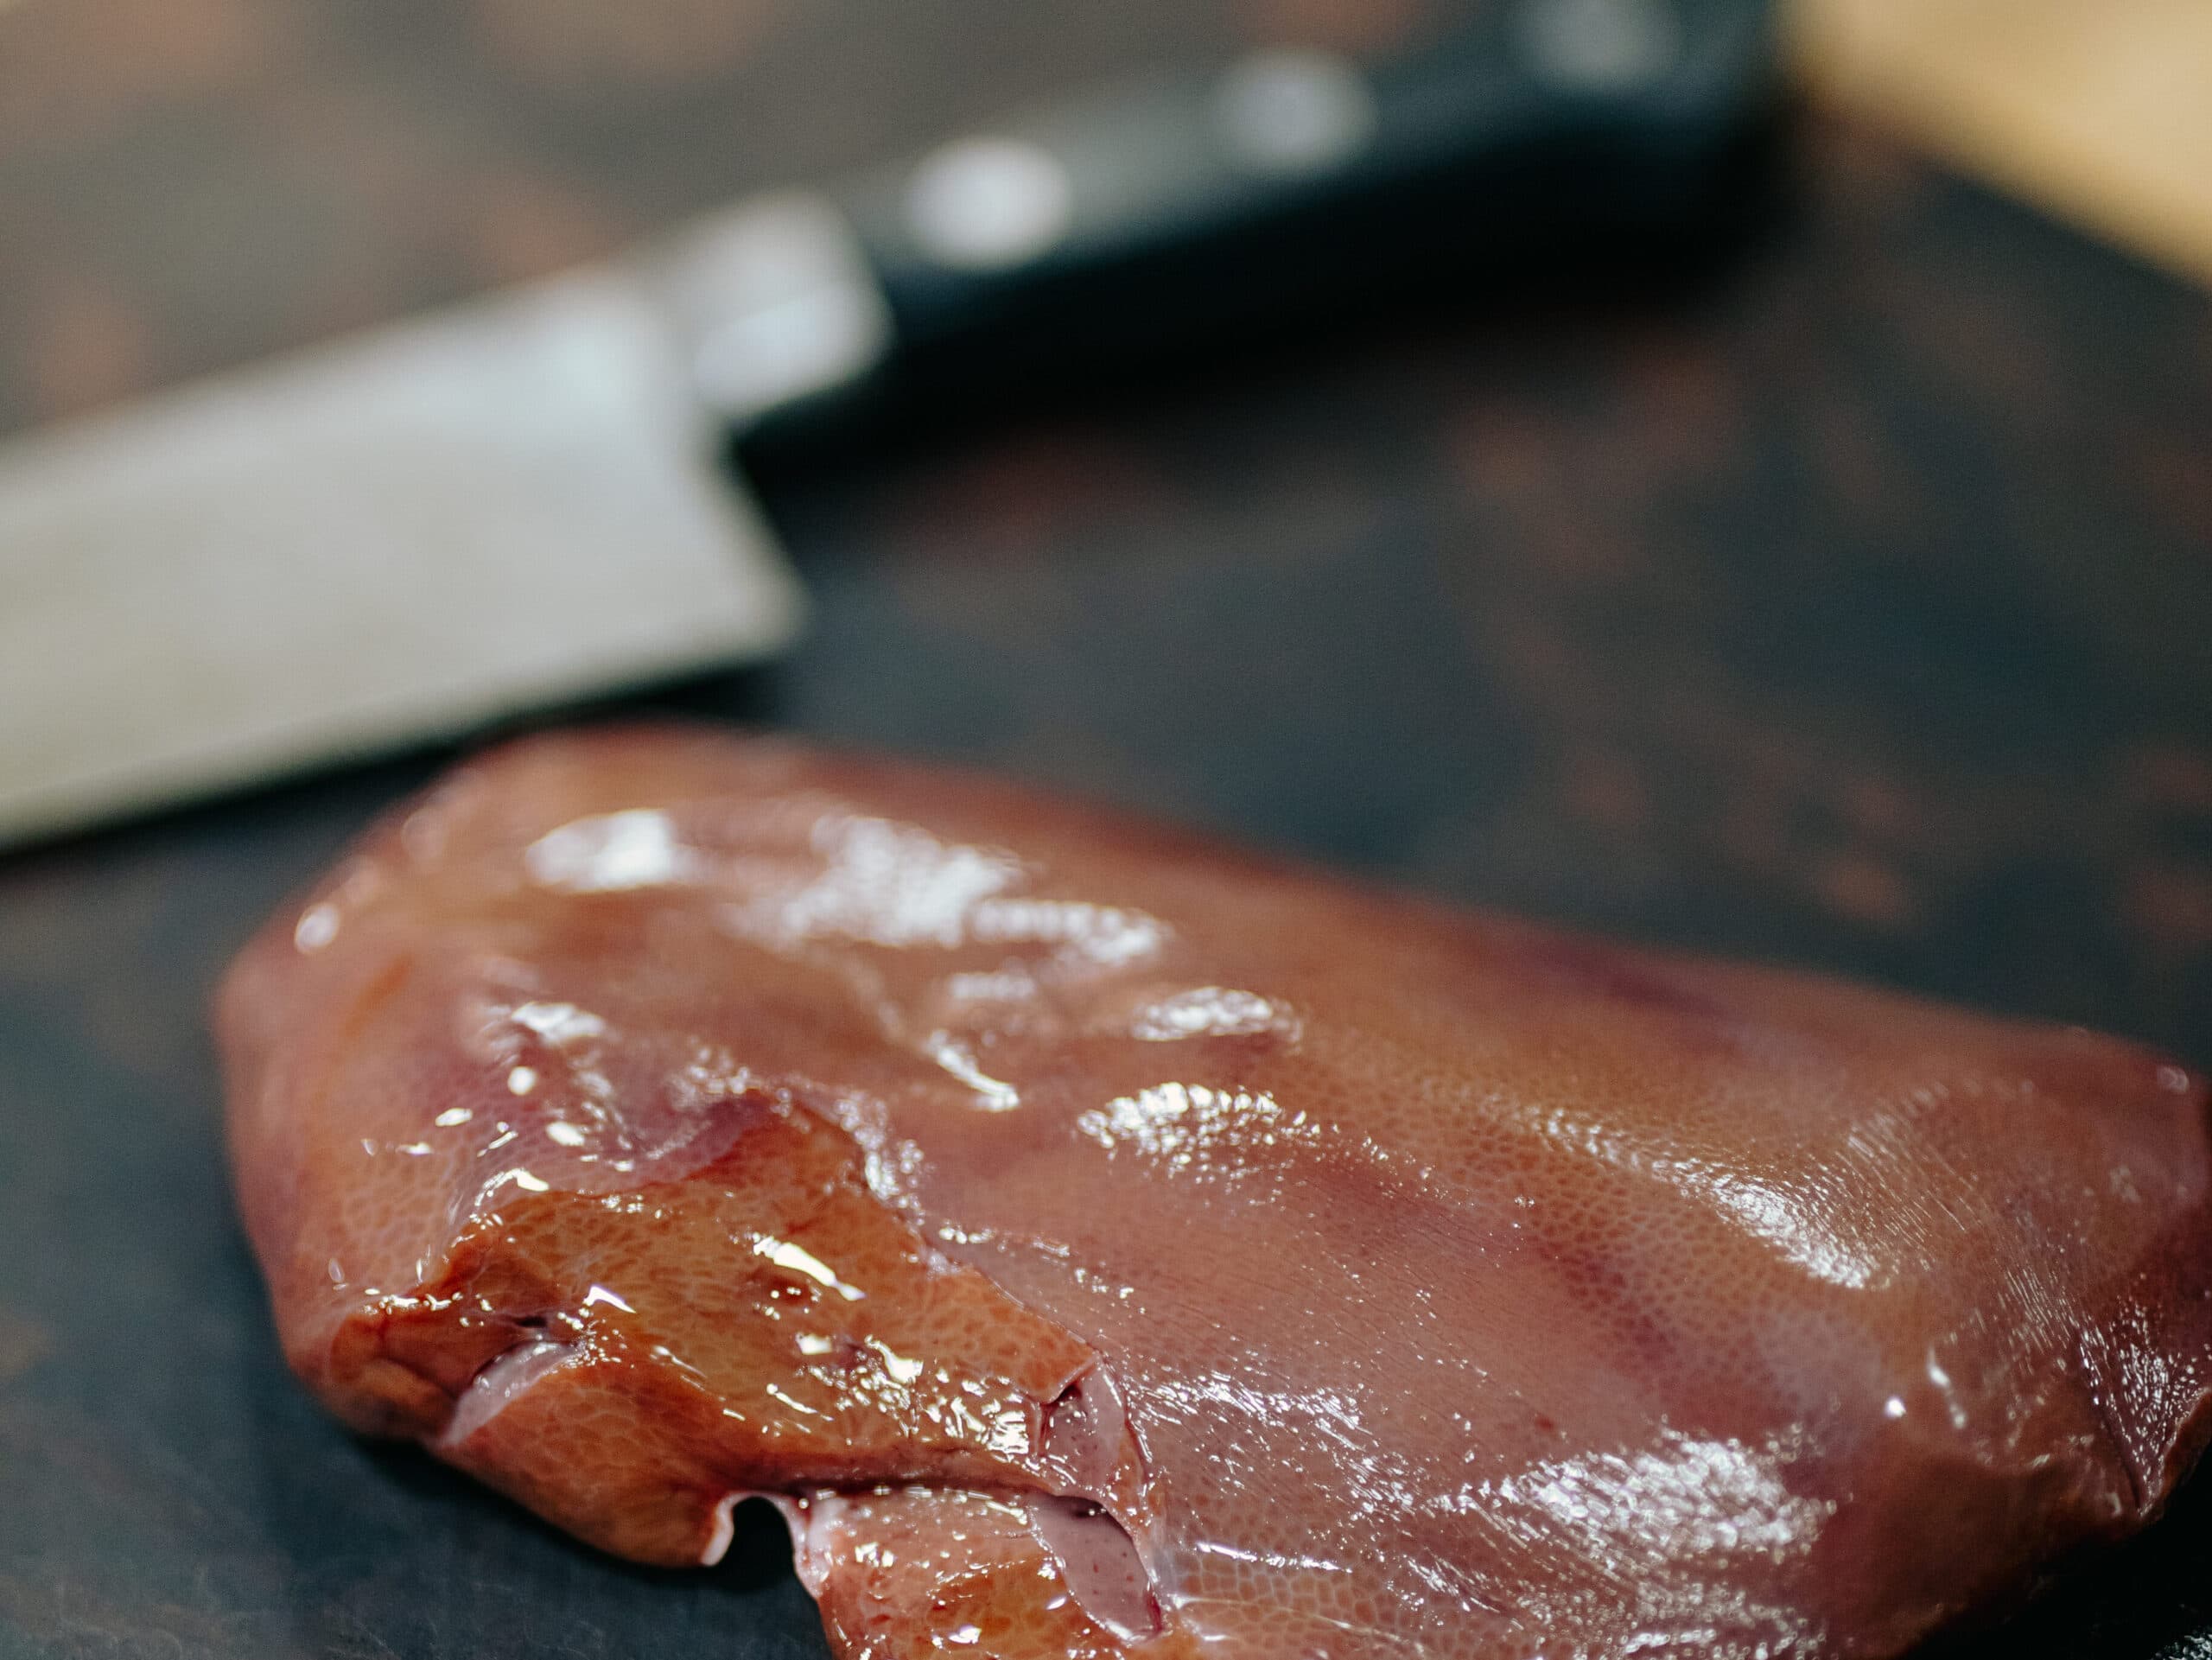
If you're processing your own beef or buying half a cow, jerky is one of the best uses for leaner cuts. Remember what we said about high-fat foods previously? Fat does not dehydrate well and it goes rancid quickly.
It’s important to note that jerky can be made two ways – either with ground meat or with whole meat strips – but today we’ll stick with the latter. (If you’re interested in using the ground meat method, see Darcy’s Dehydrating class for directions on that variation. It’s a slightly different texture, and overall easier to deal with and portion.)
Whole strips – also known as whole muscle jerky – create an end texture that resembles store-bought options. The nice thing is that several beef cuts lend themselves to jerky:
- Eye of round: the classic and most common choice because it’s lean, uniform, and easy to slice consistently
- Top round: slightly more affordable but yields similar results as eye of round
- Bottom round: this cut also works but results in a slightly tougher texture
- Flank steak: good flavor and should be carefully sliced against the grain for tender jerky
Before slicing, trim all visible fat, including even those marbled areas, to the extent possible. Then, partially freeze the meat by sticking it in the freezer for 1–2 hours. This pro strategy makes it much easier to consistently cut slices to the same width when working by hand.
Slicing the Meat
The meat needs to be sliced to ⅛” (3 mm) thickness before seasoning. Any thicker, and you’ll extend the drying time. Any thinner, and you’ll end up with a more brittle finished product.
Slicing can be a frustrating process, so don’t attempt it before freezing the meat for around a couple hours. If you have a slicing attachment or deli slicer handy, that would make slicing your meat a breeze.
Using a very sharp knife and a steady hand, cut against the grain for a crowd-pleasing beef jerky that’s more tender and easier to chew. If you prefer a chewier, more traditional texture, then slice with the grain. Whatever you choose, uniform thickness matters since thick pieces dry at different rates than thin ones.
Marinating the Meat
A marinade is a must to create flavorful, tender jerky. Marinate the meat like you would any other cut you put on the grill, with one exception: the meat needs to sit in the marinade for 12–24 hours in the fridge before heading to the dehydrator.
Some of the ingredients worth including in a standard marinade base are: soy sauce or Worcestershire (for that salty, umami flavor), citrus or vinegar (something acidic helps the marinade flavoring better “stick” to the meat’s surface), brown sugar or honey (for that touch of sweetness), plus spices to taste. (These are the general ingredients she recommends, but Darcy is specific about the sugar and water concentration that a marinade should have. If you’re wondering, those ratios are included in the skill sheet of her Dehydrating class, accessible to members of the School of Traditional Skills.)
Then drain and pat dry with paper towels before loading the trays, since excess marinade extends drying time and can cause sticking (and stickiness) in the finished product.
Dehydrating
Fill your shelves with long-lasting, nutritious snacks, meals, and ingredients all while staying on (or below) budget! Learn the art of dehydrating foods and create a bounty of dried fruits, vegetables, herbs, and even jerky, ensuring you have a healthy, flavorful stockpile all year round.
The Food Safety Rule You Cannot Skip
By now, you may be asking yourself how it can possibly be safe to dehydrate meat and leave it at room temperature for any amount of time, let alone several weeks. The answer lies in a higher dehydration temperature and an added step involving your oven.
The recommended temperature on most jerky recipes is 145℉ (63℃) to make sure you get your jerky dry. However, the National Center for Home Food Preservation recommends drying at 160–165℉ (71–74℃) or above through the drying process, while the USDA requires beef jerky reach an internal temperature of 160°F (71°C) to be safe from pathogens, including E. coli and Salmonella.
The temperature at which you set the dehydrator and the actual internal temperature of the food are two different things. Many home dehydrators run at 155–160°F (68–71℃) which is right at the threshold, but the internal temperature of the meat may not reach 160°F even when the machine temperature does.
There are two safe methods for addressing this problem, and Darcy covers both in detail in her class:
Pre-heat Method
Place marinated strips on a baking rack in a 275°F oven (135℃) for 10 minutes before moving to the dehydrator. This brings the surface of the meat up to a safe temp before dehydrating finishes the drying process.
Post-heat Method
After dehydrating, place finished jerky on a baking rack in a 275°F (135℃) oven for 10 minutes. This ensures the final product is safe even if the dehydrator temperature was inconsistent.
Both methods are effective, so pick the one that works best for you. But whatever you do, don’t skip this safety step. The goal is jerky that's both delicious and safe to consume.
Loading the Trays and Setting the Machine
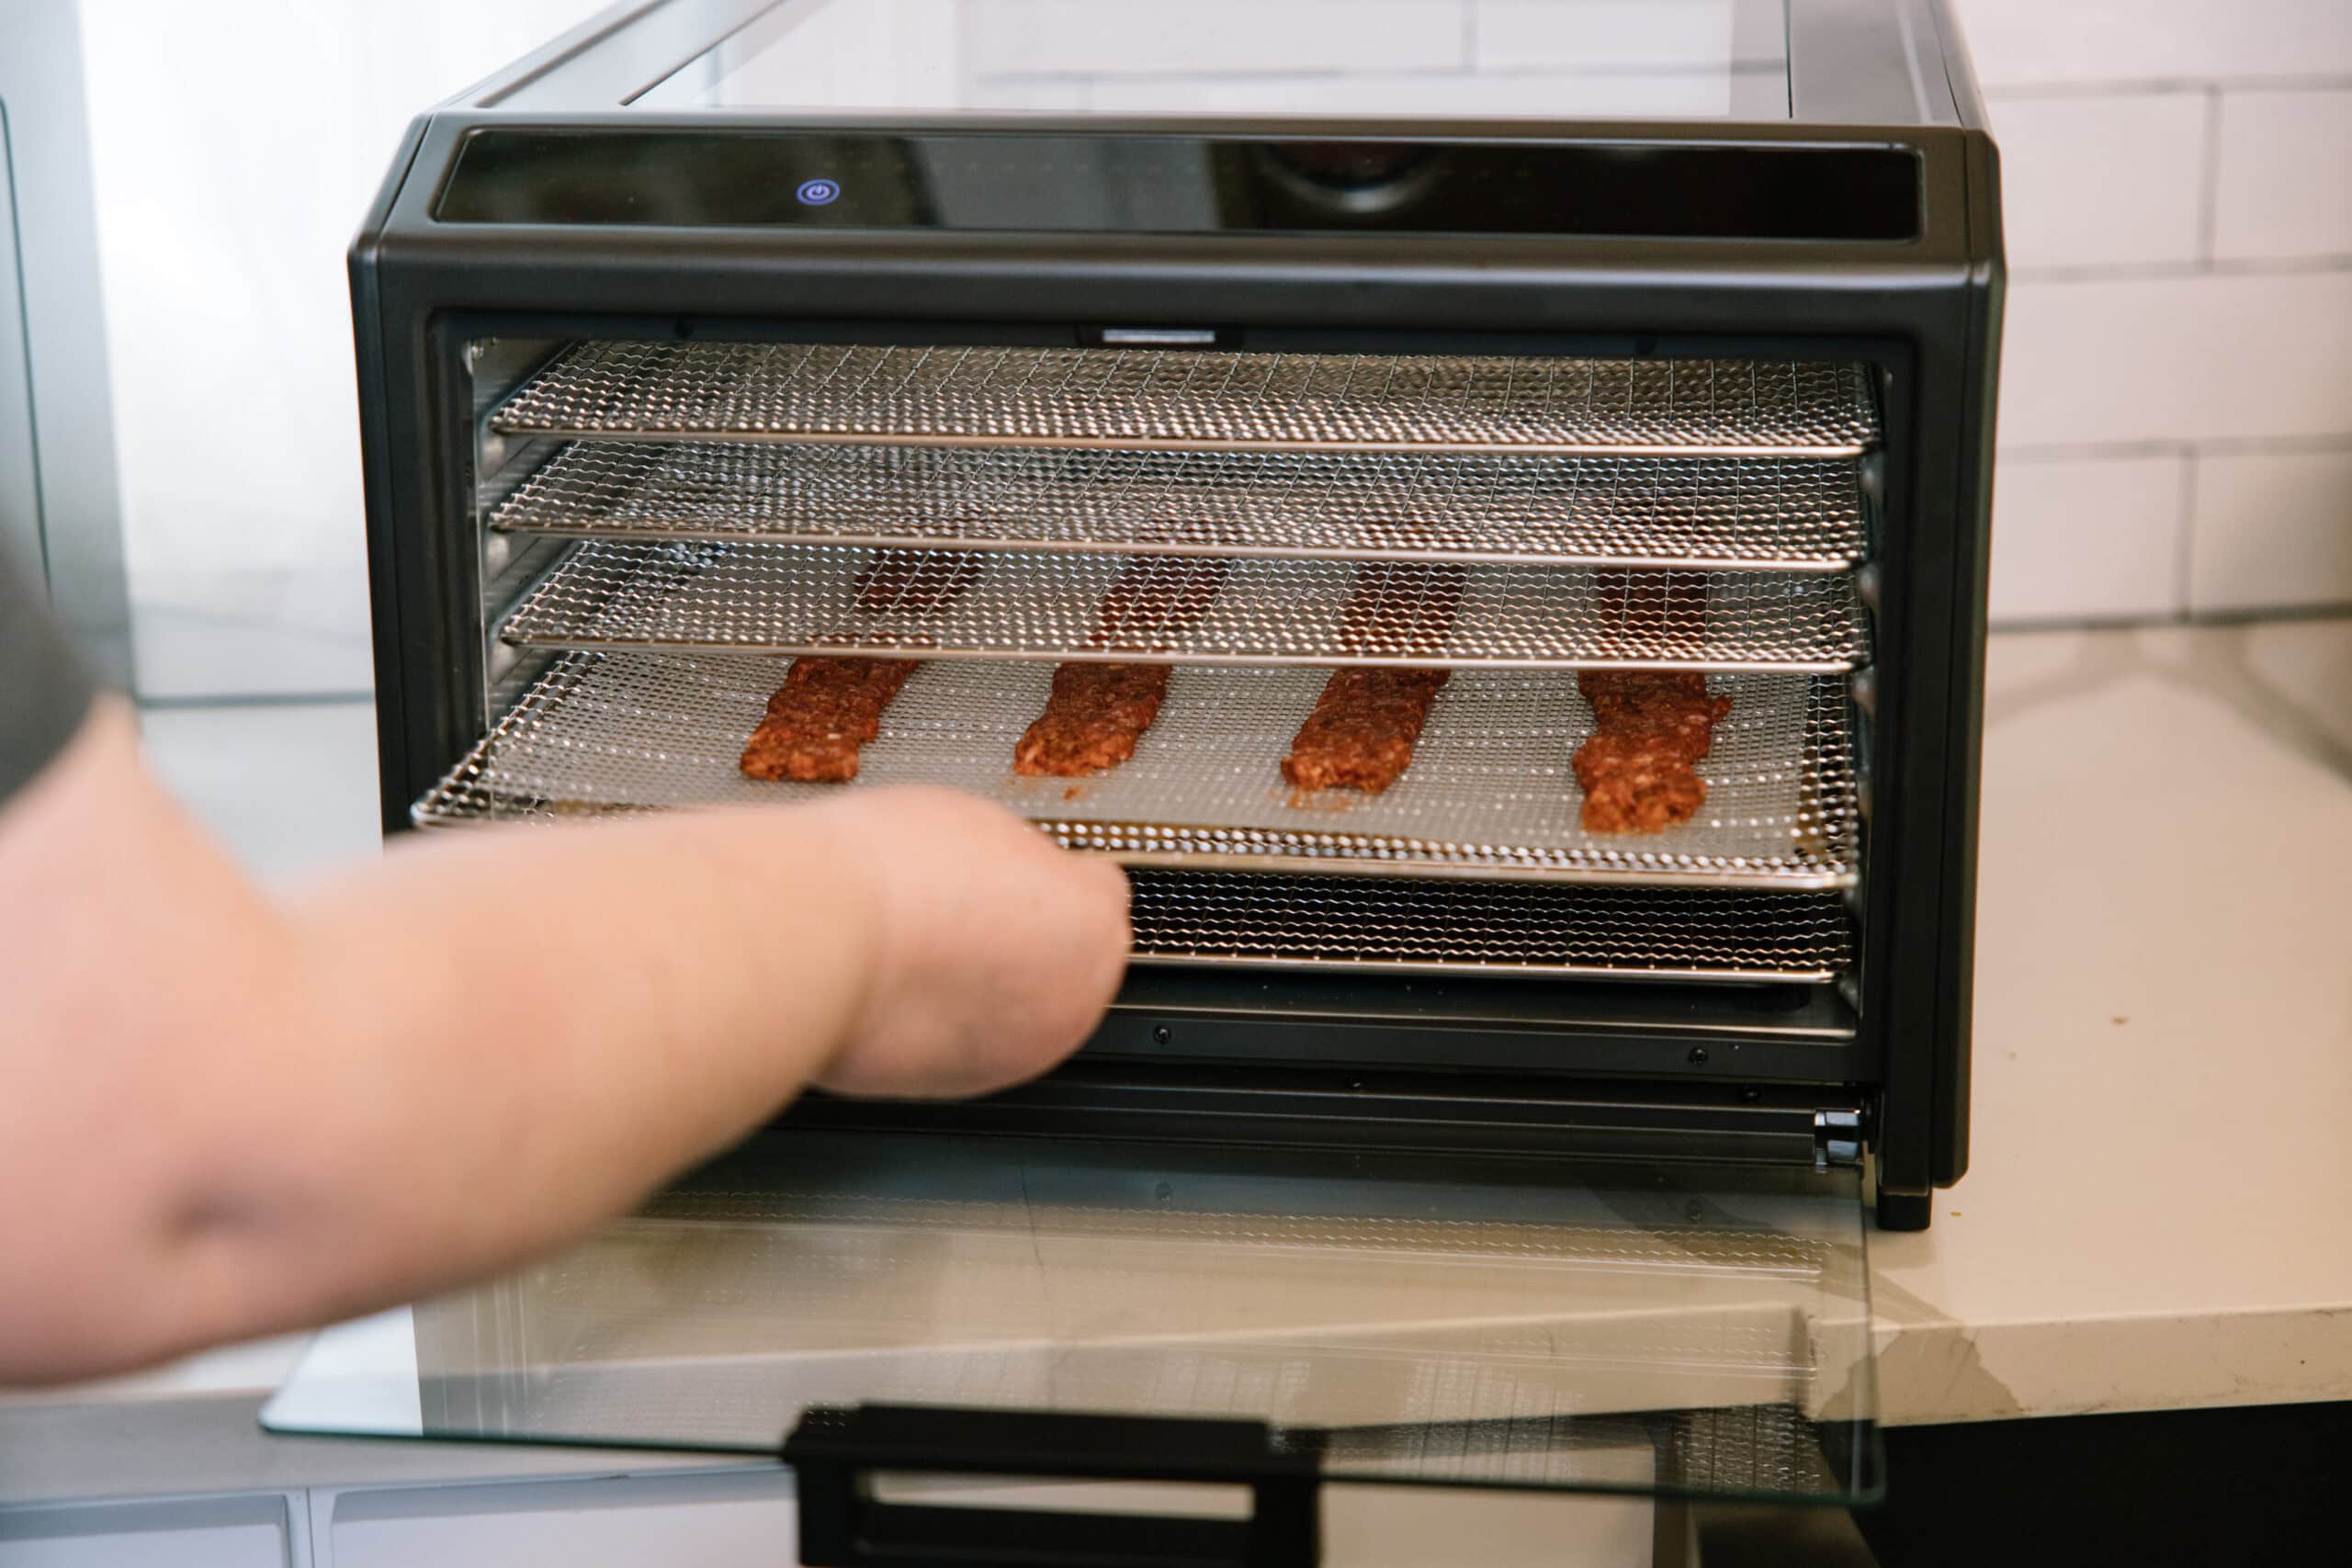
First, prepare your tray by placing parchment paper on your tray to catch any drippings that escape, then add the tray liners on top of that.
Pat your beef strips dry and lay them flat on dehydrator trays in a single layer with no overlapping. Ensure there’s some space between pieces since good airflow is essential with meat.
Set the temperature to 155–160°F (68–71℃) and plan on 6–10 hours of drying time, depending on the thickness of your slices and your machine. Just take care you don’t over-dehydrate your jerky since that will make it unpleasantly chewy!
Occasionally during the dehydrating process, check the jerky for grease. If you see any, dab it off with a paper towel. If you’re using a stackable dehydrator, rotate the trays every 2 hours. If you’re working with a cabinet dehydrator, check the jerky at the 4 hour mark and assess whether more time is needed.
How to Know When Jerky Is Done
When you think the jerky is ready, let the dehydrator sit for about five minutes. This lets the piece cool completely before testing it (warm jerky always seems more done than it is).
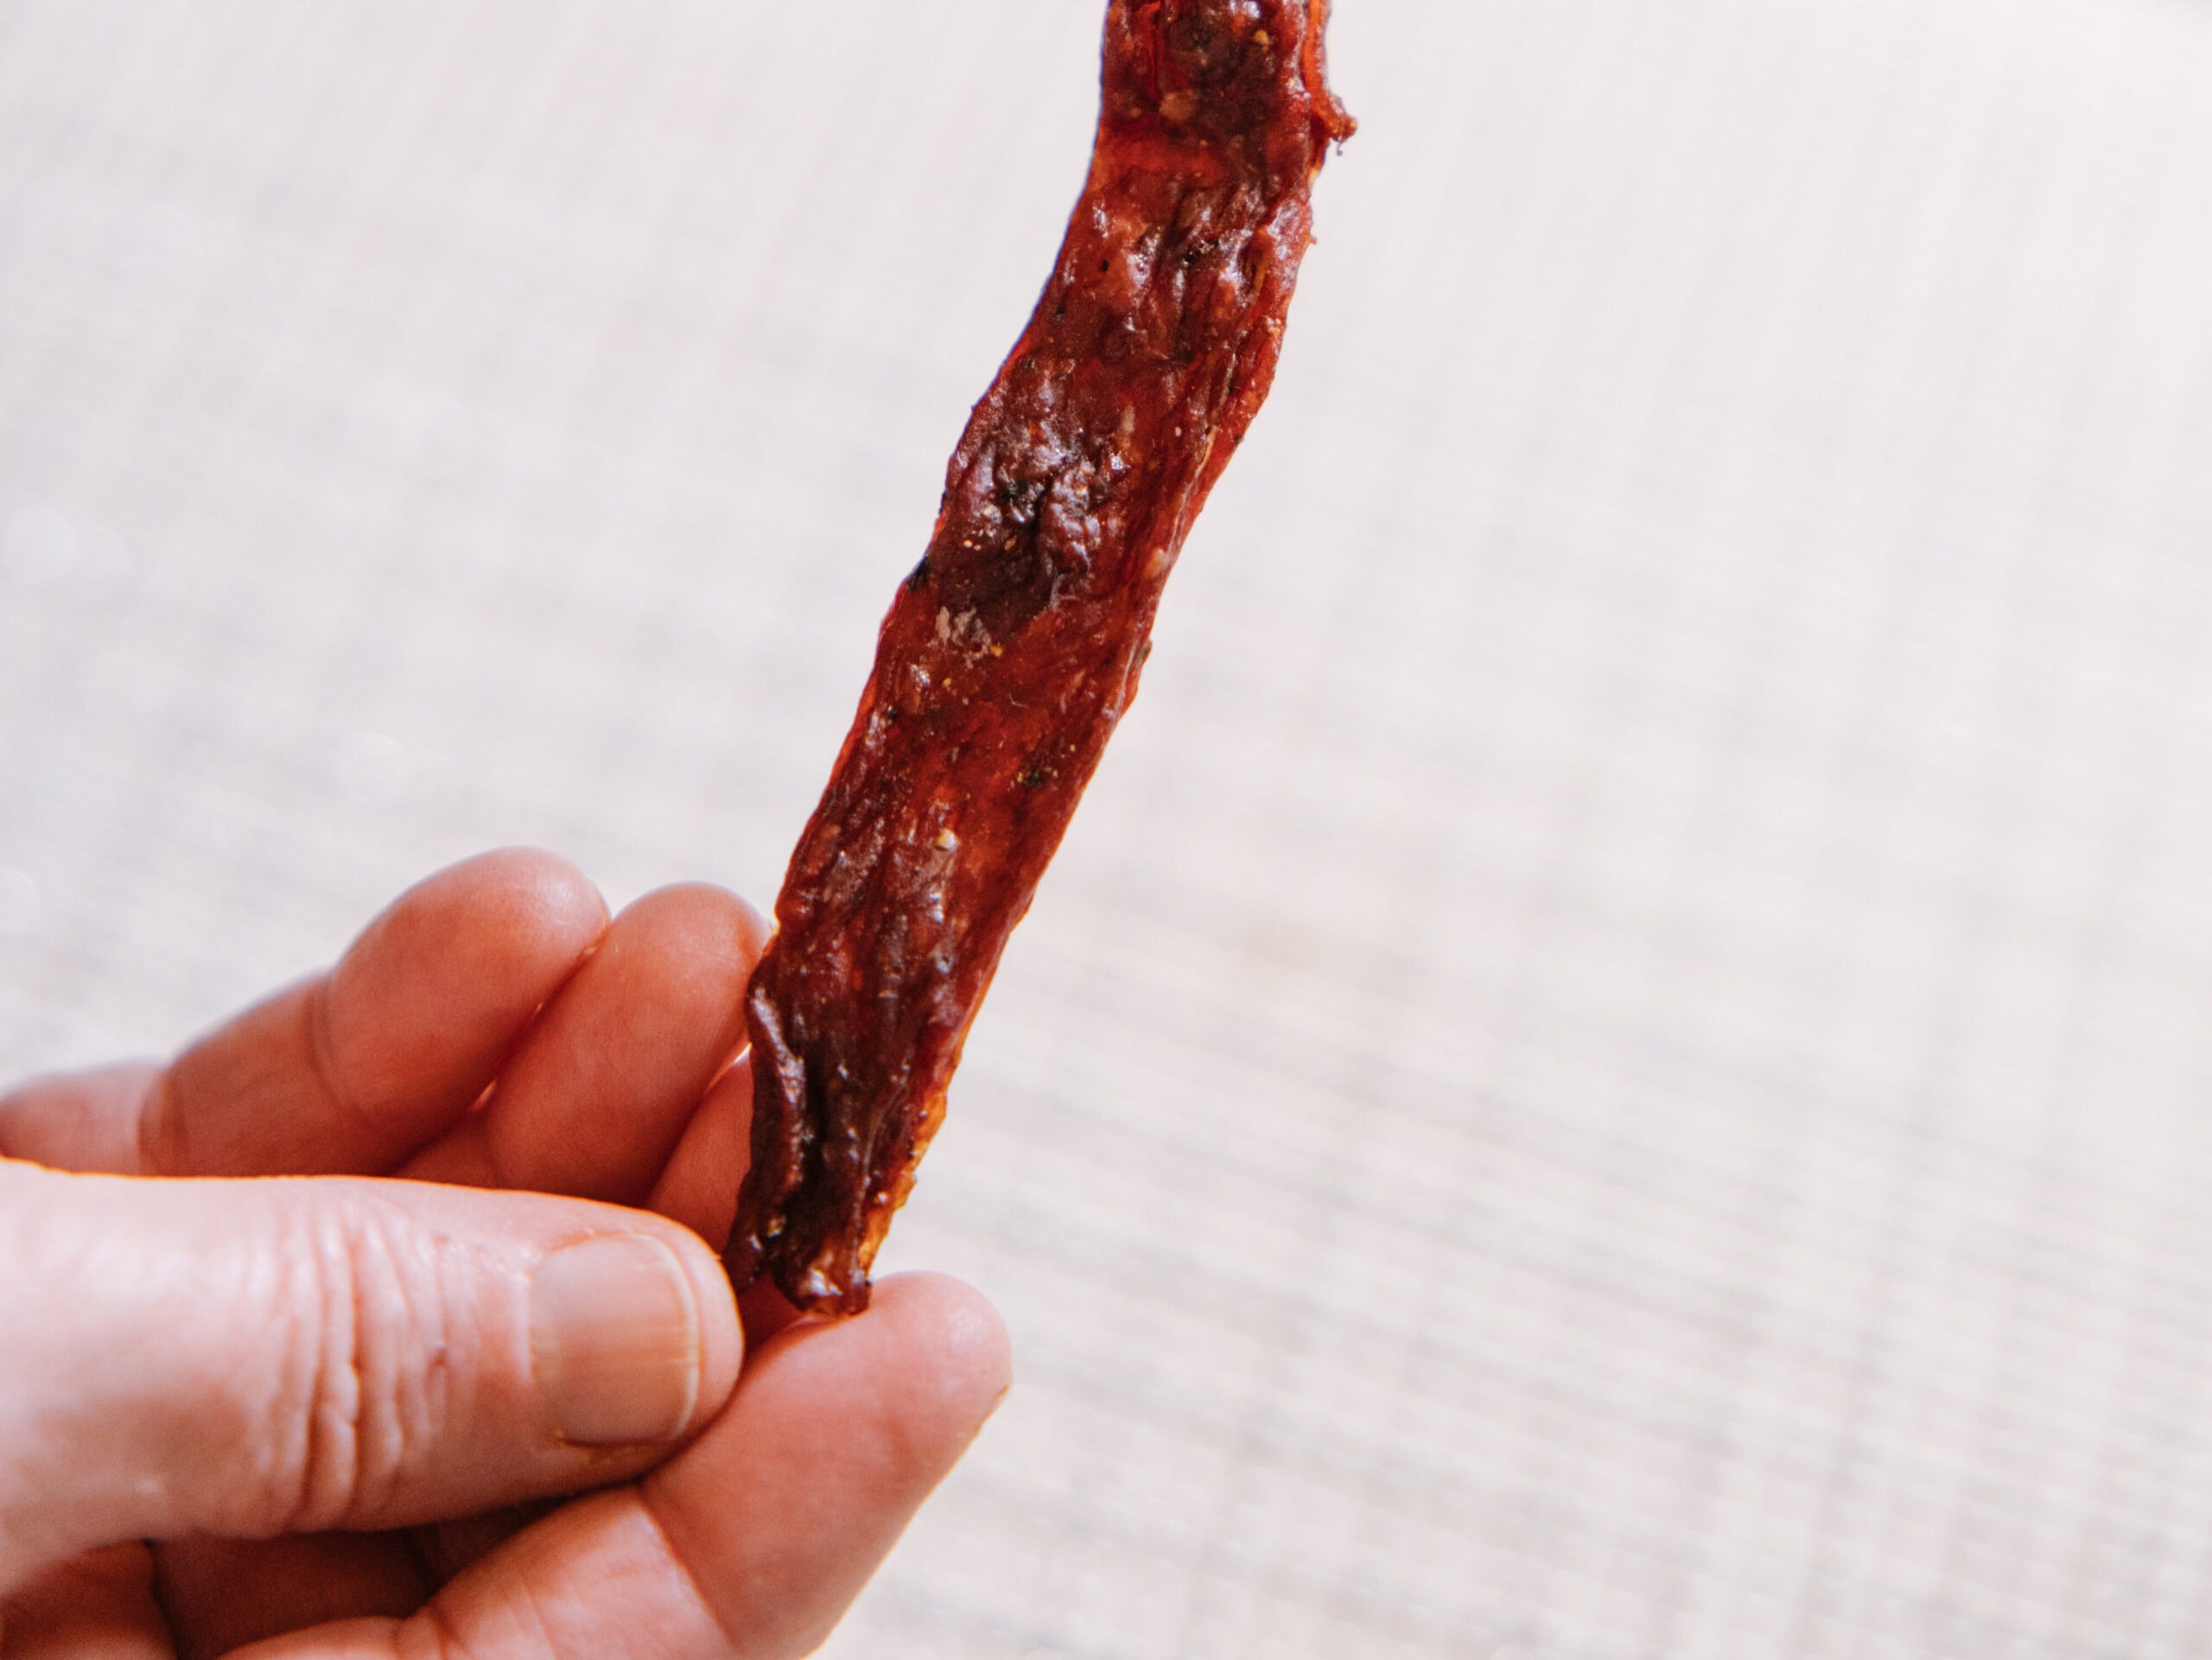
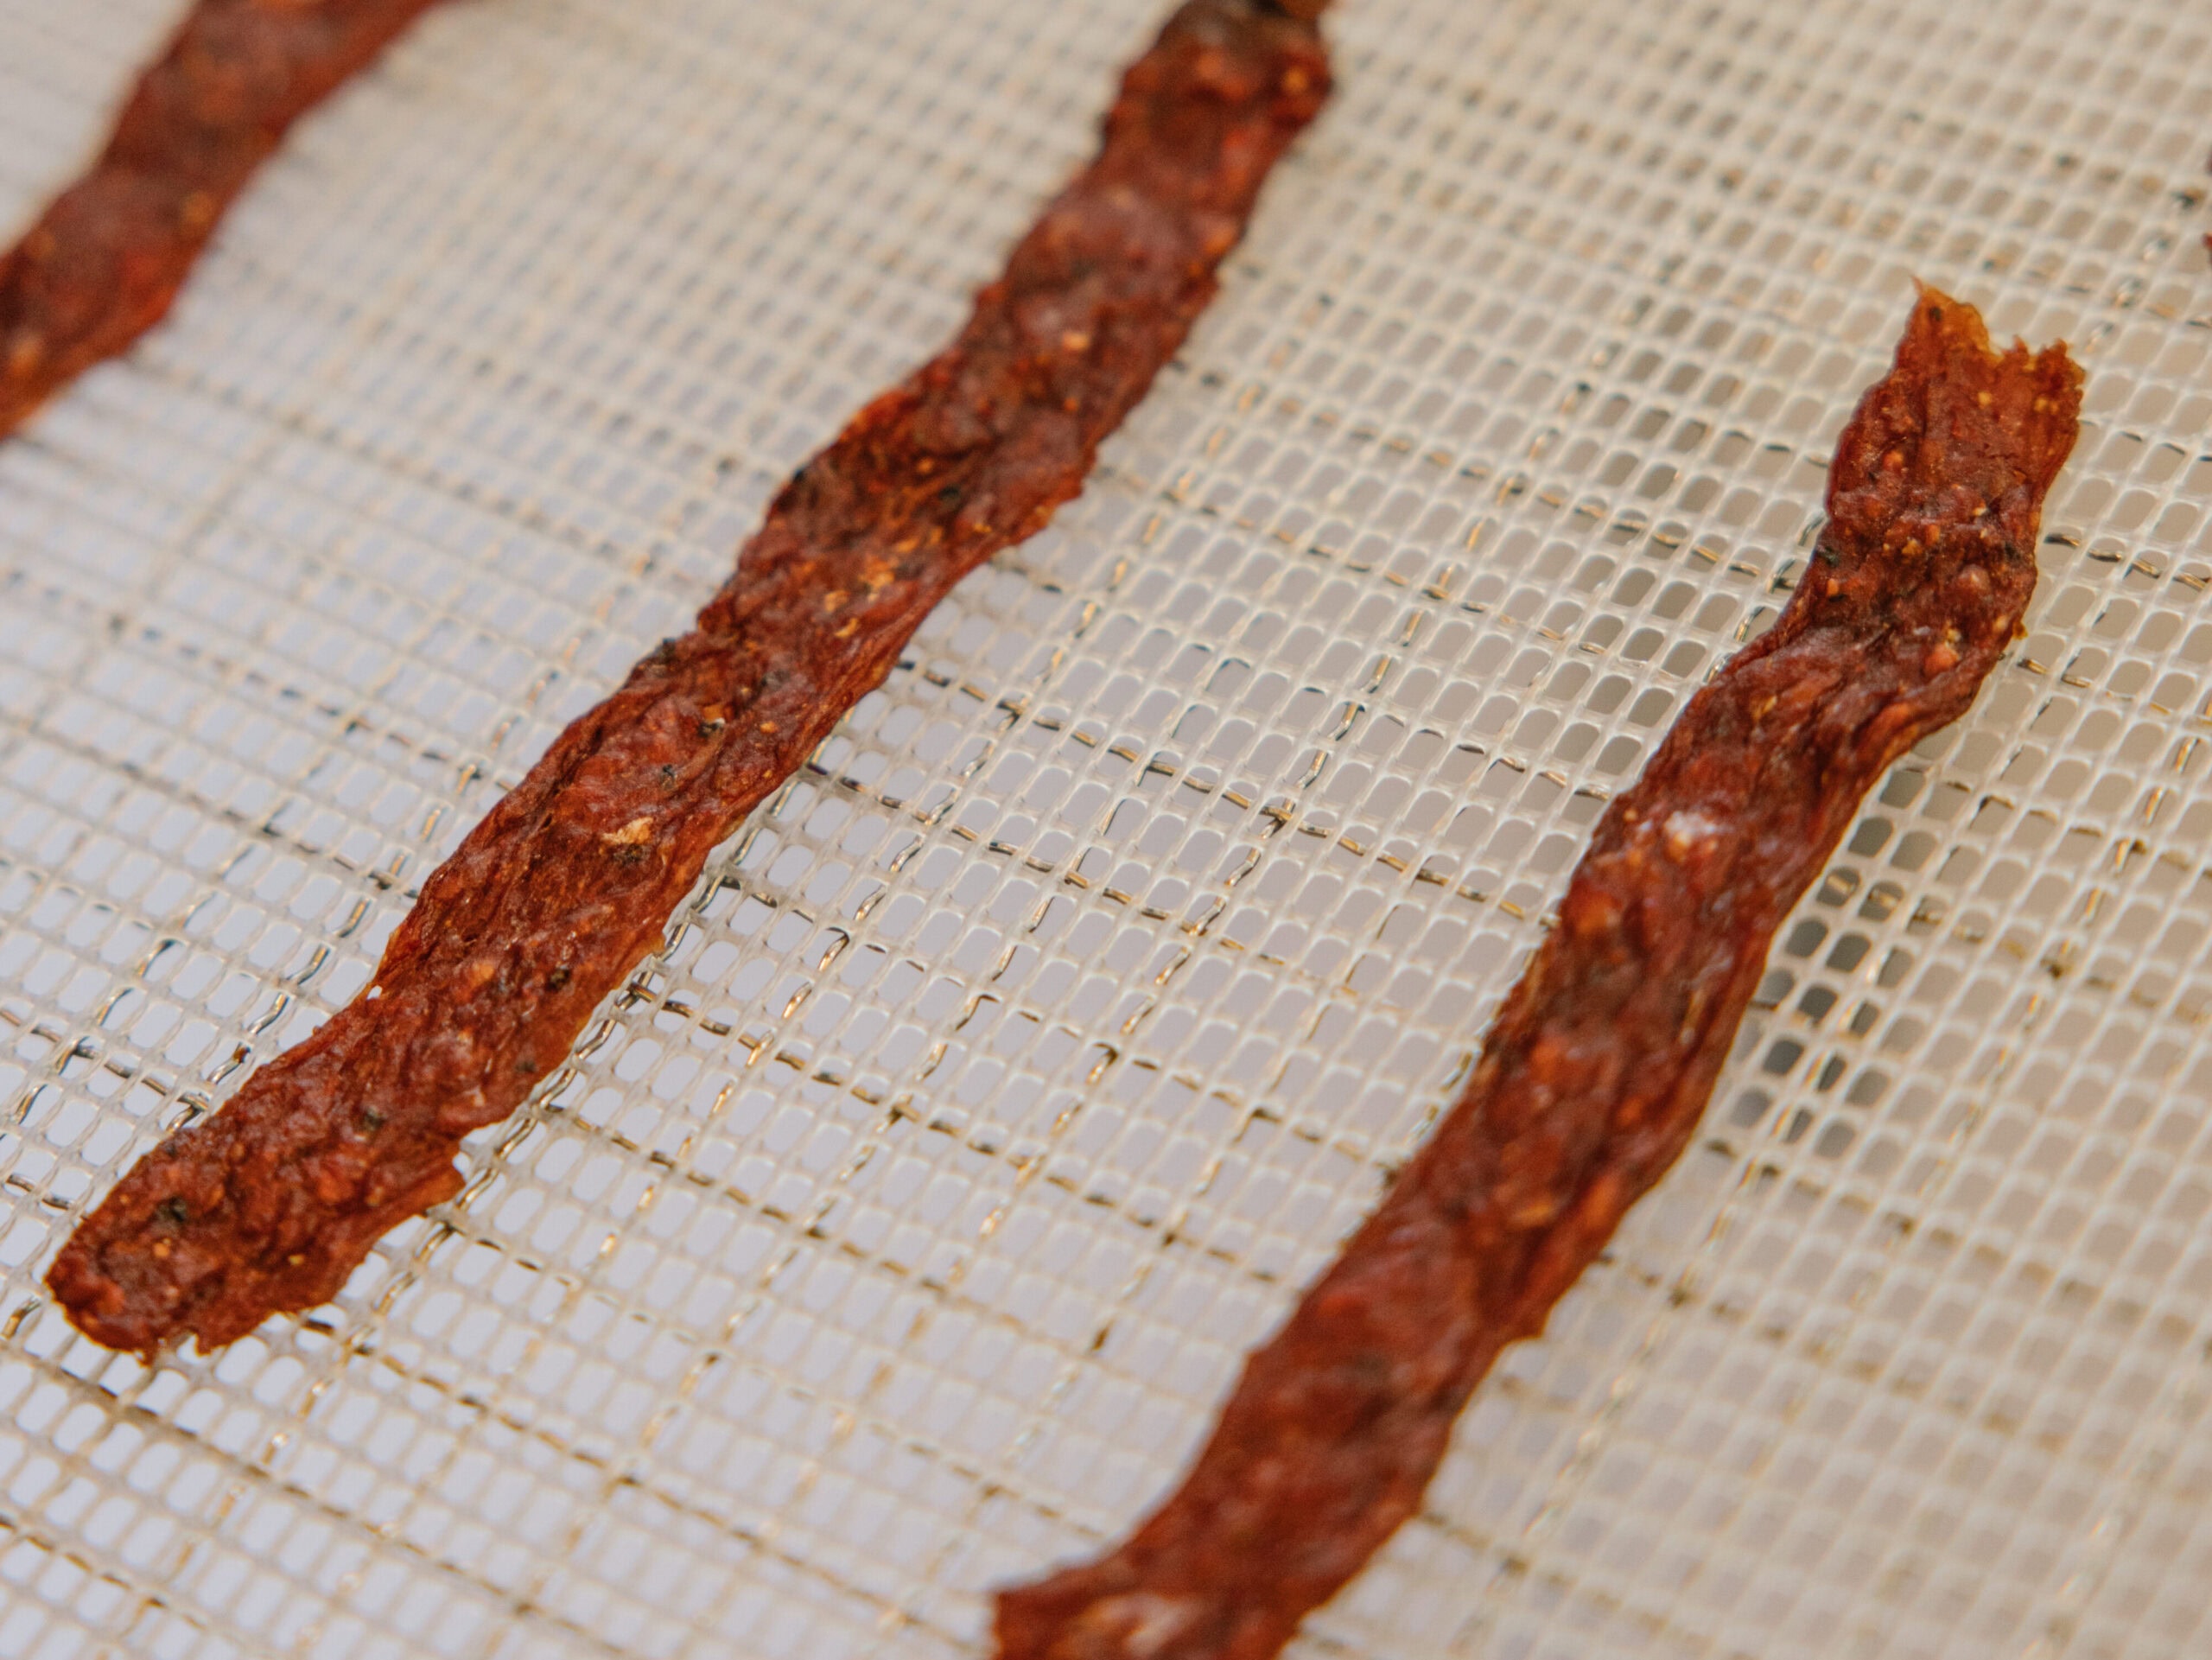
At this point, you conduct the first doneness test by feeling the jerky. If it’s done, it should be extremely dry to the touch, even if it’s a little slick from the grease, and bendable. You don’t want it so hard that it can’t move, and it shouldn’t snap like dried fruit, nor feel pliable or squishy.
When bent, it should show small cracks in the surface but not break in two, and no moisture should appear on the surface when you press into it. As far as color, the jerky should appear dark brown throughout, with no pink in the center when you tear or cut a piece.
Storing Homemade Jerky
Unlike what we discussed with dehydrating produce, there isn’t a conditioning step for jerky since it can’t be stored long-term at room temp in glass jars. The reason for this shorter shelf life is the jerky’s residual fat content, present in even the leanest cuts of meat.
Instead, store your meat by rolling it in a paper towel and placing it in a labeled airtight container in your freezer. It’s okay to store in a zip-top or mylar bag for a few days at room temperature (for example, on a backpacking trip).
If you take the extra step to salt cure your properly dried jerky (a process we won’t get into here), it could keep at room temperature for 1–2 months in an airtight container. But if you need longer-term storage, you can refrigerate it safely for up to 6 months, or keep it frozen for up to one year without significant change in texture.
Over time, the thing to watch for are off smells or visible moisture – both signs the jerky wasn't fully dried and should not be eaten.
Commonly Asked Questions About Making Beef Jerky
155–160°F (68–71℃) in the dehydrator. This is the USDA's recommended minimum temperature for safely drying meat. Use the pre-heat or post-heat oven step (see section “The Food Safety Rule — Do Not Skip This” above for details) to confirm that the meat has reached an internal temperature of 160°F (71℃). This is necessary since most dehydrators don't get hot enough to guarantee this result.
6–10 hours at 155–160°F (68–71℃), depending on slice thickness and how much moisture is in the meat. Pre-heat in a 275°F (135℃) oven for 10 minutes before dehydrating – it adds time but is the safest approach. Cool a piece completely and test by bending before pulling the batch out.
No, even a simple salt and soy sauce brine produces good results. But a marinade is worth the effort and planning entailed, since it flavors and tenderizes your jerky. Aim for a 12–24 hour marination. Darcy's marinade suggestions are in her class skill sheet.
Yes. If you plan to make jerky using ground beef pretty regularly, a jerky gun may be worth the investment. It extrudes the seasoned ground beef into consistently uniform strips that dehydrate well.
Ground beef jerky has a different texture than whole-muscle jerky – it’s more uniform and less chewy. Choose the leanest ground beef available. In her class, Darcy recommends a minimum of 85% lean ground beef because the higher the fat content, the harder it is to dry (and remember that dehydrated fat sitting on the shelf goes rancid over time). Ground beef must reach an internal temperature of 160°F (71℃), meaning the safety requirement is the same as with whole meat strips.
Definitely! Venison, elk, and other lean game meats make excellent jerky. The process is identical to beef: slice, marinate, pre-heat, and dehydrate.
Keep in mind that wild game carries additional pathogen risks (particularly from improper field dressing), so it’s especially critical that you use the pre-heat or post-heat oven method discussed above.
One More Thing
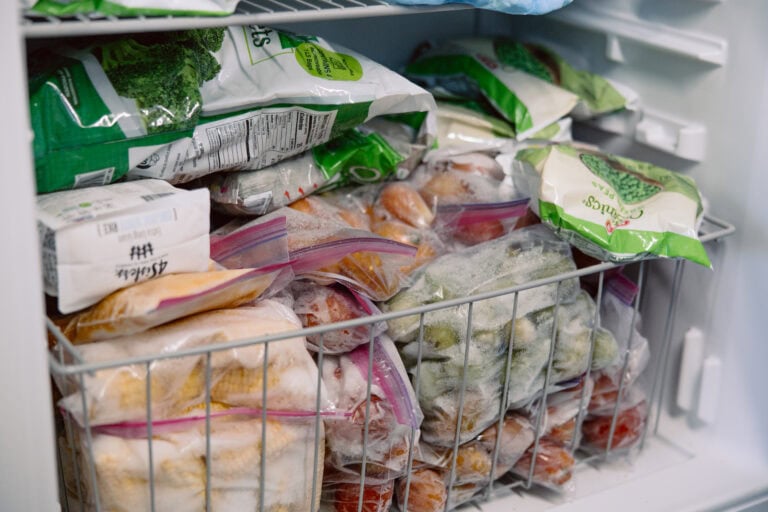
We’ve said it before, but as the summer progresses, your freezer starts filling up fast. Thankfully, you now know what to do with those lean cuts that have been buried at the back of the freezer for months.
Pull those out, and run a batch of jerky before the fall harvest gives you something new to store. You'll create room in that freezer, make something really tasty, and have shelf-stable protein that can fuel your summer day trips and adventures.
Finish up this series with our next article on “How to Store Dehydrated Food and Use It All Winter” which will teach you how to store everything you've made so it actually lasts.
Dehydrating
Fill your shelves with long-lasting, nutritious snacks, meals, and ingredients all while staying on (or below) budget! Learn the art of dehydrating foods and create a bounty of dried fruits, vegetables, herbs, and even jerky, ensuring you have a healthy, flavorful stockpile all year round.
Darcy Baldwin of The Purposeful Pantry didn't just learn how to dehydrate food; she built it into the rhythm of her daily life. Over two decades, she studied with the National Center for Home Food Preservation and other extension services, learning the safest methods for preserving everything from beef jerky to greens to medicinal herbs. Today, she's taught thousands how to run their dehydrator nearly every day of the year, saving their families thousands of dollars while reducing food waste and packing more nutrition into meals their kids will actually eat. Her approach makes dehydrating a practical, sustainable habit that pays off every single week. Learn the ins and outs of her method with her class on Dehydrating at the School of Traditional Skills.