There’s an innovative solution to preserving your herb harvest that is both fast and simple: dehydrated powdered greens.
Before we go any further, let’s meet the woman behind this method. Darcy Baldwin has been dehydrating foods for 20 years and teaching thousands to do the same through her site, but she never set out to start a blog. In fact, she was just a young mom motivated to save money and feed her family with the healthiest, best ingredients she could afford.
Early on in her preservation journey, she discovered that she could dehydrate fresh, nutritious herbs and greens from the garden and blend them up into powders, spices, and supplements to add a healthy, discreet boost to the family meals. This proved a huge help to her son when he was struggling with severe aversions to certain food textures, and when her ‘secret’ got out to family and friends, The Purposeful Pantry was born, and Darcy started teaching her methods, helping thousands of families along the way.
This is Article 3 in our five-part series, Dehydrating the Summer Harvest. If your garden or farmers’ market haul is overflowing right now, this series was made for you. Catch up with Article 1 and Article 2. All five articles are drawn from our full Dehydrating class with Darcy Baldwin, where she walks you through dehydrating food step by step.
Why Herbs Are the Best First Dehydrating Project
We’re diving into a great beginner dehydrating project today: turning fresh herbs into green powder.
Why herbs? Because they’re fast and easy.
Herbs take just 2–4 hours to finish, and there’s almost zero prep required. This fast turnaround works well since the window for harvesting fresh herbs is short (for peak flavor and essential oil content, get them before they flower).
Set your machine to dry at 95°F (35°C) so the herbs concentrate in flavor instead of tasting cooked, and pop them in. Once they’ve finished drying (we talked about how to tell when your food is done in a previous article), the result is immediately useful and better than anything you can get from the store. It’s just the thing to give you both a confidence boost and a real sense of accomplishment.
Which Herbs to Dehydrate This Summer
Time to harvest! Take stock of what’s growing in your garden, and note especially what looks like it’s at risk of going to waste. The list below offers several herbs that will provide great results.
Summer Garden Herbs That Yield the Best Results
Basil
Process in small batches right before it flowers, dry at 95°F (35°C) for 2–4 hours, and crumble into fragrant flakes.
Oregano
This low-moisture herb dries in as little as 1–3 hours, and the flavor intensifies significantly. Just be sure to remove any hard stems first.
Thyme
Process as you would oregano, removing the woody base stems before spreading the sprigs directly on the tray.
Dill
For peak flavor, harvest this fragrant herb just as the flowers are opening, stems and all!
Rosemary
If you’re short on space, you could pinch the needles off the sprig prior to loading onto the tray, but it’s much easier after they’re dried.
Sage
Remove the leaves from the stem and get it dried now while it's growing – it will hold up beautifully for your fall and winter cooking.
Mint
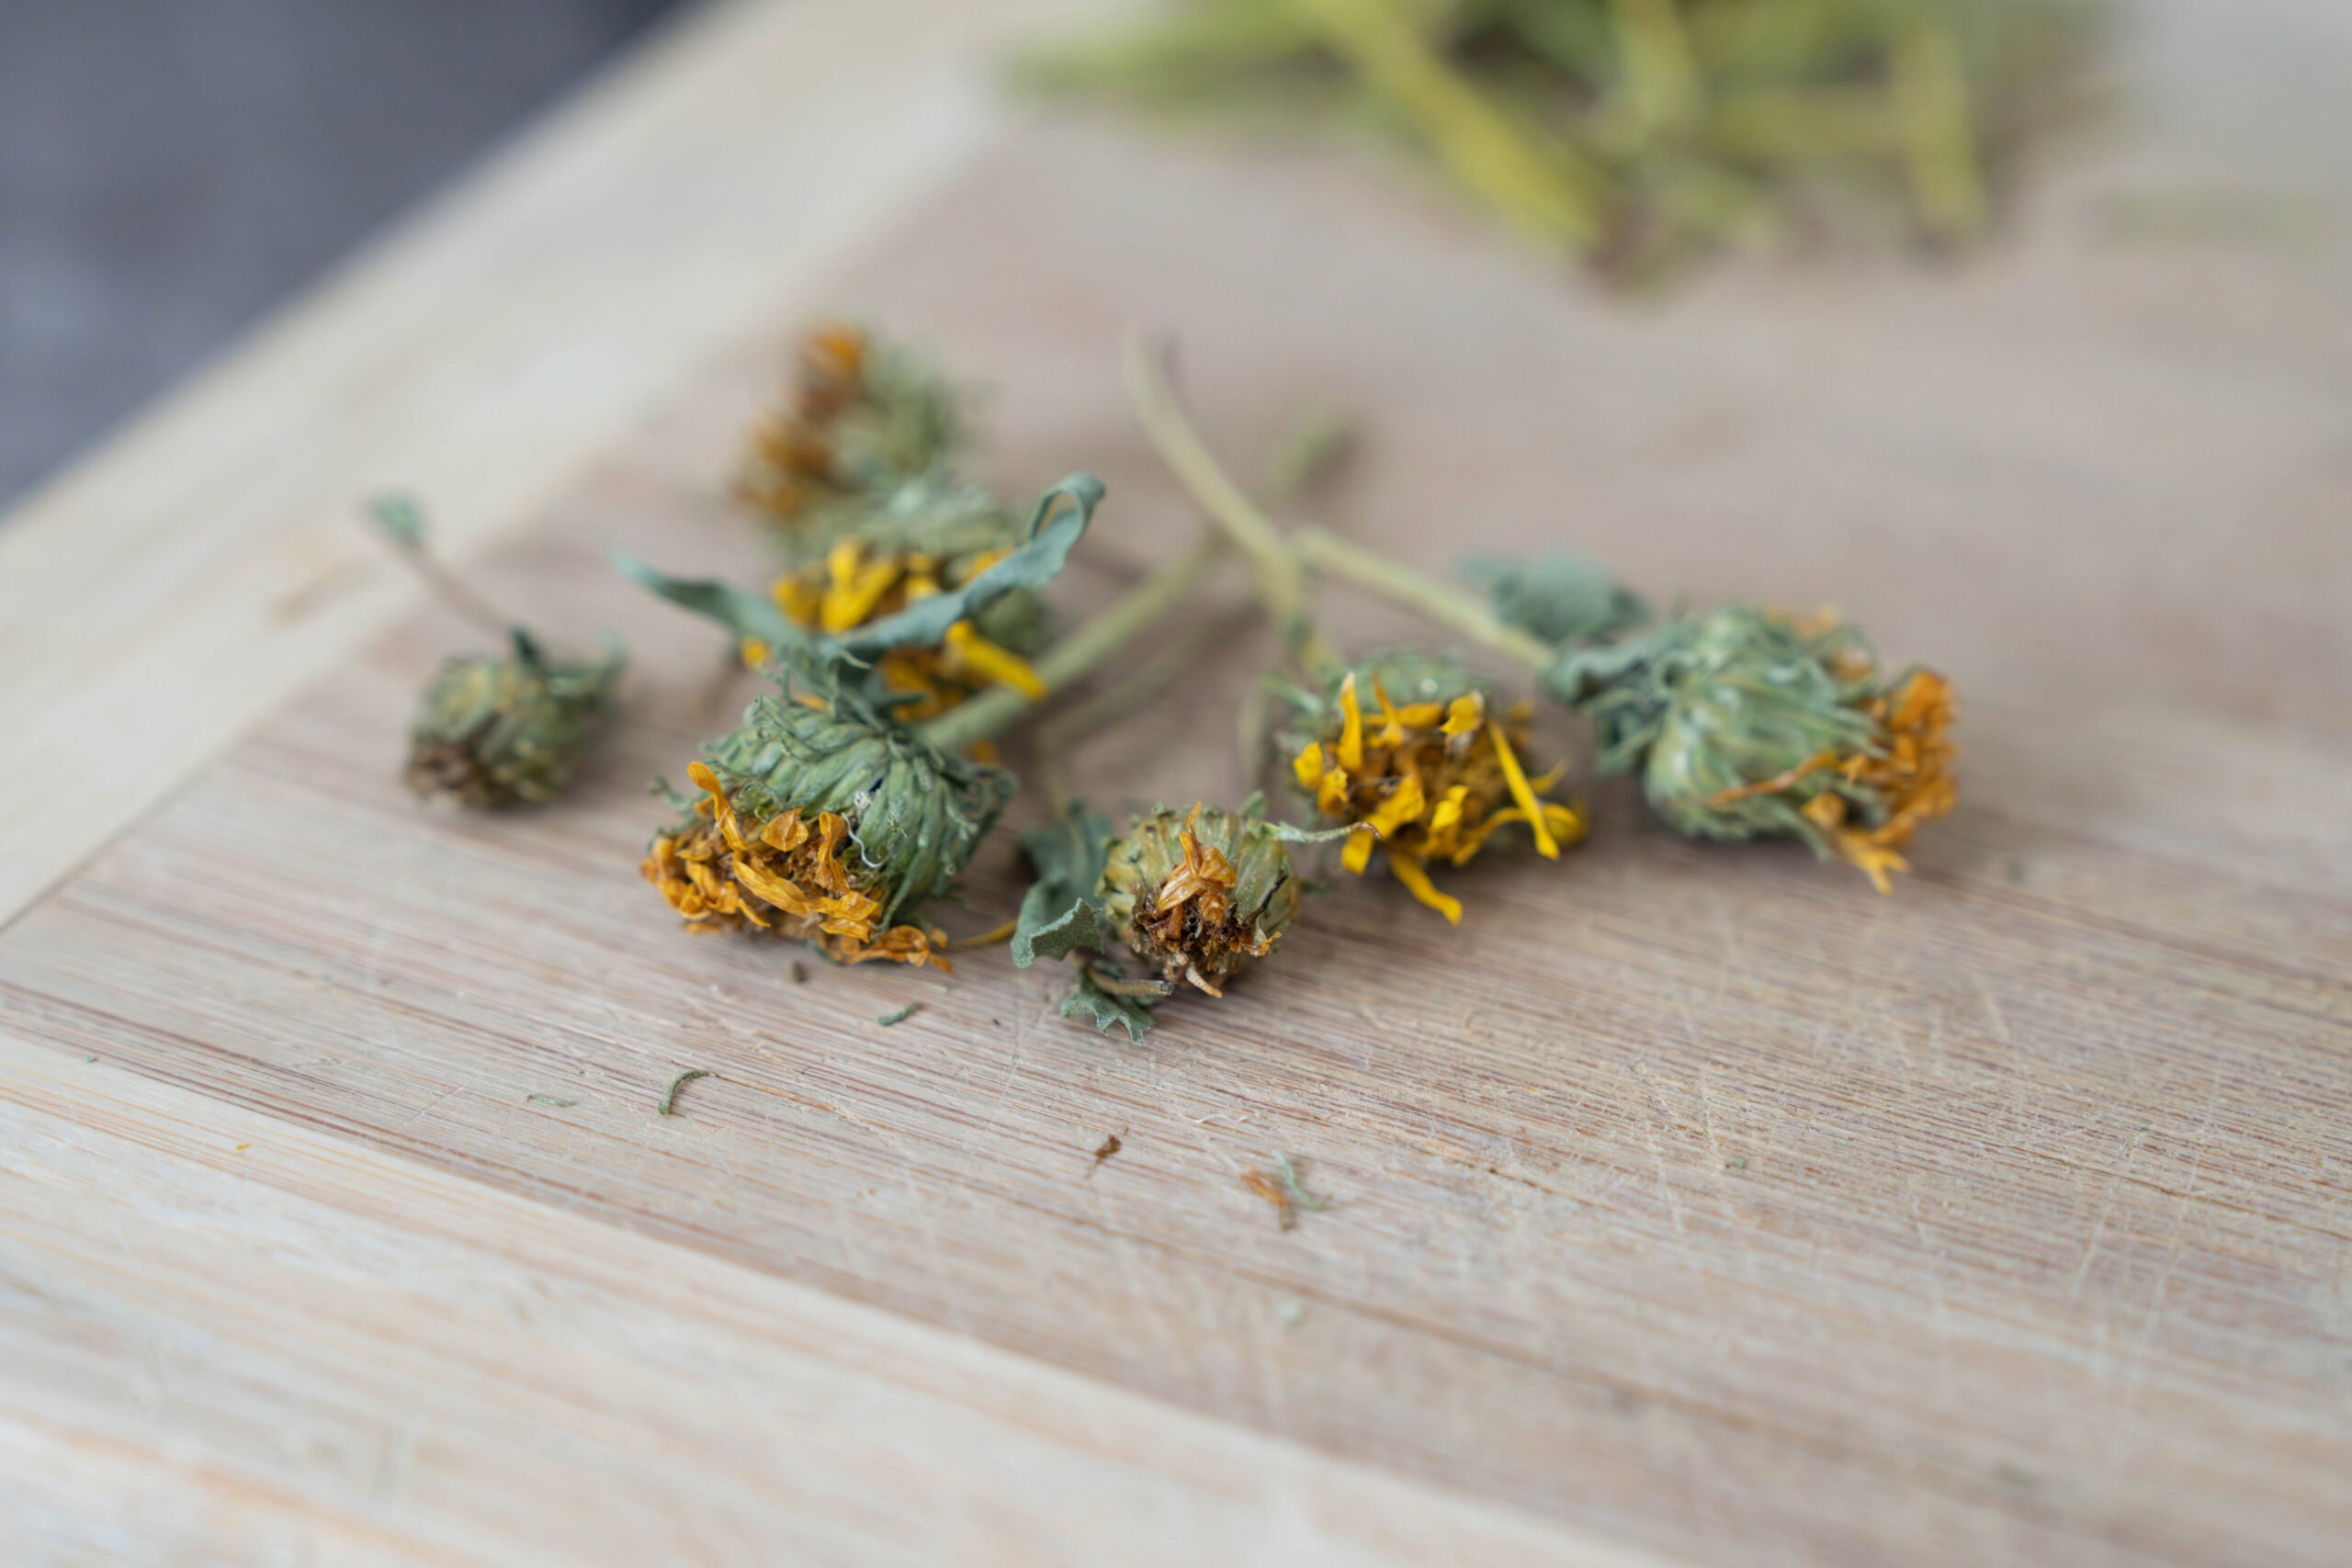
Spearmint and peppermint both work well since the flavor concentrates nicely, and are especially good for tea blends.
Parsley and Cilantro
Both dry well and are excellent in cooking, though some flavor loss is normal from these more delicate herbs.
Before we look at which herbs are best air-dried, keep in mind that some high-moisture herbs like basil and mint can’t air-dry well in warm, humid environments and will mold before they’re fully dry.
Herbs That Air-Dry Better Than They Dehydrate
Not every herb is a great candidate for the dehydrator. If you’re considering these herbs, find a spot where you can hang them to air-dry.
Lavender
You could dehydrate these at a lower temp but air-drying preserves the floral oils much better.
Chamomile flowers
This herb does best with air-drying but a very low temperature at or below 95°F (35°C) could work fine.
It’s worth noting that certain dehydrator-safe herbs like rosemary actually hold their color better if air-dried – you may opt for that route if you’re using them as gifts or in your seasonal decor!
Dehydrating
Fill your shelves with long-lasting, nutritious snacks, meals, and ingredients all while staying on (or below) budget! Learn the art of dehydrating foods and create a bounty of dried fruits, vegetables, herbs, and even jerky, ensuring you have a healthy, flavorful stockpile all year round.
How to Dry Fresh Herbs in a Dehydrator
Once you’ve chosen and harvested your herbs, it’s time to prep them for the dehydrator.
First wash them gently, then shake off the excess water, and pat them dry with a clean towel.
Remove thick woody stems as needed from your rosemary, thyme, or oregano. Smaller soft stems are fine to leave on.
Spread the herbs on a mesh tray in a single layer. The stems and leaves of the various herbs you’ve gathered can go on the same tray. There’s no need to sort it since it’s all going into the blender together anyway. Of course, if your goal is to make some dried thyme or basil for the spice drawer, by all means keep those separate. But for our purposes today, we’re making a blended green powder.
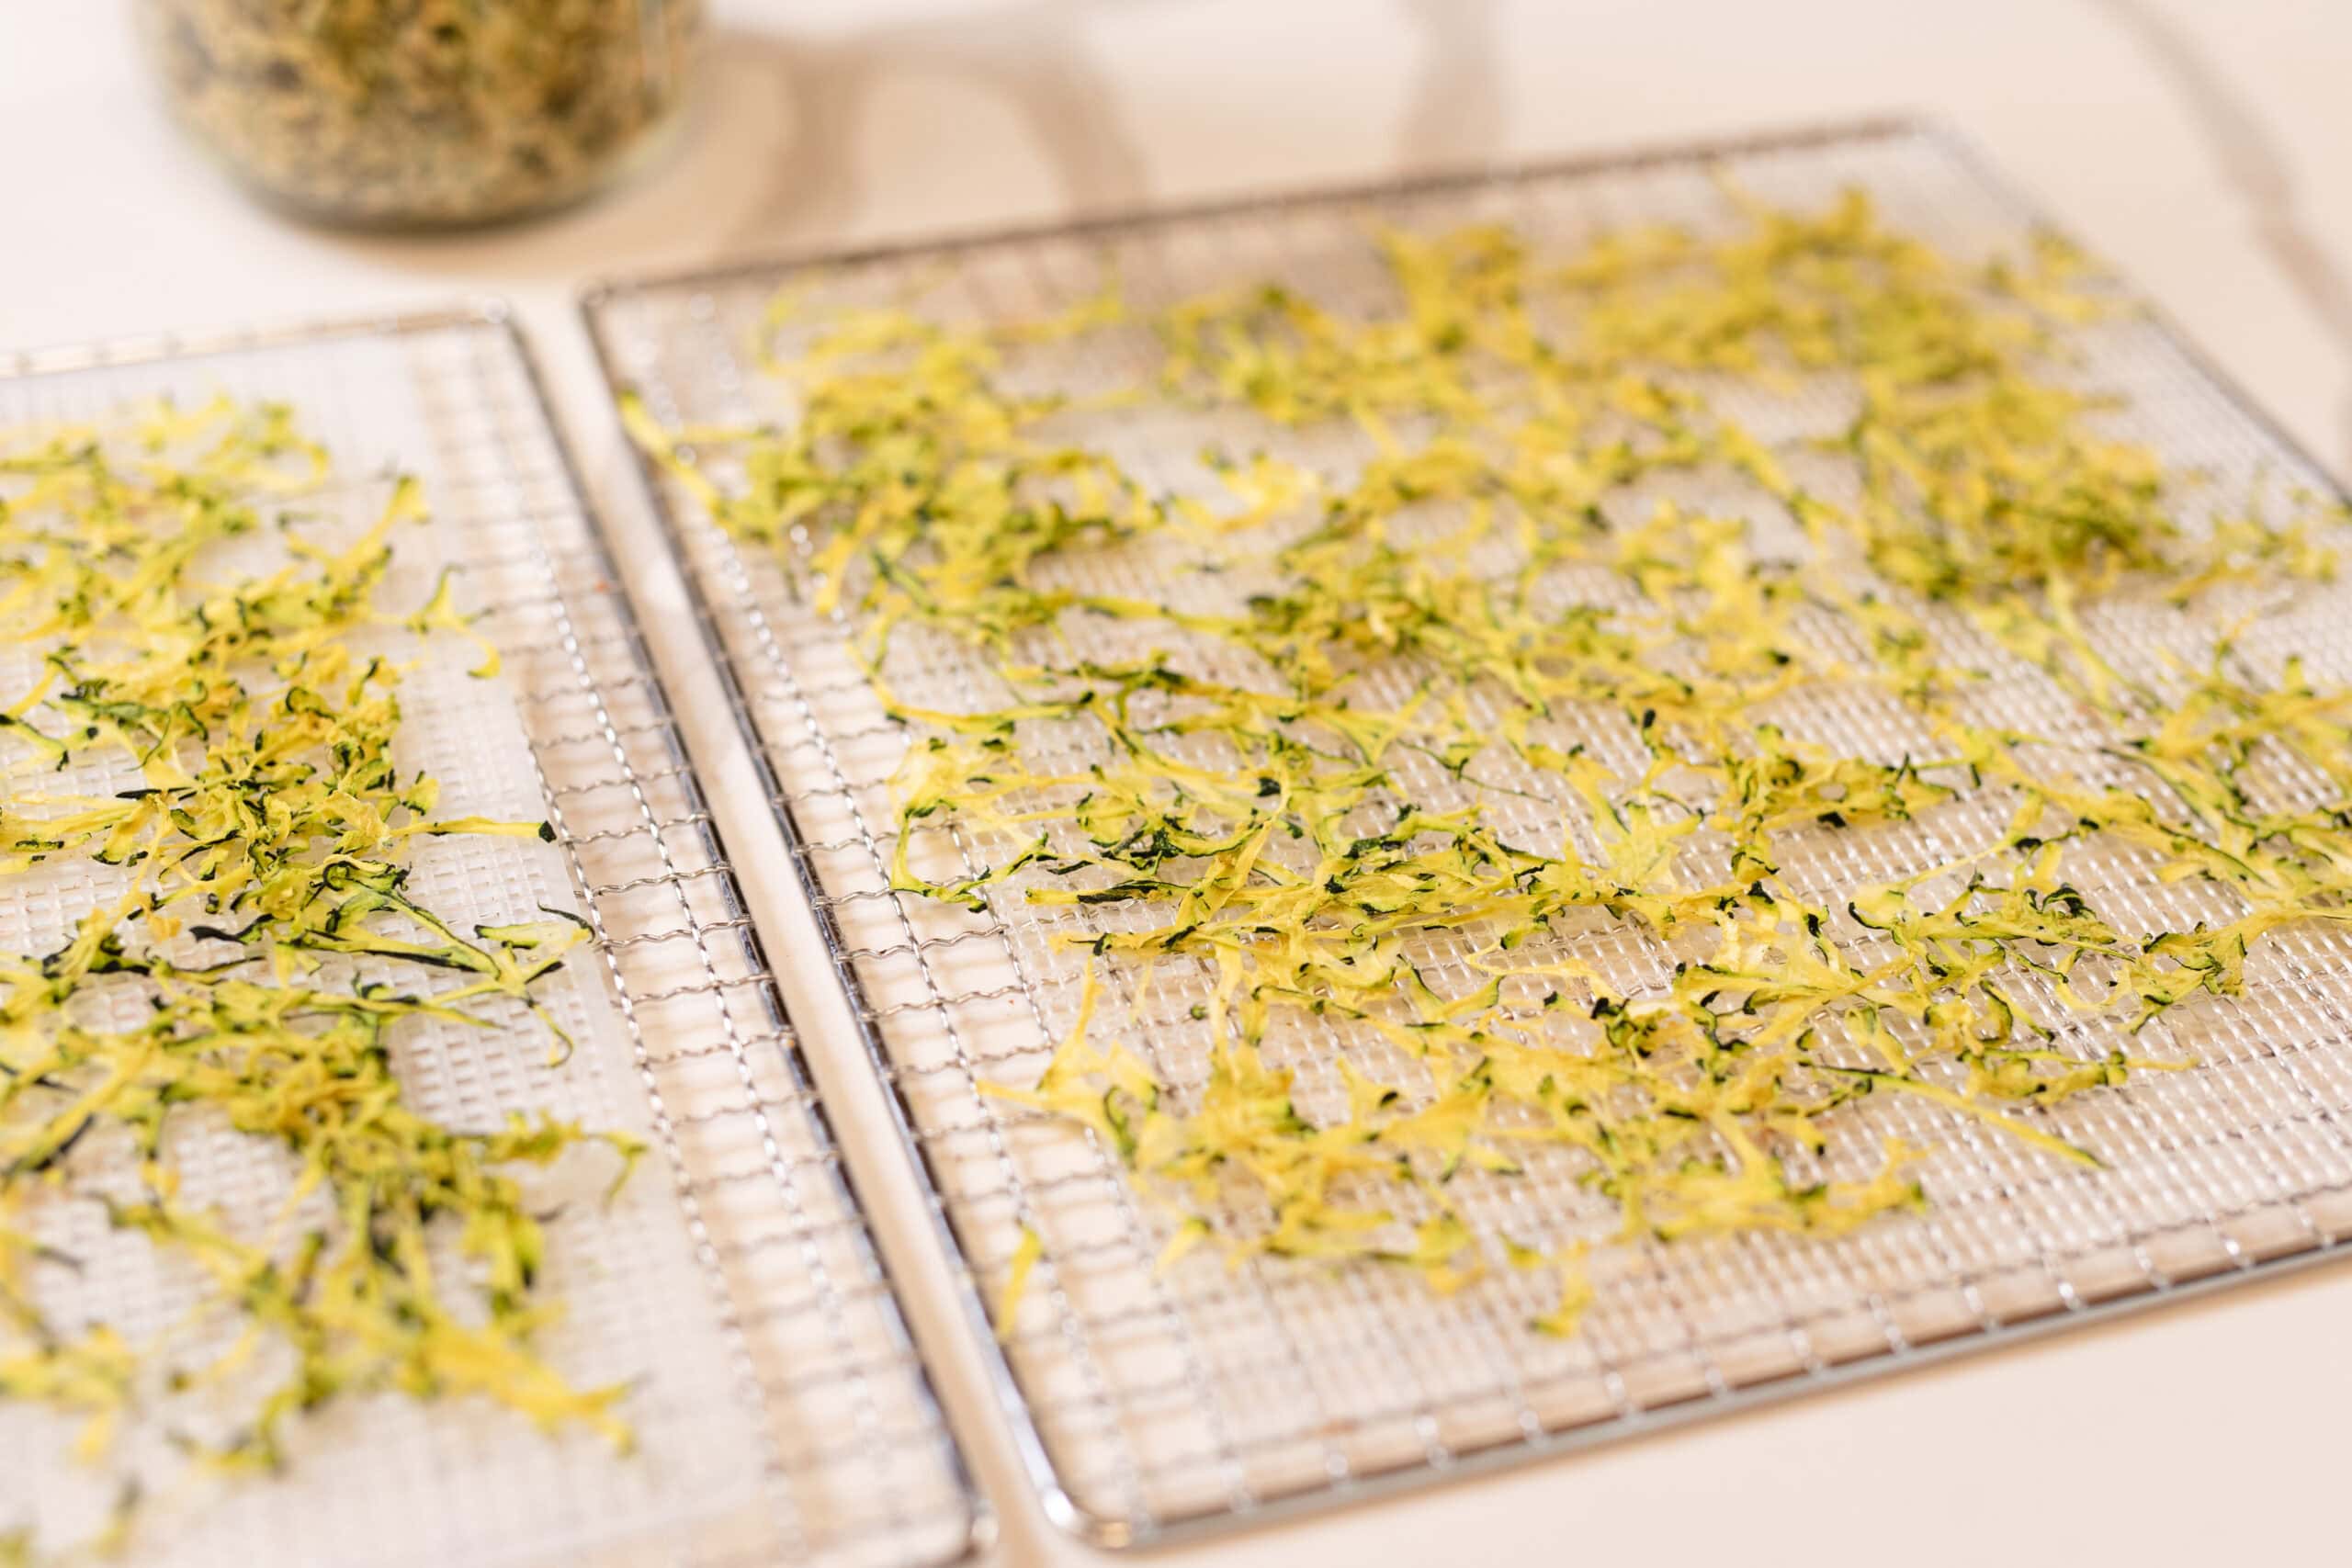
Set the dehydrator to 95°F (35°C) – this saves the most nutrients and flavor in your greens – and check it at the 2-hour mark. Properly dried herbs crumble between the fingers and smell intensely. But if any of the stems are still pliable, give them another hour in the dehydrator. Don’t rush the process – you don’t want to prematurely lose your underdried herbs to mold.
Condition your food before setting it aside for long-term storage. This allows you to double-check for dryness over the course of several days. Darcy has some great tips in the Skill Sheet available inside the Dehydrating class, which will help you ensure you’ve got a truly dry finished product.
Finally, store the whole herbs in labeled jars. We’ll delve into proper long-term storage techniques in our last article of this series, but now it’s time to grab the blender.
Making Powdered Greens: Darcy's Best Trick
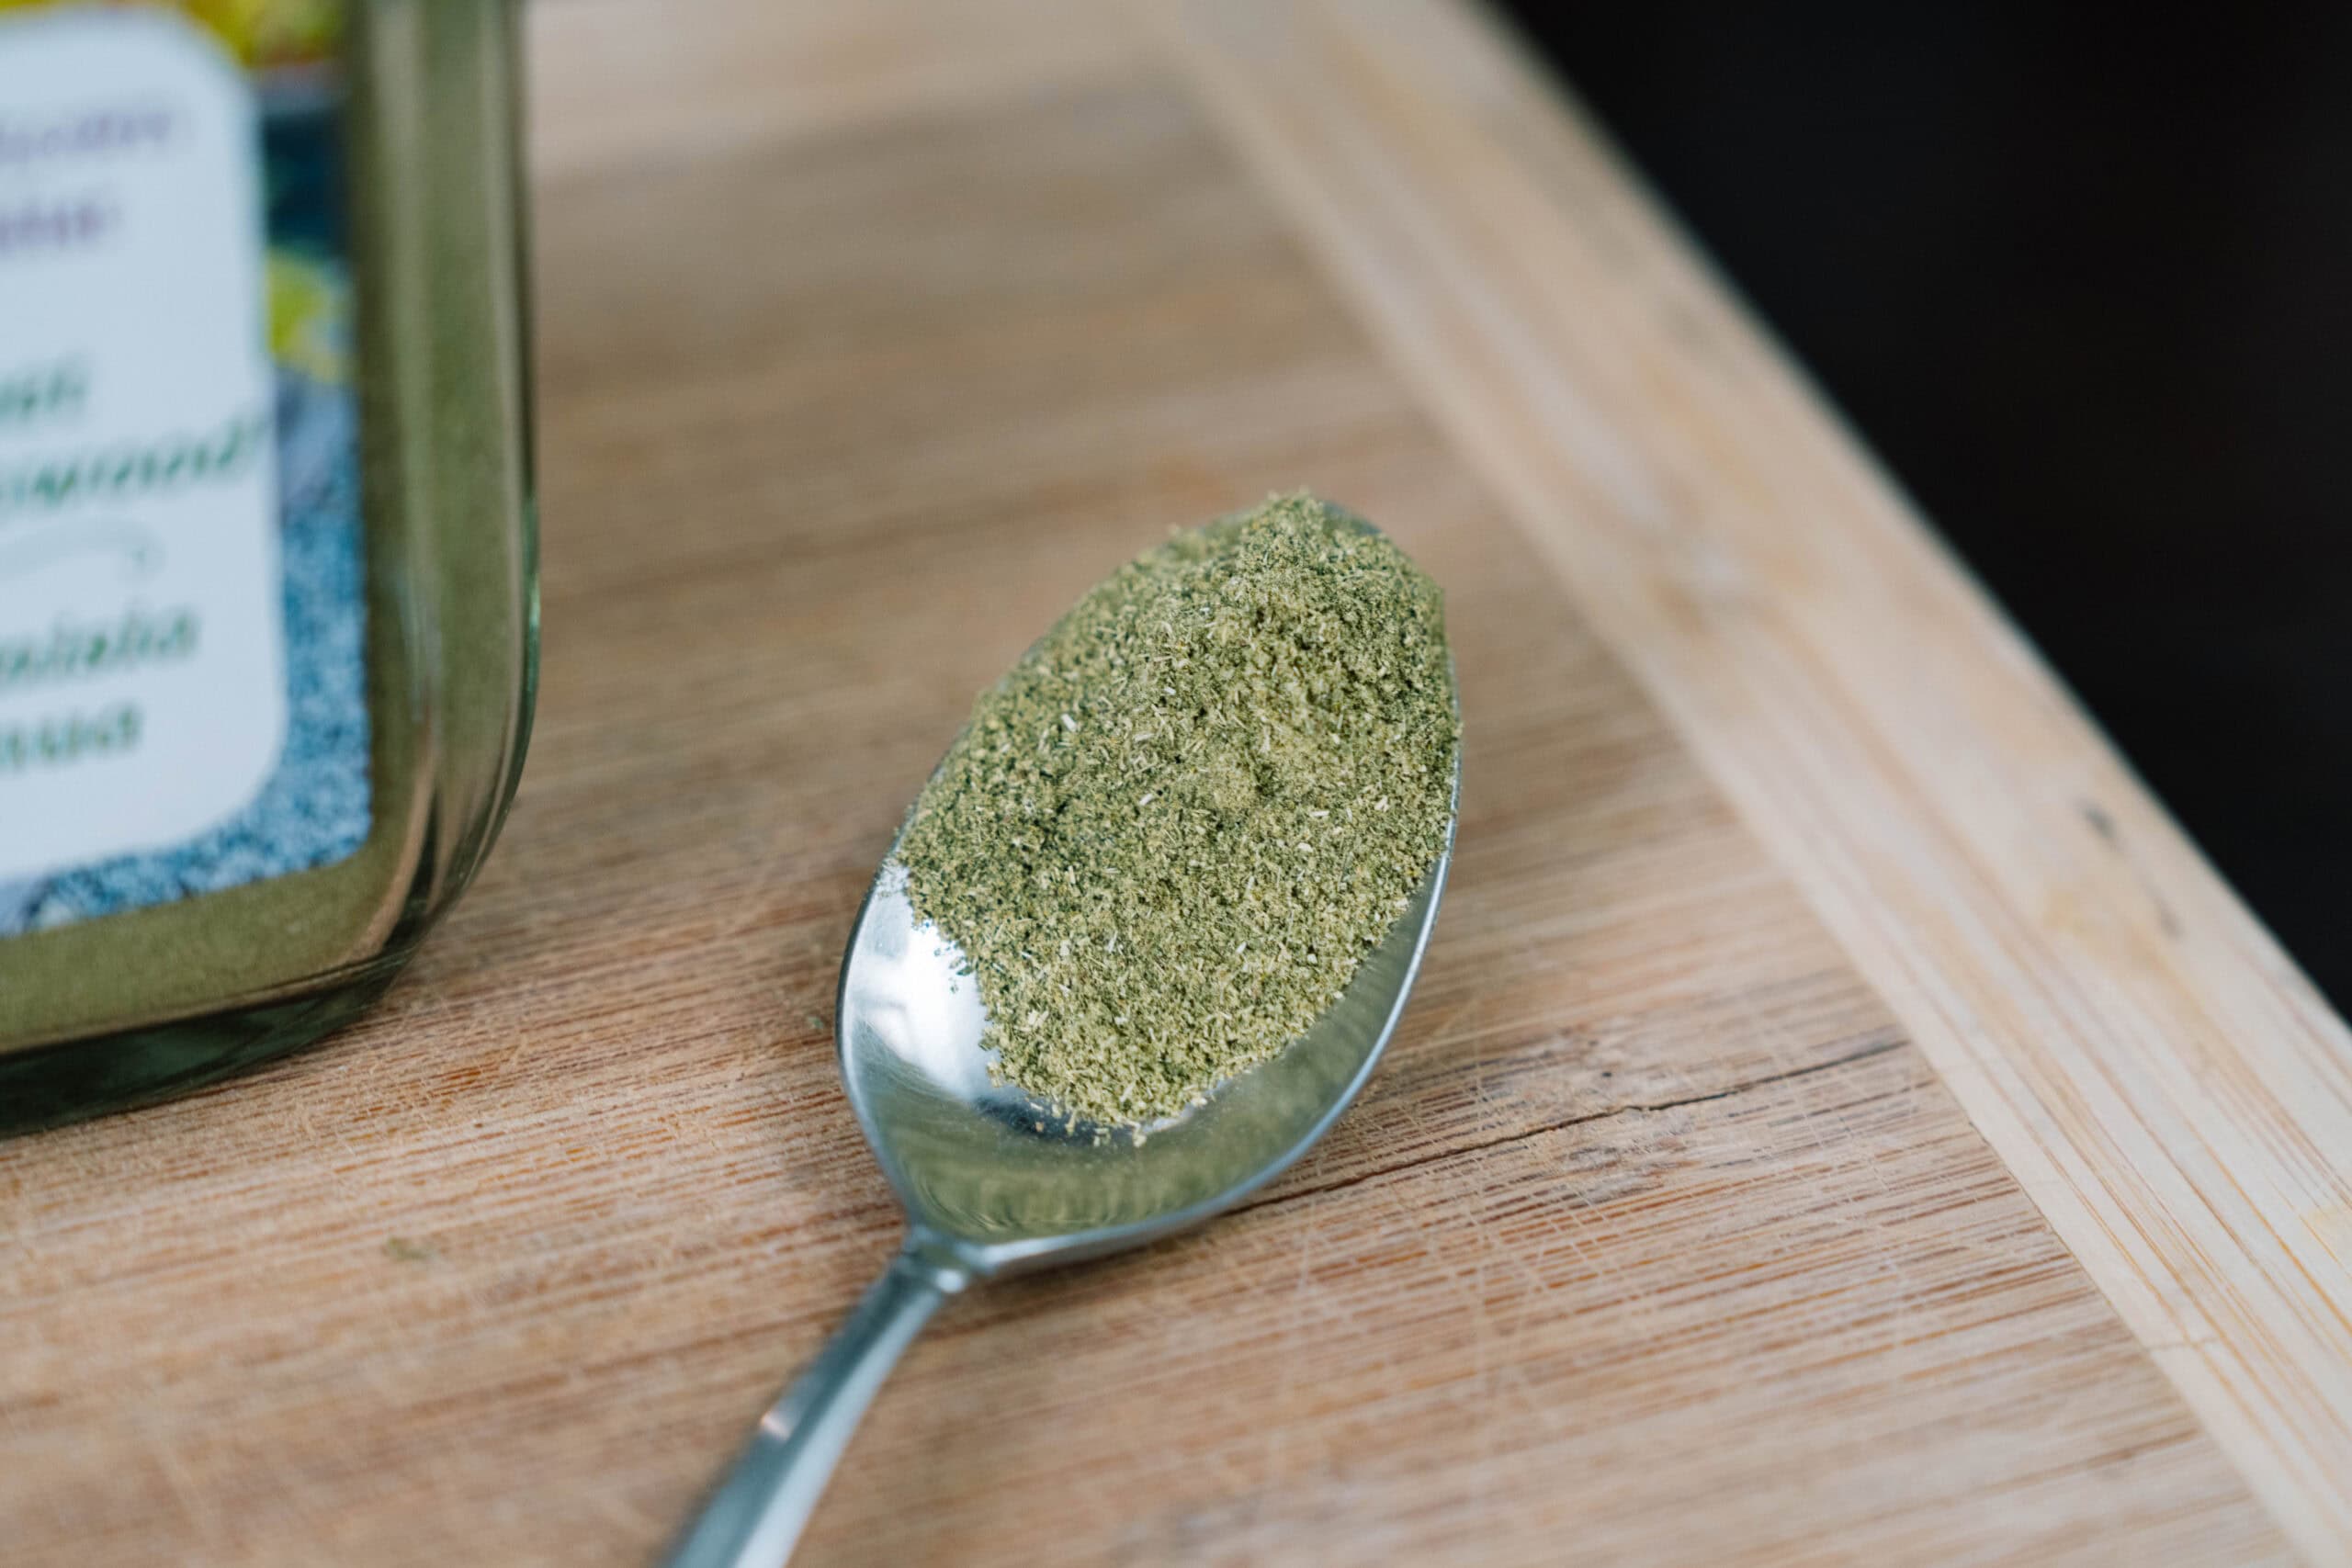
Ready for the game changer? Our very last step will be to turn those whole herbs and leafy greens into a fine green powder. Once in powdered form, they’re a lot easier to work with.
What Goes Into Powdered Greens
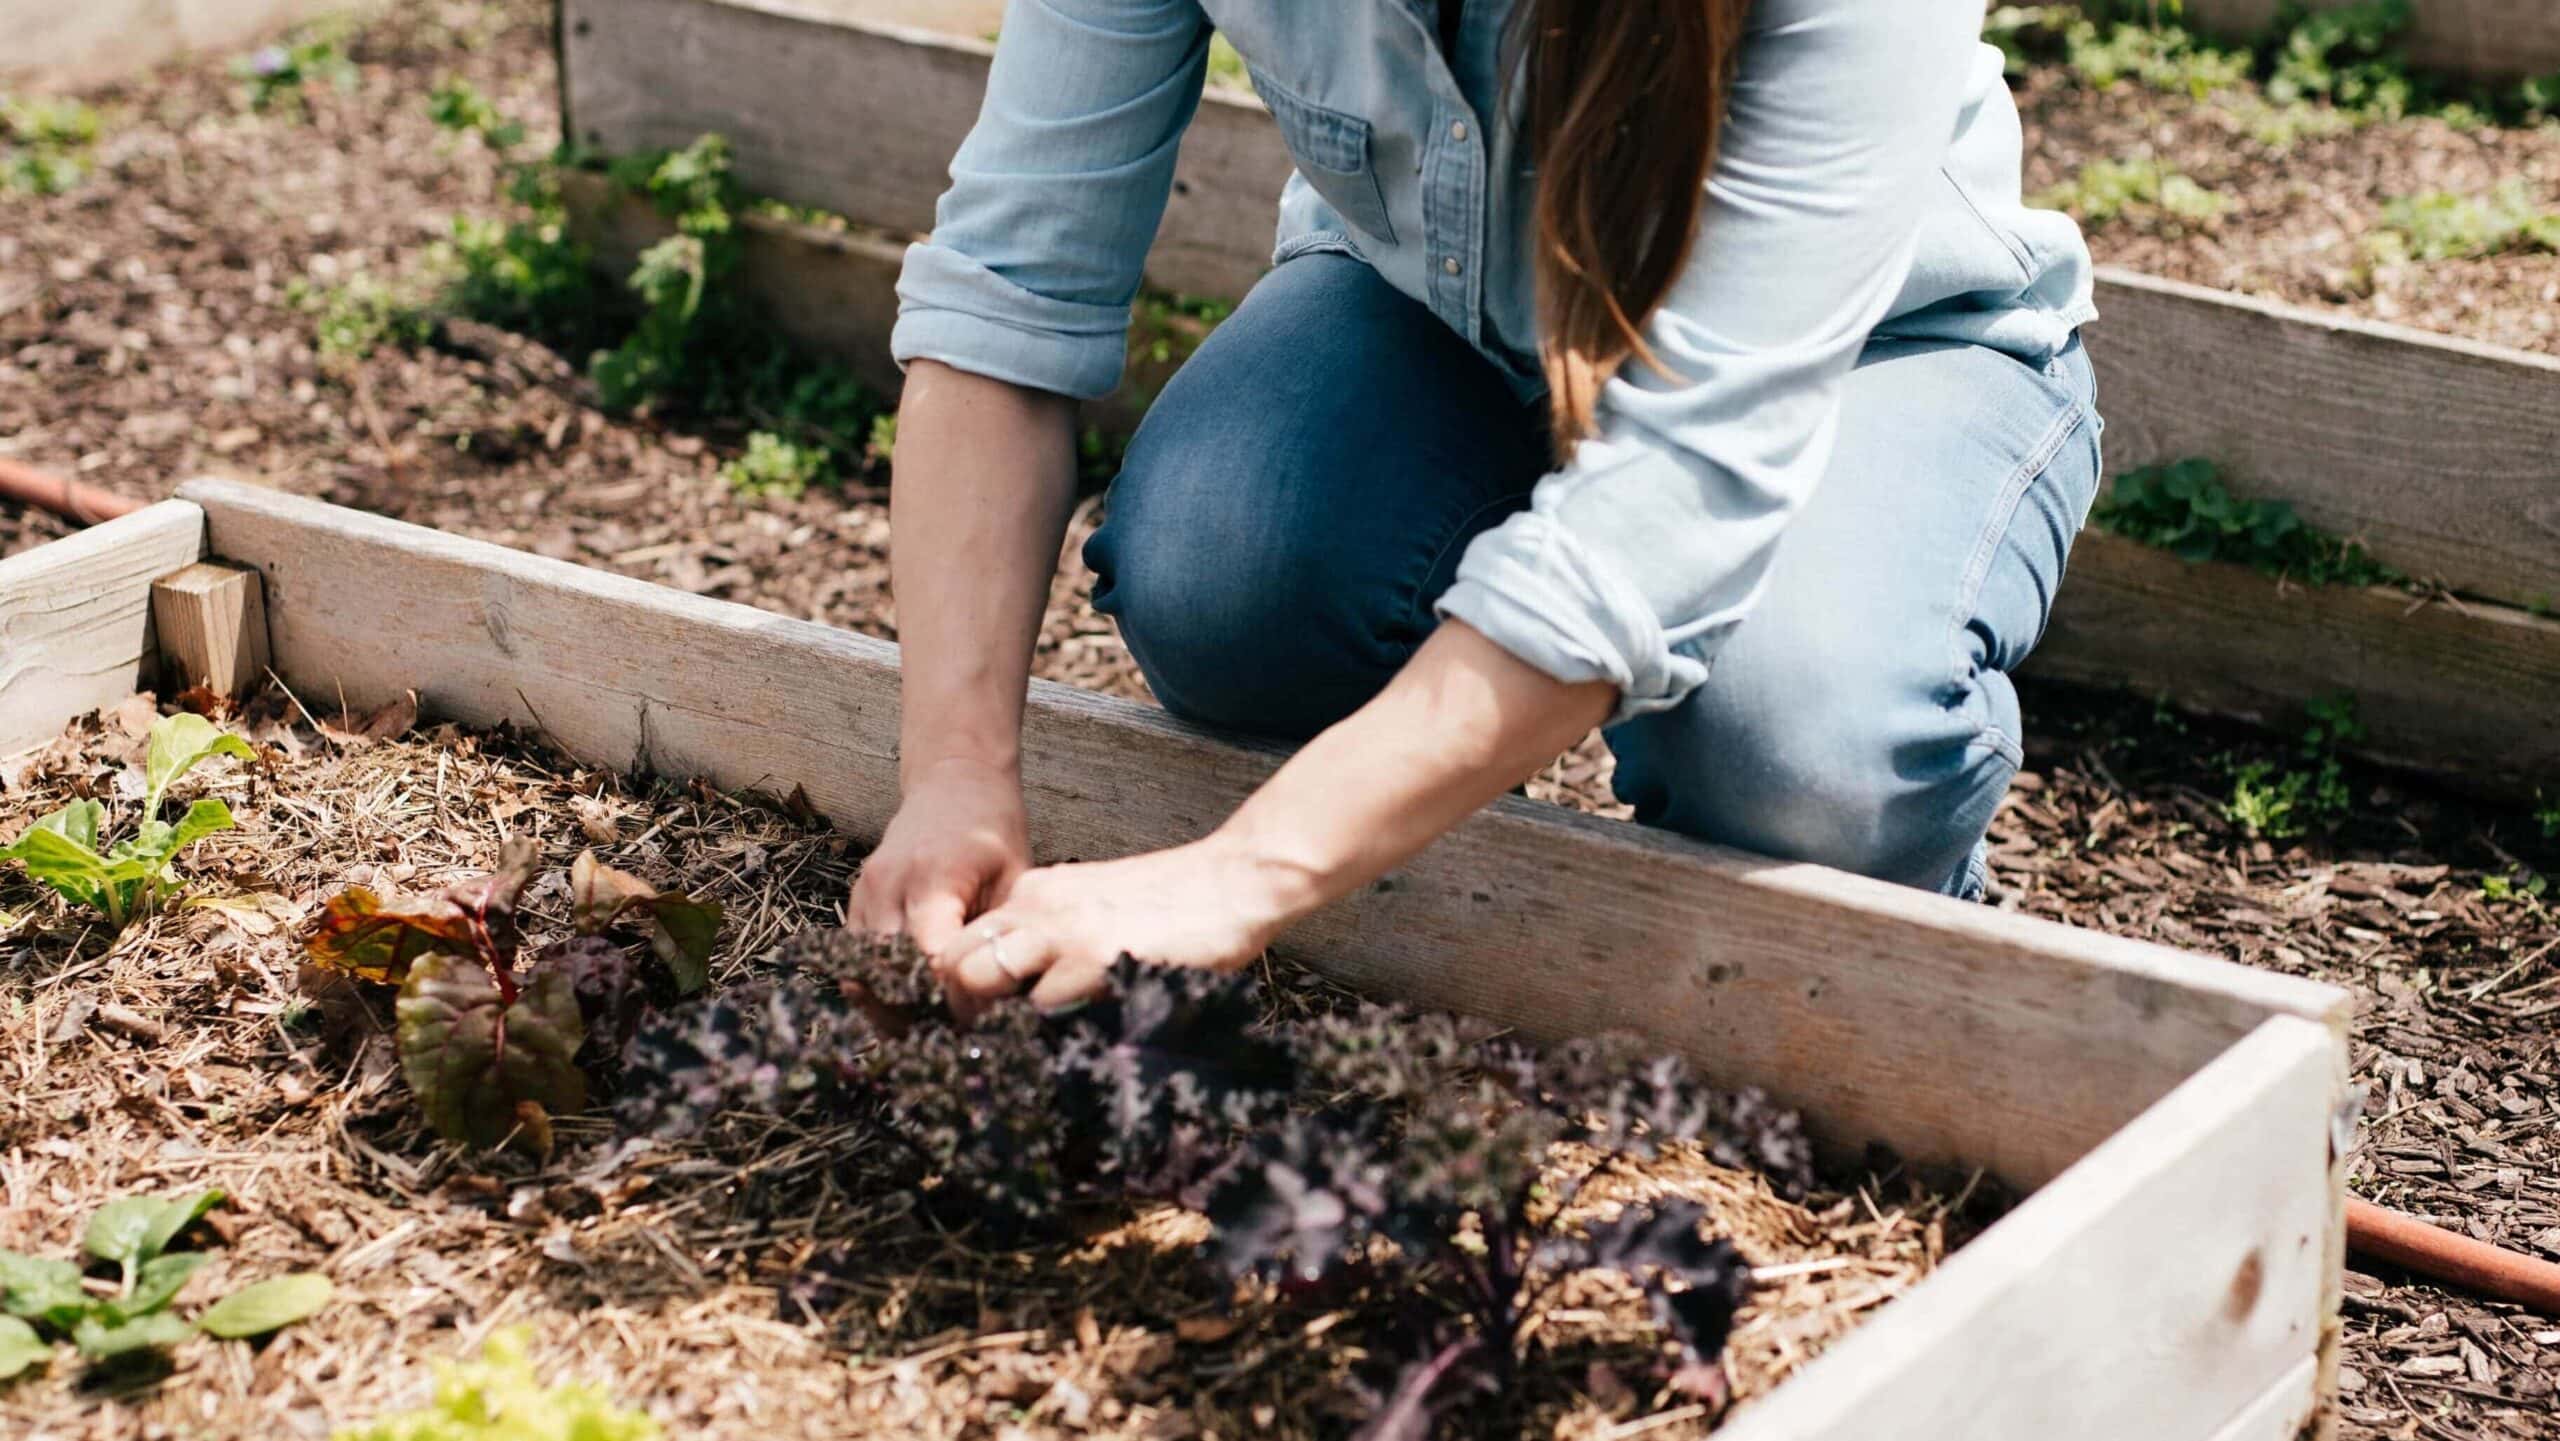
You can make your green powder with just about anything leafy from the garden: spinach, kale, chard, beet tops, carrot tops, celery tops, turnip greens, collard greens, radish tops… the list goes on and on.
What about leftover salad greens going limp at the back of the fridge, you ask? Yes, absolutely! Turn that waste into green gold (as we first discussed at the beginning of this series).
Mix and match what you’re using freely. Not only is this better for you – a wider, more varied diet tends to be a healthier one – but it simplifies the implementation. There will be some color variation between batches if you’re frequently changing up the greens you use, but that’s normal. It will all blend together nicely once it's in the jar.
Step-by-Step: How to Make the Powder
To make the powder, you’re going to follow essentially the same process as for dehydrating the herbs above.
Spread the greens on trays in whatever configuration they'll fit — they shrink enormously. No need to separate them out or make sure they’re in a single layer.
Dry at 95°F (35°C) until completely crisp — leaves should look dry and crumble at a touch when cool.
Cool completely, then transfer to a blender.
Pulse first, then run briefly — don't run the motor continuously or it heats up the food and causes clumping. This is especially true if you’re using one of those smaller ‘bullet’ or single-serve blenders.
Store in a labeled jar with a moisture absorber. Keep a small jar of your powdered greens on the counter by the stove for ease of use.
How to Use Powdered Greens in Cooking
When thinking about how much powdered greens to add to your foods, it’s helpful to know the conversion. About 1 tablespoon of powder is equivalent to ¼ to ⅓ cup of dried greens, which is equivalent to 1 cup of fresh greens.
Darcy’s approach is to start small and work her way up so that she’s not adding too much at one time. If that means just ¼ or ½ teaspoon to begin with, great. The goal is to add invisible nutrition, not veggie flavoring to all your foods.
Try adding green powder to your soups, eggs, casseroles, pasta sauce, meatloaf, smoothies, or even baked goods like brownies. So long as you don’t overdo it, no one will see, taste, or feel that the green powder is there.
If you keep a jar of the stuff right by the stove, the habit will build naturally because it's easy to reach.
Commonly Asked Questions About Dehydrating Herbs and Greens
Bundle your herbs with a rubber band or twist tie and hang them upside down in a warm, dry spot out of direct light for 1–2 weeks. This method works best for low-moisture herbs like oregano, thyme, rosemary, and sage. In humid summer conditions, herbs with higher water content like basil and mint often mold before fully drying. In this case, a dehydrator is a much more reliable option.
If properly dried and stored, expect them to last 1–2 years before there’s any significant flavor loss. Proper storage means airtight glass jars that are away from heat and out of the light, and keep in mind that whole dried leaves last longer than crumbled ones. (Tip: Crush your herbs just before use for best flavor.)
Yes, so long as they use the same temperature (for herbs and leafy greens, that would be 95°F, or 35°C). Remember what we warned in our last post, though: keep strongly-scented foods like garlic and onion on a totally separate machine run. Otherwise, expect those flavors to transfer to neighboring trays.
So much! Add it to soups, stews, scrambled eggs, pasta sauce, smoothies, casseroles, meatloaf, burgers, baked goods, and more. The list of possibilities is almost endless. A tablespoon in most dishes is invisible – you won’t see any green or notice a change in flavor or texture – but the nutrition benefit is significant.
Darcy keeps a jar beside the kitchen stove and adds it to practically everything she cooks. It’s hard to imagine a simpler or more convenient way to level up your meals!
Absolutely. By drying at 95°F (35°C), you preserve more volatile oils (flavor compounds) and heat-sensitive nutrients than you would at higher temps. The difference in temperature is especially noticeable in basil, mint, and other tender herbs that have high essential oil content.
Bottom line: For herbs and greens, always use 95°F (35°C) and avoid the higher pre-programmed vegetable settings.
One More Thing
Green powders really appeal to the practical and health-conscious among us, but do you know what your kids would absolutely love? Fruit leather.
The fruit leather you remember from your childhood is one of the best uses for fruit that's fully ripe (or slightly past) — it captures peak flavor and makes for a fun project that the kids will enjoy helping with.
Darcy’s Dehydrating class at the School of Traditional Skills includes a detailed lesson on how to prepare strawberry banana fruit leather, but the basic method is to blend the fruit into a smooth purée, spread it ⅛ to ¼ inch (3–6 mm) thick on a lipped silicone dehydrator sheet, and dry it at 135°F (57°C) for 6–8 hours. It’s done when it’s pliable but not sticky, and peels cleanly from the liner. Cut into strips while it’s still warm.
If you want to experiment with different summer flavors, try a stone fruit like peach or apricot (add lemon juice before blending) or mixed berry.
Get creative with your dehydrating, and enjoy the satisfaction of upgrading your family’s meals almost effortlessly!
Darcy Baldwin of The Purposeful Pantry didn't just learn how to dehydrate food; she built it into the rhythm of her daily life. Over two decades, she studied with the National Center for Home Food Preservation and other extension services, learning the safest methods for preserving everything from beef jerky to greens to medicinal herbs. Today, she's taught thousands how to run their dehydrator nearly every day of the year, saving their families thousands of dollars while reducing food waste and packing more nutrition into meals their kids will actually eat. Her approach makes dehydrating a practical, sustainable habit that pays off every single week.
Dehydrating
Fill your shelves with long-lasting, nutritious snacks, meals, and ingredients all while staying on (or below) budget! Learn the art of dehydrating foods and create a bounty of dried fruits, vegetables, herbs, and even jerky, ensuring you have a healthy, flavorful stockpile all year round.