That's more common than we care to admit. Raised beds are among the most practical ways to grow food, but they require steady attention. Because they drain well, they can dry out faster than in-ground gardens. Without a simple rhythm in place, it's easy to swing between too much water and not enough, and the plants suffer in that state of imbalance.
Why Raised Beds Need a Watering Plan
Raised beds respond best to consistent care. When watering is uneven, plants show stress quickly. Growth slows. Greens turn bitter. Over time, that stress can increase disease pressure and leave plants more vulnerable to insect predation. A simple, steady watering rhythm can help keep it all under control.
How to Water Raised Beds: Choose a Method You Can Sustain
The best watering method for you is the one you'll actually stick with through hot, buggy, and busy weeks.
Hand Watering
For a few beds, hand watering can work well. By keeping you close to the garden, you notice problems early, including wilting, discoloration, and dry spots. It also provides the opportunity to give extra attention to new transplants or shallow-rooted plants.
The challenge is time. During peak season or a heat wave, hand watering can become a real chore. Not only does it take longer, but it also means early morning waterings. In this scenario, it becomes easy to water unevenly from bed to bed without realizing it.
Drip Irrigation
Drip irrigation delivers water directly to the root zone, helps distribute water more uniformly, and minimizes splashback from soil to leaves, all of which can help reduce disease pressure on plants. For anyone managing several beds or trying to stay consistent through a dry summer, it tends to be the easier method to maintain across a full season.
Supplies
A raised bed drip system need not intimidate. Here are the supplies you will need:
- Step one is to locate your closest water supply. An outdoor spigot works well. A simple splitter lets you keep a hose connected at the same time, if needed.
- A timer comes next. A manual timer shuts the water off after a set run time. A programmable timer goes a step further, turning the system on and off automatically. If you already have a sprinkler timer, drip irrigation can likely be added as its own station.
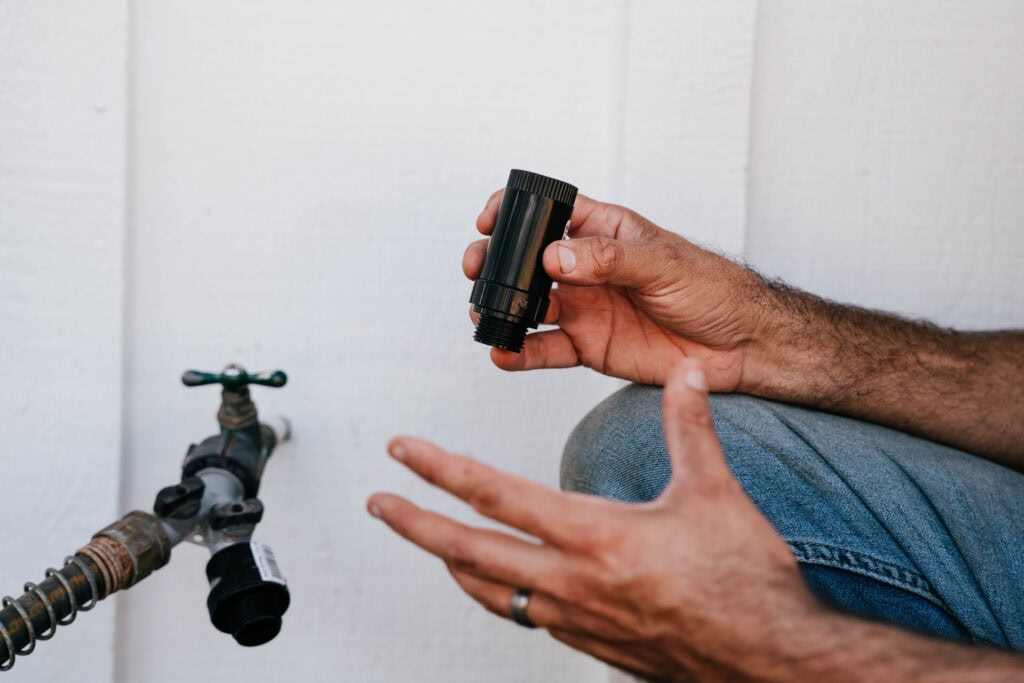
- A backflow preventer protects your household water lines – don't skip this one! A pressure regulator drops the pressure down to 25 psi (172 kPa) to protect your fittings and keep the system running smoothly.
- A hose thread adapter transitions the system from standard garden hose threads to 1/2 inch (1.3 cm) drip hose. Teflon tape on all threaded fittings helps keep connections tight.
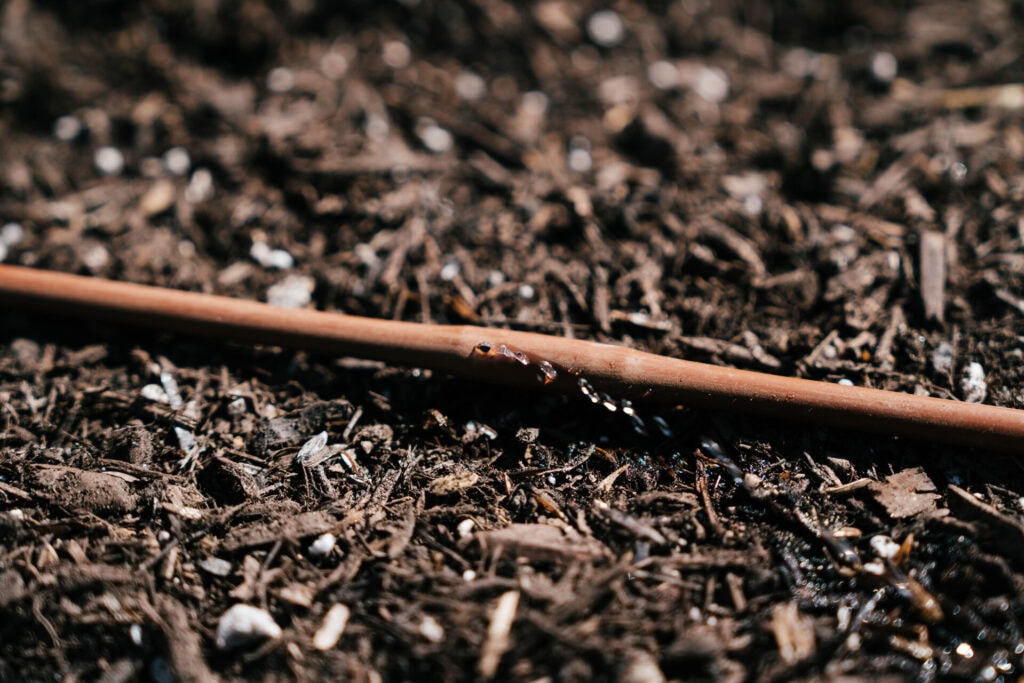
- For the lines, use 1/2-inch (1.3 cm) hose as your mainline from the spigot to the bed. From there, 1/4-inch (0.6 cm) lines branch across the planting area.
- A few additional supplies to have on hand: corner elbows to keep the mainline tidy along the inside edge of the bed, a tubing hole punch, hose barbs to connect the smaller lines securely, and an optional end line valve if you want to shut off water to one bed independently.
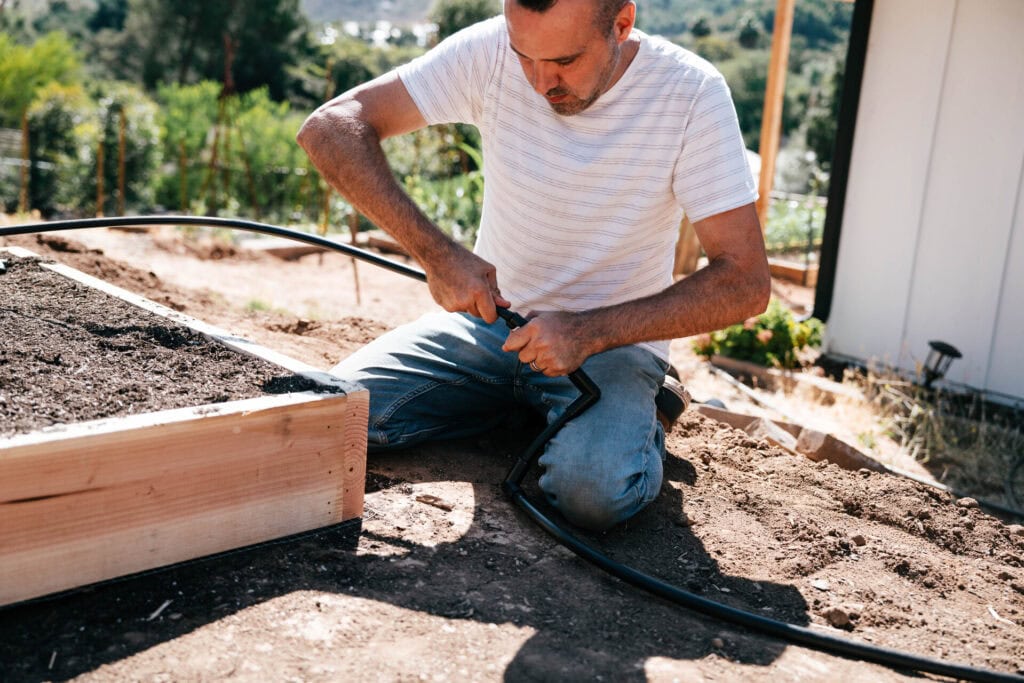
Layout and Installation
Start at the water source. Attach the splitter (if using), then the timer, backflow preventer, pressure regulator, hose thread adapter, and finally the 1/2-inch (1.3 cm) mainline running toward the bed.
When the mainline reaches the bed, bring it to a corner and run it around the inside edge using elbow fittings at each turn. If the hose wants to curl, a few temporary bricks can hold it down. After water runs through it and it warms in the sun, it tends to settle on its own. Staples into the bed frame work well for a more permanent hold.
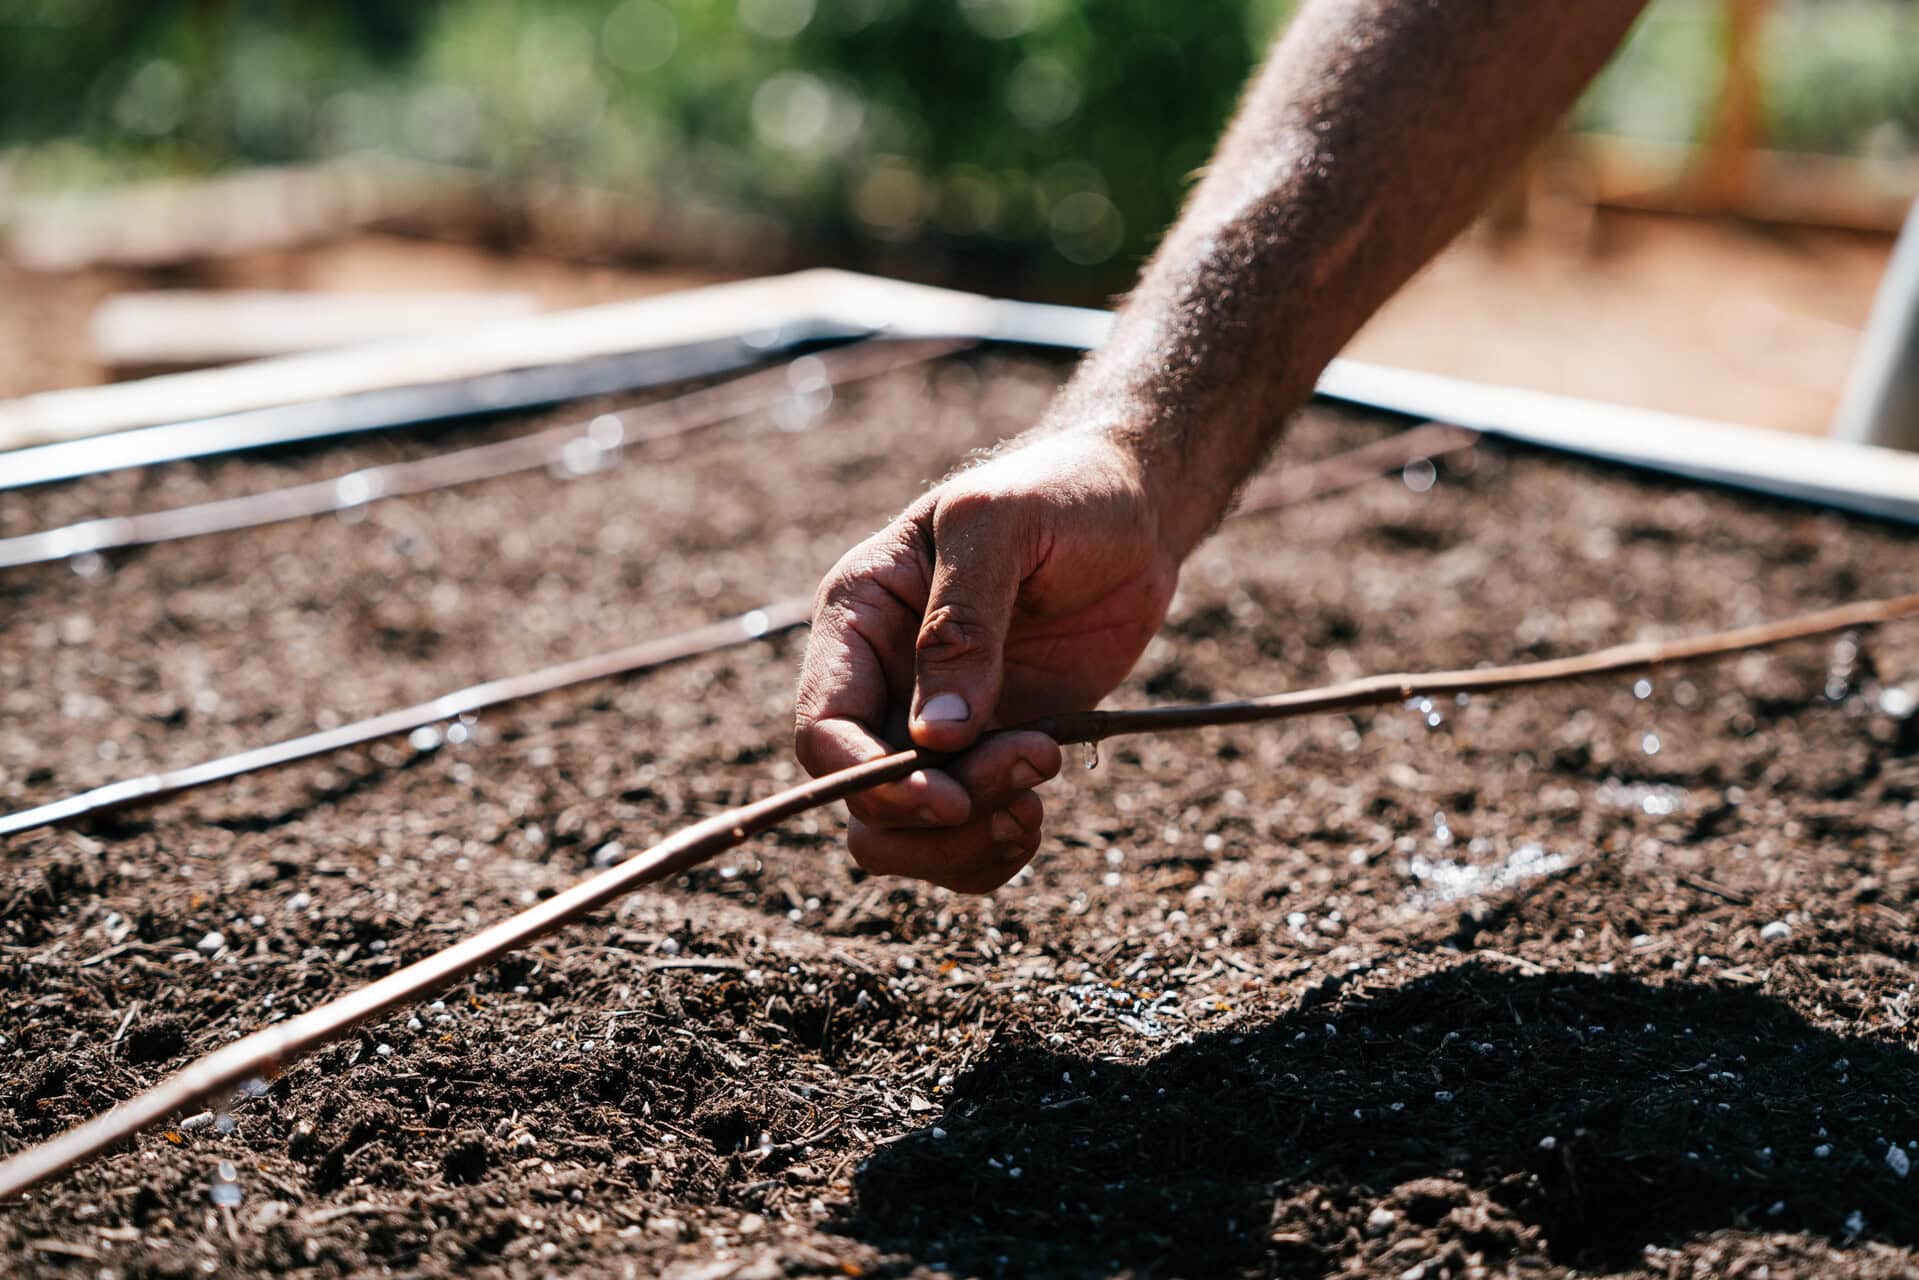
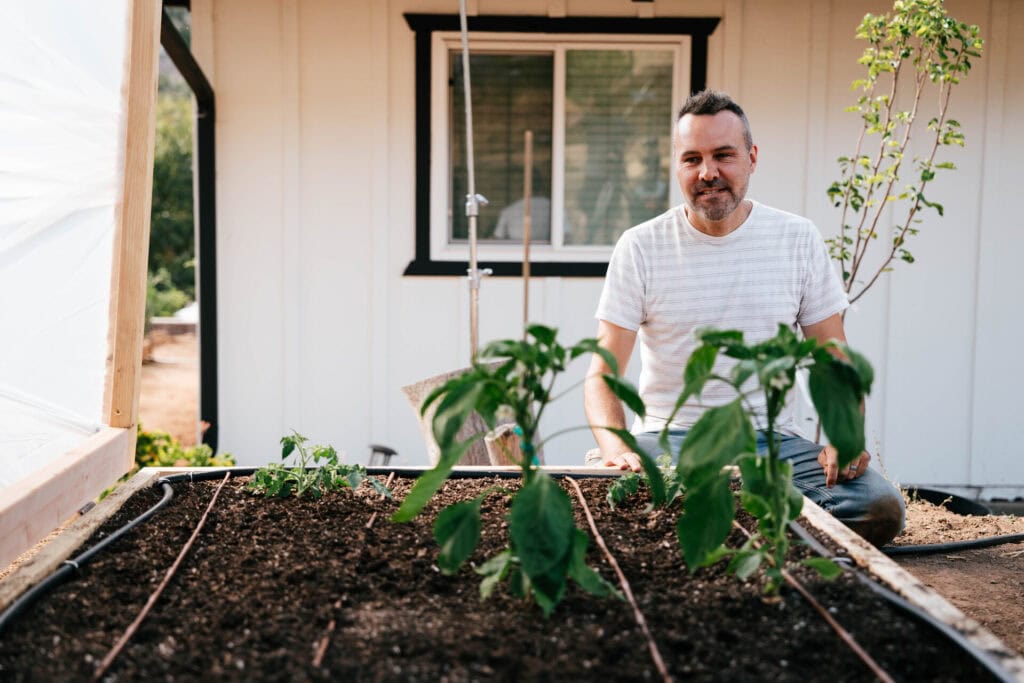
To carry water across the planting area, use the hole punch to tap into the mainline and connect 1/4 inch (0.6 cm) lines using hose barbs. Run several of these lines (e.g., 4 for a 4-foot-wide bed) lengthwise across the bed, evenly spaced. Check each connection before you cover anything with soil or mulch.
If you have more than one bed, install an end-line valve at each line where it rises up the side of the bed. That way, you can shut off individual beds without affecting the rest of the system.
Before planting, run the system for a few hours to fully moisten the soil throughout the bed.
A Practical Watering Rhythm
The schedule that works for your raised bed will depend on weather, plant size, and soil conditions.
Rather than watching the clock, watch the soil and the plants. If plants wilt during the hottest part of the afternoon but recover by evening, that's often just the heat talking, not a sign that the bed needs water. Pay attention to sustained wilting, slowed growth, and bitter greens.
Mulch is one of the most practical tools for retaining moisture between waterings, and a thick layer across the bed surface makes a big difference during hot, dry stretches.
Maintenance That Helps Raised Beds Stay Productive
Watering gets easier when the soil beneath it is supported over time.
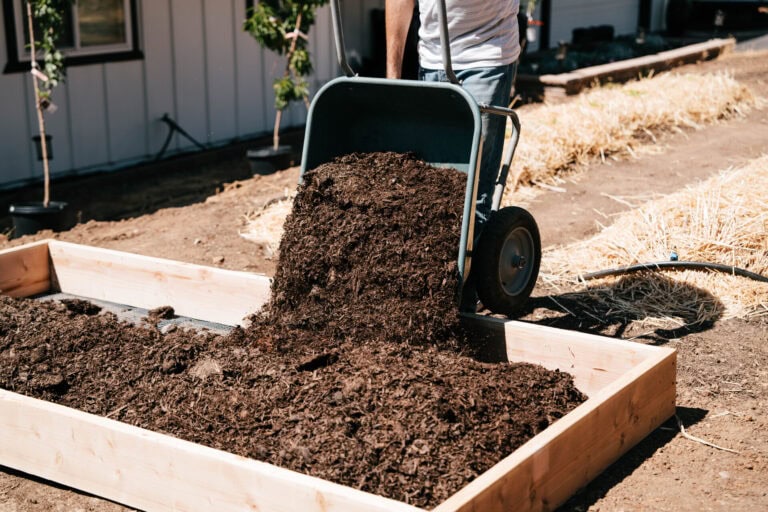
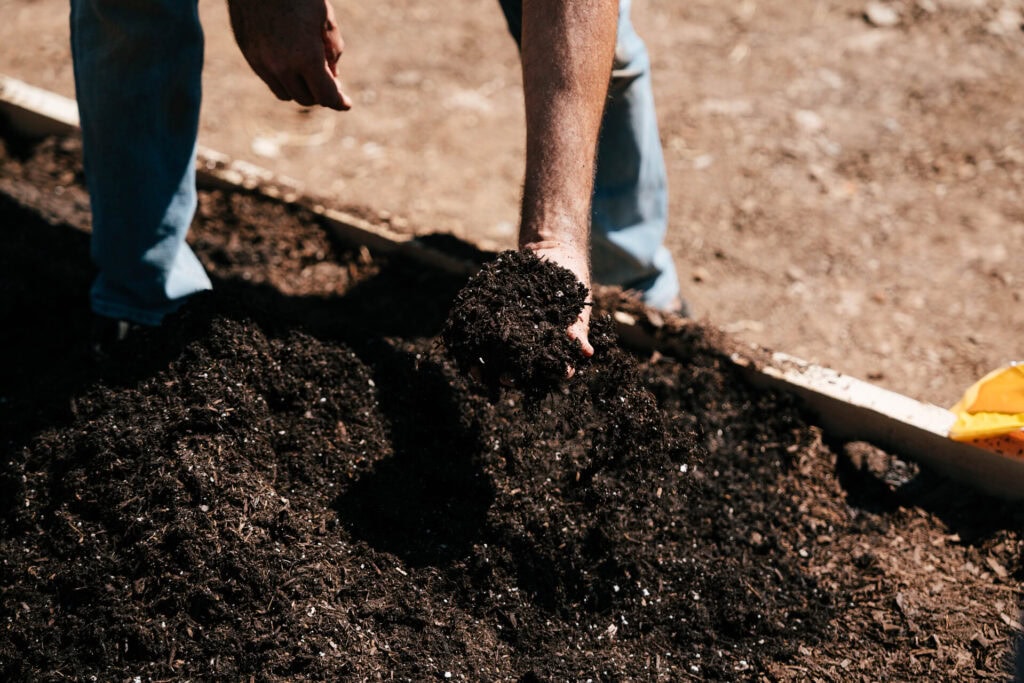
Raised beds planted intensively need regular renewing. Adding 1 to 3 inches (about 3 to 8 cm) of compost each planting cycle is a solid guideline for keeping soil healthy. Use 3 inches if crop rotation potential is limited, so as to help manage pathogens over time. Drip irrigation supports this by keeping water off the leaves and reducing the splash that can carry soil-borne disease upward.
At the end of a planting cycle, there's no need to pull every root. Remove the crown and leave the rest to break down in place. Worms and soil life put those old roots to work, and the channels they leave behind help water move deeper into the bed the following season.
When beds sit empty between plantings, keep the soil covered. A heavy layer of straw, wood chips, or similar mulch protects the living biology through winter. If you want to go deeper on that approach, our class on the Back to Eden gardening method is a good place to start.
Troubleshooting Watering Problems in Raised Beds
You're Not Sure When to Water
This is one of the most common struggles with raised beds. Push a finger 2 to 3 inches (5 to 8 cm) into the soil. Dry at that depth means it's time to water. Cool and slightly damp means you can wait. Early morning is the best time to check.
Your Soil Feels Hard and Dense
If the soil has become dense and difficult to work, the mix itself may be the issue. Native soil used to fill beds often contains clay, which compacts over time, limiting drainage and nutrient uptake. Amending with good compost each season can help rebuild structure.
Water Pools on the Surface Instead of Soaking In
This is hydrophobic soil, a condition where the surface repels moisture rather than absorbing it. It often develops when soil dries out completely between waterings. Slow, deep soaking helps, and mulch applied afterward helps retain moisture while the soil recovers.
Disease Pressure Keeps Increasing After Watering
In this case, take another look at your watering method. Overhead watering that regularly wets foliage creates conditions that allow fungal disease to spread more easily. Switching to drip irrigation or watering early in the morning so leaves dry before evening can help reduce this issue over time.
Winterizing Beds and Drip Lines
As the season winds down, a little attention now saves real headaches come spring.
Keep the soil covered through winter with a thick layer of mulch. In climates where hard freezes arrive, make sure drip lines are fully dry before temperatures drop. Remove the end caps and let the lines drain completely. Water left sitting in the lines through a freeze can crack fittings and split tubing, a repair you’d best avoid.
One More Thing…
Raised beds are popular for good reason. They’re a relatively simple, straightforward way to grow food that feeds the people around your table season after season.
It starts with water and a little consistency. Not a complicated system or a rigid schedule, just steady attention to the soil beneath your plants and a rhythm you can actually keep through a full season. If this sounds like what you’re looking for, check out the Raised Bed Gardening class we offer for full instructions (plus videos with step-by-step instructions!) on building, maintaining, and watering your beds.
Raised Bed Gardening
Join Brian Lowell to learn the simple steps to growing abundant and healthy vegetables in simple raised beds, no matter where you live.