This article will walk you through how to fill your beds well, so you can grow more food with less stress, and set your garden up for a bountiful year ahead.
If you are ready to take your raised bed gardening to the next level right now and want helpful visuals to see how to set everything up, check out our full class taught by instructor Brian Lowell here.
Let’s get started.
Before Filling Your Raised Bed
Before you ever crack open a bag of compost or toss a shovel of soil into your bed, take a minute to plan first.
Where You Put Your Beds Matters
Raised beds need more than soil; they need sunlight, water, and access. Aim to place your beds in a spot that gets at least 6–8 hours of direct sun per day, especially if you’re planning to grow vegetables.
Also, consider drainage, watering needs, and accessibility when deciding on the location of your beds:
- Avoid placing beds where water puddles after rain.
- Keep them close to your water source and kitchen. The easier it is to water your beds (learn how to easily set up a drip irrigation system here!) and harvest a handful of herbs or a bowl of greens, the more likely you are to succeed.
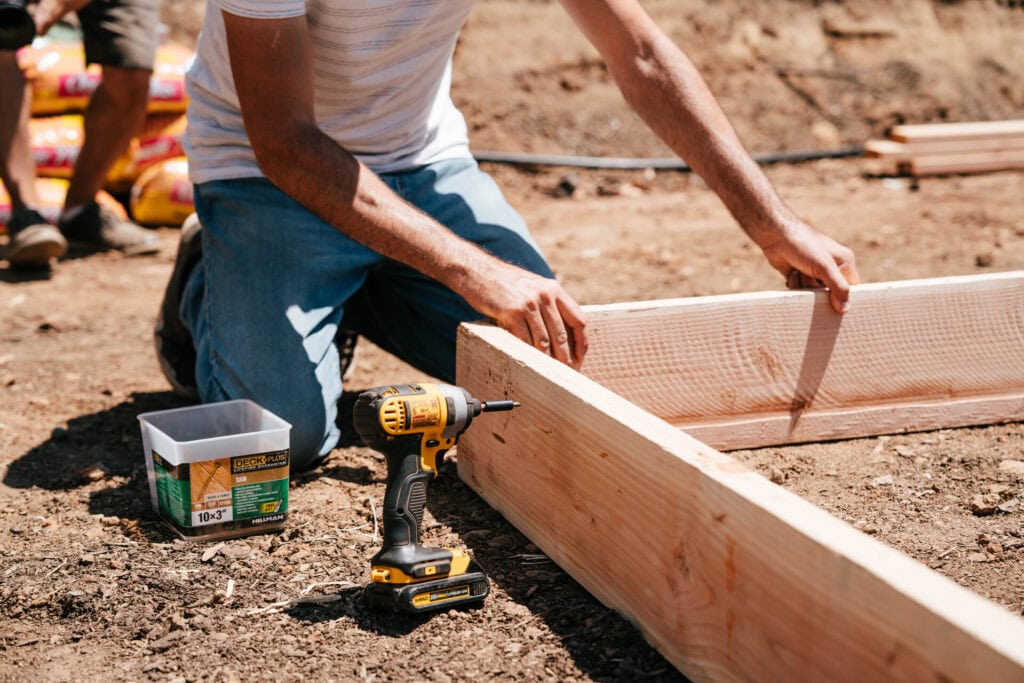
Bed Depth and Frame Material
- Bed Depth Depends on What’s Below. Whatever lies under your raised bed plays a big role in determining the depth of your bed. Reference this article for our recommendations on the subject.
- Choosing the Frame Material: The material you use to build your bed affects both durability and soil temperature. Read about this topic in our article, Raised Beds by Climate: What to Build For Where You Live.
Now we turn our attention to the fun part: What should go inside your raised beds?
Soil Composition for Your Raised Beds
Your plants draw their strength from the soil in which they’re planted. With raised beds, you’re not stuck with the rocky, compacted, or nutrient-poor dirt that might be underfoot – you get the chance to build something better.
But here’s the thing: not all soil is created equal. Even some store-bought “garden soil” mixes don’t give your plants what they really need to thrive. With our simple approach, you can lay a healthy foundation for your next harvest (and not blow your gardening budget – but more on that in a moment).
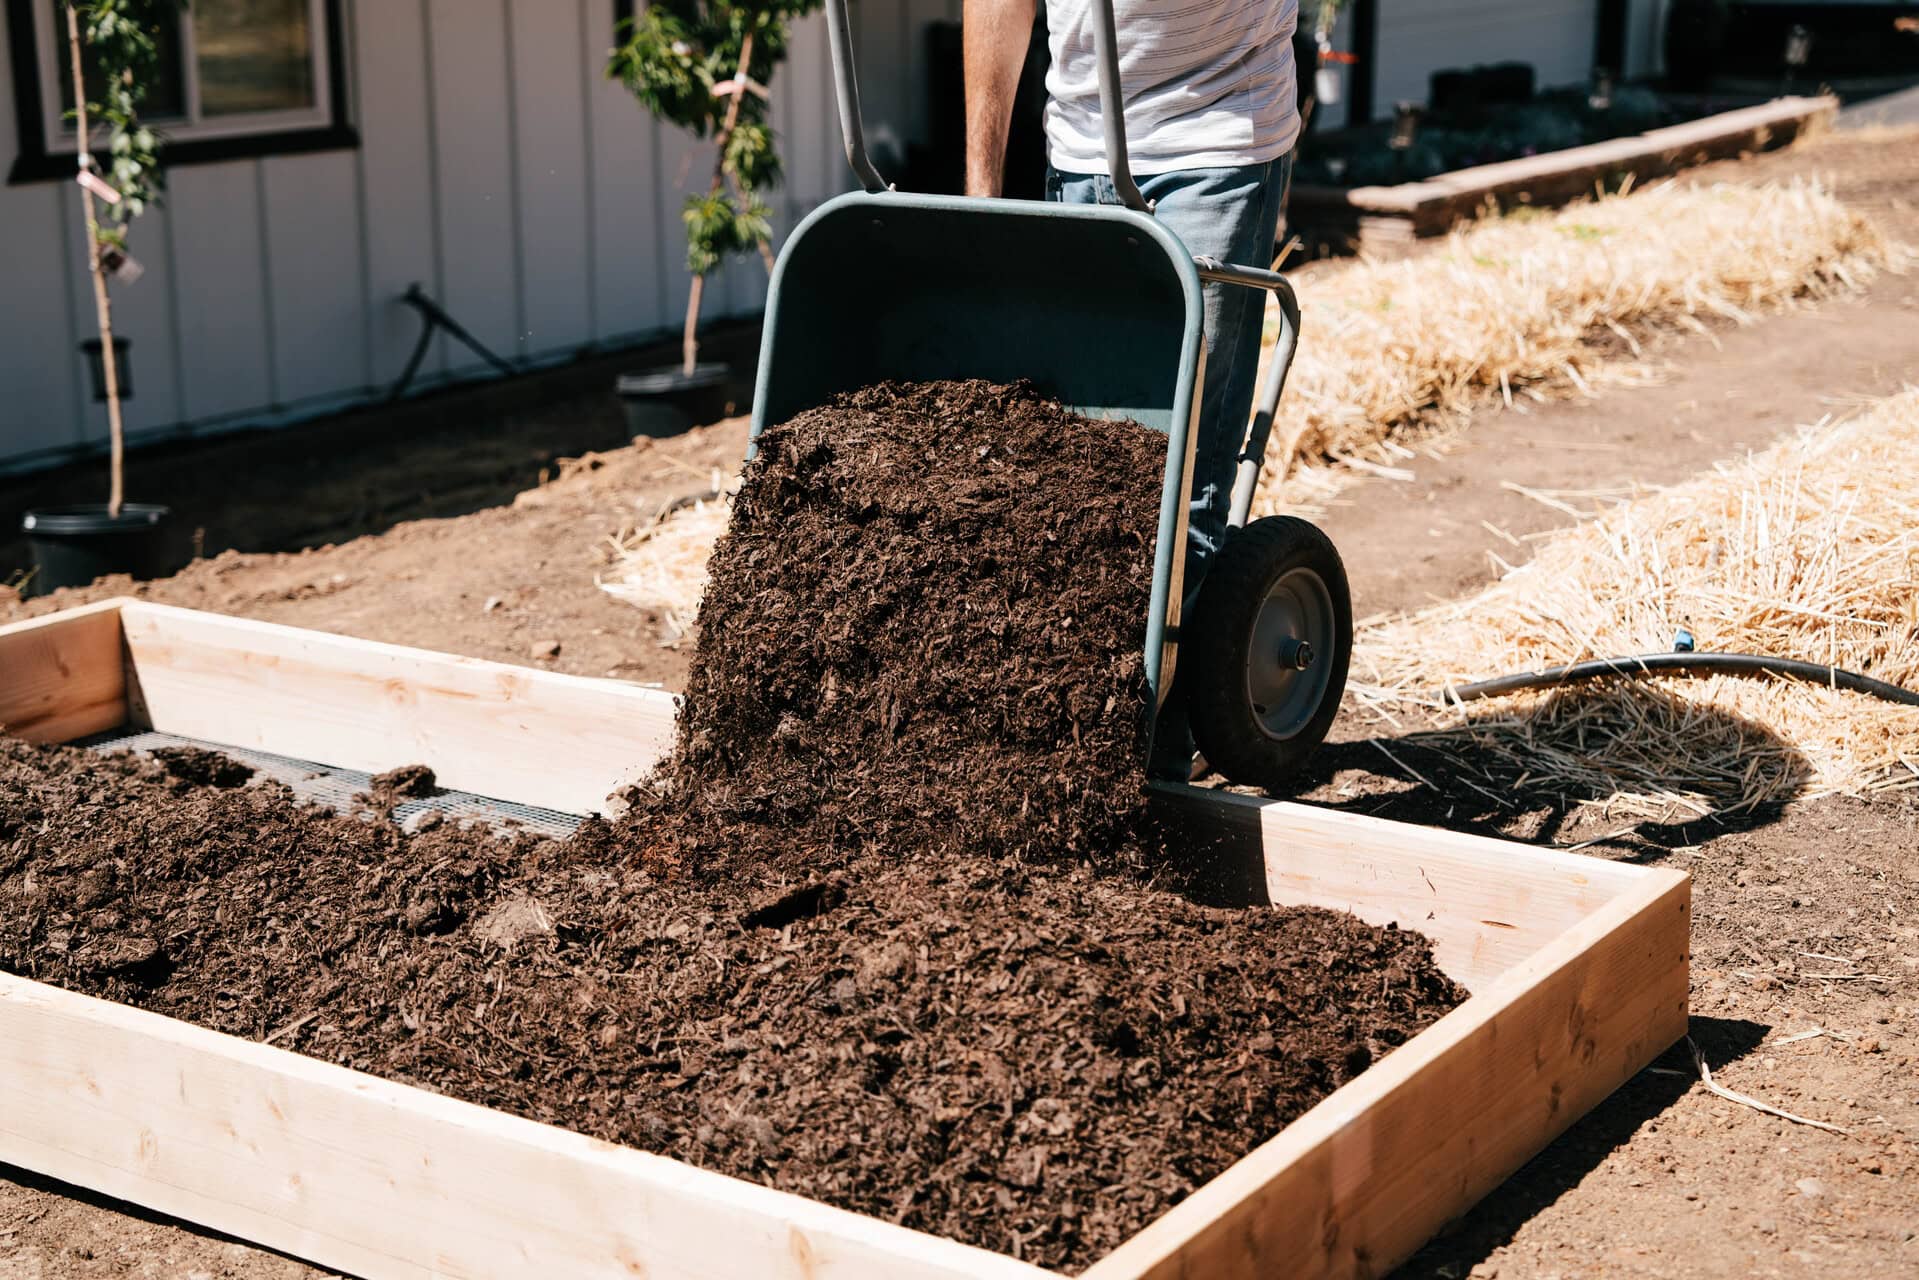
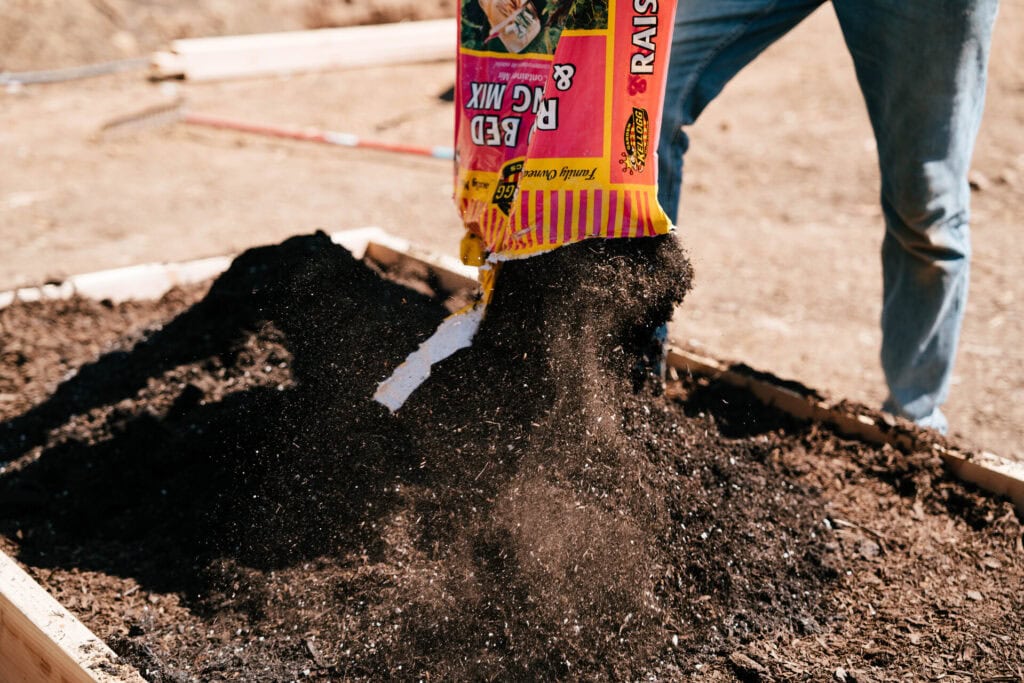
Building the Right Soil Mix
The goal is simple: give your plants the best possible growing medium from the start. Use high-quality compost and potting soil to give your plants the nutrients they need.
The general rule is that what goes into your raised bed depends on its depth:
6 inches or less: You can mix native soil with compost or potting soil at a 50/50 ratio. At this depth, roots will quickly reach the ground below, so the native soil isn't a liability.
More than 6 inches: Skip the native soil entirely and fill the bed with a quality raised bed potting mix or compost. The taller the bed, the more the heavy native soil will compact under its own weight, especially once you start watering. It compresses down, and if your native soil has any clay content, you'll end up with a soggy, suffocating mess for roots. Quality potting mix or compost stays loose and drains well, no matter the depth.
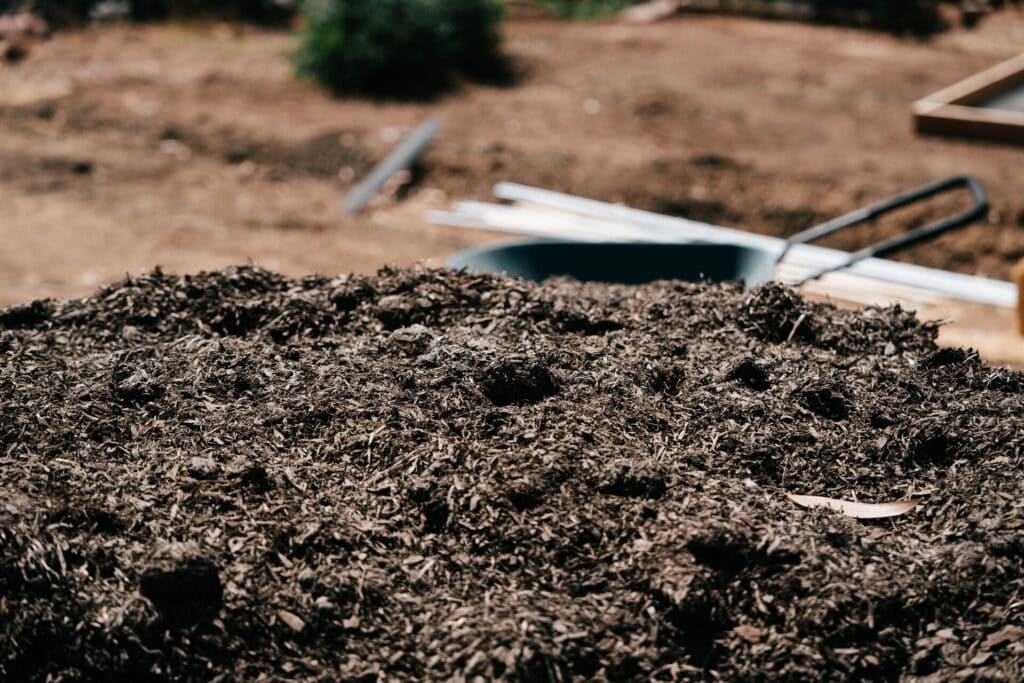
Layering Deep Beds
If your raised beds are taller than about 12 inches (or 30 cm), you don’t need to fill the whole thing with pricey soil mix. Save money and build a living ecosystem from the bottom up with this basic layered approach:
- Bottom layer (4–6 inches, or 10–15 cm): Logs, sticks, straw, or even cardboard. This mimics hugelkultur, helping retain moisture, improving drainage, and feeding soil microbes far into the future.
- Middle layer (3–6 inches, or 8–15 cm): Partially broken-down organic matter like leaf mold (partially decomposed leaves), grass clippings, aged manure, or lesser-quality compost.
- Top soil layer (10–12 inches, or 25–30 cm): Your premium 60-30-10 soil mix. This is where your plants will take root, so make it count.
- Mulch layer (2-3 inches, or 5–8 cm): Use mulch (ideally fresh wood chips a la Back to Eden Gardening) over the top layer of your bed.
This method not only saves money but also encourages long-term soil health as the lower layers break down and feed the ecosystem around the plants’ roots.
Compost Cautions
Around here, we generally advise against scrimping on soil, but even with compost, more isn’t always better if it’s not the right kind.
Some things to keep in mind:
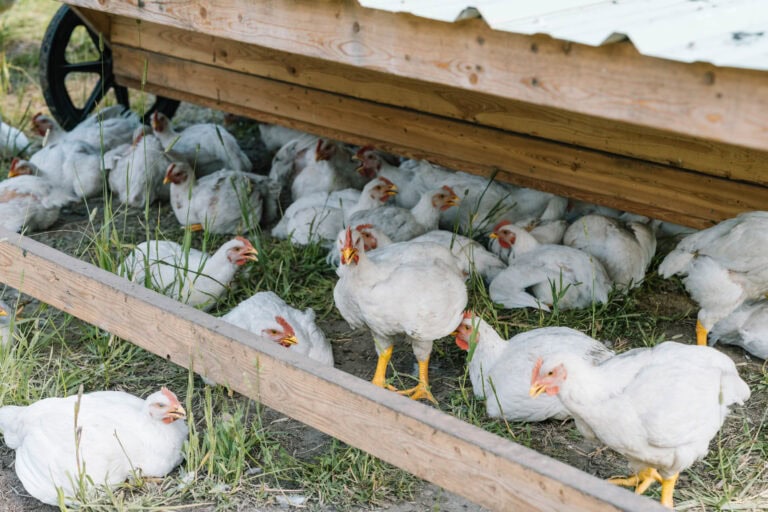
- Fresh manure is too “hot” and can burn young plants if not aged or composted first. Depending on the animal, it can also contain seeds you don’t want in your garden. One exception is rabbit manure. Since it’s “cold,” you can use it even when fresh.
- Mushroom compost has a high salt content, which can be harmful to germinating seeds or tender seedlings. If possible, let it sit outside over winter before planting into it. But if you need to use it right away, simply put the mushroom compost in your bed and use 3-4 inches (8–10 cm) of a different compost or potting soil on top to act as a buffer between it and your seedlings. This gives the salts time to leach out of the mushroom compost before your plants’ roots come into contact with it.
- Contaminated compost will kill your plants. Ask your supplier if the source materials are herbicide-, pesticide-, and fungicide-free. Look out for Grazon, a persistent herbicide that can hitch a ride into your garden via hay, straw, or manure and damage your crops for years.
Ready-Made Soil Blends: Worth It?
Pre-mixed “raised bed soil” from garden centers can be hit or miss. Check the label – if you see peat moss as the first ingredient, know that it can dry out fast and doesn’t add nutrients. You can certainly use it, but mix in compost and topsoil for balance.
Budget-Friendly Tip: If your soil mix feels out of reach financially, split a bulk order with a neighbor or friend. Or go half-and-half with compost and your native soil (if it's loamy and clean), especially in shallower beds. And remember that homemade compost is a great way to save money, generally of much higher quality than what you can get in stores, and so easy to make. Noah Sanders’ method – taught in our Homestead Scale Composting class – produces rich compost in as little as 8 weeks!
Filling Raised Beds on a Budget
The highest cost in raised bed gardening is typically the soil. And if you’re filling multiple beds, the price can add up fast.
But don’t worry – you don’t have to break the bank here. Besides the hugelkultur-inspired “bottom layer” we covered earlier, there are smart, frugal ways to fill raised beds that still respect the principles of healthy, productive soil.
Source Locally and Creatively
Consider these cost-saving ideas:
- Ask local farms for aged manure or spent bedding, just confirm it's free from herbicides, pesticides, and fungicides. Ask about the animal’s feed, too. You don’t want herbicides in your garden beds!
- Connect with your local tree service for free (and fresh!) wood chips or logs
- Use your own compost
- Layer in leaf mold from fall clean-up
- Check with neighbors or gardening groups for leftover soil, straw, or other items they’re not using
A little ingenuity goes a long way. When you see how healthy your soil and plants can be with a homemade mix, you may never go back to store-bought bags!
Know Where to Splurge and Where to Save
Even with a tight budget, prioritizing the top layer can go a long way. That’s where your plants grow and where root health begins. The deeper layers can be made up of lower-cost, organic materials that break down more slowly, supporting your garden over time.
- Invest in high-quality compost, screened topsoil, and aeration amendments
- Save on the lower layers with reused organic matter and bulk delivery instead of bags
Don’t Overthink It
You’ll see a lot of formulas out there – 50/50, 60-30-10 or 50-40-10, lasagna layers – and they all work to some extent. What matters most is that your soil drains well, holds moisture, is full of organic matter, and doesn’t contain toxins or herbicide residue.
One More Thing…
As you fill your garden beds, think of it as laying a strong foundation that will support your plants, nourish your soil, and bring your dreams of an abundant harvest to life for years to come.
Like all things worth doing, it takes a little work. But it’s the kind of work that will reward you by connecting you to the land, strengthening your family’s food supply, and getting you one step closer to resiliency.
One bed at a time, one season at a time, you’re building something beautiful.
Raised Bed Gardening
Join Brian Lowell to learn the simple steps to growing abundant and healthy vegetables in simple raised beds, no matter where you live.