
This article is the fourth in a series on Raising Meat Rabbits. See article one here, article two here, and article three here. If you’re ready to take the next step, check out our class on Raising Rabbits with Daniel Salatin of Polyface Farm.
One primary motivator that helps some folks is to get excited about the healthy, flavorful meat you’ll enjoy after all these months of diligent work. So what better way to build enthusiasm than to conclude this series by exploring the principles of how to cook rabbit and introducing a recipe that’s sure to whet your appetite!
You’re Not Alone: Harvest Day Is a Hurdle
The emotional barriers to rabbit butchering day are real and very normal. Blame the Easter Bunny, whose image is seared into our collective psyche. But there are ways to make this a more positive experience overall:
- Keep some healthy, emotional distance – don’t name (or allow your kids to name) bunnies that aren’t intended to become breeding stock
- Realize that the first time is the hardest, and most people find they can handle it after that
- Remember that harvest day is just one step in the beautiful cycle of life, so don’t let it rob you of enjoying all the other moments of caring for your rabbits along the way
- Feel gratitude for these animals who lived a good life and will soon be nourishing you
- Remind yourself of the “whys” – the reasons you wanted to get into keeping meat rabbits in the first place
If You Won't Process Yourself
If you've tried all that and still can't bear the thought, figure this out now, not the week your first litter hits twelve weeks.
Most commercial processors won't take rabbits. They're set up for larger livestock, and rabbits don't fit their USDA inspection protocols. The few that do often have months-long waiting lists.
Your better options:
- Another homesteader: Ask around at your local 4H club, ARBA chapter, or homesteading groups. Many experienced rabbit raisers will process for a fee, especially if you bring multiple animals at once.
- Mobile processing: Some areas have mobile poultry processors who'll also do rabbits. Search “mobile poultry processing” plus your county name.
- Learn from a neighbor: Offer to help someone else process their rabbits in exchange for them walking you through your first few. Hands-on experience often removes the fear.
Before you arrange anything, check your state's cottage food and home processing laws. Some states allow you to sell or give away home-processed rabbit meat under certain conditions, but others don’t. A quick call to your county extension office will tell you what's legal where you are.
Most of all, don't start breeding rabbits assuming you'll figure out processing later. That's how you end up with thirty rabbits, no plan, and a lot of stress.

When to Butcher
A rabbit is ready to harvest at about 12–14 weeks old when its live weight reaches 5 to 5.5 pounds (2.3–2.5 kg). This is known as a fryer, and the timing at this stage is ideal because the meat is more tender and easier to process. Plus, let your rabbits live to be older and you’ll have to deal with other problems, like inbreeding and fighting.
Butchering Supplies
The list of equipment you actually need for harvesting your rabbits is mercifully short. The essentials include:
- Two knives, a four-inch boning knife and six inch “lamb” skinner knife
- Bucket of water for rinsing the knives
- 10–12” (25–30 cm) metal pipe or wood 2”x4” (5×10 cm) for stunning the rabbit
- Broom (in case you prefer the strangulation method)
- Clean tub with ice or cold, clean water for chilling
- Hose – for spraying things down
- Buckets for offal, guts, and hide
- Paracord attached to a bar (clothes line pole or a metal pipe) – for hanging the carcasses
- Bags for freezing
- Fasteners for closing the bags – tape, twist ties, or the like
- Crate for moving live rabbits to kill area
There are no special facilities required when butchering for home use. An outdoor setup under a simple, covered shelter would work fine. Just try to stay out of your neighbors’ line of sight, since people tend to be more sensitive about rabbit slaughter.
Raising Rabbits
Join Daniel Salatin of Polyface Farm as he walks you, step-by-step, through everything you need to raise rabbits for meat at home, from your first cage build to your first harvest, using a system simple enough for kids to run in under 30 minutes a day.
The Process
Picking your butchering date isn’t the only decision you’ll need to make to harvest your rabbits. You’ll need to choose whether you feed your rabbits on butcher day and where to process them (and then stage the area accordingly). Once that’s done, you can gather your equipment and move the rabbits to the processing area.
The actual killing and processing is relatively quick, and the bullet points below provide a brief overview. We don’t have space to go into all the details here, but our Raising Rabbits class provides a step-by-step tutorial with video lessons, photos, and written directions.
- Stun your selected rabbit to get it into an unconscious state
- Hang the rabbit by its back legs using the paracord loops attached to an elevated horizontal bar
- Slit the throat (this is what actually kills it) and let it bleed out for up to five or ten minutes to fully drain
- Skin the rabbit, starting in the lower thigh where the hind leg meets the main body (you’ll want to avoid getting hair on the meat, and in the class, we share techniques for how to make clean cuts along the hide)
- Remove the tail and hide
- Eviscerate the rabbit and, based on how healthy they look, decide which organs to keep for human consumption, which to throw to the chickens, and which to toss out
- Remove the feet and place the carcass and offal in a chill tub or cooler
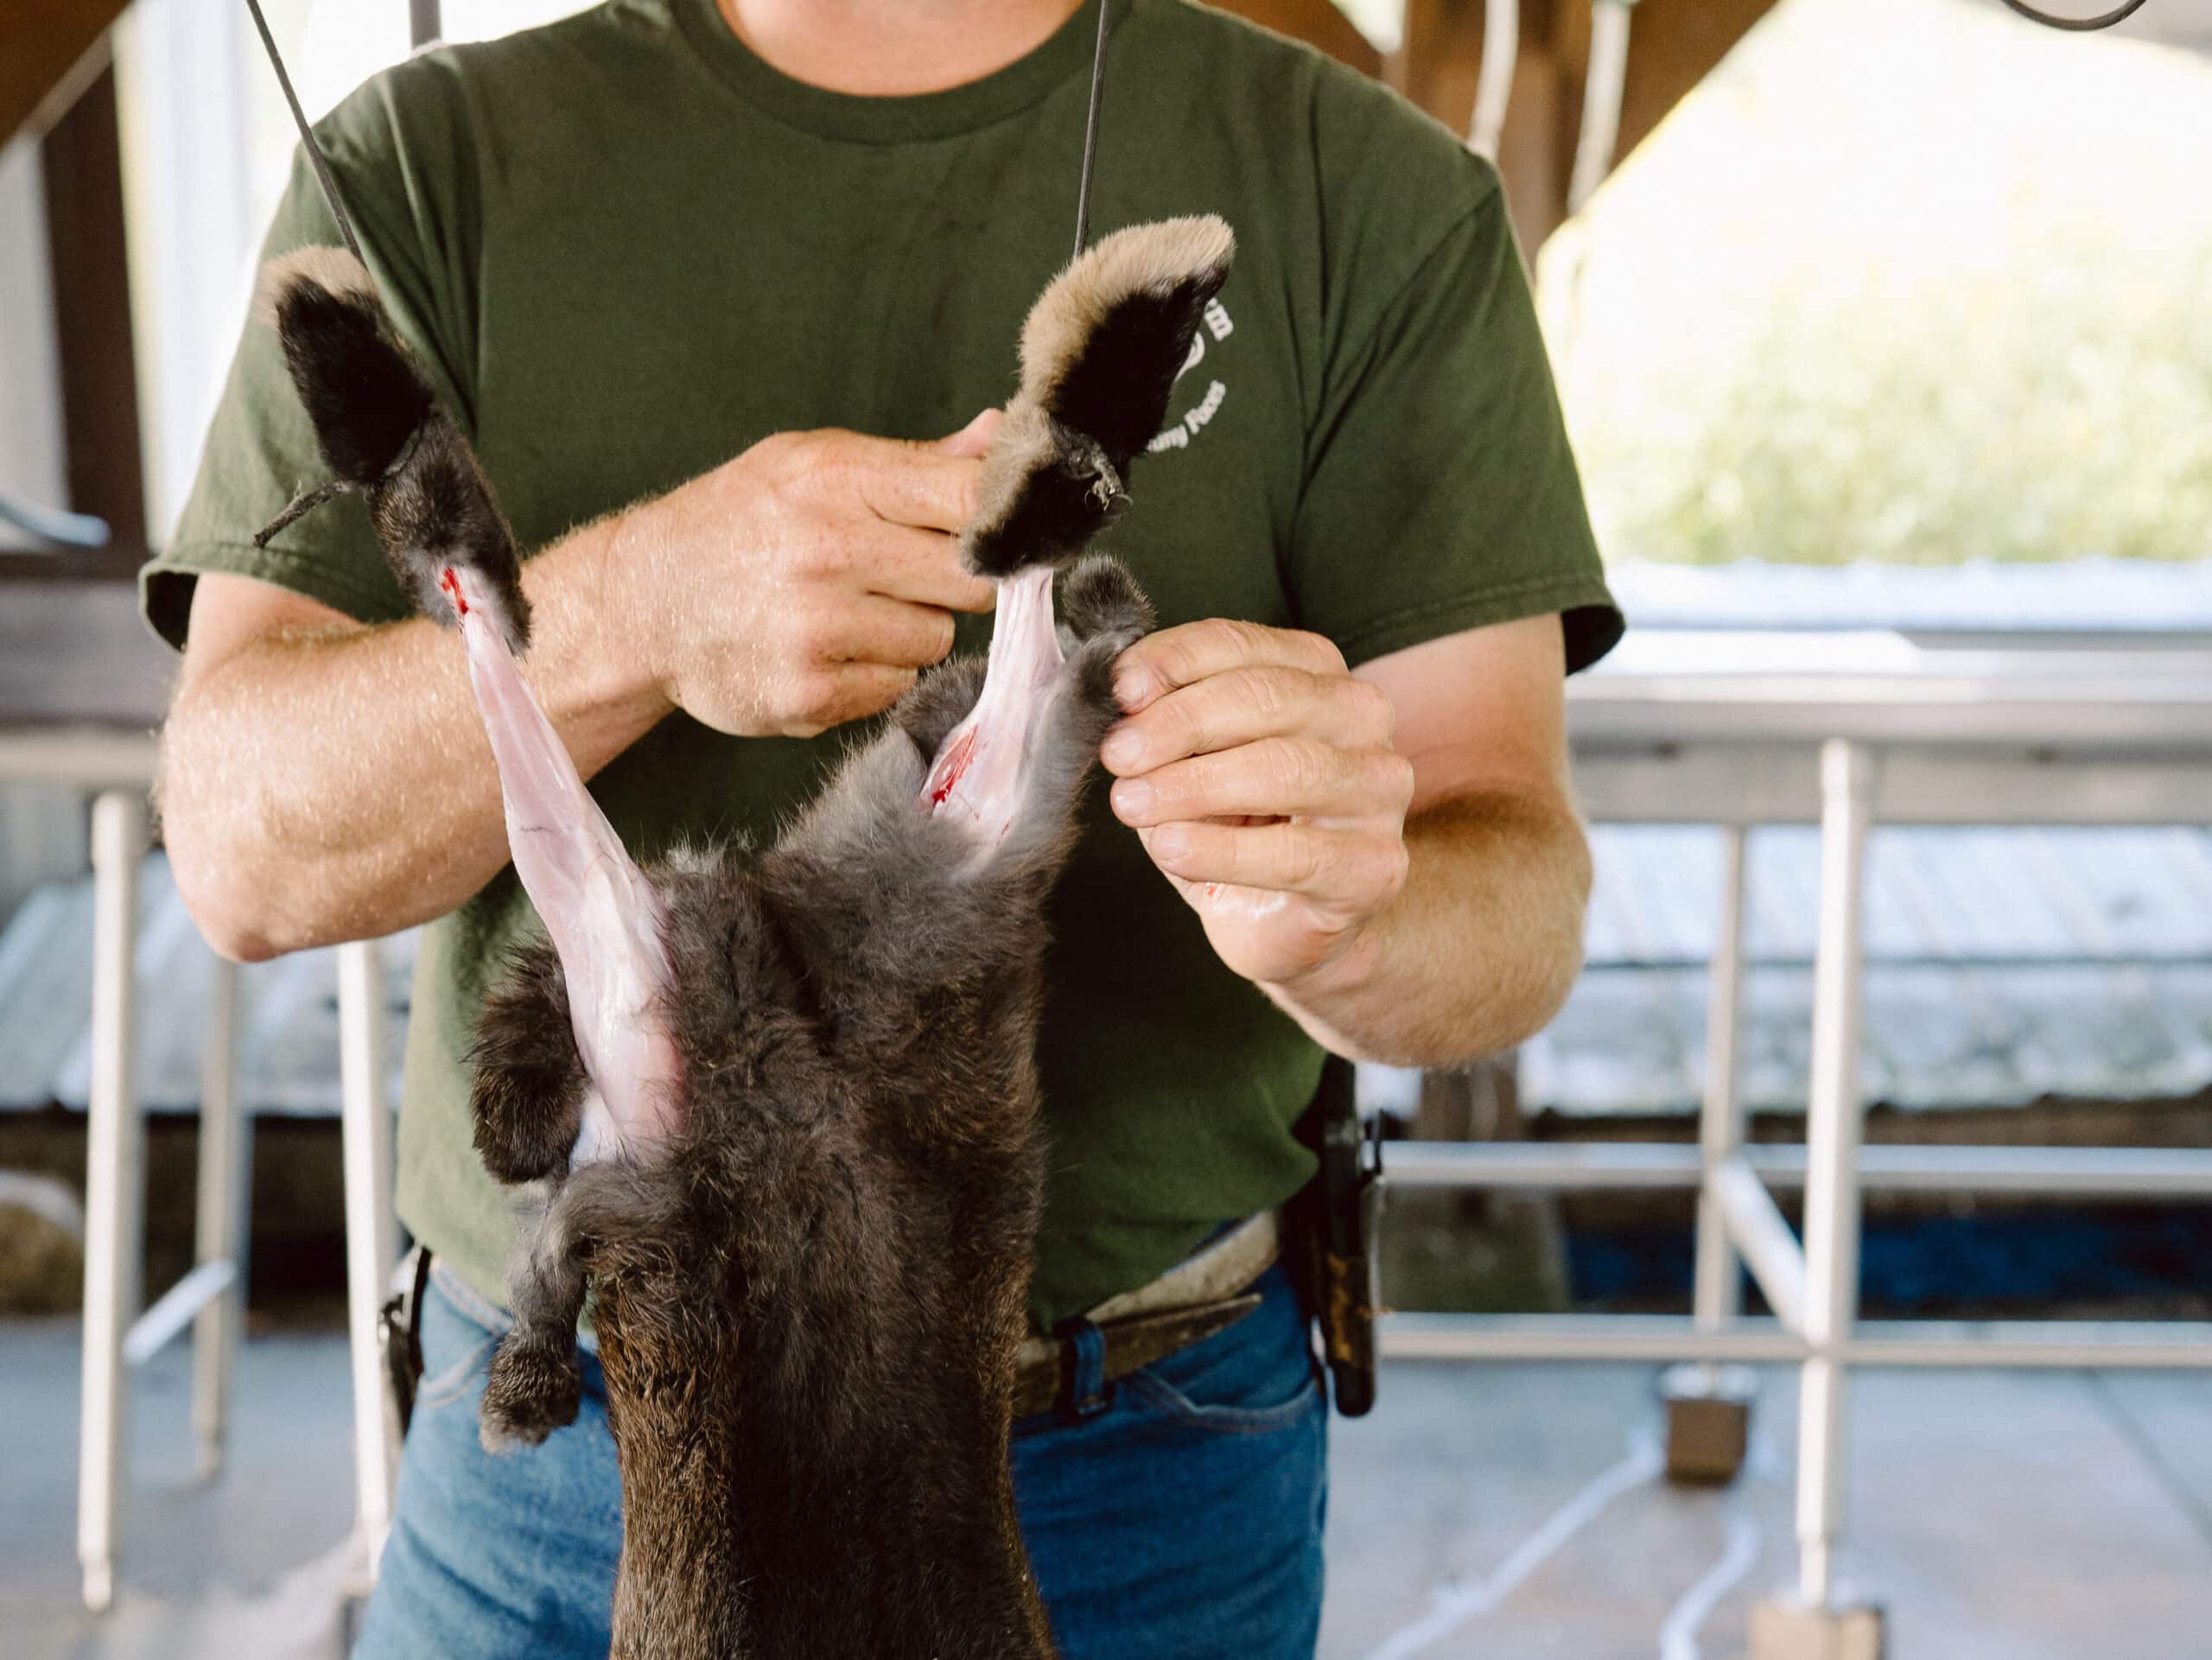
One key step you don’t want to skip is aging the meat for 48–72 hours. Building in time for the carcass to rest matters because it yields tender meat. Freezing or cooking it immediately would make the meat tough and chewy because the meat is lean, or low fat.
Which brings us to a very important question: How should rabbit be cooked?
Cooking Rabbit: The Basics
Now for the part that brings months of effort and loving care to fruition – cooking your rabbit!
As a lean meat, rabbit benefits from a ‘low and slow’ cooking method combined with sauces or oils that keep it from becoming dry and tough. A wine reduction sauce, for instance, can pair nicely with rabbit, or you can turn your rabbit into a stew or casserole.
The best options for beginners would be to use any of the moist heat methods, whether braising, stewing, or slow cooking. Even a quick-cook method like frying or grilling can work, assuming you coat your rabbit in enough fat (think butter, tallow, lard, or oil) to keep the meat from drying out. In this latter case, you’ll want to use a fryer rabbit (a younger, smaller animal) for best results.
A Homestead Rabbit Recipe
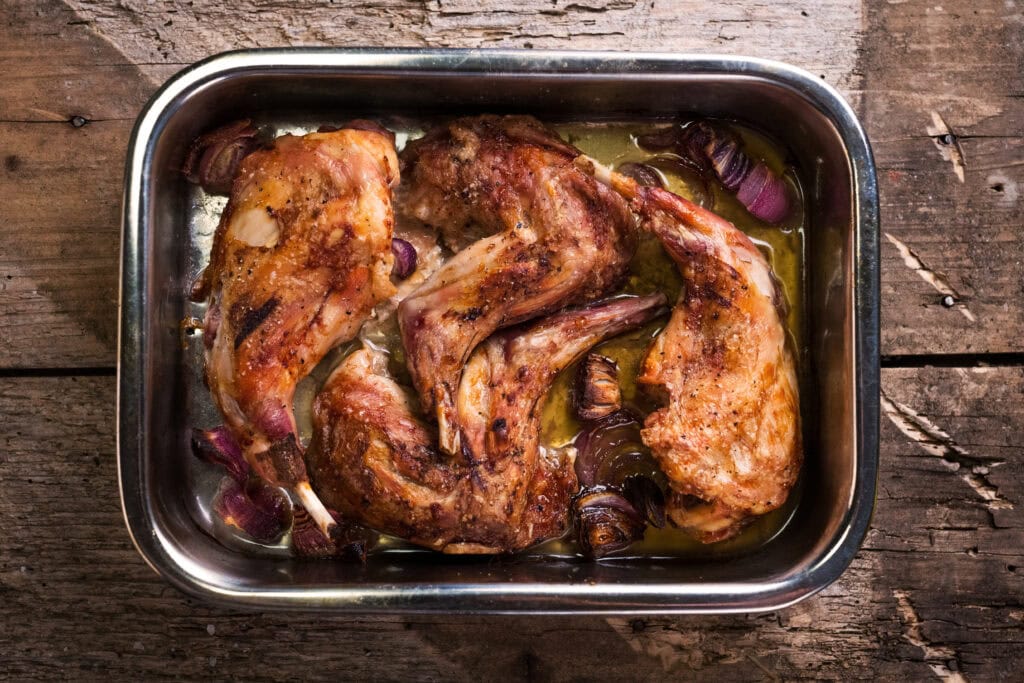
Ready to try your hand at cooking some rabbit? This recipe is sophisticated enough to serve for a holiday meal, but works as an easy weeknight dinner option, too.
Braised Rabbit with Mustard and Rosemary Sauce
Directions
- Combine the flour, salt, and pepper in a shallow bowl. Dredge the meat in this flour mixture, and set aside.
- Heat 2 tablespoons of the butter in a heavy, deep skillet.
- Brown the rabbit on all sides, about 4 minutes per side, remove to a dish, and keep warm. If necessary, add more butter to the skillet while browning the meat.
- Add the remaining 2 tablespoons of butter to the skillet. Saute the onions over medium heat until translucent.
- Add the wine and broth, and simmer until the sauce is reduced by one-third, scraping up any browned bits.
- Return the rabbit to the skillet, cover and simmer over medium-low heat for 45 minutes, or until tender.
- Remove the rabbit to a warm platter, and tent loosely with foil.
- Continue simmering the sauce until reduced by half, stirring often and scraping up any browned bits.
- Whisk in the mustard and rosemary. Simmer until thickened.
- Spoon the sauce over the rabbit, and serve.
Ingredients
- 1 cup all-purpose flour
- 2 teaspoons coarse salt
- 1 teaspoon freshly ground black pepper
- 1 rabbit, about 3 ½ pounds (1.6 kg), cut into 8 pieces
- 4–6 tablespoons unsalted butter
- 1 onion, coarsely diced
- 1 cup dry white wine
- 2 cups chicken broth
- ½ cup Dijon mustard
- 2 tablespoons finely chopped fresh rosemary
Preparing the fruit of your labors skillfully ain’t nothing that a home cook can’t accomplish. Like any lean meat, it just benefits from the right technique.
One More Thing
Spanning many centuries, rabbit has nourished families the world over. It is one of the most efficient, sustainable, and flavorful meats available, and it is high time we bring this healthy protein back to our tables.
Rabbit in the kitchen rewards a little know-how. But why stop at learning how to cook it, when you can master caring for rabbits throughout their whole lifecycle? Join our class on Raising Rabbits at the School of Traditional Skills today, and embark on a journey of becoming more food independent!
In a few months, when you have your deliciously prepared rabbit before you and are glowing with satisfaction and pride, you’ll be so glad you did.
Raising Rabbits
Join Daniel Salatin of Polyface Farm as he walks you, step-by-step, through everything you need to raise rabbits for meat at home, from your first cage build to your first harvest, using a system simple enough for kids to run in under 30 minutes a day.