This is the first article in our five-part series on Dehydrating the Summer Harvest. If your garden or farmers’ market haul is overflowing right now, this series was made for you. Ready to go all in? Check out our Dehydrating class with Darcy Baldwin of The Purposeful Pantry.
The Dehydrator That Sat in the Garage
Over the years, Carlee had spent a lot of time preparing meals from scratch and preserving the garden’s bounty, and her fully-equipped kitchen reflected her family’s priorities. But there was one tool that sat neglected in her garage for a long time, and that was her dehydrator. She intended to learn how to use it some day, but never really got around to it… until the day that she came back from filming Darcy Baldwin’s Dehydration class for the School of Traditional Skills and immediately dehydrated apples, berries, zucchini, lemons, and greens.
Like so many others, Carlee had been up against two roadblocks: Her low confidence in her ability to use the dehydrator properly and her belief that the payoff didn’t justify the investment of time and effort needed to learn the new skill. Today, she is the first to admit that she was very wrong, and her well-stocked pantry shelves tell a different story.
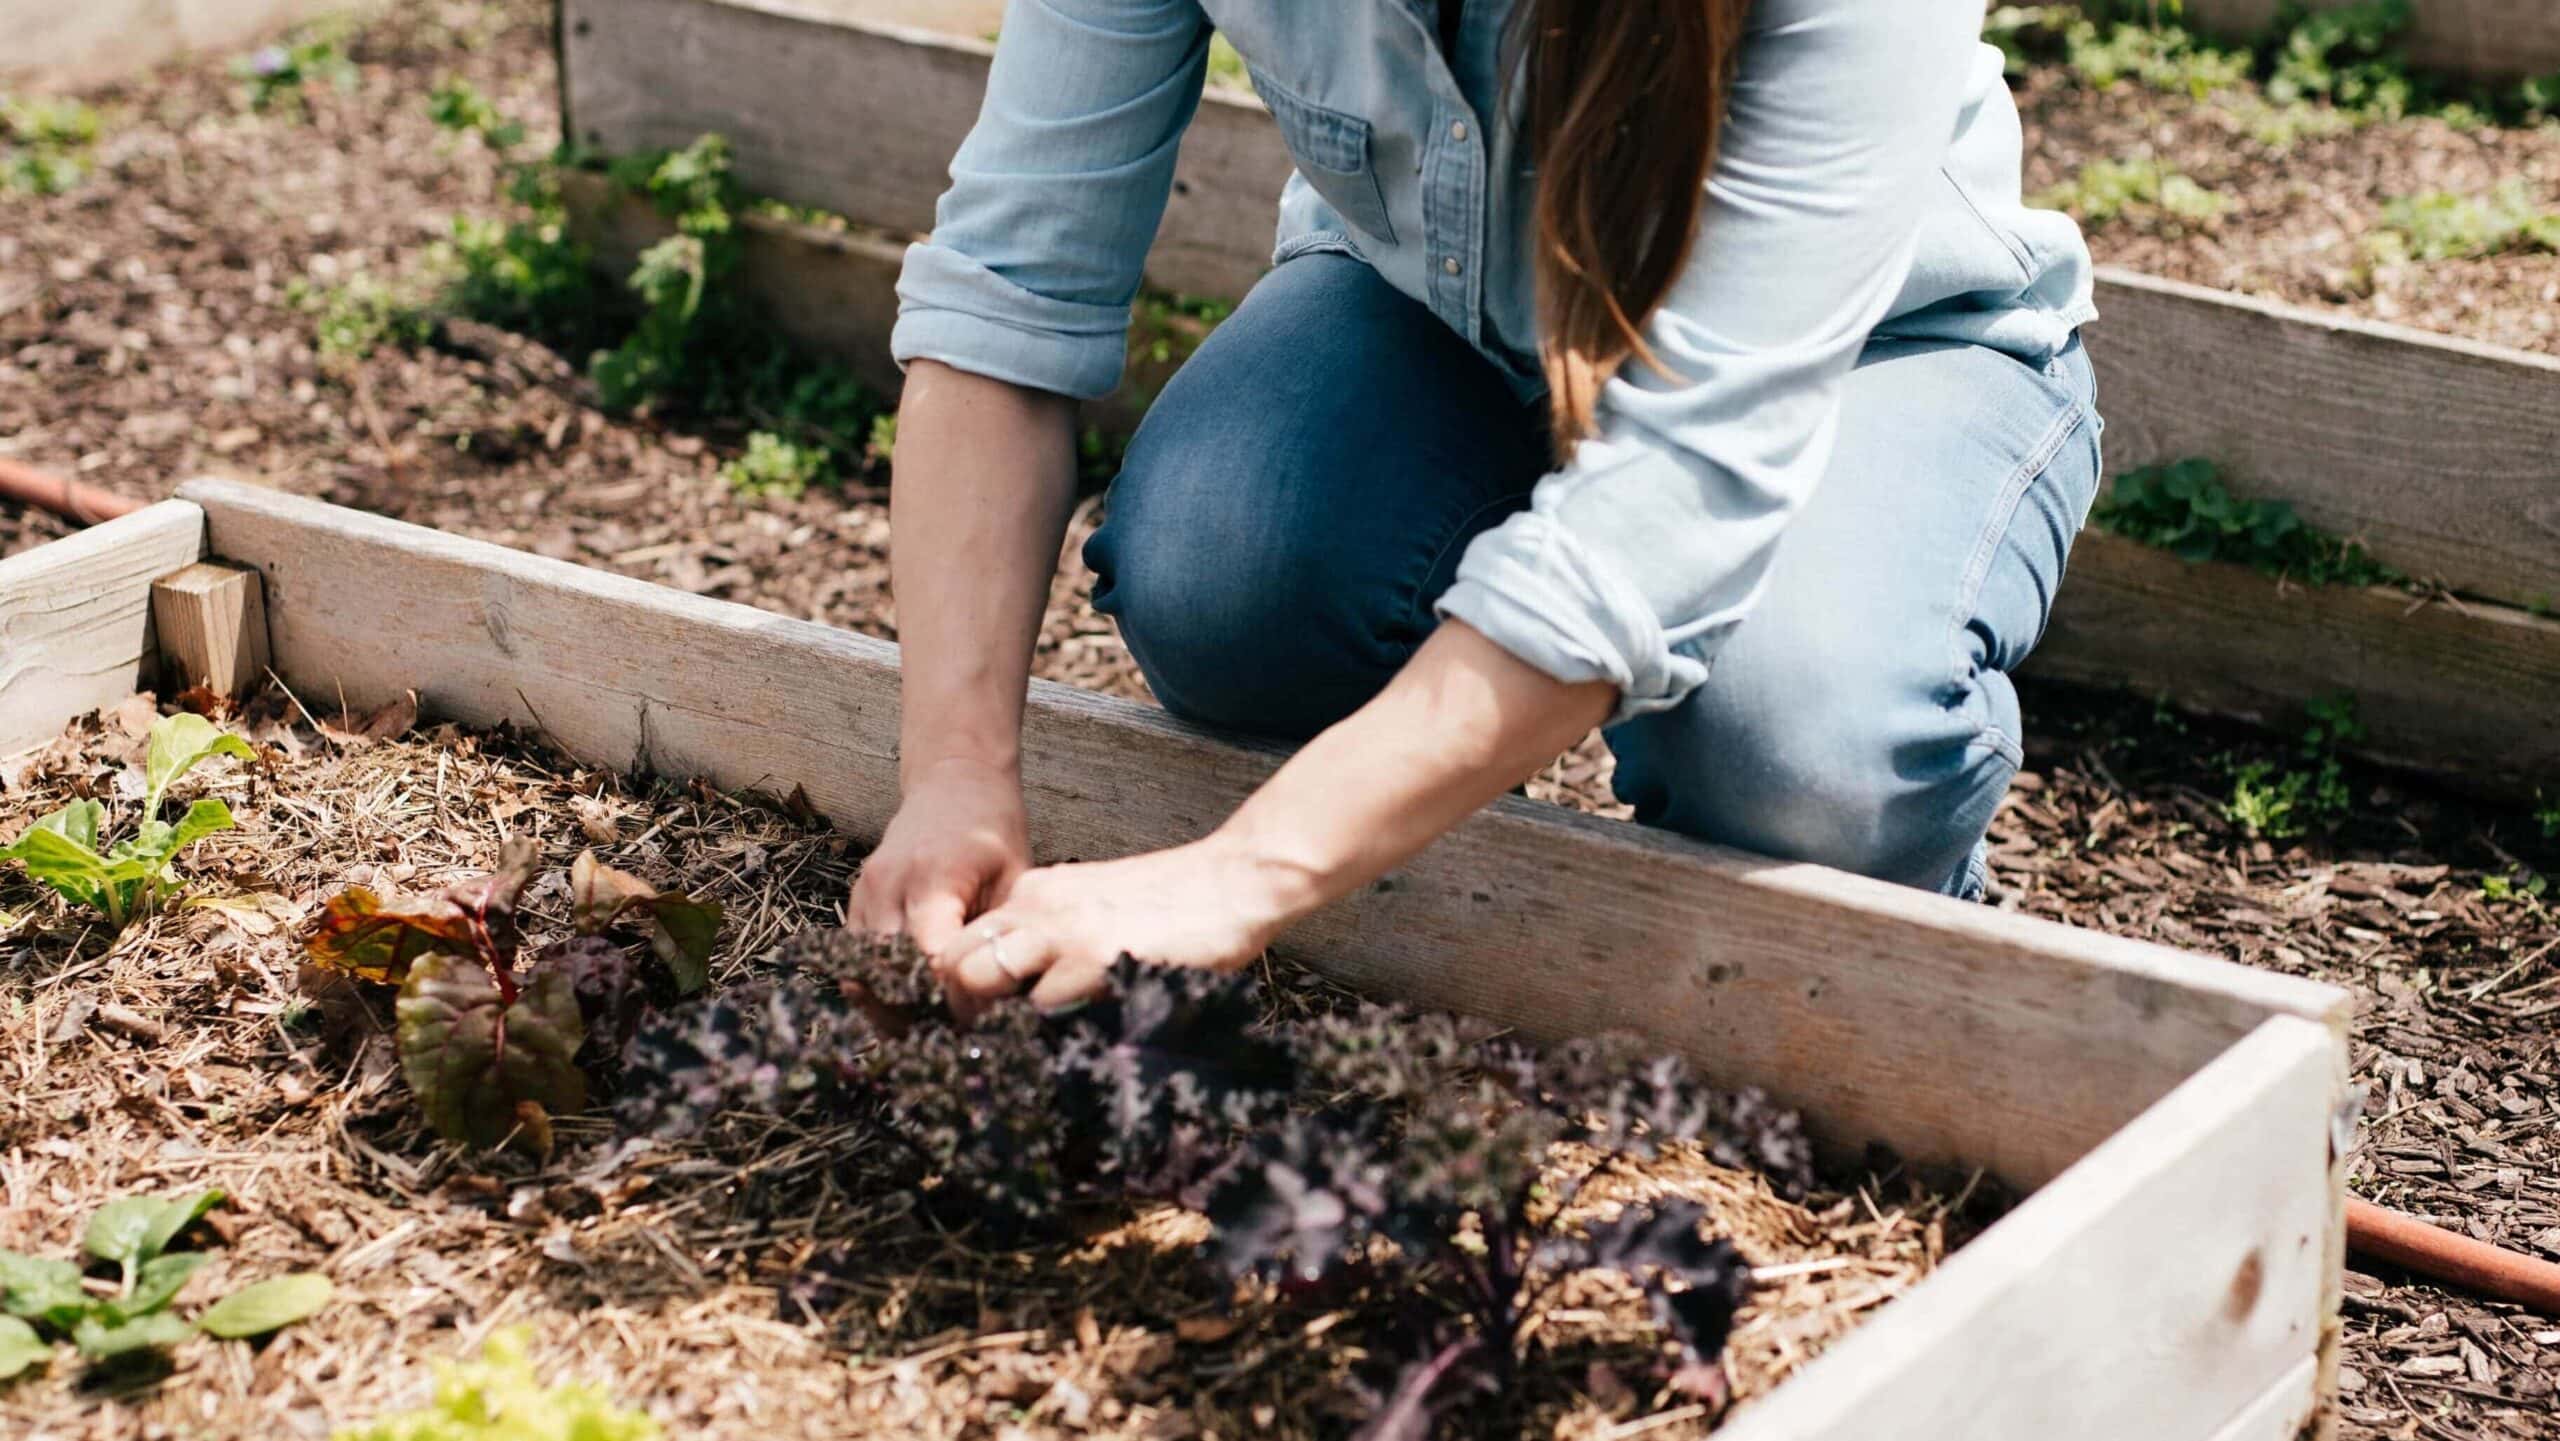
If you’re questioning whether dehydration is right for you, summer is the time to give it a try. Between the markets and your garden, produce is overflowing and relatively inexpensive this season. Flavors and freshness are at their height, but the window is short.
In this series on Dehydrating the Summer Harvest, we’ll show you how to take full advantage of this opportunity. With the humble dehydrator, you can learn to harvest the summer’s produce and line your pantry shelves full of dehydrated foods bursting with color and flavor that will nourish your family well into the following year.
How a Dehydrator Works
Dehydrating food isn’t complicated, and it’s nothing new. Actually, it’s one of the oldest methods of food preservation, and for most of human history, required nothing more than the sun and wind for heat and airflow.
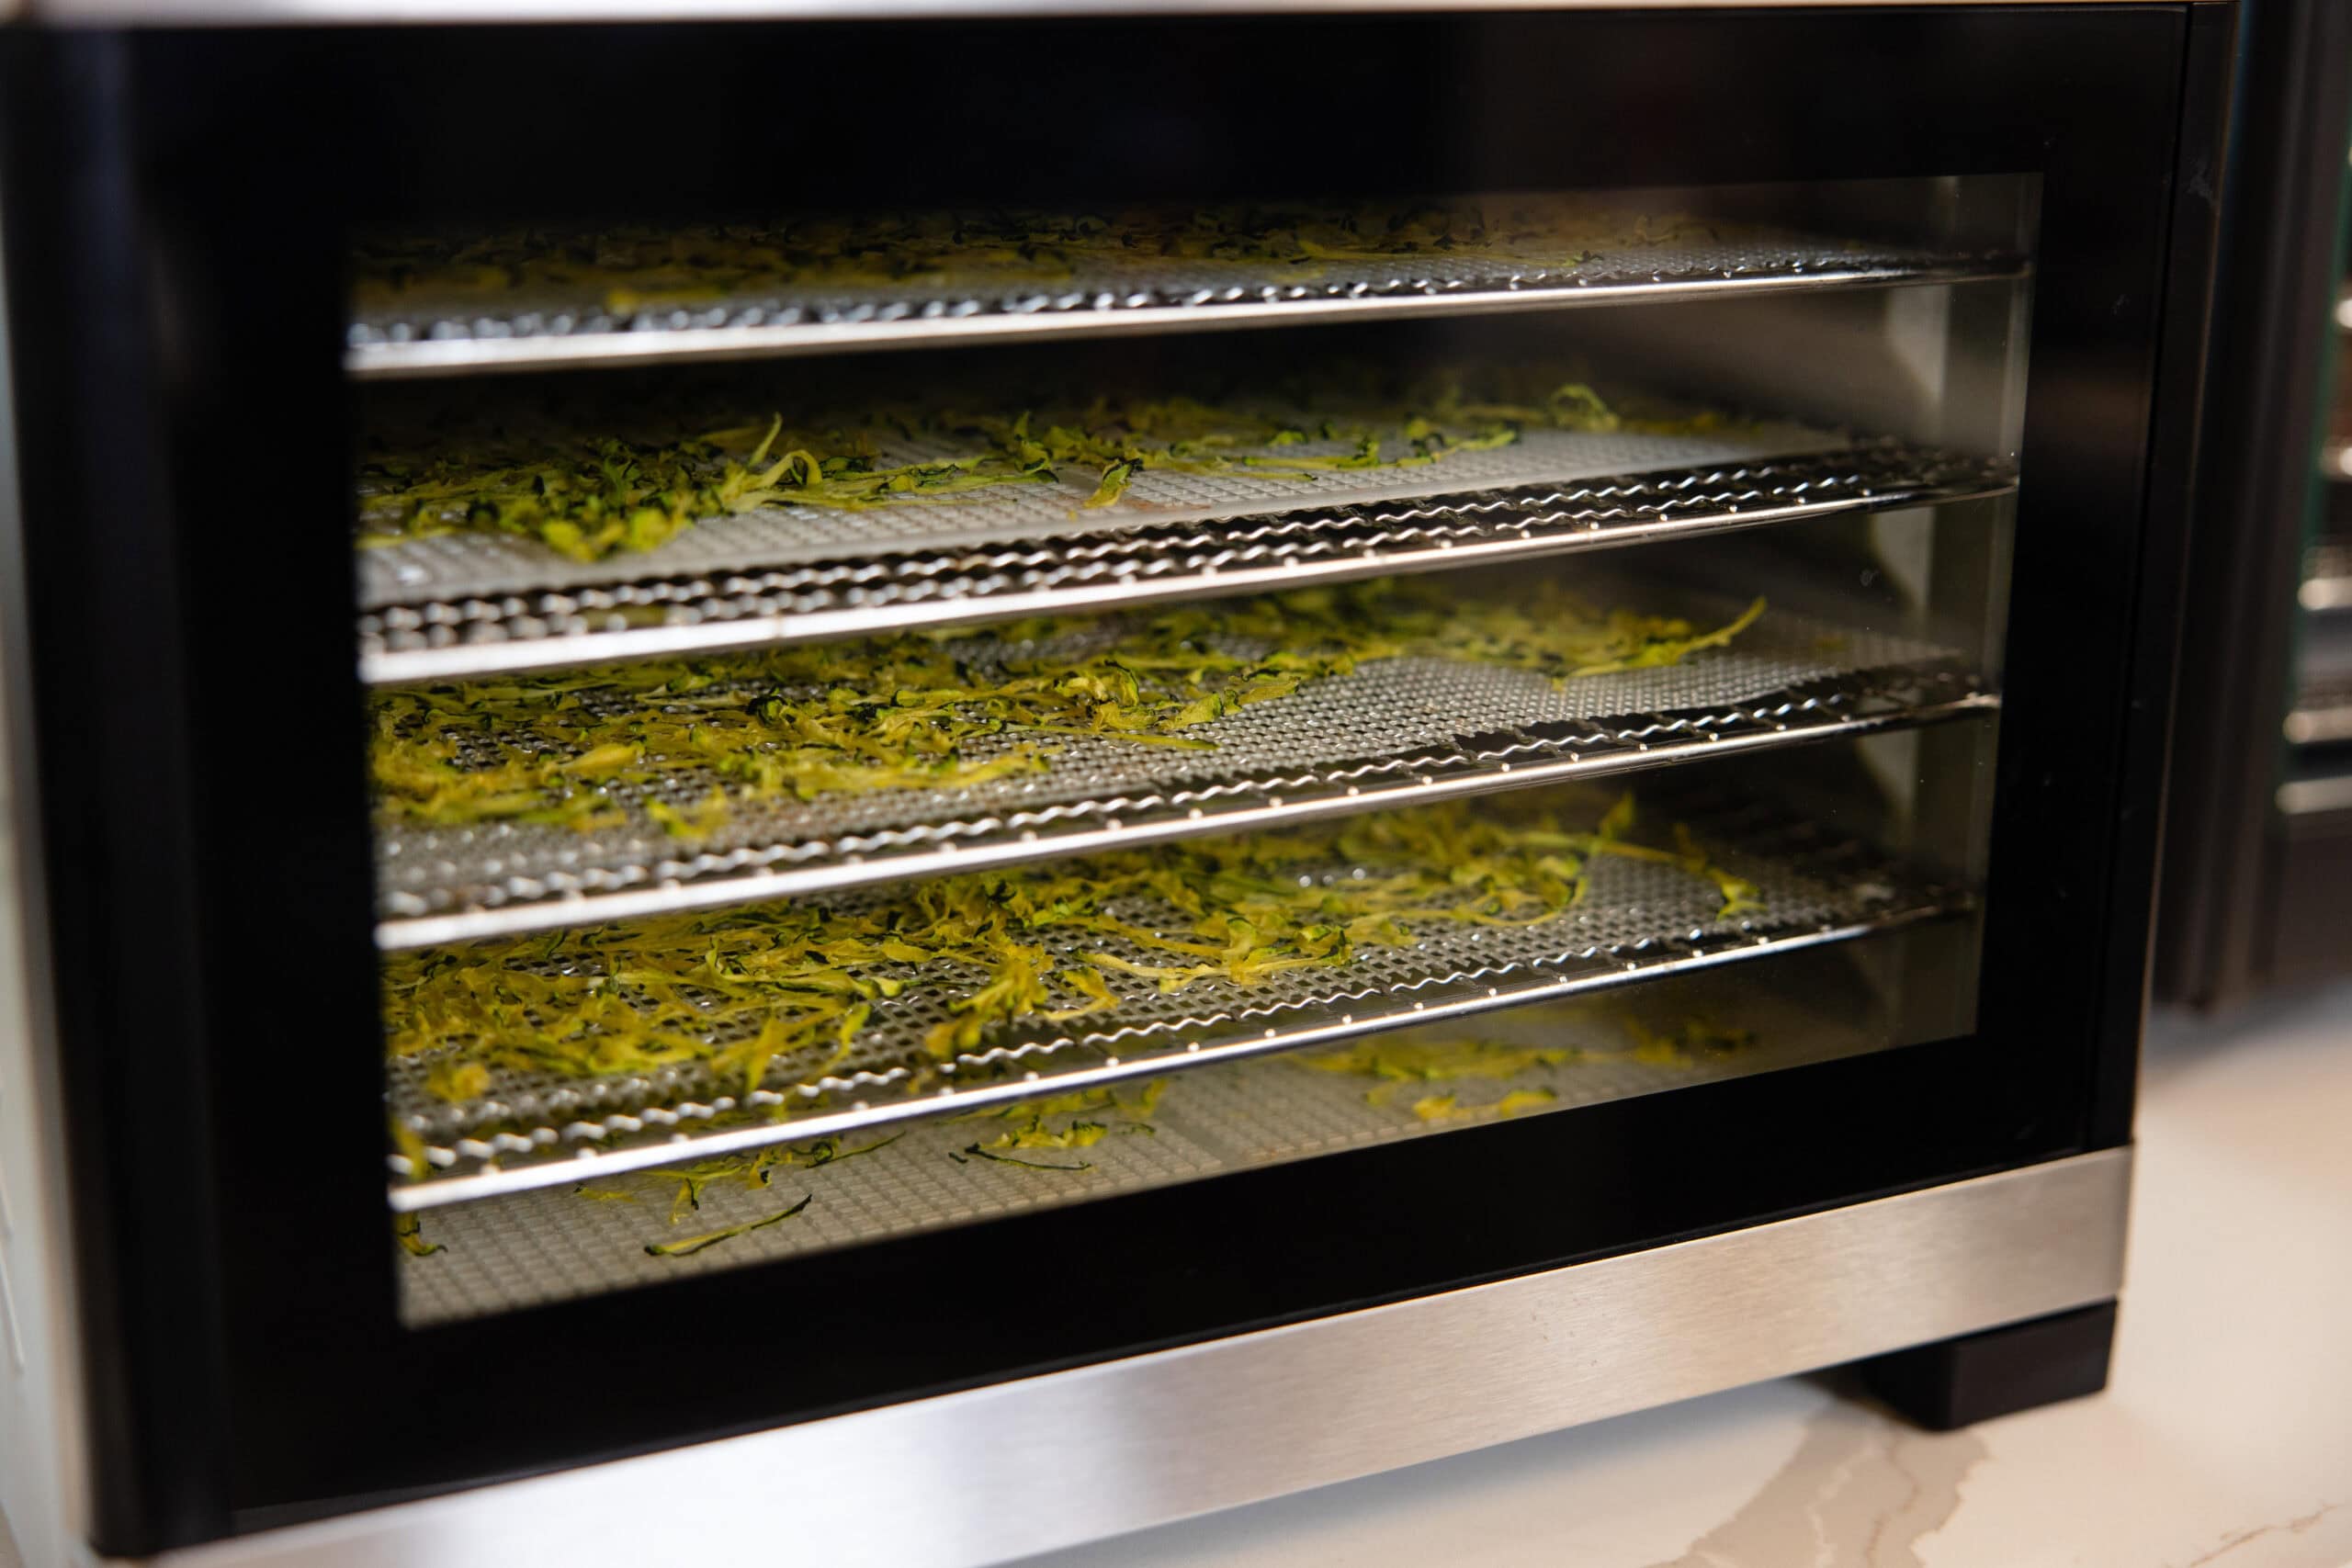
Though modern dehydrators rely on electricity, the concept is essentially unchanged: the machine moves warm air across food, pulling out moisture. Without moisture, bacteria, yeast, and mold can’t grow, and the food takes much longer to spoil. The end result is a shelf-stable food that can last a year or more. You can see the appeal!
Seven Reasons You’ll Love Dehydrating
We saw in Carlee’s story how her attitude towards dehydration did a 180. She went from thinking that it wasn’t worth learning how to use her dehydrator to viewing it as an essential partner in the kitchen. The timing was perfect, too – it was August, and her family garden was exploding with produce.
If you’re looking to ease your current food preservation routine, you’ll find there’s a lot to love about this method. Here are seven reasons why you should master the food dehydrator basics now, before the summer’s peak harvest arrives.
- It’s simple. It’s simpler than canning, since there's no pressure, no sterilizing, and no risk of botulism. This is so doable when you’re in the midst of the summer harvest and dealing with tight timing for picking and preserving your bounty.
- Zero ongoing energy costs, and no freezer space required. Unlike freezing, there’s no electric cost to storing your dehydrated summer harvest because the jar sits on the shelf. Instead, you can save that precious freezer space for other items that don’t dehydrate well.
- Avoid waste. If your zucchini has gone soft at the back of the fridge, the herbs in the garden are starting to wilt, or the flat of peaches from the farmer’s market are about to overripen, dehydrating turns all of it into pantry gold! This is the way to turn valuable ingredients, real nutrition, and the fresh taste of the summer garden into a meal that will feed your family far into the future.
- Cheap to run. Darcy covers the exact cost of running a dehydrator, and it’s probably a lot lower than you think (even for 24/7 use). Plus, it won’t heat up your space like the oven or stove do, keeping your already hot summer kitchen a little more bearable.
- Kids can help. Dehydrating is something that your kids will enjoy helping with, whether it’s sorting, spreading trays, or doing the snap test. The joy they experience in feeding their family will not only build confidence but also real skills. And months down the road, you’ll still be thanking them for their contribution each time you pull a jar off that shelf – a great reminder for you and them that each helping hand really matters.
- Beautiful and gift-worthy. Have you ever noticed how gorgeous sliced oranges or lemons look when dehydrated? What about a homemade tea blend made with herbs you harvested and dehydrated from your own garden? Dehydrated foods are great for decorating with and make lovely gifts for any occasion.
- It lasts. Properly stored dehydrated food can keep for 1–2 years or more at room temperature.
The Equipment You Need
It doesn’t take much to get started with dehydrating. The essential tools are a knife, a cutting board, and a dehydrator. That’s it!
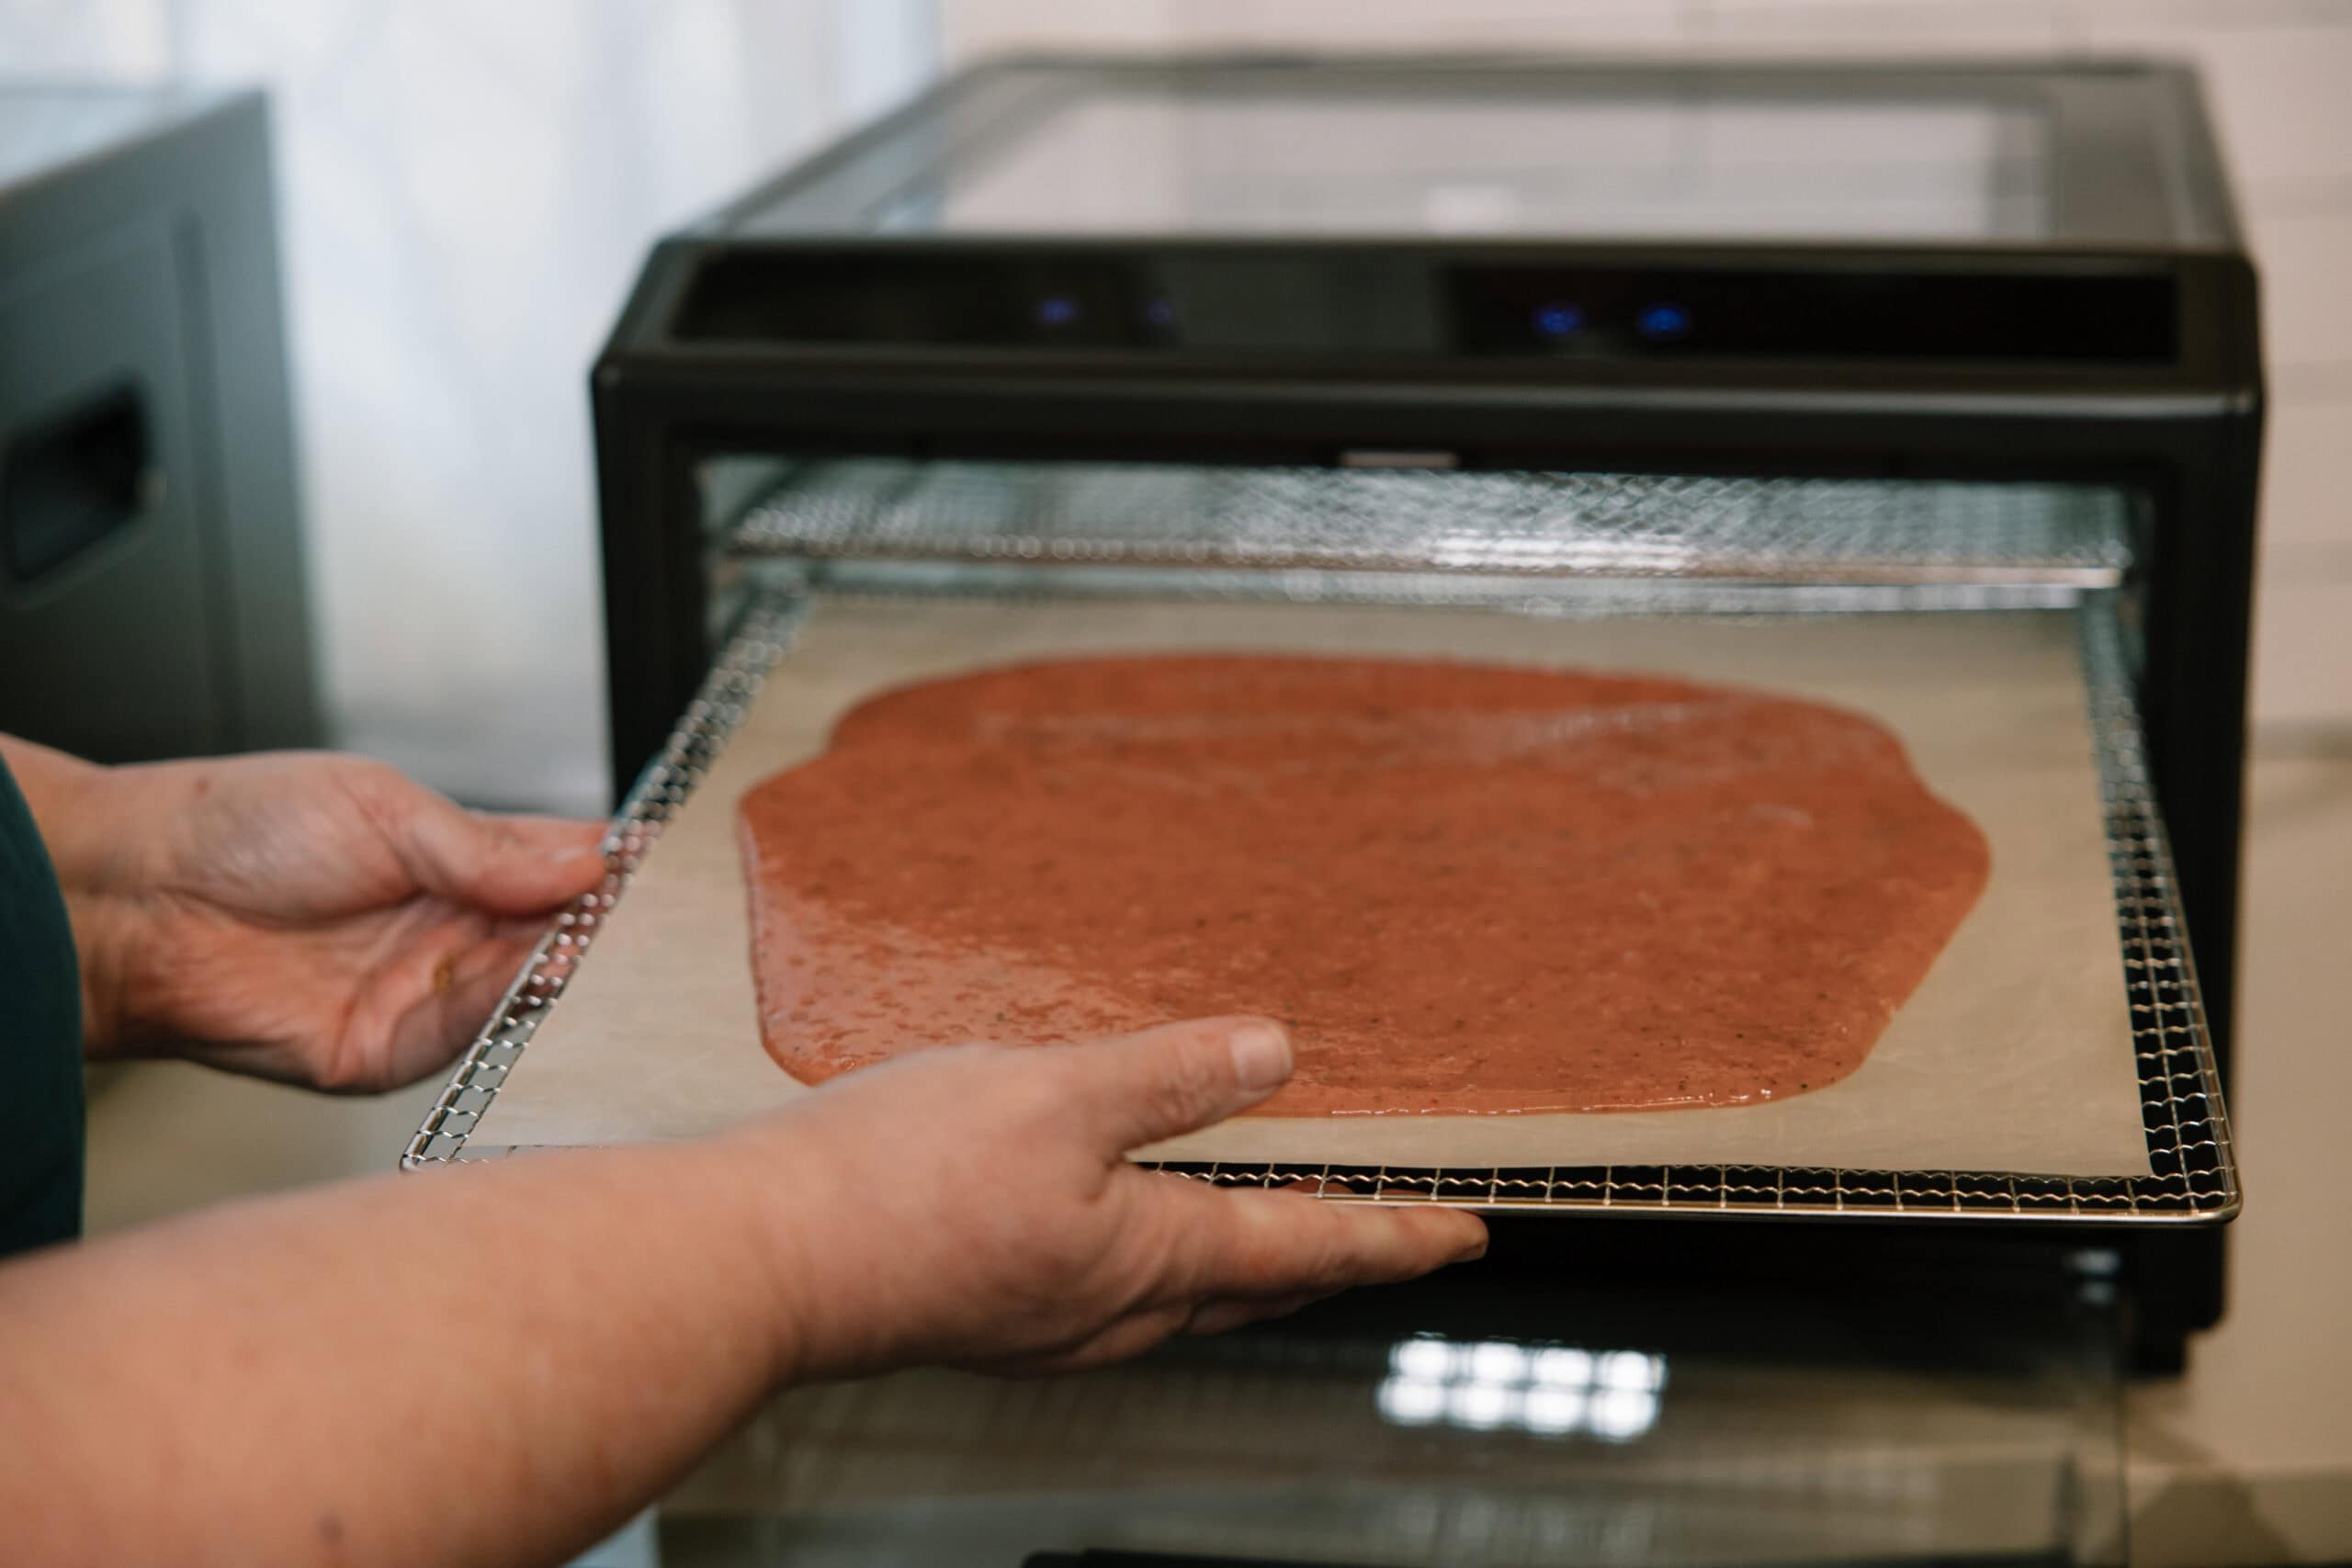
But before you buy anything, it’s worth exploring dehydrator options in more depth. (And keep this in mind, too: If splurging for a dehydrator right now is out of the question, you can absolutely get by with an oven for a while. As we discussed in our post on how to preserve strawberries, just set it to the lowest possible temperature (170–200°F, or 77–93°C) and leave the door cracked open for the length of time needed.)
Stackable vs. Cabinet-Style Dehydrators
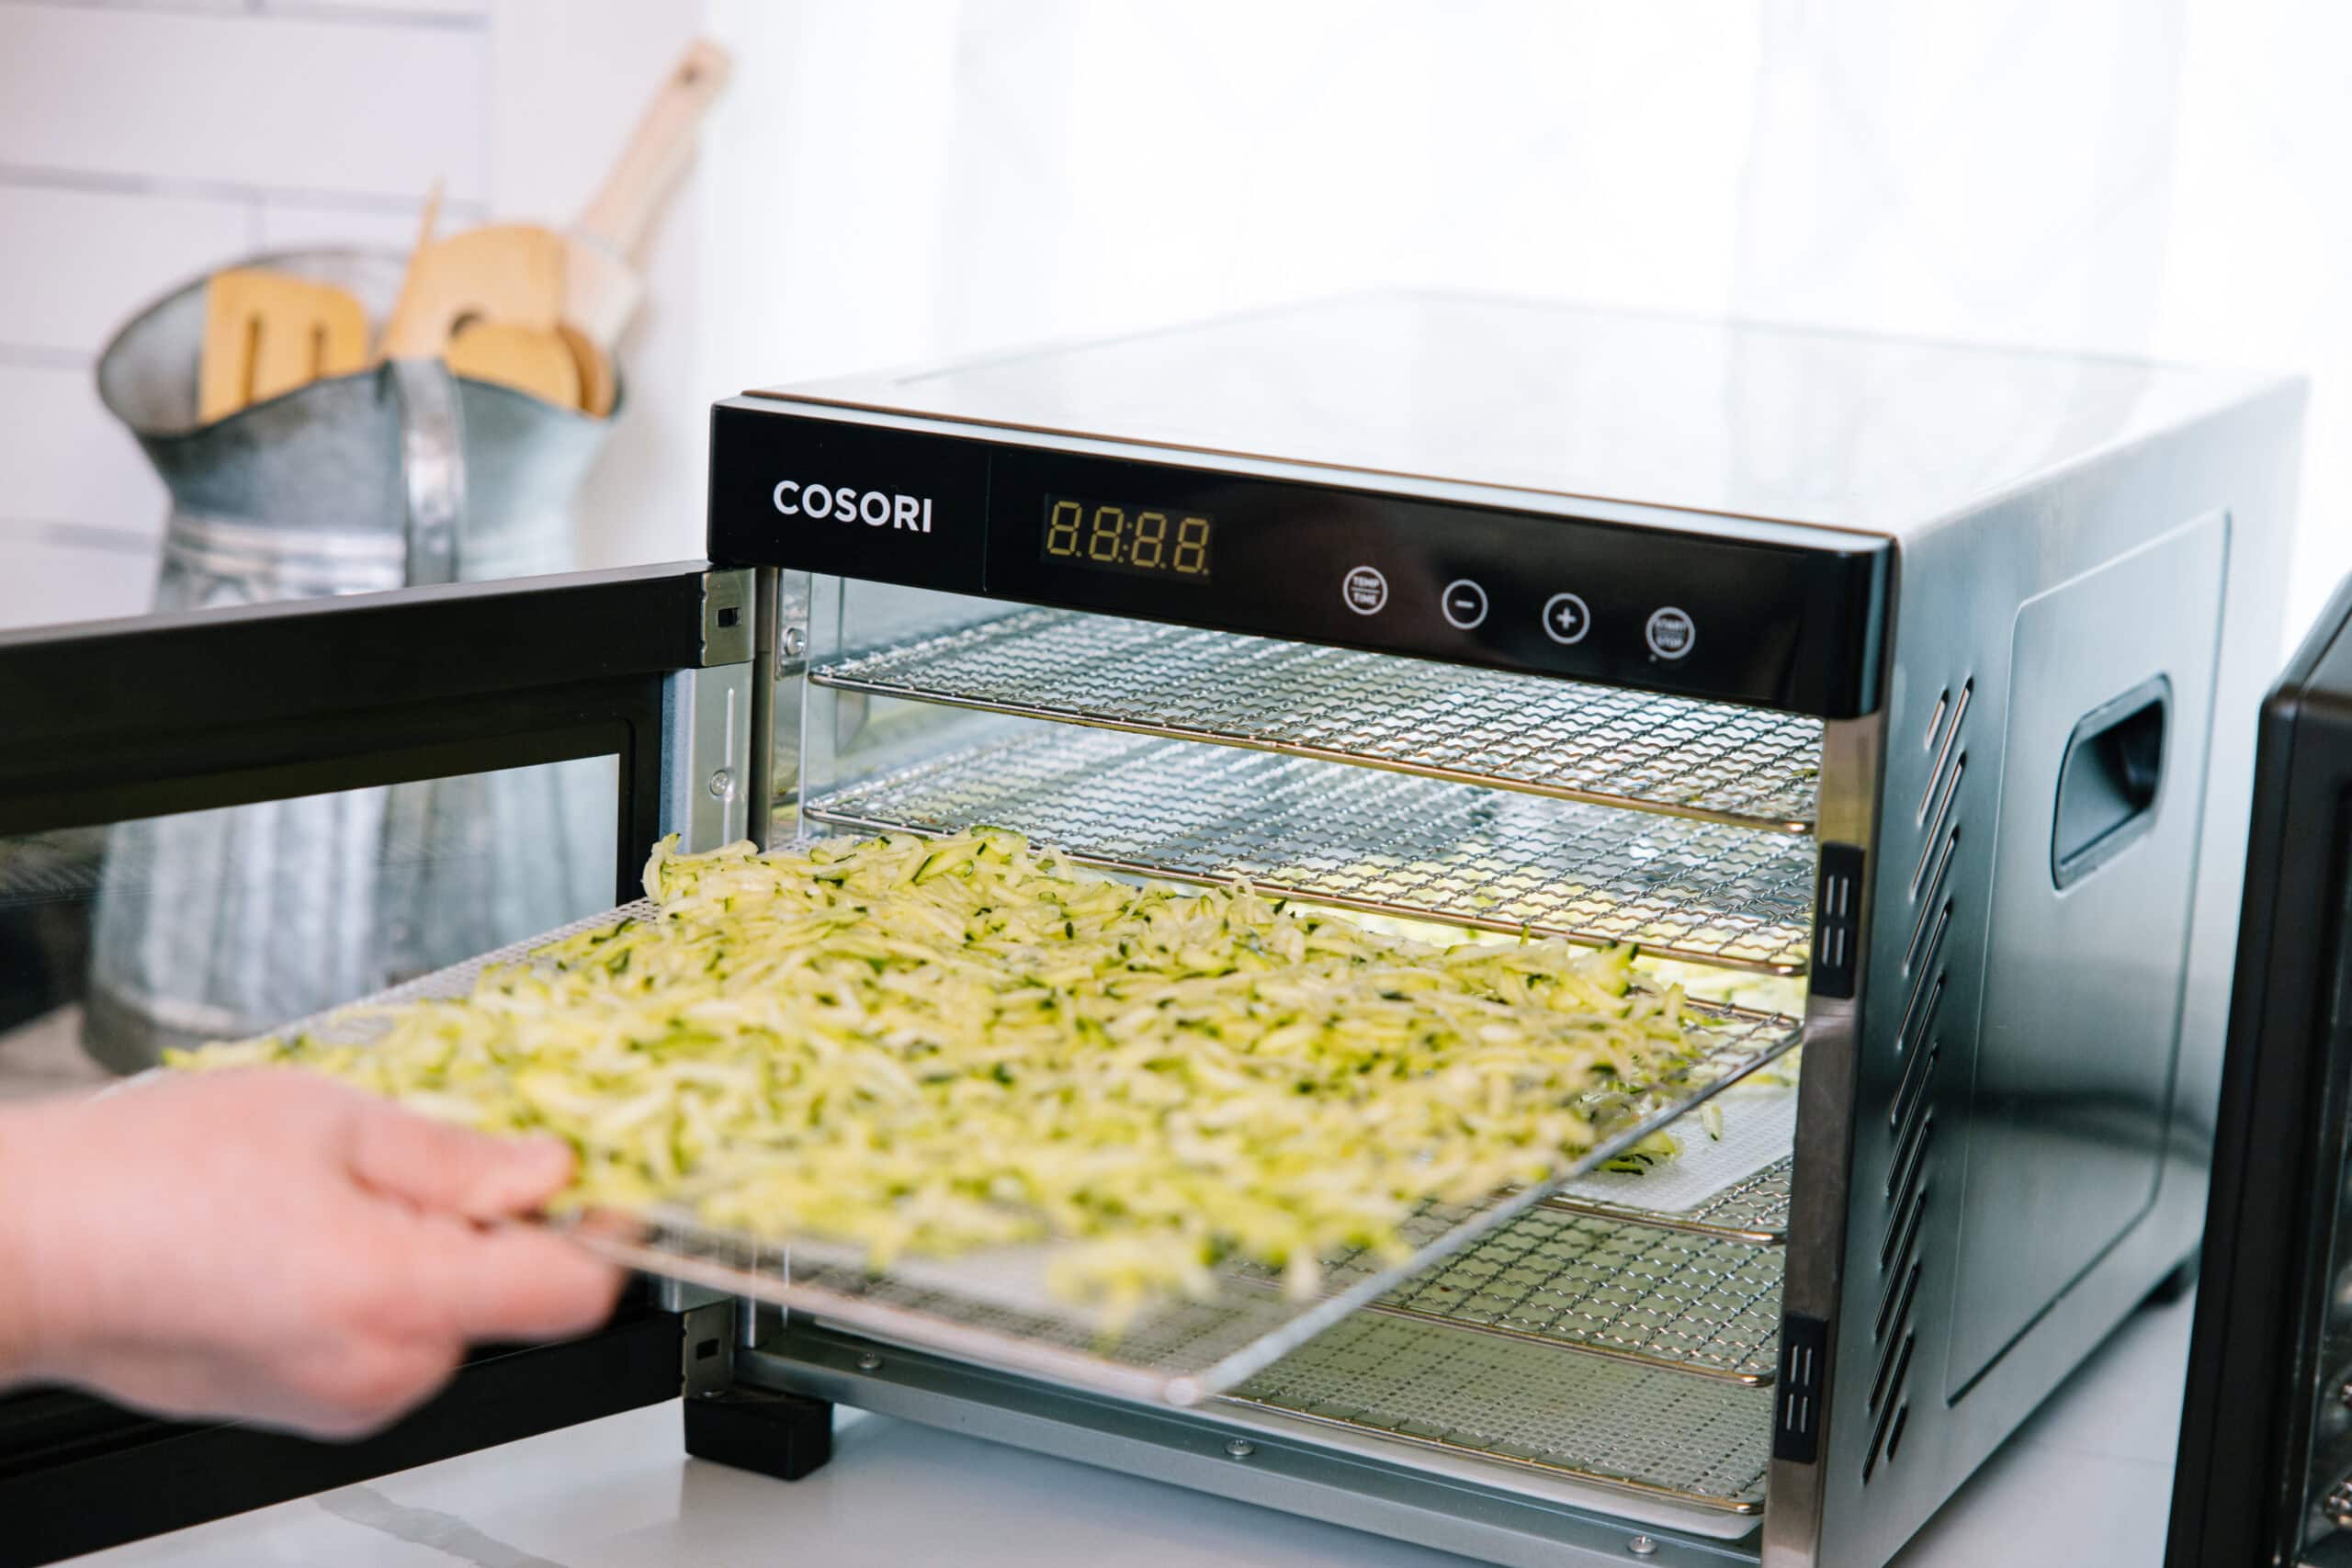
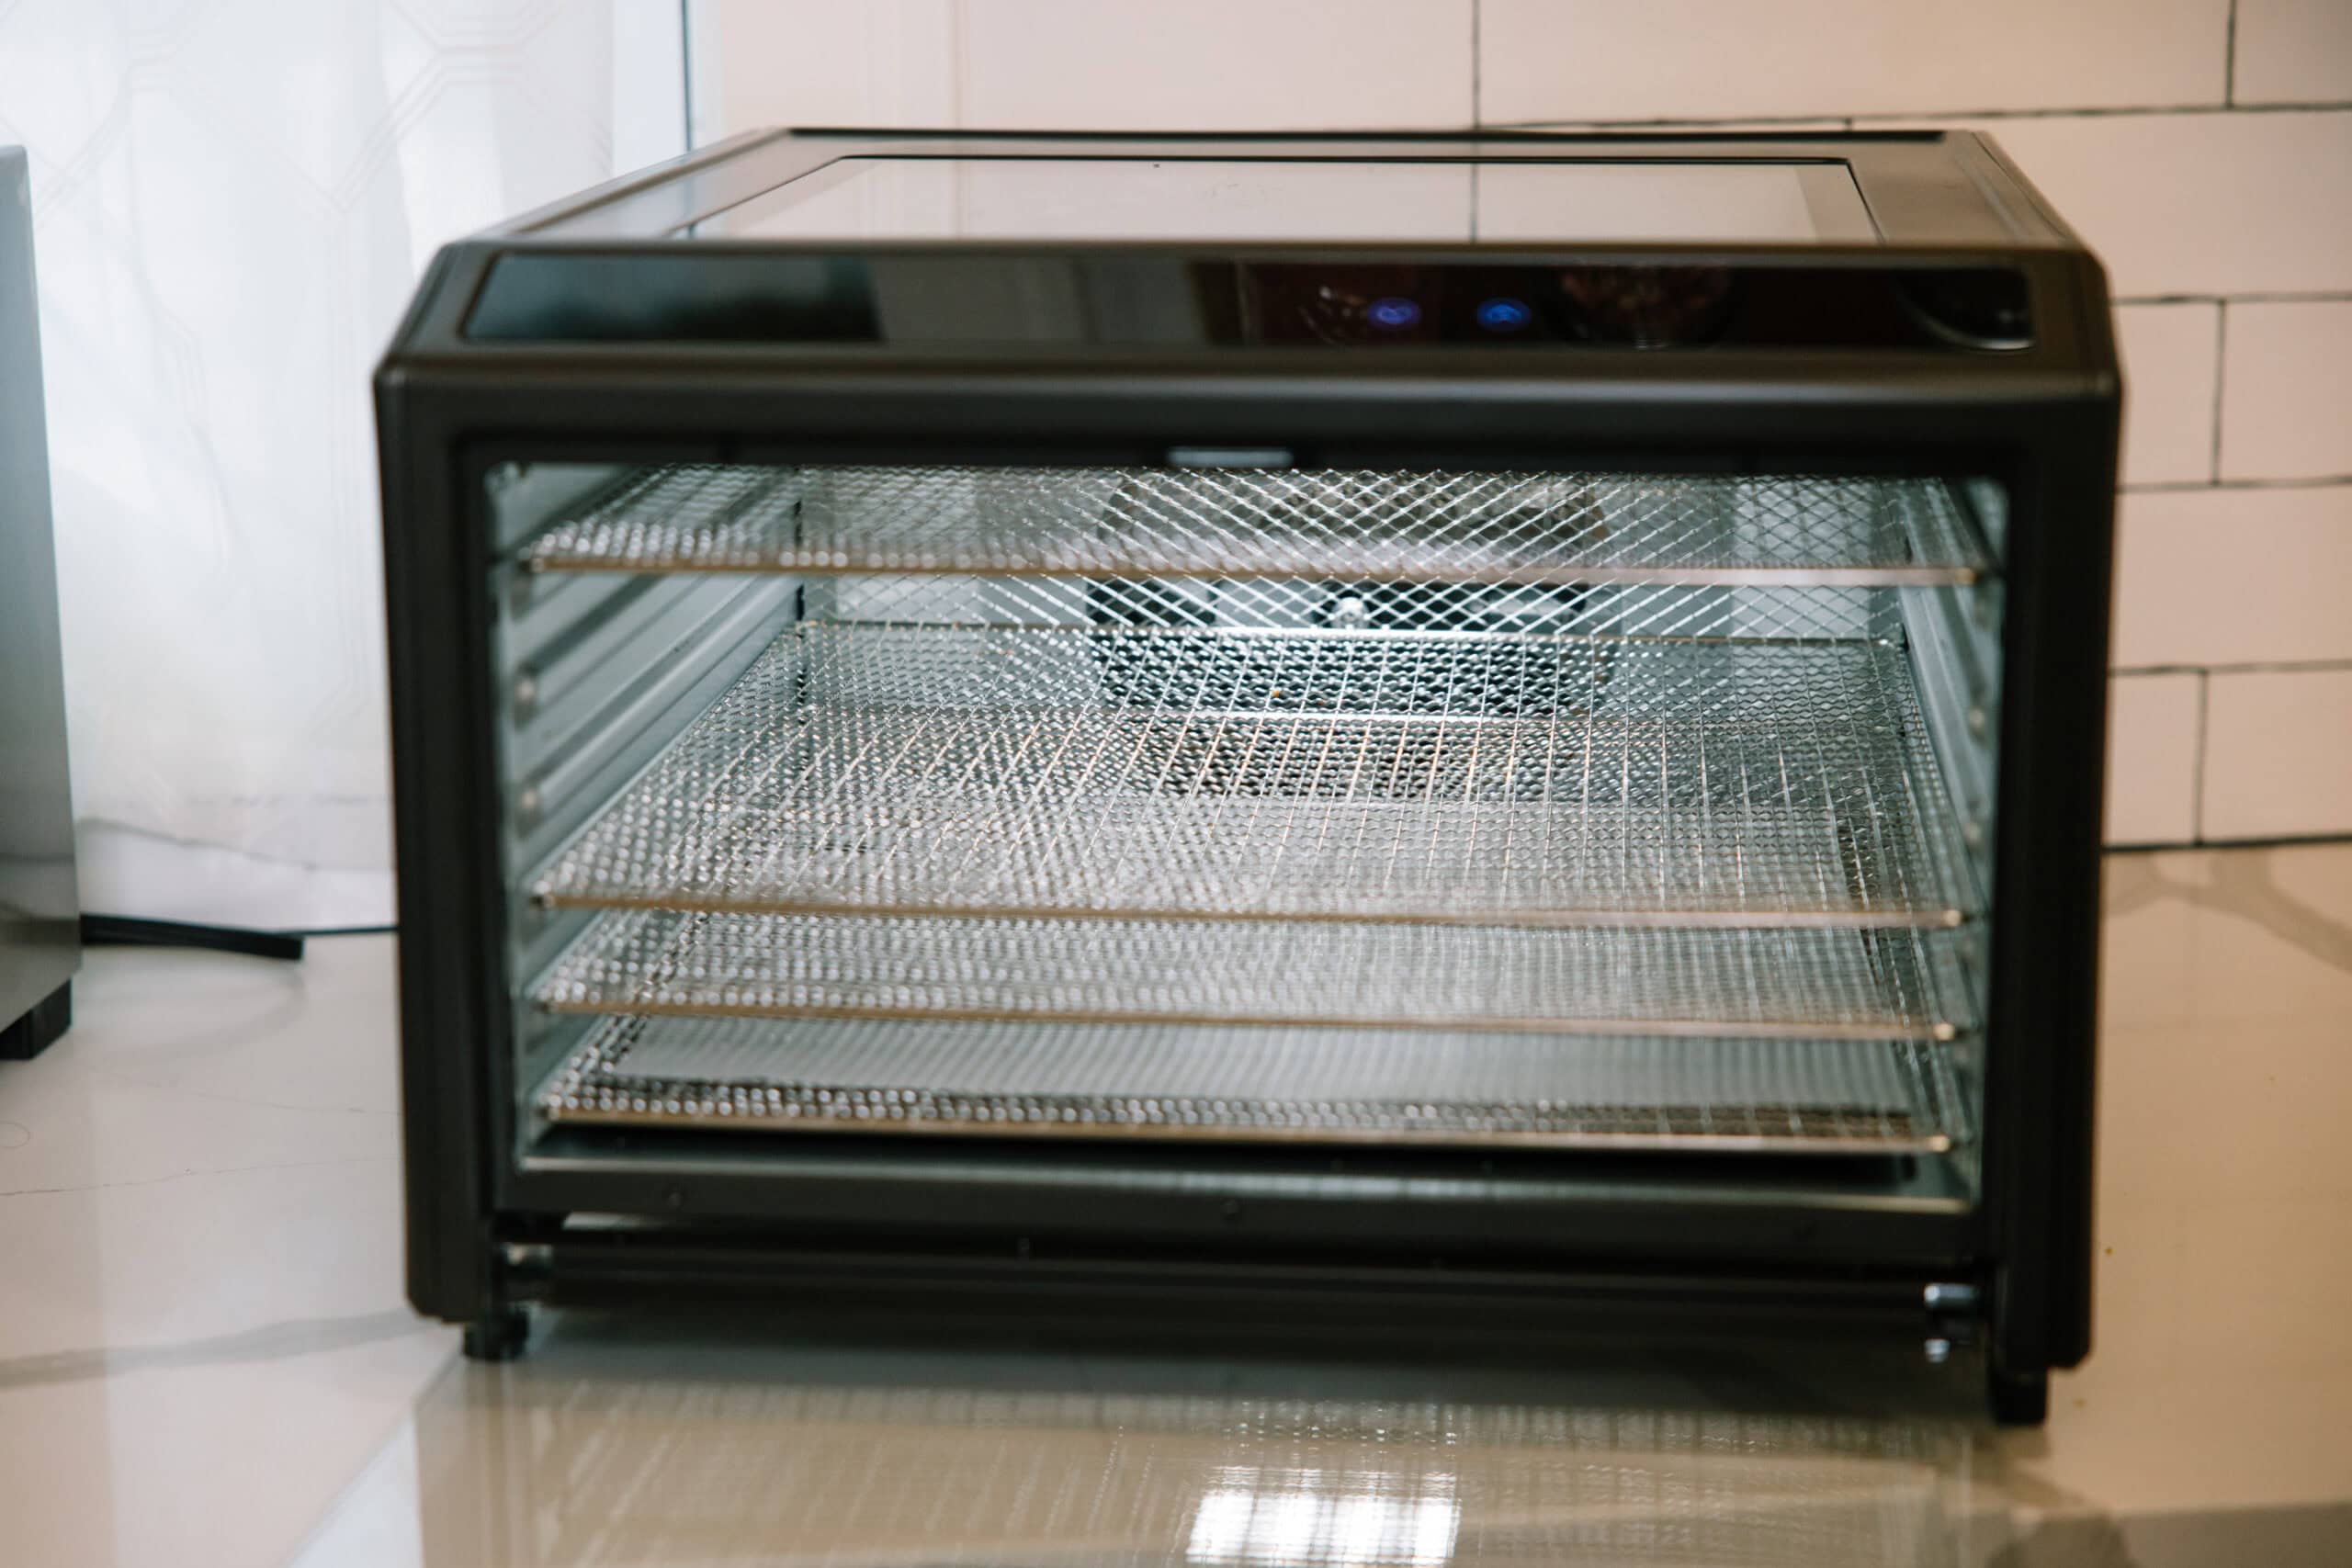
There are two types of dehydrators: the stackable kind with the fan at the top and the trays that stack (hence the name), and the cabinet-style dehydrator with the fan at the back and several trays that slide in like drawers. Both typically come with a temperature gauge, and many are surprisingly compact.
The stackable ones tend to be less expensive because they’re less convenient. Since the trays need to be rotated during use, you need to keep a closer eye on the process, which can prove challenging during longer drying runs.
The machine that Darcy prefers and uses the most is the cabinet-style dehydrator. It’s less hands-on and easier for large batches, which is a feature you’ll really appreciate when you’re busy harvesting your garden’s bounty.
Helpful Extras
It’s not an exhaustive list, but here are a few optional supplies that would be helpful at various stages of the dehydrating process. If you do a lot of food prep and cooking, you most likely already own a bunch of these tools.
- Tray liners: parchment, mesh sheets, or silicone-lipped trays for fruit leather
- Vegetable peeler
- Canning jars or commercial glass jars
- Sharpie and painter's tape or dissolvable labels (don’t forget to label everything!)
- Funnel: makes filling jars without a mess much easier
- Vacuum sealer with jar attachment (this extends the life of your foods if you live somewhere humid, but isn’t necessary)
None of these are required, but they sure do make the job simpler. Darcy’s complete supply list — including recommended dehydrator models, links to every tool, and even a few discount codes available exclusively to School of Traditional Skills members — is on the Dehydrating class skill sheet.
Dehydrating
Fill your shelves with long-lasting, nutritious snacks, meals, and ingredients all while staying on (or below) budget! Learn the art of dehydrating foods and create a bounty of dried fruits, vegetables, herbs, and even jerky, ensuring you have a healthy, flavorful stockpile all year round.
What You Can Dehydrate This Summer
Now that you’ve seen how doable it is, you’re probably wondering what to apply your new dehydration skills towards this summer. The sky’s the limit!
Whether you’re sourcing from your own garden, the farmer’s market, or the store, you’ve got tons of options for things you can dehydrate that will both stretch your dollars and quickly build up your pantry reserves – not to mention your family’s resilience.
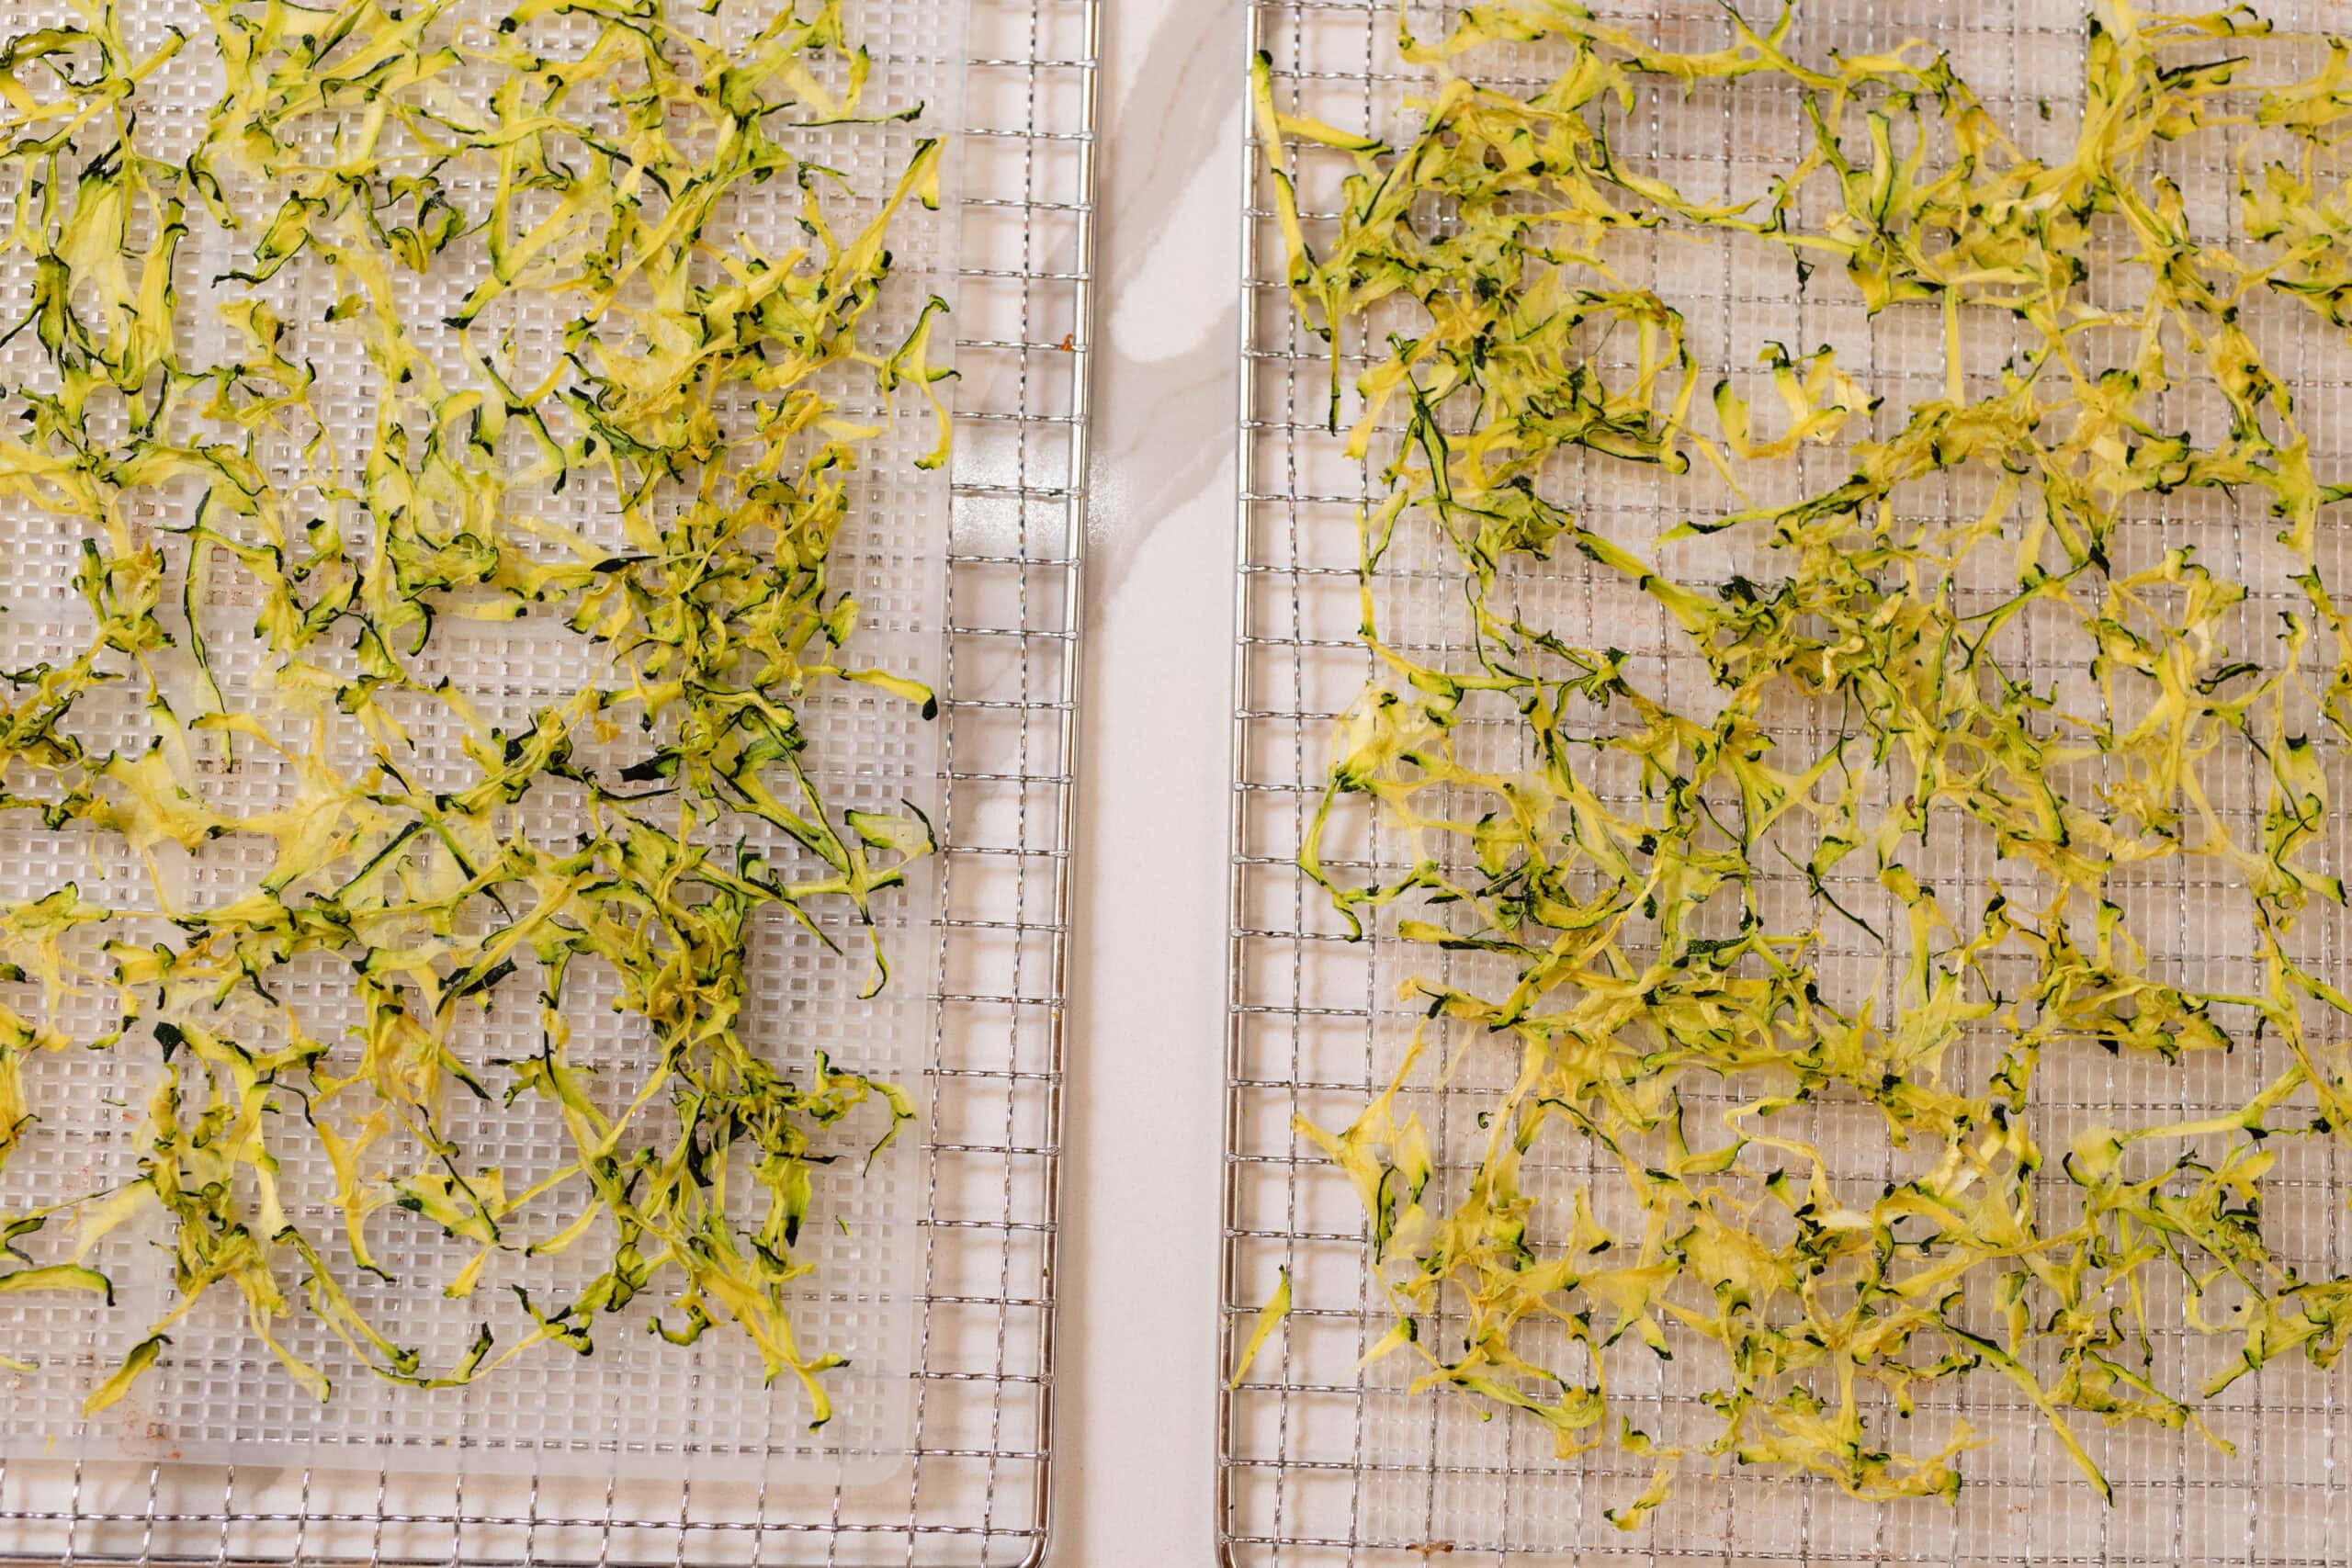
- Zucchini and summer squash, especially when you have more than you can eat
- Tomatoes, either sliced or quartered
- Peppers, both sweet and hot varieties
- Onions and garlic (note: dehydrate aromatics with ventilation)
- Green beans, corn cut from the cob, snap peas
- Herbs: basil, oregano, thyme, dill, rosemary, mint, sage
- Leafy greens: kale, spinach, chard
- Berries: blueberries, strawberries, raspberries
- Stone fruit: peaches, plums, apricots (in their prime from July to August)
- Citrus slices for water, teas, and decorative use
- Mushrooms, whose concentrated flavor is excellent in soups all winter long
- Just about anything that’s on super sale or about to go to waste
On the topic of waste products, you know those garden vegetable scraps that you automatically toss into the compost bin (if you don’t have an animal who’ll eat them)? We’re talking beet tops, carrot tops, celery tops. Well, Darcy Baldwin shares a genius tip in her class on how to make nutrition-packed green powders that can be added to all sorts of foods:
“All the edible leaves, tops, and skins from what you might normally compost from your garden can be turned into nutritious powders that add additional nutrients to your foods and smoothies.”
Doesn’t that sound incredible? You’re reducing waste and improving your family’s health at the same time. That alone may be reason enough to start dehydrating!
What NOT to Dehydrate
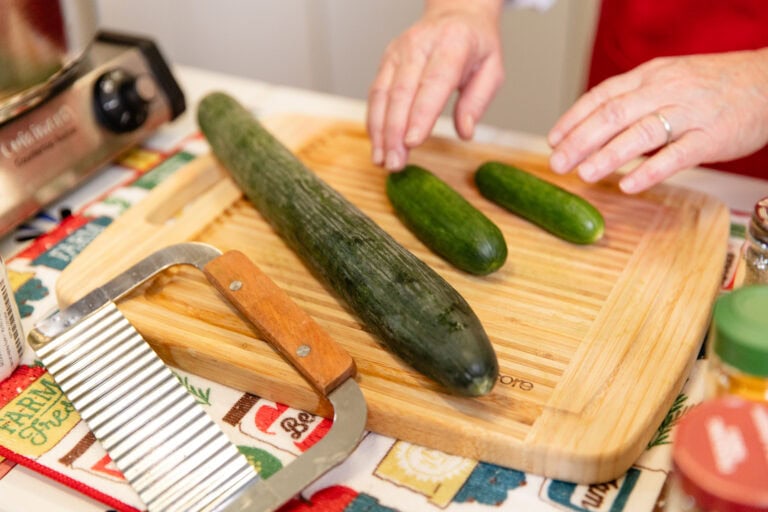
There are a few things that shouldn’t be dehydrated, and Darcy gets into that in another part of the class. She recommends avoiding high-fat foods (avocados, full-fat dairy, foods with oil-based sauces), anything with a high water content (cucumbers, iceberg lettuce), and fully cooked eggs.
We’ve covered a lot of ground already, but it’s to be expected that people starting out with dehydrating will have many questions. Let’s explore some of the most common ones.
Frequently Asked Questions About Getting Started
Nope! Any dehydrator works. Stackable models are more affordable; cabinet-style models require less fuss. Darcy demos both types in the class, so you’ll learn how to get the most from whichever you have.
It depends on what you’re drying. Herbs can finish in just 2–4 hours, jerky takes 4–8 hours, and sliced fruit and vegetables can take 6–12 hours. In general, the higher the water content, the longer the dehydration time.
Bottom line: Check for dryness using the snap or plink test (we cover this in the next post in our series, a step-by-step guide to dehydrating summer produce), not by watching the clock.
Yes, it is safe when done correctly. The key is to get the food fully dry before storing.
Most produce is safe at standard dehydrating temps (125–135°F, or 52–57°C). Meat requires special handling – check out our beginner’s guide to dehydrating beef jerky for the full scoop.
Darcy studied with the National Center for Home Food Preservation and teaches proper dehydrating methods throughout the class. Follow her recommendations, and you can rest assured that your dehydrated foods will be safe to eat.
Yes, some heat-sensitive nutrients like Vitamin A and Vitamin C are reduced, but drying at lower temps preserves significantly more nutrition than high-heat canning. For greens, this means opting for 95°F (35°C), and for all other produce, sticking to the 125–135°F (52–57°C) range.
If maximizing nutrient density is what you’re after, you will love learning how to prepare green powders later on in this series. Adding these dehydrated herbs and leafy greens to your meals may feel like a small upgrade, but the potential health impact is great.
Ask someone who dehydrates regularly, and they’ll likely tell you it is. The dehydrator adds value mainly by eliminating potential waste and by capturing seasonal abundance (your garden overflow plus farmer's market or grocery store bargains) in a shelf-stable manner that stretches it across the year. But it’s worth noting that the electricity cost to run the machine is super low, at least in the U.S.
One More Thing
This is where things get fun. If you got this far, you’re ready to take on your first dehydrating project!
Don’t get stuck on a screen trying to research dehydrators. Step into your kitchen and use the oven. Better to get a win under your belt right away and build the confidence that comes from actually accomplishing the task, rather than reading more about it.
The best beginner project to tackle first is dehydrating fresh herbs. Basil, oregano, dill, or thyme are all good options. Do a small batch over 2–4 hours (less if you’re using an oven set at a higher temperature), and put them to use immediately, either in your next homemade meal or steeped in tea.
In our next article in this summer dehydration series, we’ll walk through the full prep-to-shelf process step by step for a variety of fruits and vegetables. You'll learn to stock the pantry with meal prep ingredients, kid-approved snacks, and foods that your family will enjoy more than you can possibly imagine.
Be adventurous, experiment, and go ahead and get yourself that dehydrator when you’re ready – you won’t regret it.
Darcy Baldwin is the founder of The Purposeful Pantry and has been dehydrating foods for over twenty years. She studied with the National Center for Home Food Preservation and other extension services, learning both the science of safe dehydrating and the practical habits that make it work in a real, busy household. She's taught thousands of people how to preserve food at home. And not just the technique, but the whole approach to saving money, cutting waste, and getting more nutrition into everyday meals.
Dehydrating
Fill your shelves with long-lasting, nutritious snacks, meals, and ingredients all while staying on (or below) budget! Learn the art of dehydrating foods and create a bounty of dried fruits, vegetables, herbs, and even jerky, ensuring you have a healthy, flavorful stockpile all year round.