Canning Confidently and Without Fear
This article is the third in a series on Summer Preservation. See article one here, article two here and article four here. If you’re ready to take the next step, check out our class on Water Bath Canning with Mary Bryant Shrader of Mary’s Nest.
When it comes to canning specifically, there are several potential fears, from botulism (the king of terror!) to exploding jars to wasted food. Reading that list, intelligent and reasonable people may well walk away completely convinced never to try their hand at canning.
But, like so many things in the self-sufficiency space (don’t even get us started on the raw milk drama!), the PR campaign has horribly – and unnecessarily – bloated the dangers.
This article will dispel those fears, especially the concerns over poisoning. The fact is, water bath canning is completely safe so long as you (1) stick to canning only high-acid foods, and (2) use the proper length of time for processing approved recipes.
Mary Shrader of Mary’s Nest has been canning for over 50 years, and teaches others how to do so safely using recipes and techniques tested and approved by the USDA and National Center for Home Food Preservation. Through her cookbook and her Water Bath Canning class at the School of Traditional Skills, she shares her simple and beginner-friendly philosophy: If you can follow a recipe, you can water bath can safely. (We’ve said it before, but it’s worth repeating!)
Let’s first answer some of the most common questions, and then together walk through your first batch step by step, so you can feel confident instead of fearful.
Is water bath canning safe for beginners?
Definitely! You do not need a background in chemistry to water bath can safely. But it does help to understand the risks to mitigate them, so let’s break down the science behind the guidelines in plain language, just like Mary Shrader does in her class.
The Science of Canning in Plain English
We’re trained from a young age to know that boiling water – water at 212°F, or 100°C – can sterilize a multitude of things. Many bacteria do die at this temperature, but botulism bacteria are a notable exception.
Low-acid environments (meaning, a pH above 4.6) can favor the growth of botulism. In order to kill the bacteria, the food needs to be heated to 240°F (or 116°C), the temperature for pressure canning. (Pressure canning is an entirely different method, and Carolyn Thomas of Homesteading Family teaches that class for the School of Traditional Skills.)
Since botulism can’t survive in an acidic medium, high-acid foods (pH 4.6 or lower) are totally safe for water bath canning. These include tomatoes, fruits, and pickles – essentially, anything that’s naturally acidic or to which you add vinegar.
Foods Safe for Water Bath Canning
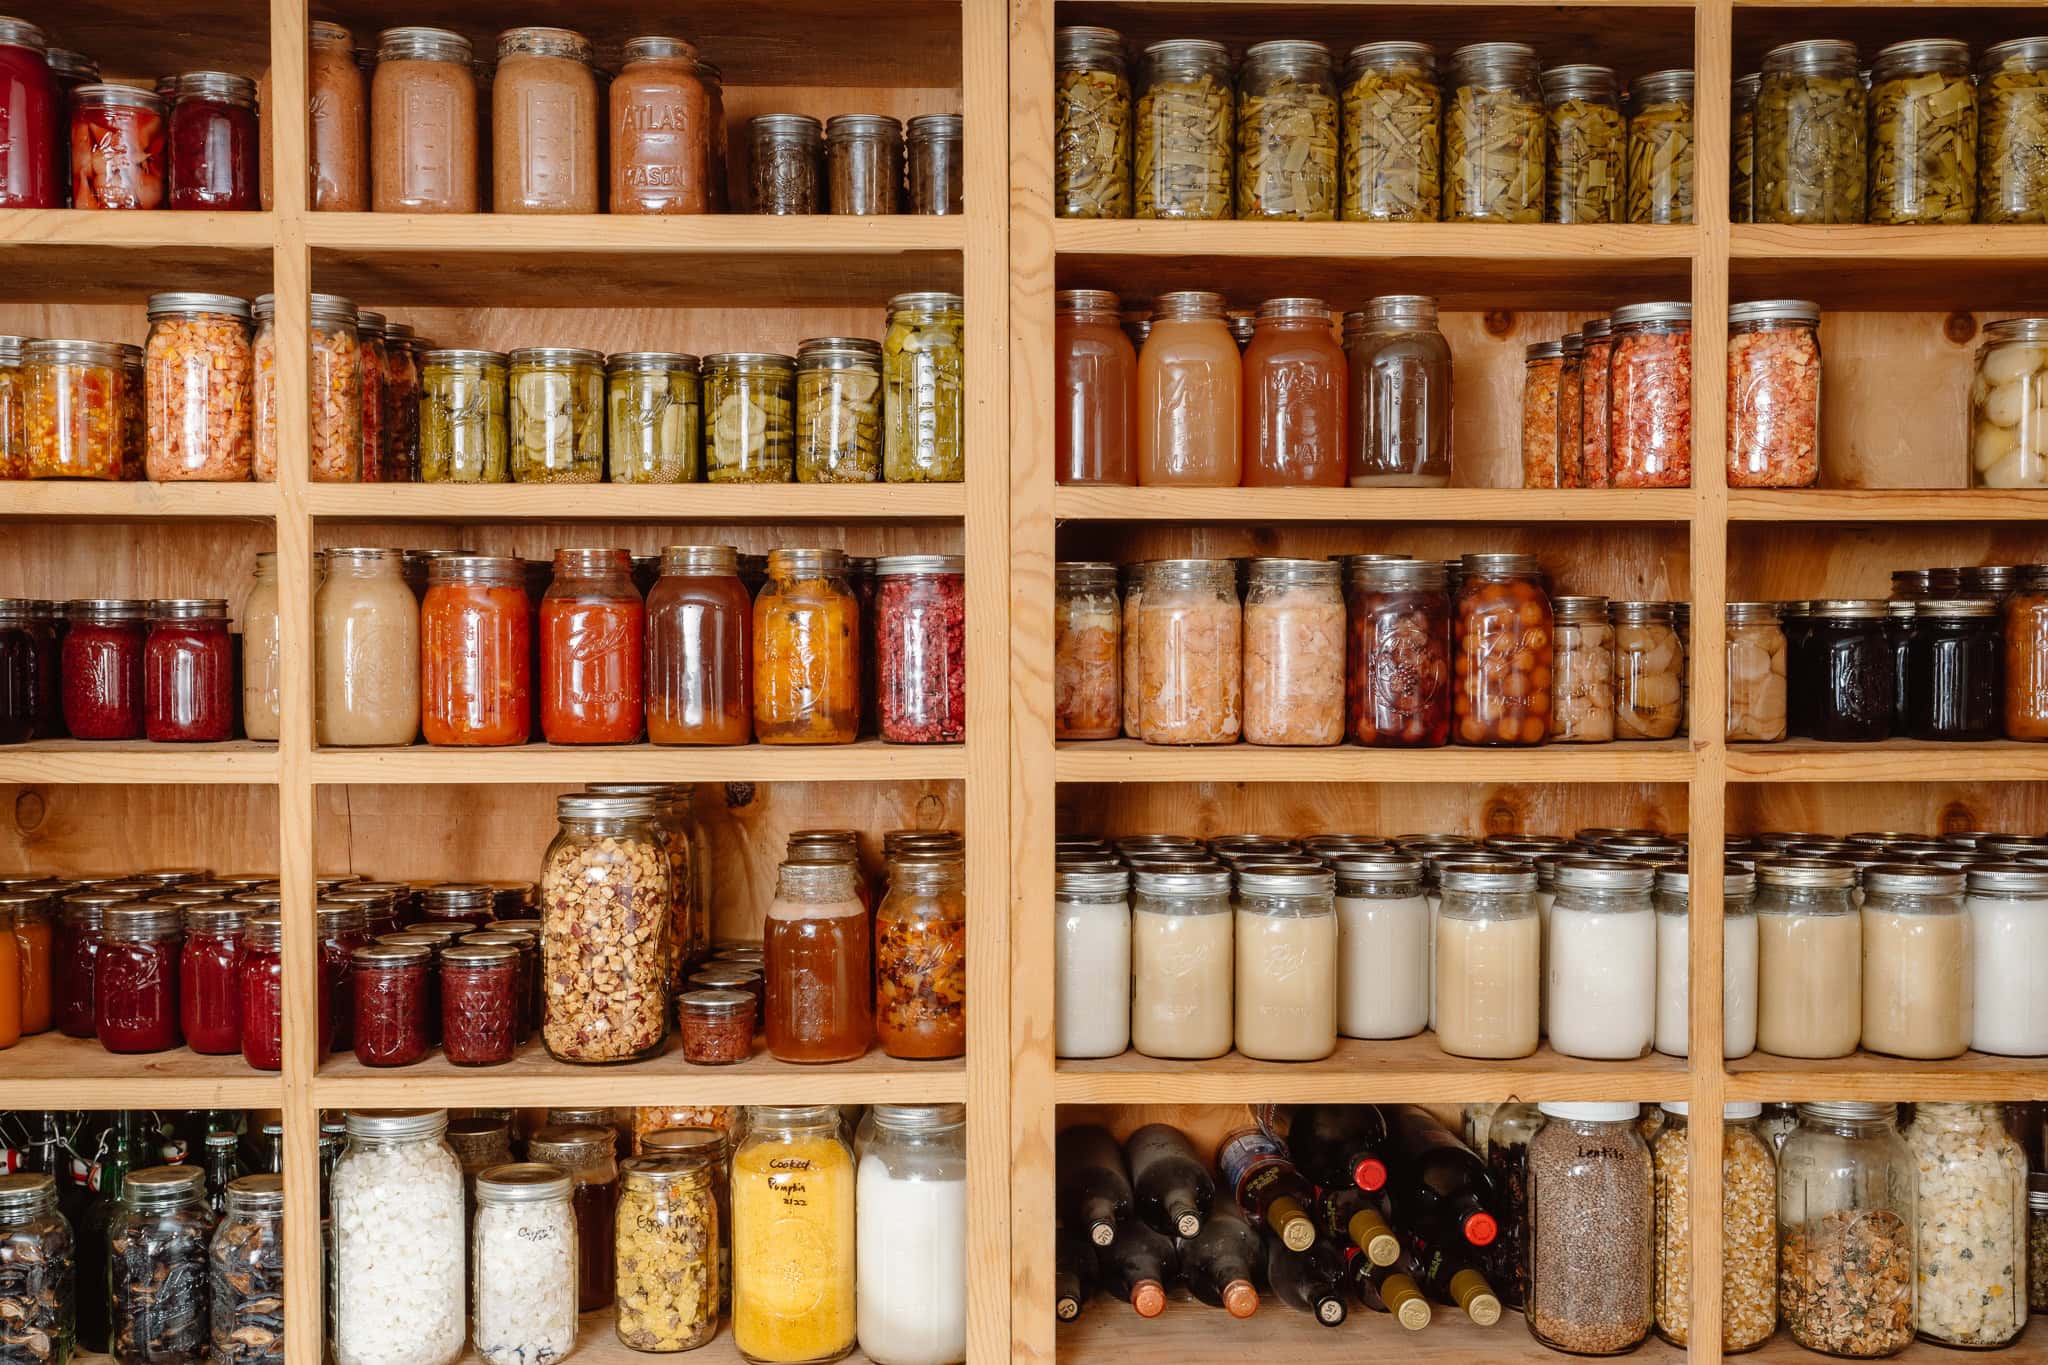
Water bath canning enables you to preserve your harvest in tasty ways, take advantage of grocery store bargains, and ensure that fresh fruit or vegetable windfalls can be enjoyed throughout the fall or winter.
There are several options of foods that are appropriate for water bath canning:
- Jams, jellies, and fruit preserves (these make an especially lovely and impressive gift, and you can have fun experimenting with low- and no-pectin recipes)
- Tomatoes (with added lemon juice or citric acid to lower the pH enough)
- Pickles, relishes, and chutneys (the added vinegar makes them acidic)
- Several fruits, including peaches, pears, apples, and berries
Foods You CANNOT Water Bath Can
Foods that cannot be canned using the water bath method should be pressure-canned instead. That list includes:
- Plain vegetables like green beans, corn, and carrots
- Meat, poultry, and seafood
- Soups, stews, and broths
- Low-acid tomato sauces (unless you’re following tested recipe with additional acid)
What equipment do I need to start water bath canning?
Fortunately, this version of canning has a fairly low barrier to entry and can be done with minimal supplies, such as mason jars, lids, rings, and a stockpot.
The Bare Minimum
- Large pot – any stockpot that fits jars with 1–2 inches, or 2.5–5 cm, of water over the tops
- Canning jars – Mason jars in pint or quart size
- New lids – the flat metal discs with rubber sealing compound (note: these must be new every time)
- Bands – the screw-on rings, which can be reused
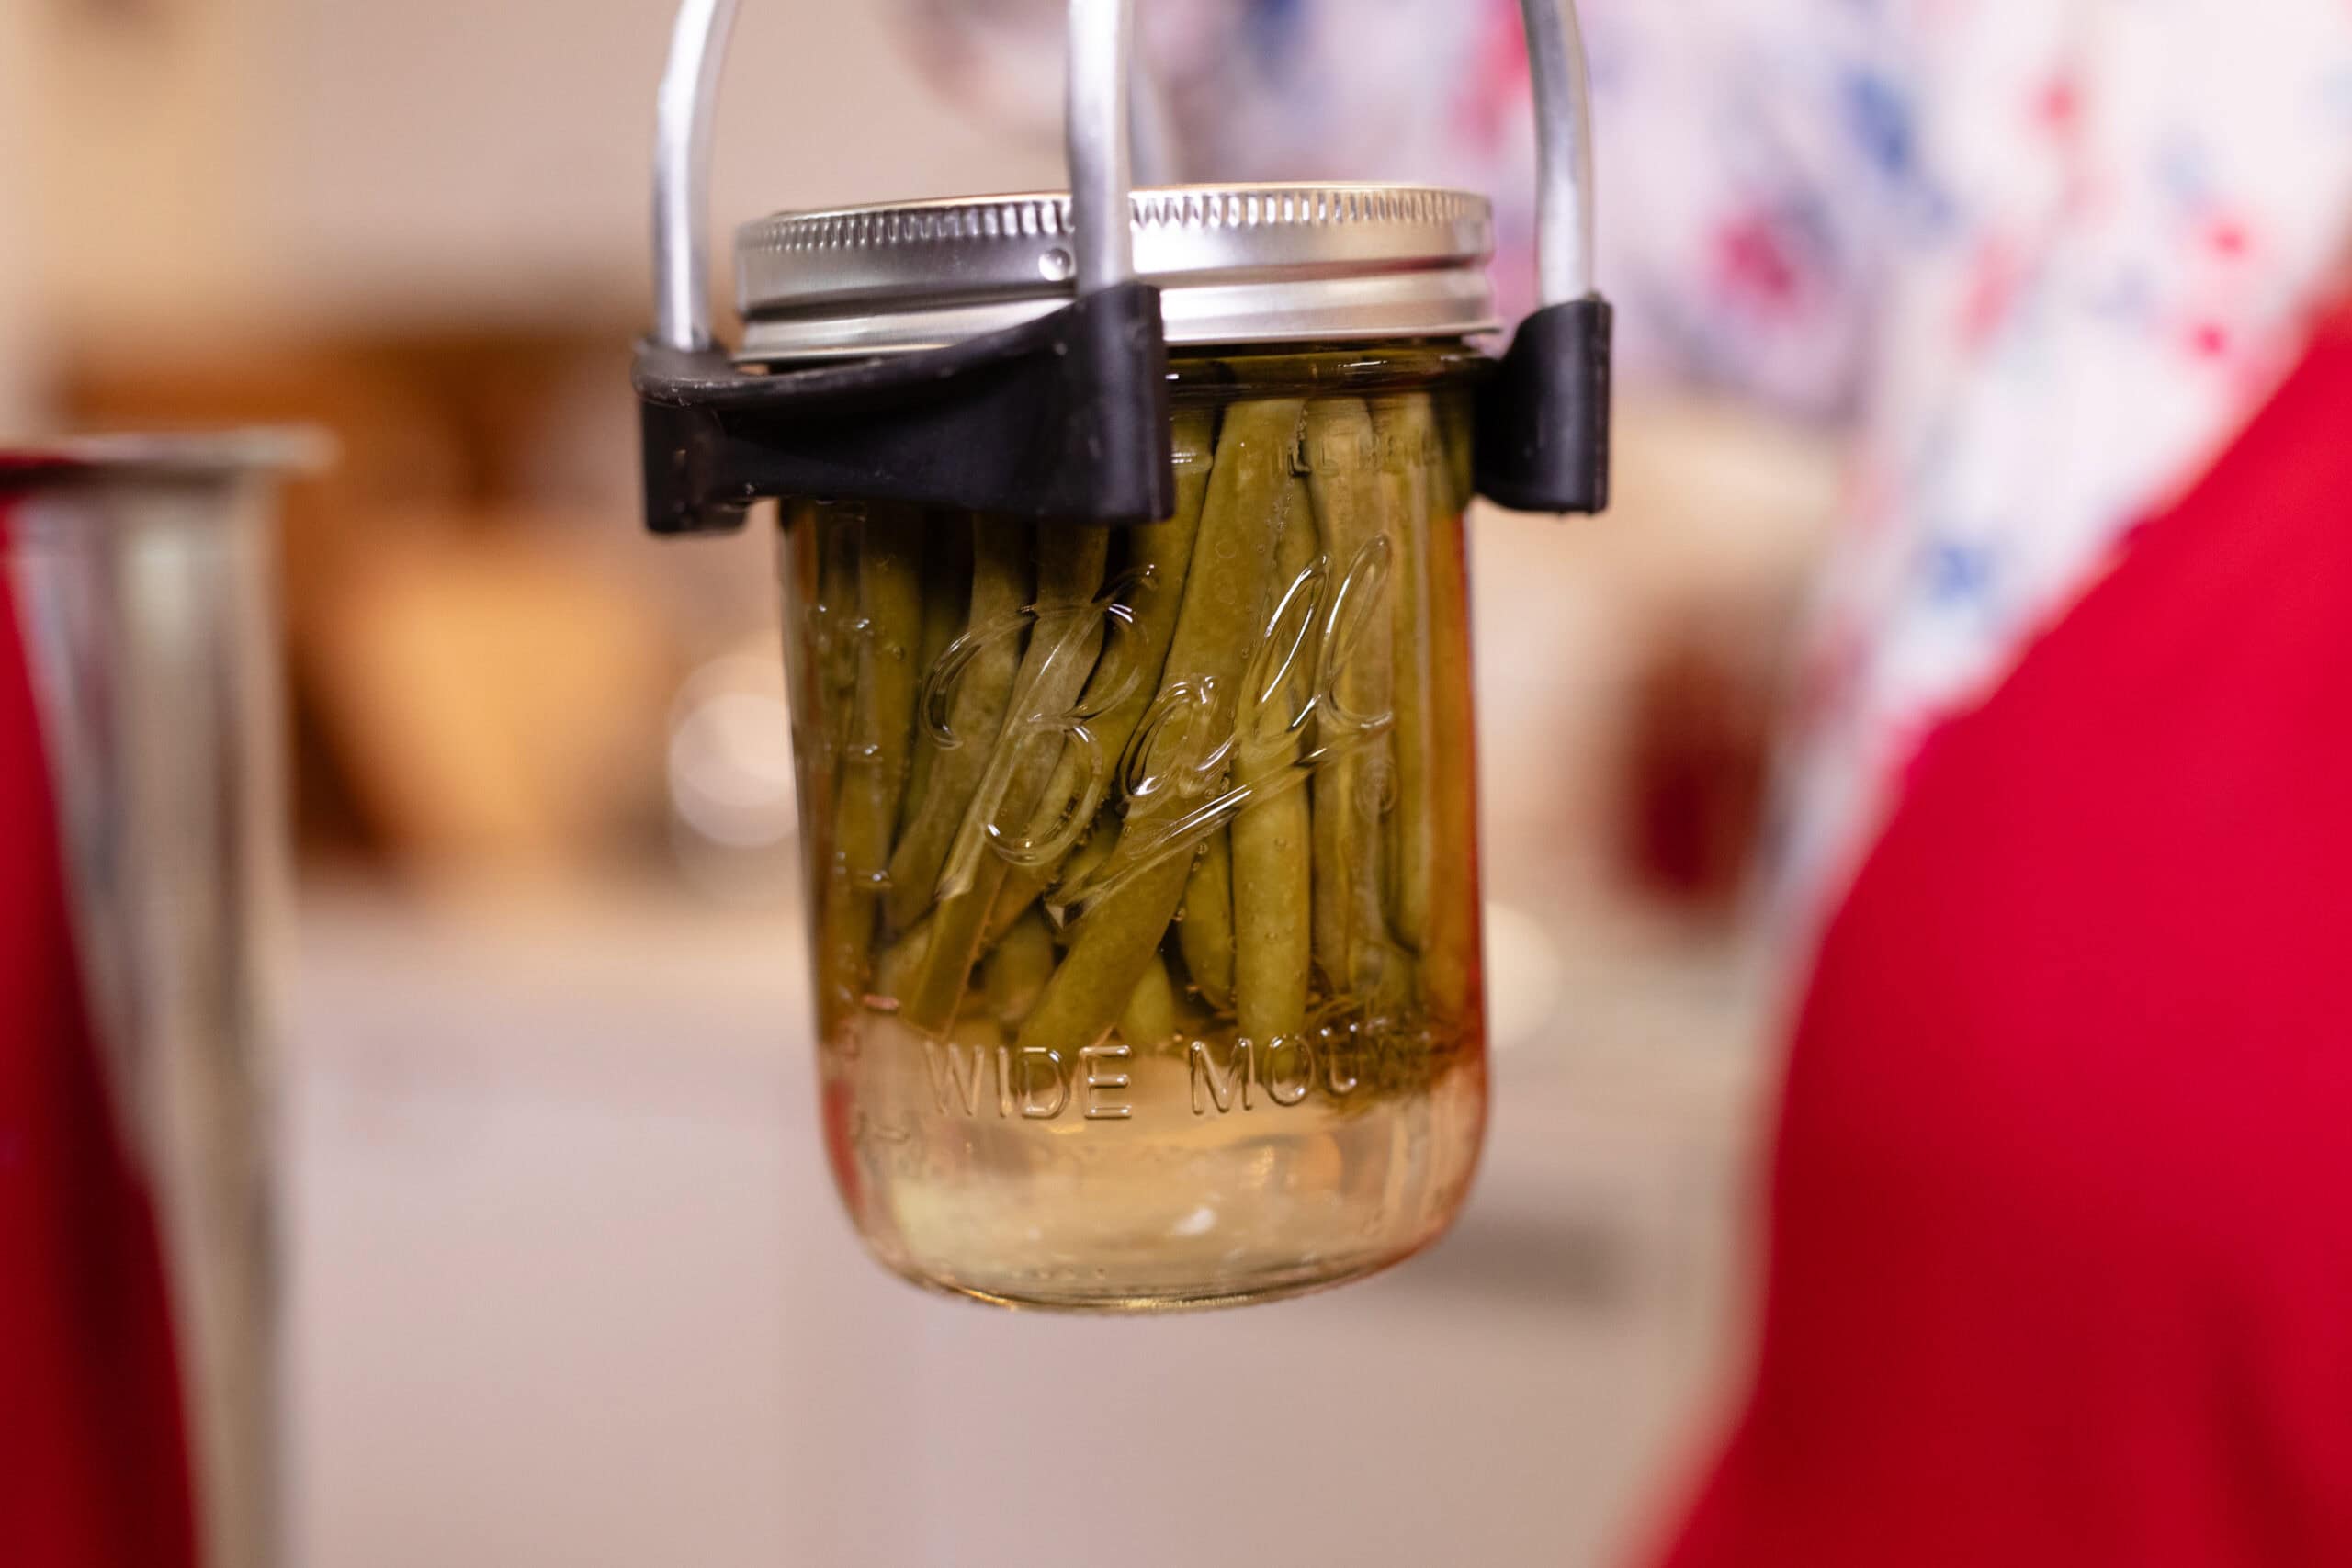
- Jar lifter – heavy-duty tongs are also an option if you're careful
- Kitchen towel – for placing under hot jars
Nice to Have (But Not Required)
There are a few other items that make canning a more convenient and tidy process overall.
- Canning funnel – wide-mouth funnel for filling jars
- Magnetic lid lifter – picks lids out of hot water
- Debubbler tool – removes air bubbles, though a flat-edge knife can also do the trick
- Actual water bath canner – tall pot with rack, but most any pot can work
Can you water bath can without a canner?
Absolutely! When it comes to the equipment, Mary’s refreshing practicality shines through once again. Start with what you have, she says, and learn from there. A regular stockpot plus dish towel in the bottom to keep jars from rattling works perfectly. There’s no need to invest in anything more until you know you love canning enough to use these tools often.
Water Bath Canning
Fill your pantry with healthy, delicious “fast food” you make at home! Discover water bath canning and make safe, tasty canned fruits and veggies so you always have a delicious supply of tomatoes, pickles, jams, pie fillings, green beans, and much more!
What Should I can for my first time?
If you’re looking for a recipe that’s hard to mess up, pairs nicely with most lunches, and can be made as a small batch, try pickles. With the addition of the vinegar-based brine, the cucumbers become really acidic, making them safe for water bath canning (and giving them that characteristic pungent pickled flavor). Plus, they make a wonderful addition to your traditional kitchen, and let you control the flavor and ingredients. No high-fructose corn syrup here!
Traditional Dill Pickles (Whole or Spears)
The Step-by-Step Process
Step 1: Gather your Ingredients and Equipment
Ingredients
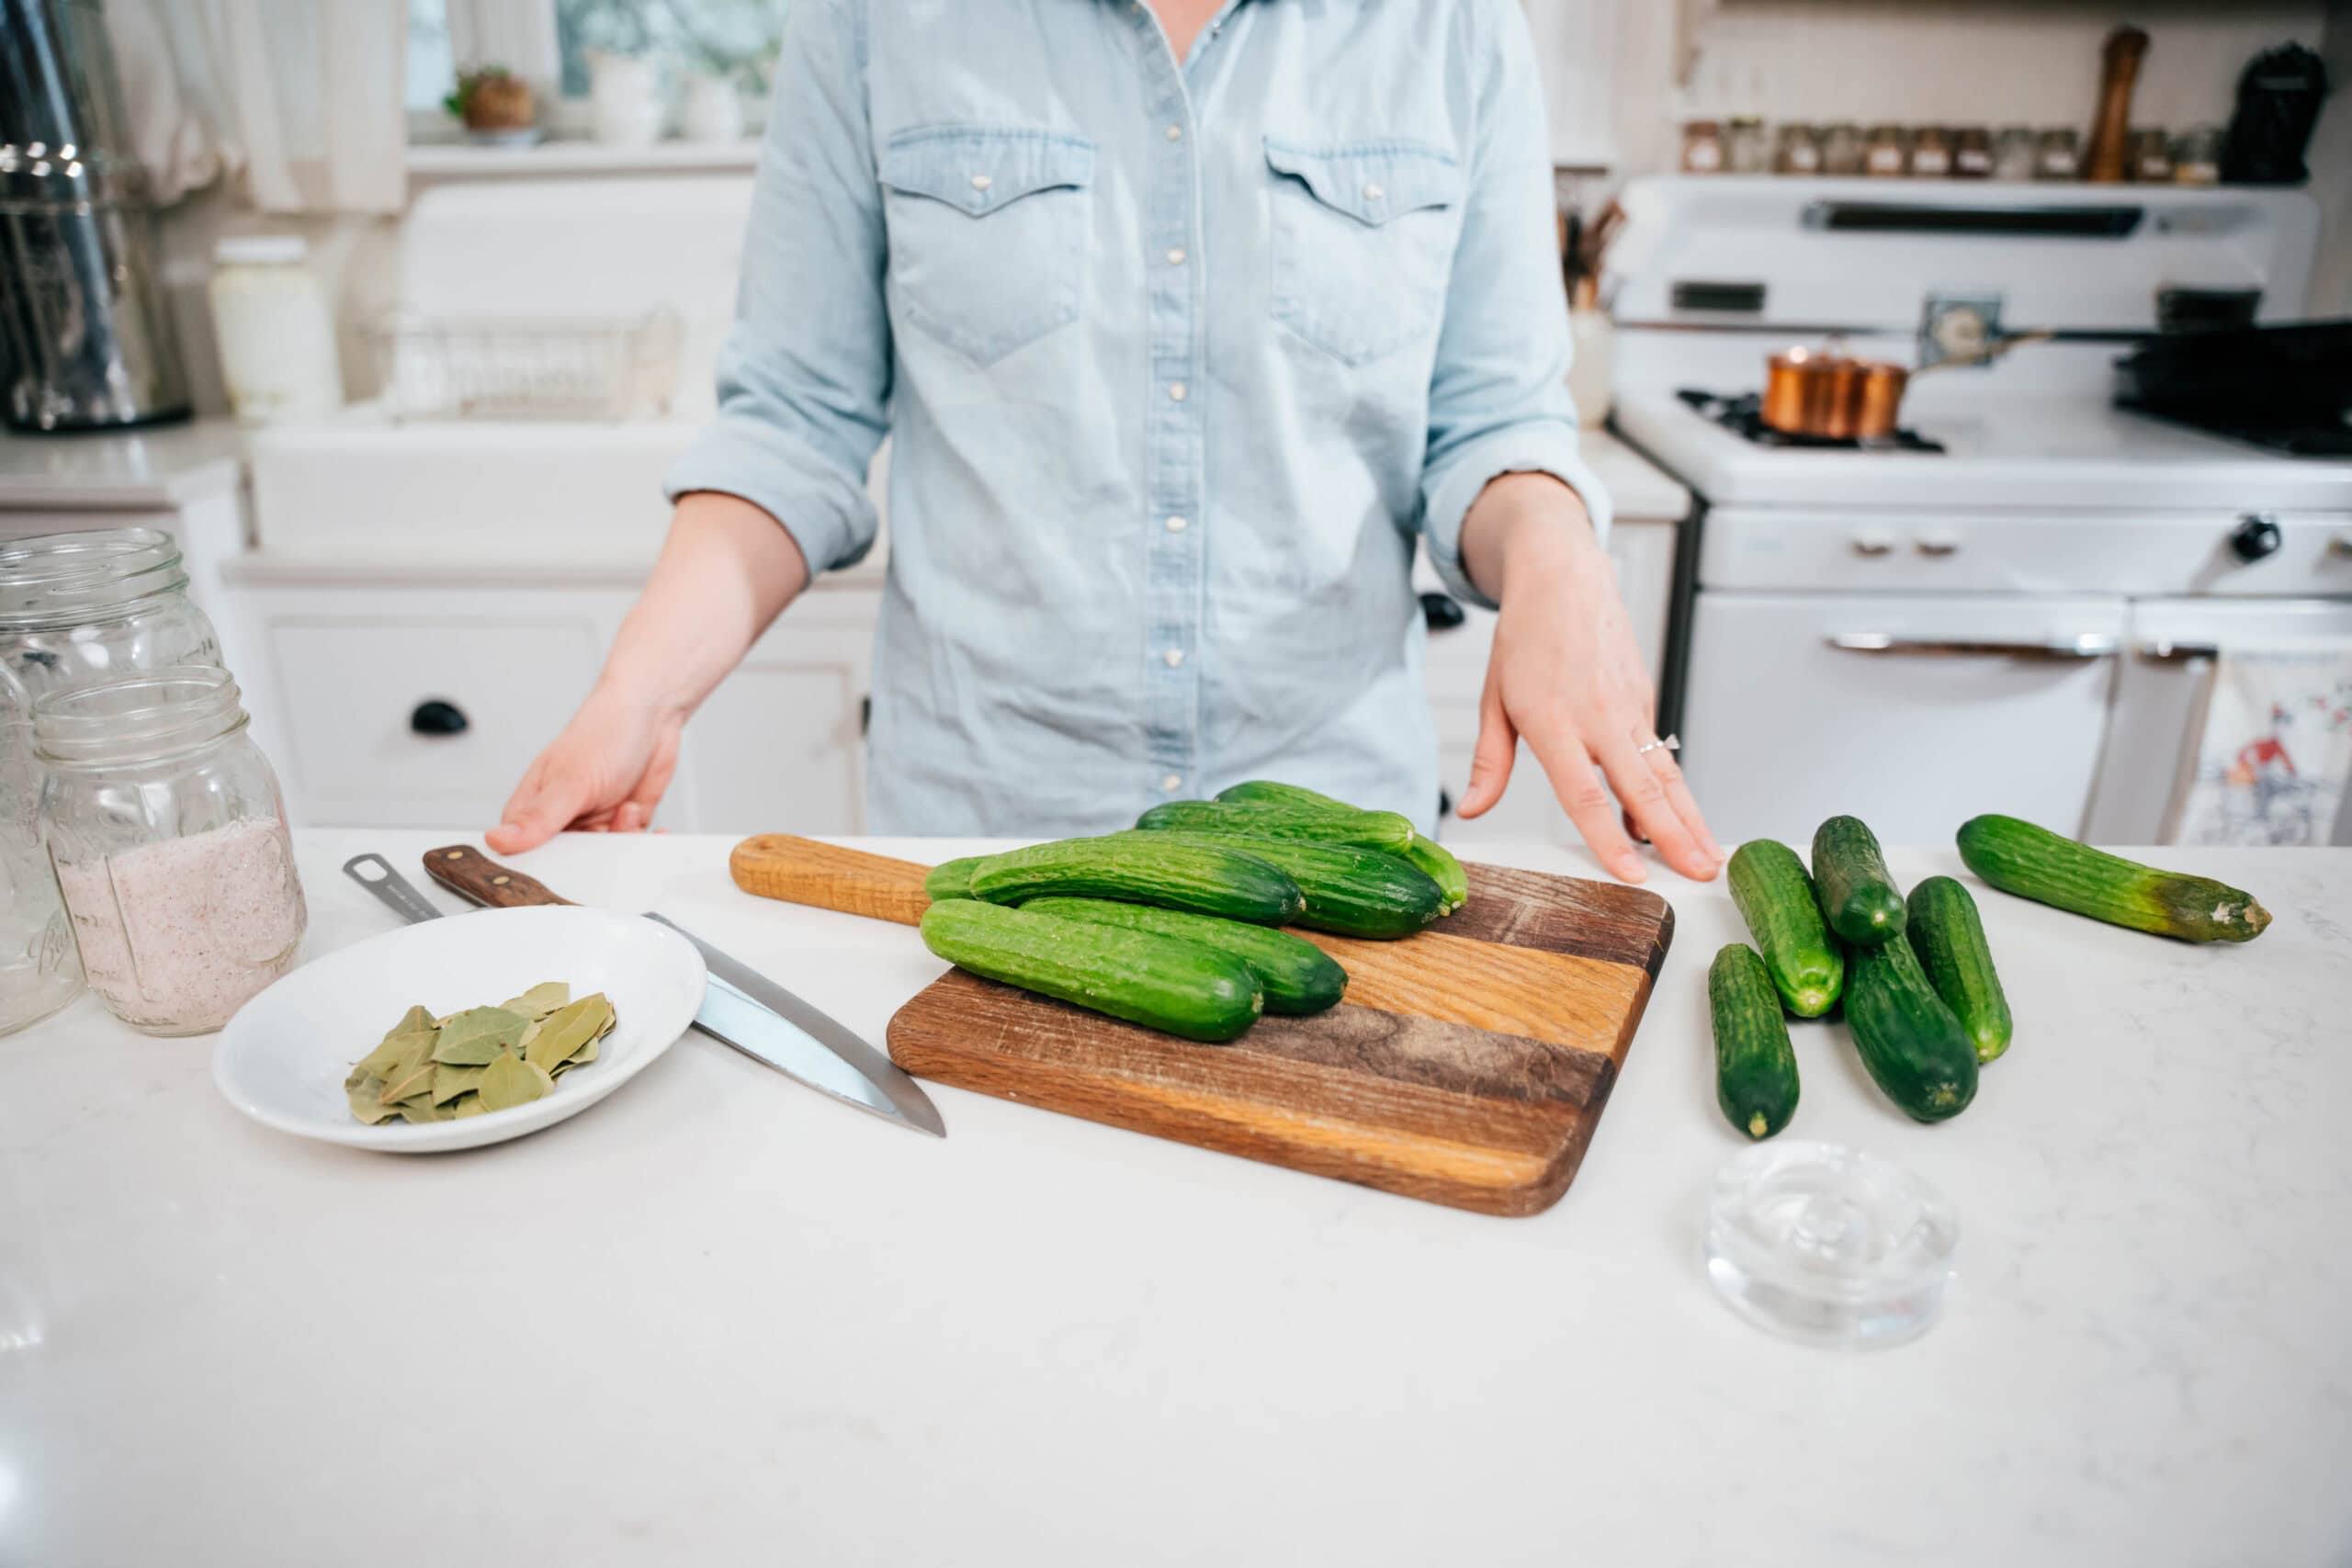
- 6 pounds pickling cucumbers (approximately 4–5 inches, or 10–13 cm, each of “Kirby” type cucumbers*)
- ½ cup canning and pickling salt
- 4 cups 5% acidity vinegar (white or apple cider vinegar, but not raw)
- 24 sprigs of fresh dill
- 8 bay leaves
- Scant 2 tablespoons yellow mustard seeds
- 1 teaspoon calcium chloride (also sold under the brand name “Pickle Crisp”), optional**
*If you are unable to find pickling cucumbers, you can substitute English cucumbers. These are sometimes referred to as seedless cucumbers or hot house cucumbers.
**Although Mary has made the calcium chloride optional, it does make a significant difference in keeping your pickles crisp.
Yield: Approximately 8 pint jars
Equipment
- 9 Half-pint jars (always prepare one more jar than your recipe calls for in case you end up with extra food that can't fit into the prepared jars)
- 9 Lids and bands
- Water Bath Canner
- 6–8 quart non-reactive sauce pan (stainless steel or enabled cast iron, preferably high sided)
- Jar Lifter
- Heat-proof mat
- Knife
Step 2: Prepare Jars and Lids
- Check the jars for any nicks, chips, or cracks
- Check the seal on your new lids
- Check that the bands are the appropriate size to fit the jars you will be using and rust-free
- Wash jars, lids, and bands in hot soapy water; rinse well, and allow to air dry on a clean kitchen towel
Step 3: Prepare Water Bath Canner
- Center the canner on a stovetop burner
- Place the rack in the bottom of the canner
- Fill the canner at least half full of water
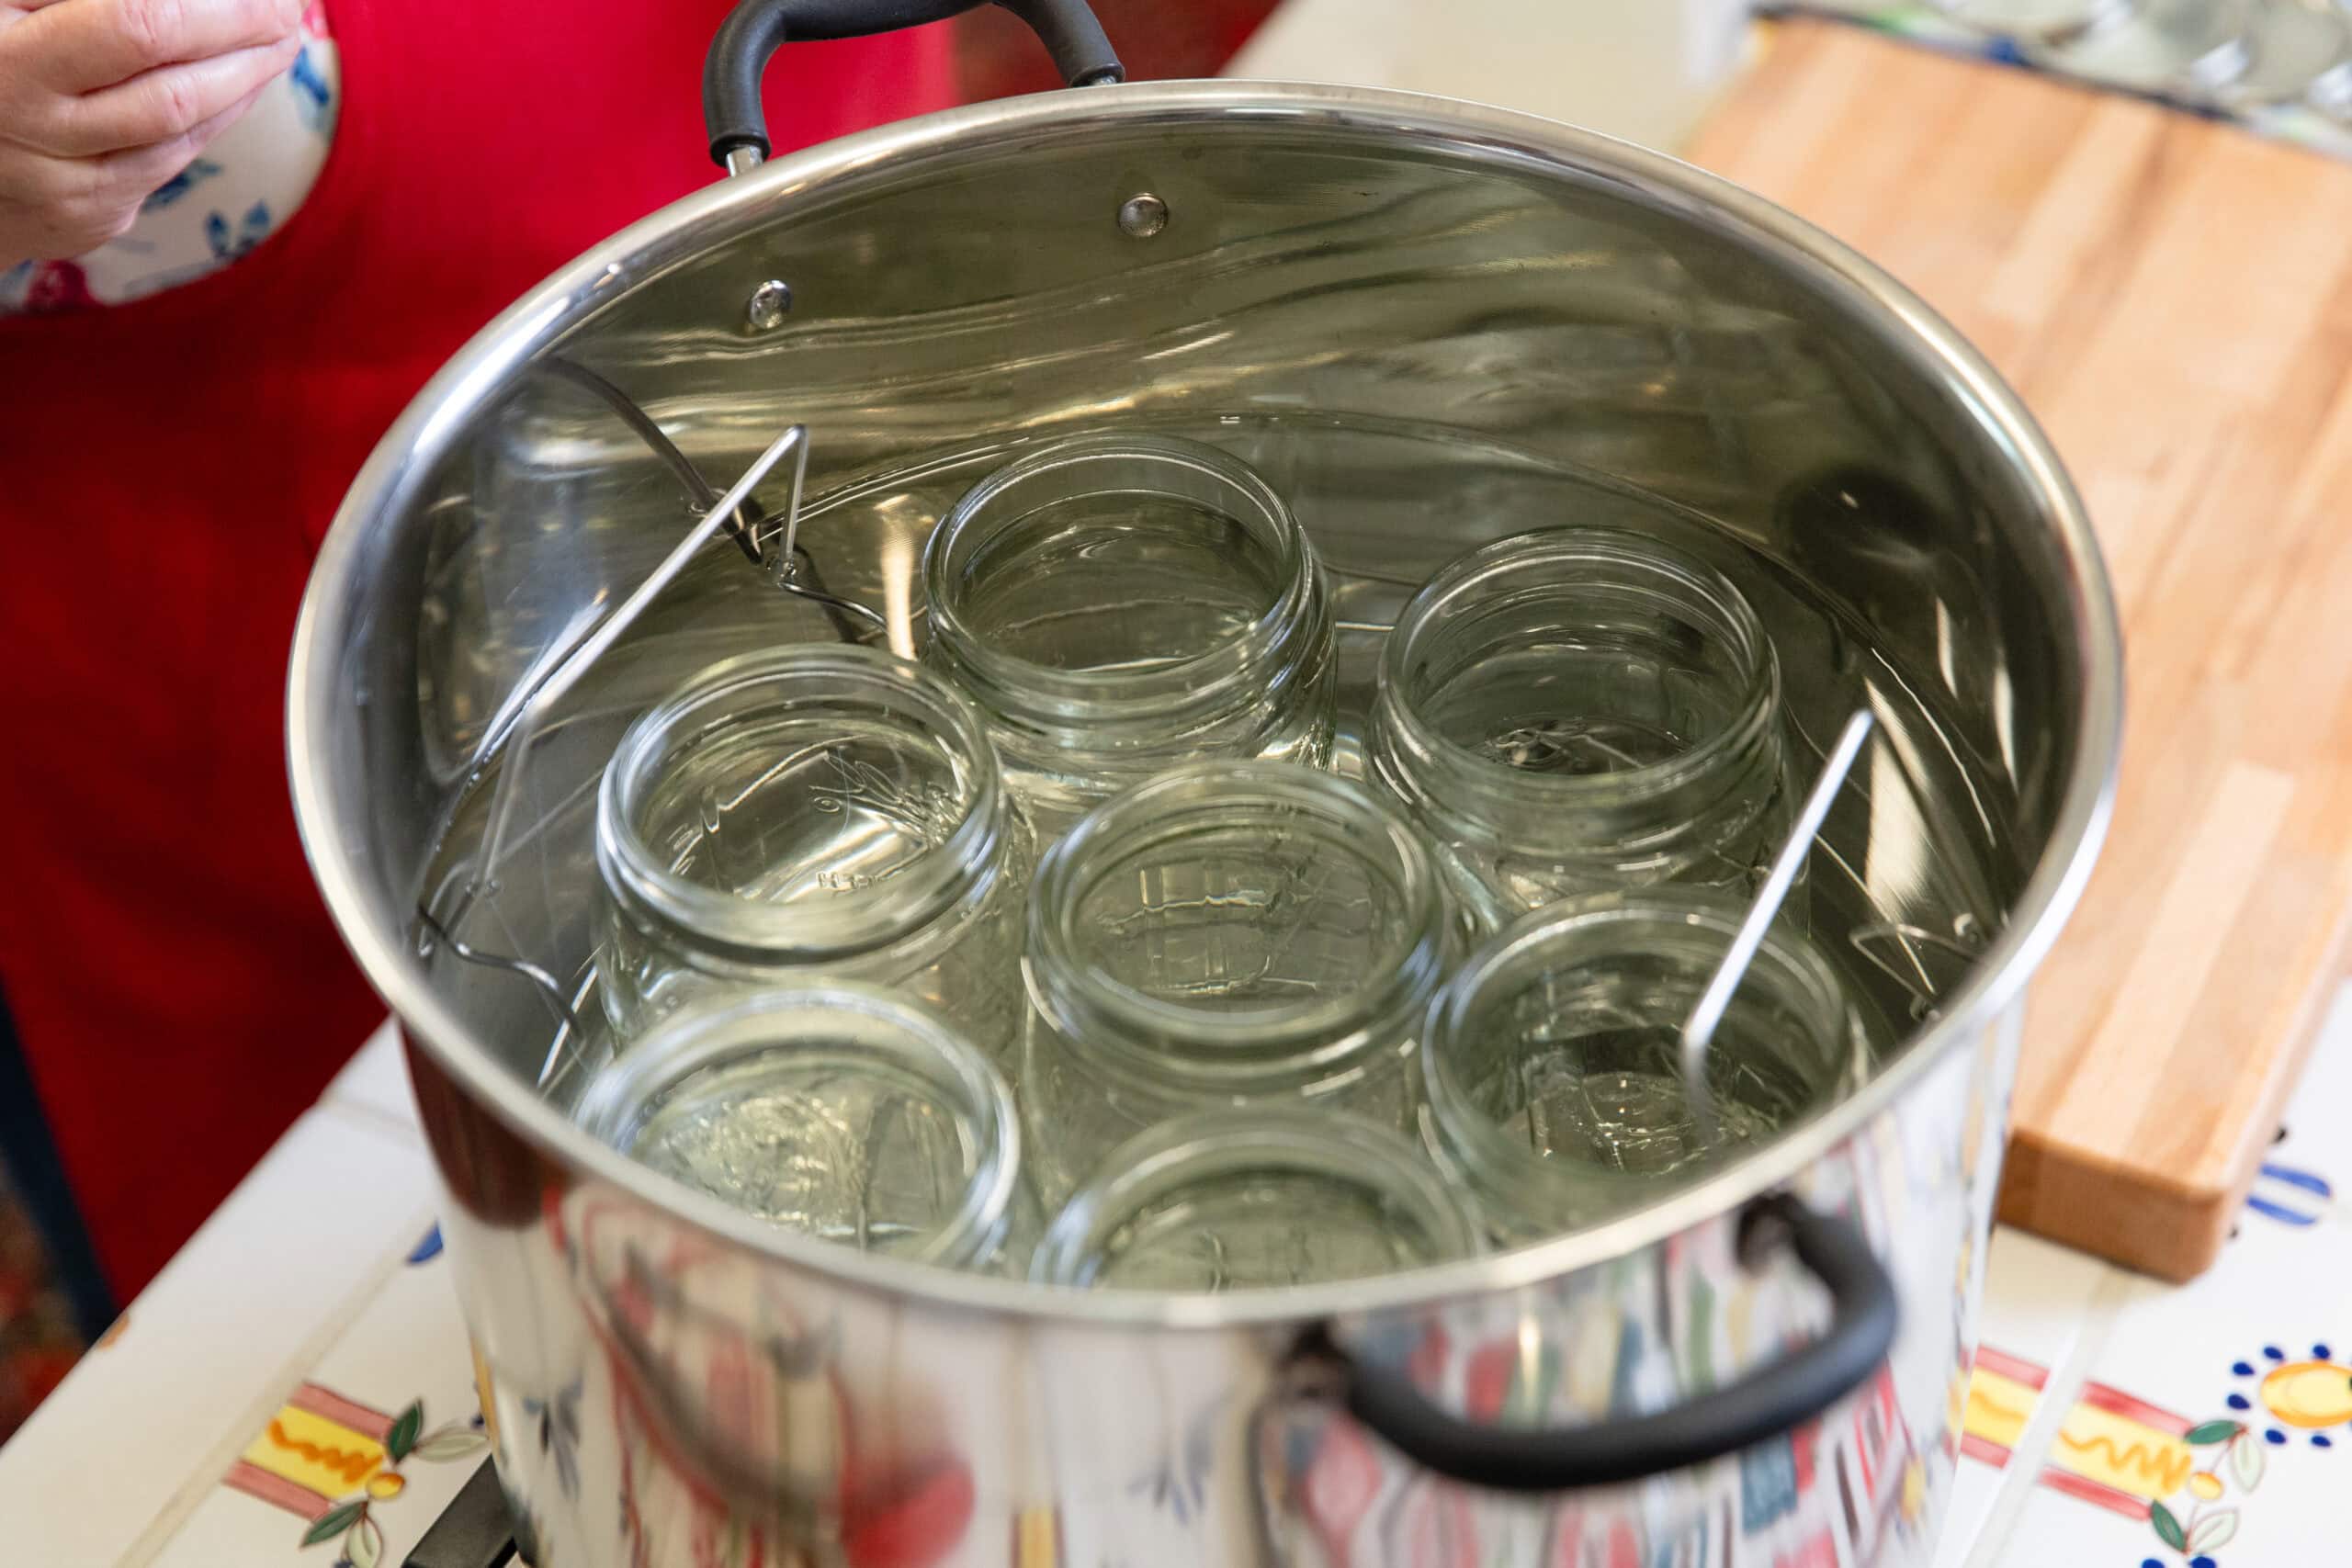
- Place the clean, empty jars on the rack and allow them to fill with water
- Cover the canner and bring the water up to a boil, then turn the stovetop heat down to low
- Heat an additional saucepan or tea kettle to have in reserve
Step 4: Prepare the Pickling Brine
- Heat 5 cups of water, 4 cups of 5% acidity white vinegar, and ½ cup of canning and pickling salt in a non-reactive saucepan
- Bring the pickling brine mixture up to a boil and then lower it to a simmer
- Boil the mixture for 5–10 minutes, stirring well to make sure all the salt has dissolved
Step 5: Prepare the Pickles
- While the brine comes to a boil, wash the cucumbers
- Cut 1/16 inch (2 mm) off of the blossom end (if you wish, you can also cut off the stem end, but cutting off the blossom end is crucial as this will help to keep the pickles crisp)
- Leave whole or slice each cucumber lengthwise twice to create four spears
Step 6: Fill the Jars
- Pack the cucumbers into the hot jars
- To each jar, you will add three sprigs of fresh dill, one bay leaf, and a ½ teaspoon of mustard seeds
- Sprinkle ⅛ teaspoon of calcium chloride into each jar, if desired
- Next, pour the hot pickling brine over the pickles in the hot jars leaving a ½ inch (about 1.25 cm) headspace
- Use a flat edge knife or de-bubbler to remove any bubbles from each filled jar
- If the headspace drops below a ½ inch, add additional hot pickling liquid to jars
- Wipe jar rims clean with vinegar to remove any sticky residue that could prevent sealing
- Place lid on jar and tighten the band to “fingertip tight” (not super tight)
Step 7: Fill Canner with Jars and Additional Water
- Using the jar lifter, keep the jars level and place them into the canner
- Check the level of water in the canner: It should be at least one inch (2.5 cm) above the top of the jars
- Add additional hot water if necessary to bring it to that level
- Put the lid on the canner
Step 8: Process in the Water Bath
- Turn the stovetop heat to high
- Once the water in the canner reaches a steady boil, this is when you begin to start counting the processing time (the water should boil the entire time)
Processing Times for pint jars of Whole Dill Pickles or Dill Pickle Spears:
Altitude of 0–1,000 feet above sea level: 15 minutes
Altitude of 1,001–6,000 feet above sea level: 20 minutes
Altitude over 6,000 feet above sea level: 25 minutes
Step 9: Cool Down Period
- Once the processing time is complete, turn off the stovetop heat
- Remove the lid from the canner and place it on a heat-proof surface
- Allow the jars to sit in water in the canner for 5 minutes
Step 10: Remove Jars from the Canner and Cool
- Place a dry cushioned kitchen towel or mat on the counter in a warm spot away from drafts
- Place each jar gently on to the cushioned kitchen towel or mat, keeping the jars level as you lift them from the canner
- Leave one inch (2.5 cm) between each jar to allow the air to circulate
- Allow the jars to cool for 12–24 hours
Step 11: Test the Jar Seals and Store the Jars
- Remove the bands
- Test the lids using one of the approved methods
- Label each jar and store in a cool, dark place
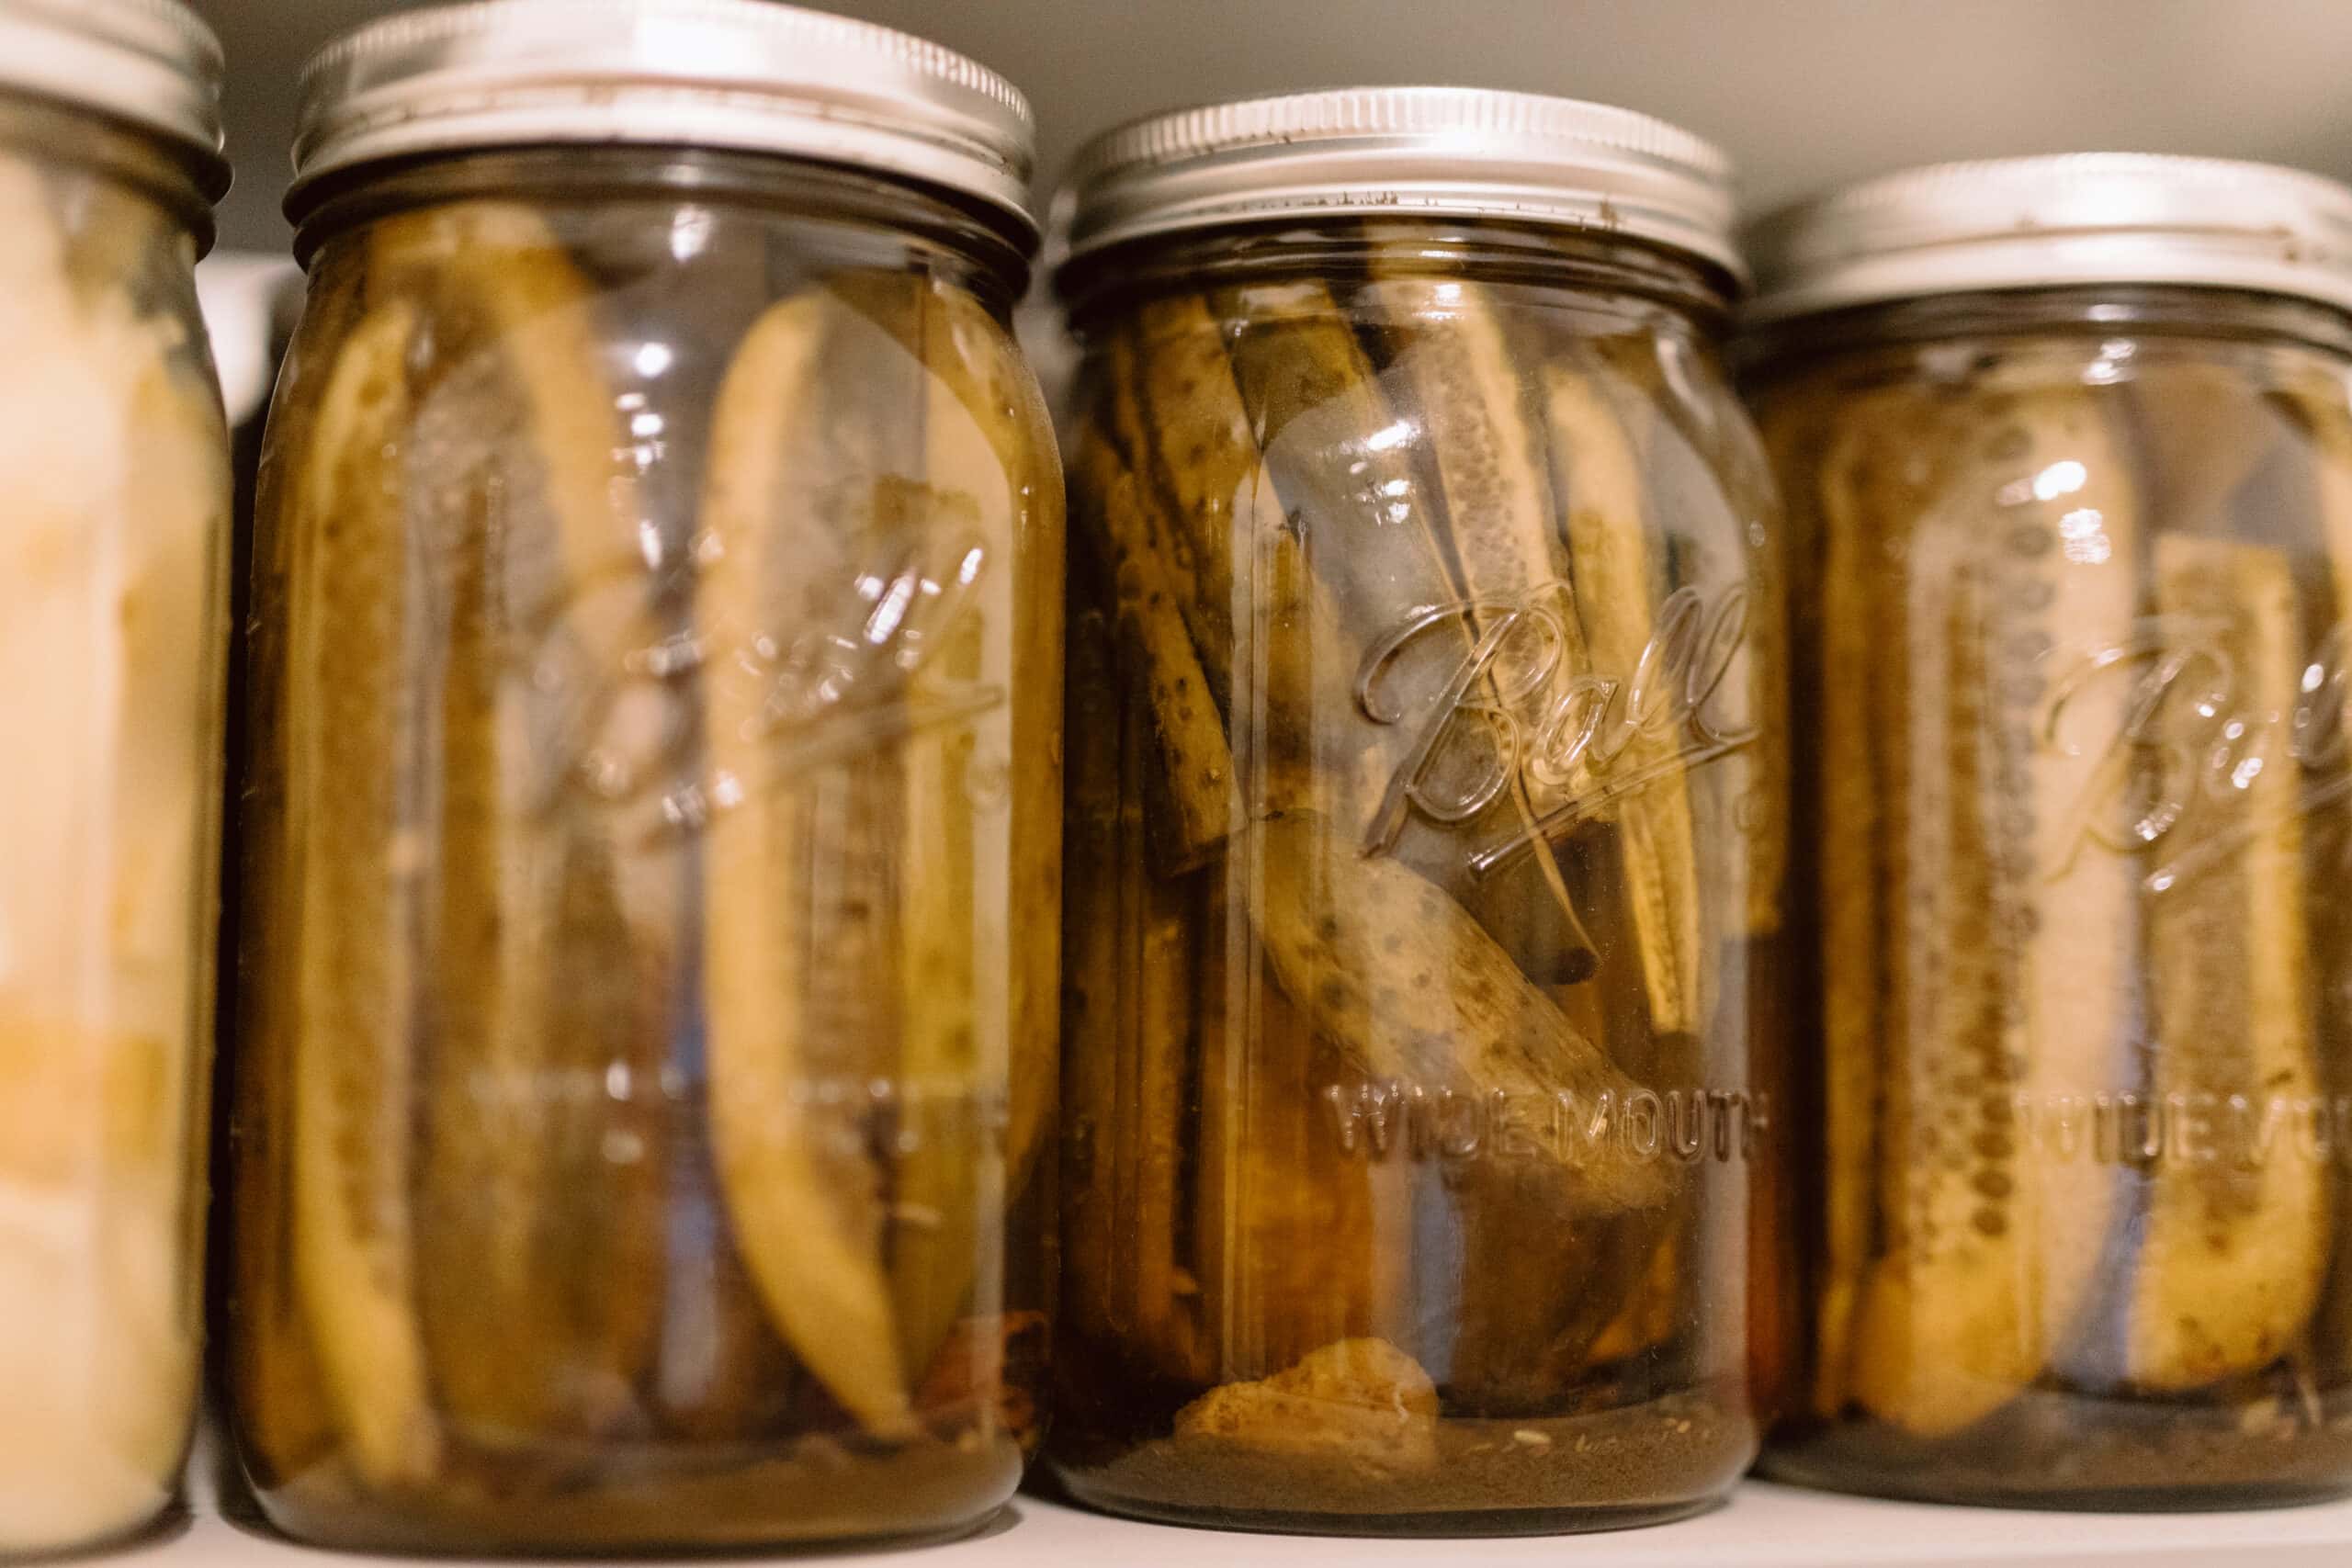
Home canned pickles taste best after they have sat on your pantry shelves for about three weeks. This allows all the flavors to meld together and provide you with the tastiest, most consistent pickle.
There you have it: traditional dill pickles. Easy, fun, impressive, and possibly will be some of the best pickles you’ve ever had. And there’s so many more recipes where that came from, including delicious adaptations to this classic pickle recipe (bread and butter pickles, anyone?).
For more delicious and easy canning recipes for beginners, see Mary Shrader’s Water Bath Canning class. With Mary’s sweet and patient approach, you can learn to make everything from universally enjoyed strawberry jam, to fruits in syrup, to canned tomatoes and simple salsas.
One More Thing
At the end of the day, according to Mary, preserving food comes down to three things: honoring the work that went into the harvest (even if it was someone else’s harvest) by avoiding waste; increasing nutritional value whenever possible; and creating stores that can feed people at a moment’s notice, under any circumstances.
That last one is what really motivated Mary’s mother and first canning teacher, Gloria Bryant, to preserve food while they were still living in New York City, and then later on their three acre homestead.
“She did it for people,” Mary recalls. “She wanted everyone to enjoy and be happy and healthy, and also have tasty food that nourished you. My mother believed that food brought people together. Having ingredients on hand, ready to go, really helped with that.”
Food isn’t just about nourishing the body, Mary learned. It was about nourishing relationships and connections. Now that’s a great motivator for getting started with water bath canning.
Once you're comfortable with that, learning pressure canning becomes the next logical step. It’s a similar process in many ways, just a different tool, and it opens up the possibilities of healthy and delicious low-acid canned goods like plain vegetables, soups, meat, and broth. Carolyn Thomas's Pressure Canning class walks you through the equipment and safety step by step so you can prepare nourishing low-acid foods for your family and friends.
Now, it’s time to take the plunge. Learn how to water bath can with Mary! This will help you create food resilience while making memories centered around food preservation with your family. It won’t take long before you will feel confident and are enjoying a fully-stocked, traditional foods pantry.
While you’re at it, why not explore all the preservation methods this summer? From July 6–8, the School of Traditional Skills will host a Preservation Summit perfect for beginners just starting out with canning, freezing, and dehydrating. Not only is this a great chance to learn the skills, but you can also possibly win some of the equipment that makes food preservation possible. See you for the live sessions next month!
Water Bath Canning
Fill your pantry with healthy, delicious “fast food” you make at home! Discover water bath canning and make safe, tasty canned fruits and veggies so you always have a delicious supply of tomatoes, pickles, jams, pie fillings, green beans, and much more!