SERIES: Article 1 | Article 2 | ▶ Article 3 (this one) | Article 4 | Article 5
This is Article 3 in our five-part Pressure Canning Series, built from Carolyn Thomas's Pressure Canning class. If you haven’t yet mastered water bath canning, you may want to check out the introductory series to different methods of preservation first. What if you’re ready to learn pressure canning but missed the earlier articles of this Pressure Canning Series? Start with Pressure Canning 101 (Article 1) and Pressure Canner Basics (Article 2) . Keep going with Canning Low-Acid Vegetables (Article 4) and Troubleshooting Pressure Canning Mistakes (Article 5) .
The 10 Steps You'll Use Every Single Time You Pressure Can
Don’t you love when things are simple? Once you learn this framework, you can apply the same 10 steps to hundreds of future canning projects.
We’ll cover these in broad strokes, but Carolyn Thomas goes into each step in detail in her Pressure Canning class and actually demonstrates the whole process by canning chicken broth on camera (helpful for the visual learners among us!).
1. Prepare your jars, lids, rings, and canner:
Wash everything in hot soapy water, including the jars (they don’t need to be sterilized, contrary to popular belief). Keep your jars warm in hot water until you are ready to fill them (one good option is to set them into your prepared canner). Rinse your pressure canner, check the vent pipe to be sure it is clear, and put 2 inches (5 cm) of water in the canner. Turn your stove on medium-high and warm your canner to the proper temperature (dependent on what you’re preserving).
2. Prepare your preserve:
This is the actual cooking or prep of whatever you're canning. Remember to follow the recipe directions exactly.
3. Fill jars, screw lids on until finger-tight, and load into pressure canner:
Release bubbles, adjust liquid level in jars as needed to get proper headspace, wipe the rims, and get the lids and rings on. After placing the jars into the canner, check the water level in the pressure canner, ensuring it’s 2–3 inches (5–7.5 cm) high. Add or remove water as needed to get to this level, and do not cover your lids with water.
4. Vent canner:
Place the lid on the canner and lock into place. Turn heat on medium and let the steam vent consistently for 10 minutes before moving on to the next step.
5. Pressurize:
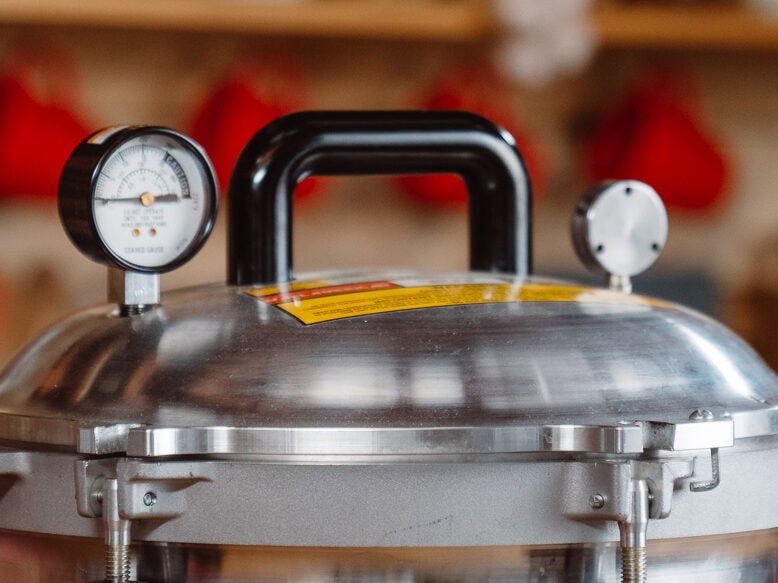
Place the pressure regulator (the weight) onto the vent. Allow pressure to slowly climb to full pressure. Don't forget to select the right weight for your elevation. Ease off the heat as you approach your target pressure so you don't overshoot.
6. Process:
Once your canner has stabilized at the target pressure, set a timer for the full processing time listed in the tested recipe as adjusted for your elevation. Turn off heat once the entire processing time is complete.
7. Cool canner:
Allow canner to naturally come down to zero pressure (0 psi). Wait until there’s no noise coming from the canner, about 30–45 minutes. Remove the pressure regulator and let the pressure equalize for 10 minutes before removing the lid.
8. Remove jars and cool:
Using a jar lifter, carefully remove your (still very hot!) jars without tipping them and let them cool undisturbed on a towel-lined counter, spaced about two fingers apart, until room temperature (about 12–18 hours).
9. Check seals and clean jars:
After your jars are completely cool, check the seals by pressing down in the center of the lid. If the lid doesn’t move or click, it’s properly sealed. In that case, remove the bands. If they are not sealed, store them in the refrigerator and consume within 2–3 days. Clean the outside of each jar with a damp cloth or by running under room temperature water in a sink (avoid hot water). Dry each jar thoroughly.
10. Store:
Label the jars with the contents and year, and store your jars without bands on a temperature-stable, dark shelf.
There you have it! To quote Carolyn, “Now that you know the ten steps of pressure canning, you’re ready to move on and pressure can all sorts of amazing things.”
Note: We didn’t have room here to explain the why behind every step (for instance, you may be wondering why the towel-lined counter matters, or why it’s essential that you remove the bands before storage), but Carolyn goes into all that and more in her video lesson, 10 Steps to Pressure Canning Success: Pressure Can Broth, from her Pressure Canning Class.
Pressure Canning
Join Carolyn Thomas from Homesteading Family as she shows you how to fill your pantry with safe, healthy, and delicious pressure-canned foods!
Your First Project: Pressure Canning Chicken Broth from Start to Finish
Now that we’ve got an understanding of the 10-step process, it’s time to make the actual item we’re going to can. Begin by gathering the following ingredients for your chicken broth:
- 1 chicken carcass (or use the bones of the roast chicken that you had for dinner last night)
- 2 carrots, with tops chopped off and then cut in half
- 2 celery stalks, cut in half
- 2 onions, skin on is fine
- 2 Bay leaves
- 1 small handful of peppercorns (10–20)
- 1 Tbsp salt
- 1–2 gallons of water, enough to cover all the ingredients
You’ll need to simmer the bones or whole chicken carcass with all your ingredients for 2 to 12 hours before straining and refrigerating overnight. This allows the fat to rise and makes it easy to skim off before canning, which impacts not just flavor but the canning process, too.
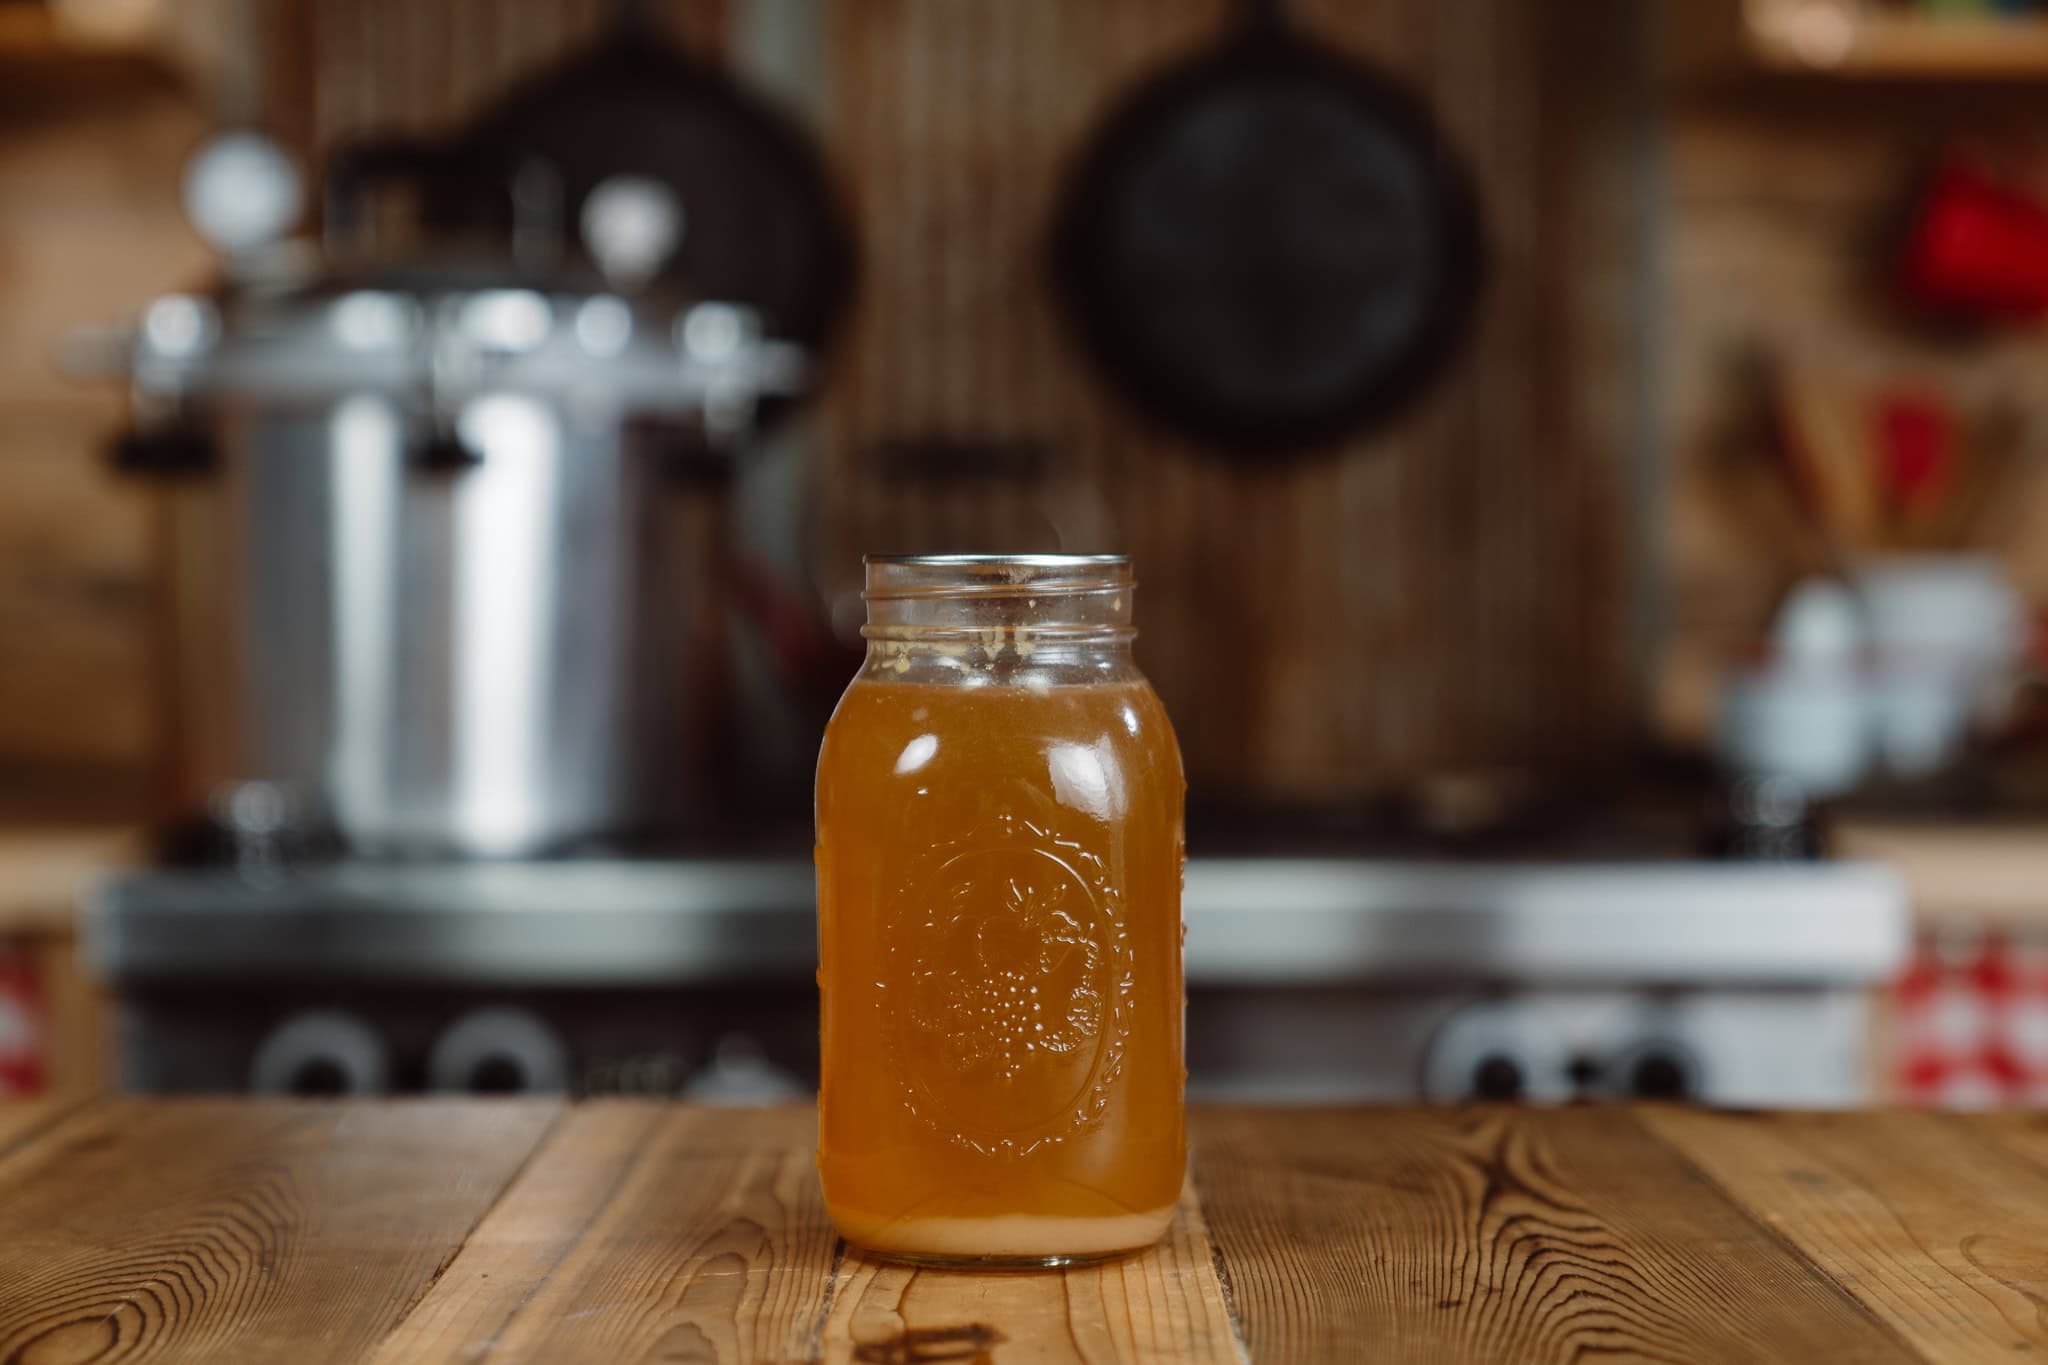
Fill the jars to one inch of headspace, wipe the rim clean (use a little vinegar if there's any grease), and process pints for 20 minutes and quarts for 25 minutes at the pressure your elevation requires.
Keep in mind that if your pressure drops below your target pressure at any point in the canning process, you have to bring it back up and restart your timer from zero. While being slightly over pressure is fine, being under pressure is very dangerous because it can allow botulism and other bacteria to survive.
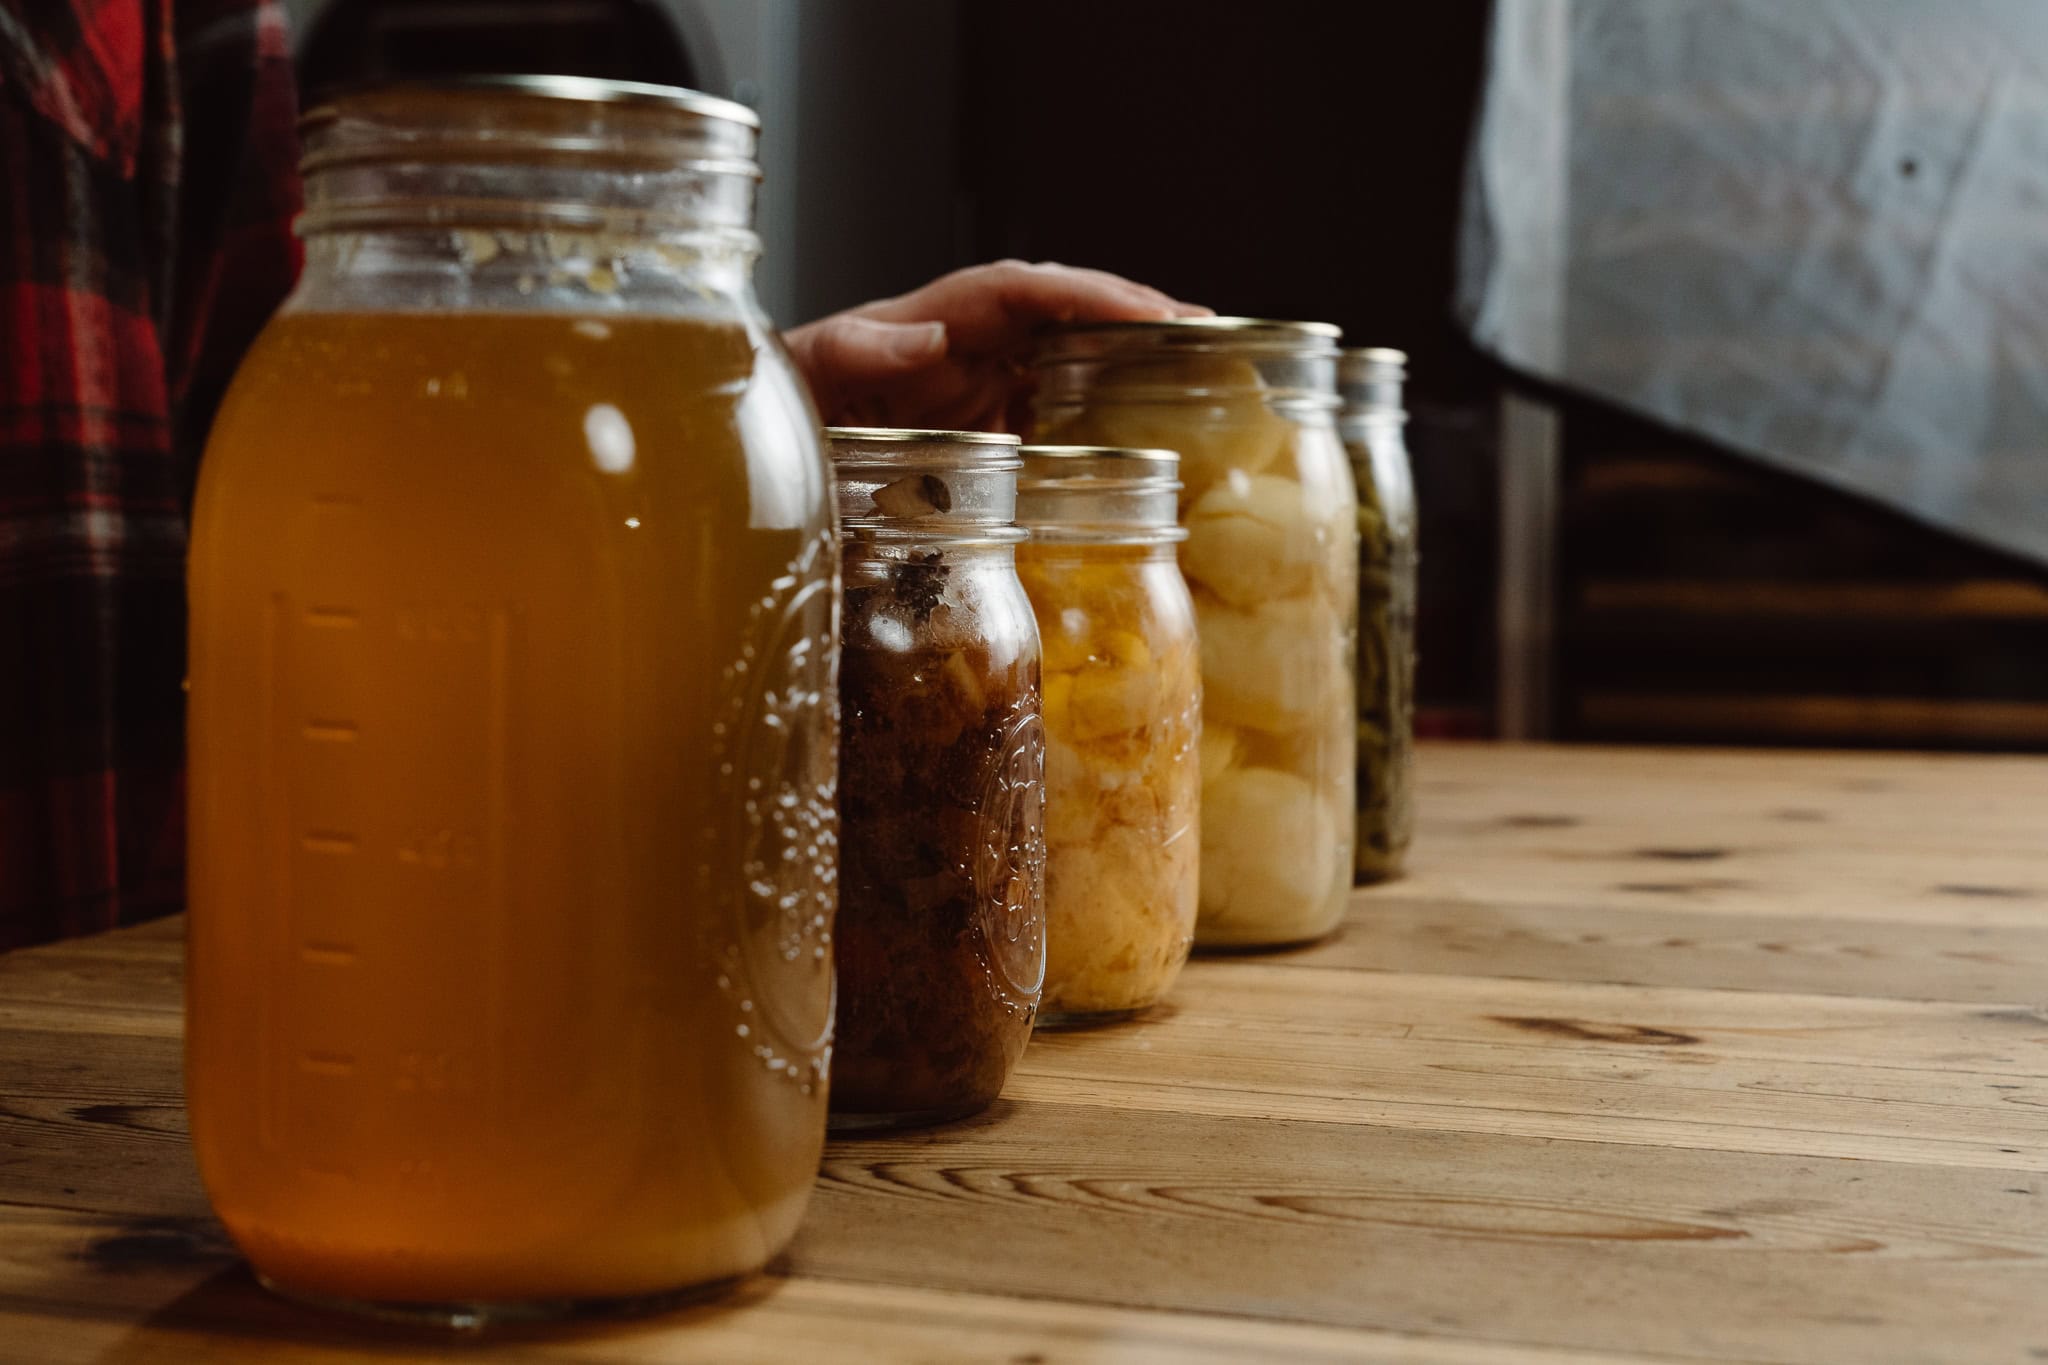
Properly canned broth stays shelf-stable for years (so long as the lid is secure, it’s edible). However, the nutritional value starts to degrade after about 12 months, so it’s best used within a year for peak nutrition.
How to Can Chicken: Canning Meat Is Easier Than It Sounds
After years of teaching hundreds of thousands how to preserve their food through her website and YouTube channel, “Homesteading Family,” Carolyn finds that canning meat is perhaps the item that triggers the most hesitation.
In her straight-shooting, matter-of-fact way, she addresses the intimidation factor head-on: “Now, I know this makes some people nervous, but you're gonna be surprised how absolutely easy it is.” And while she goes on to joke that meat canned in a jar “looks a little ugly,” it’s perfectly safe, so long as you can follow the recipe directions to a T.
For this recipe, you’re going to want to use the raw pack method, which entails taking raw food and packing it into warm jars with boiling liquid poured over top prior to processing, as we explain more in the next article of this series. Start by chopping the raw chicken into 2–inch cubes (5 cm) and removing any additional fat. The idea is to pack the chicken into jars so it cooks in its own juices while sealed inside the jar. This produces a flavorful result without any pre-cooking required (hence the raw in raw pack method).
The key technique is packing the jars down well as you fill, and adding freshly boiled water (not the raw meat's own liquid) to fill the remaining space, leaving 1 ¼ inch (3 cm) of headspace.
Boneless chicken processes for 65 minutes (in pints) or 75 minutes (in quarts). Bone-in chicken needs a bit longer: 75 minutes (for pints) or 90 minutes (for quarts). The same basic process (with adjusted processing times) works for beef, pork, lamb, fish, and turkey, which makes this one skill transferable to an entire shelf of protein.
Canned meat may not be pretty, but it sure is convenient. And you’ll really appreciate it when you can turn those cans into fast tacos, casseroles, or a quick heated meal in minutes.
Can You Can Meat and Vegetables That Have Already Been Frozen?
Whether or not it applies currently, at some point you’ve likely experienced the blessed dilemma of an overly full freezer. But to paraphrase Shakespeare – to can, or not to can: that is the question.
And the answer is: Yes! Previously frozen meat and vegetables can be pressure canned, and it's a great way to clear freezer space and move those items onto the shelf.
The only real caveat is that food which has been frozen far longer than recommended may have already declined in quality, and canning can’t bring those back to life. So notice the state of your freezer foods, choosing those items that are still in reasonably good shape for canning.
And next time you’ve got a half bushel of fresh veggies in front of you and are wondering whether to can or freeze them (if you even have room in your freezer), you’ll likely find this comparison of canning vs. freezing helpful.
Commonly Asked Questions About Canning Meat and Broth
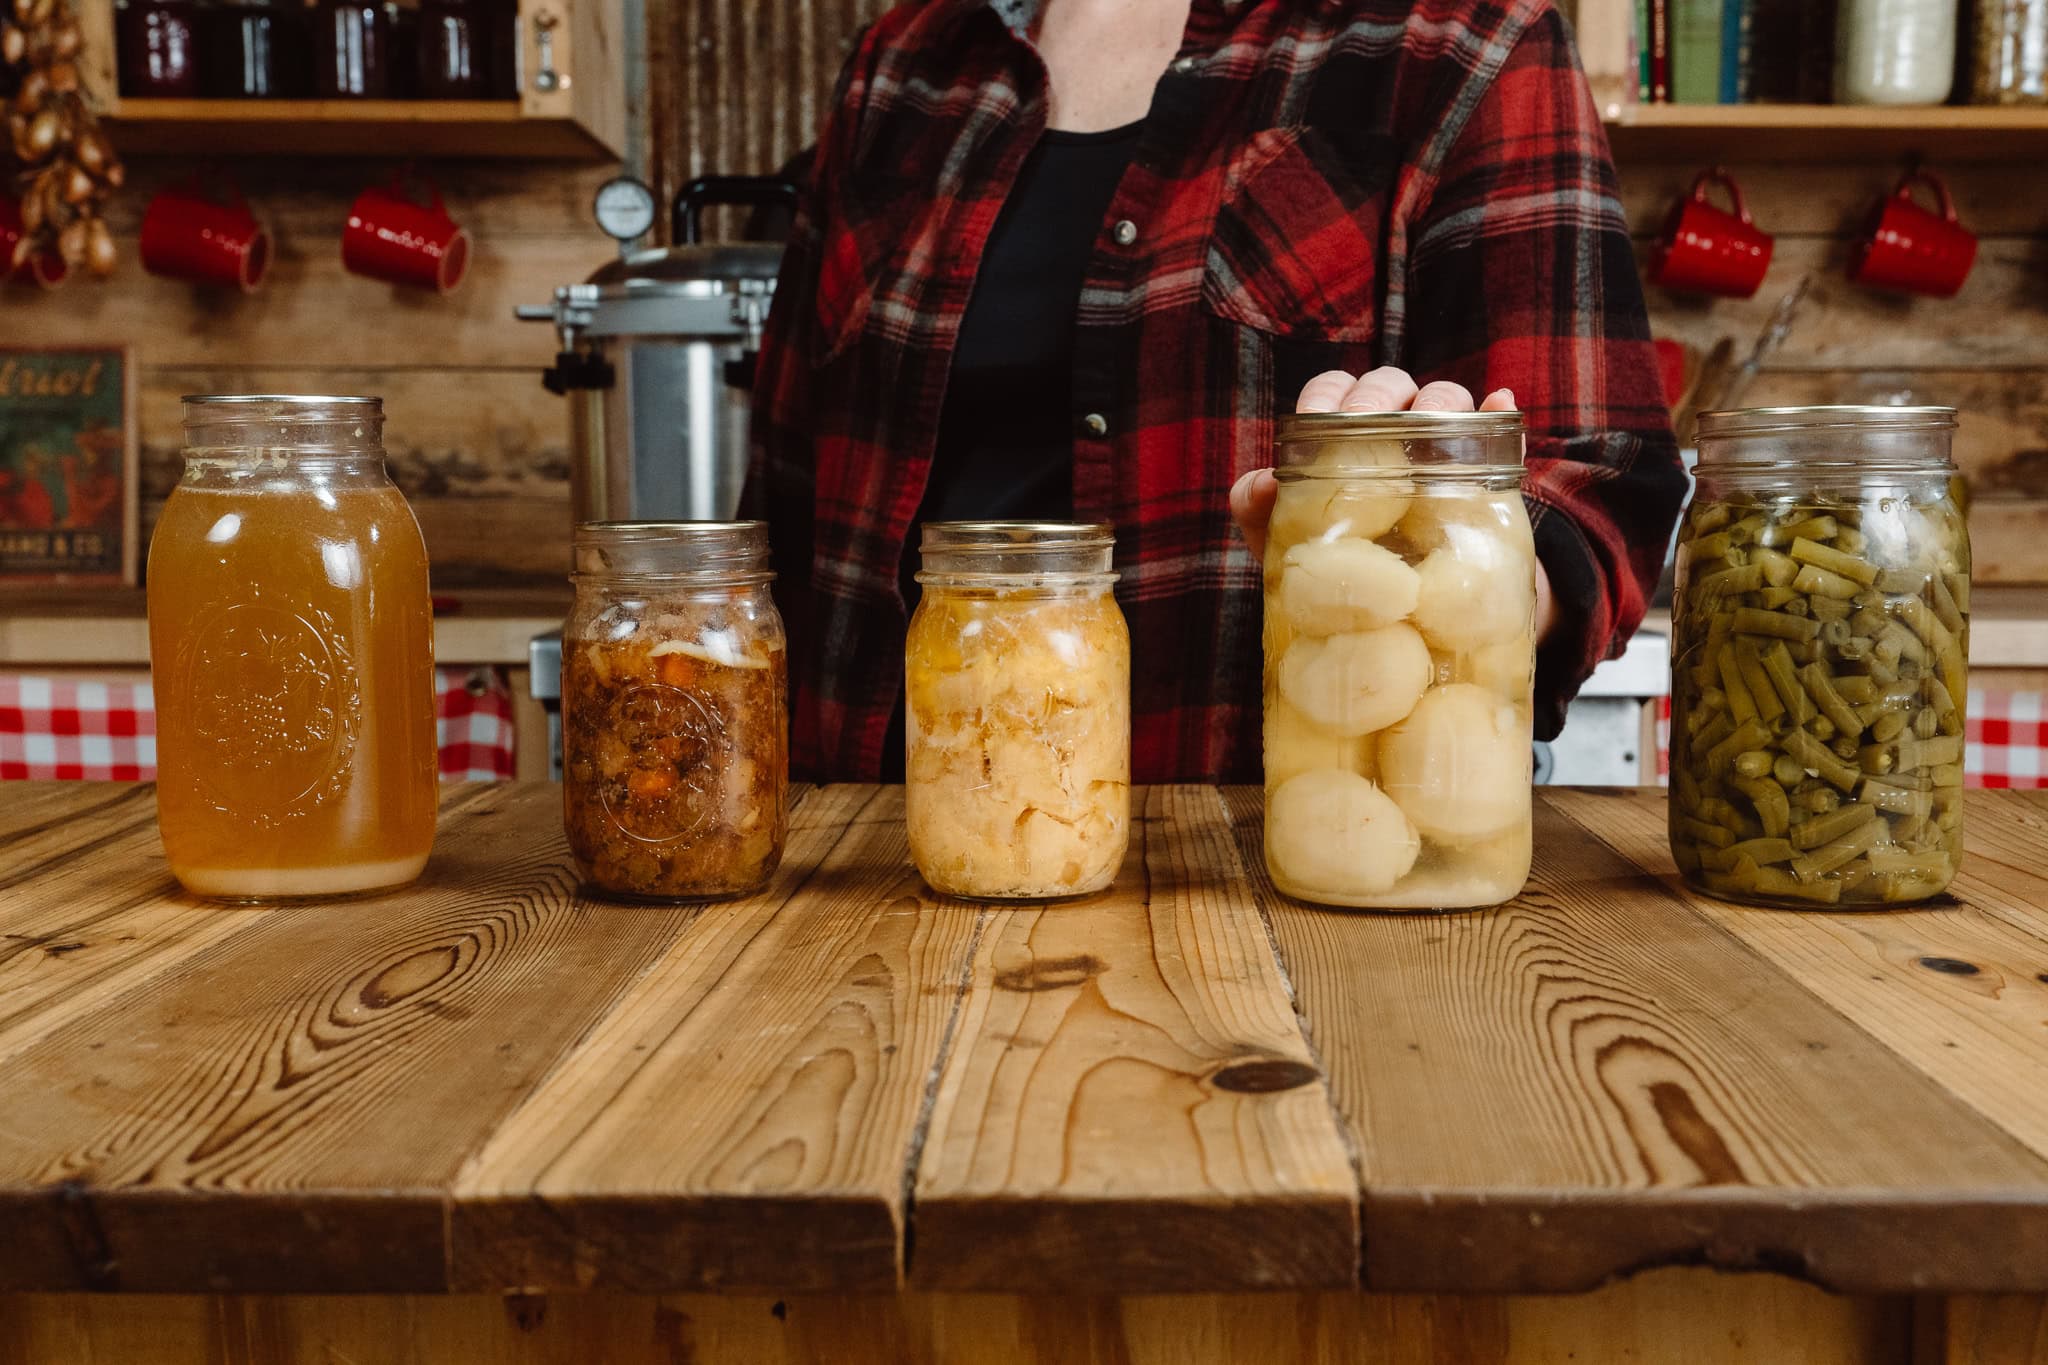
Yes, raw chicken can be packed directly into jars without pre-cooking, using what's called the “raw pack method” (see more about the raw packing and hot packing methods in Article 4 of this series). The chicken cooks fully in its own juices during processing, which produces a flavorful, tender result. Boneless chicken processes for 65 minutes in pints or 75 minutes in quarts. Bone-in chicken needs longer processing times: 75 minutes for pints or 90 minutes for quarts.
Properly sealed and stored chicken broth stays shelf-stable for years, often five to seven years (or more!) as long as the seal holds. For the best nutritional density and flavor, use it within about a year and then rotate in a fresh batch. Storage in a dark, temperature-stable spot, away from ovens and direct sunlight, helps it hold quality longer.
Yes, previously frozen meat and vegetables can be safely pressure canned. The only real concern is quality: meat frozen much longer than the recommended freezer storage time may have already lost texture or flavor before it ever reaches the jar. Canning is a good way to move food out of an overcrowded freezer and onto a shelf, as long as the food itself is still in good shape.
Meat processed at the correct pressure and time for the entire duration specified by the tested recipe is fully cooked and safe to eat directly from the jar. Always confirm the jar has sealed properly and shows no signs of spoilage (like an off smell, bulging lid, or cloudy liquid with a bad odor) before eating. Heating before serving is often preferable for flavor and texture, but the food is perfectly safe eaten cold.
Raw pack means the meat goes into the jar uncooked and finishes cooking entirely during processing. Hot pack means the food is cooked first, then packed into the jar with hot liquid. Both methods are used across different tested recipes. The choice depends on the specific food and what the tested recipe calls for.
Process pints of chicken broth for 20 minutes and quarts for 25 minutes at the pressure required for your elevation. These times apply once the canner has reached full, steady pressure, not from when you first turn on the heat. Always use an up-to-date tested recipe, since processing times can vary slightly by ingredient and jar size.
One More Thing
If chicken is the gateway homesteading animal, chicken broth and chicken meat are the gateway pressure canning projects. Once you've canned one, the fear that kept you from trying meat at all tends to disappear fast.
Our next article moves into how to can your favorite low-acid vegetables, including the raw pack and hot pack methods you'll use for green beans and potatoes. Not only that, but we’ll even cover how to can a healthy, delicious, and convenient pot roast dinner! It’s just the thing to pull off the shelf on a busy night or when you’re feeling too sick or tired to cook from scratch.
If you’re interested in more tips and detailed instructions to keep building your pantry, watch Carolyn Thomas demonstrate both the broth and chicken projects start to finish in her Pressure Canning class.
Pressure Canning
Join Carolyn Thomas from Homesteading Family as she shows you how to fill your pantry with safe, healthy, and delicious pressure-canned foods!