This article is the third in a series on Late Spring Beekeeping. See article one here, and article two here. If you’re ready to take the next step, check out our class on Natural Beekeeping with Adam Martin of Bee Kept.
The Inspection As a Conversation
In the last article, we covered Adam Martin’s beehive inspection philosophy. We talked about how the hive should be opened in order to answer a specific question, not to interfere. In the most utilitarian sense, it’s an information-gathering exercise.
But in reality, for the beekeeper who truly respects his tiny livestock, it’s much more than that. At the heart of the inspection is a conversation.
You're not managing the bees so much as listening to what they're telling you – that is, you read the signs. Are there eggs? A healthy, active queen is likely present. Do you see a honey rainbow on the top of the frames? Stores are abundant, and the colony is thriving. Are the bees calm? They’re content and likely enjoying good foraging and health.
With this perspective in mind, you’re ready to start the inspection. Let’s take a look at what it entails.
The Frame-by-Frame Inspection Process
Once you’ve collected the necessary supplies, done your pre-inspection steps, and identified a specific reason to open up the hive, it’s time to begin. Don’t forget to light your smoker a few minutes in advance so it’s ready when you lift the lid.
Step 1: Approach from Behind
Stand behind or to the side of the hive entrance – never block the flight path so bees flying in and out won't bump into you. Give the entrance a few puffs of smoke and wait 30 seconds before moving to step 2.
Step 2: Remove the Outer and Inner Covers
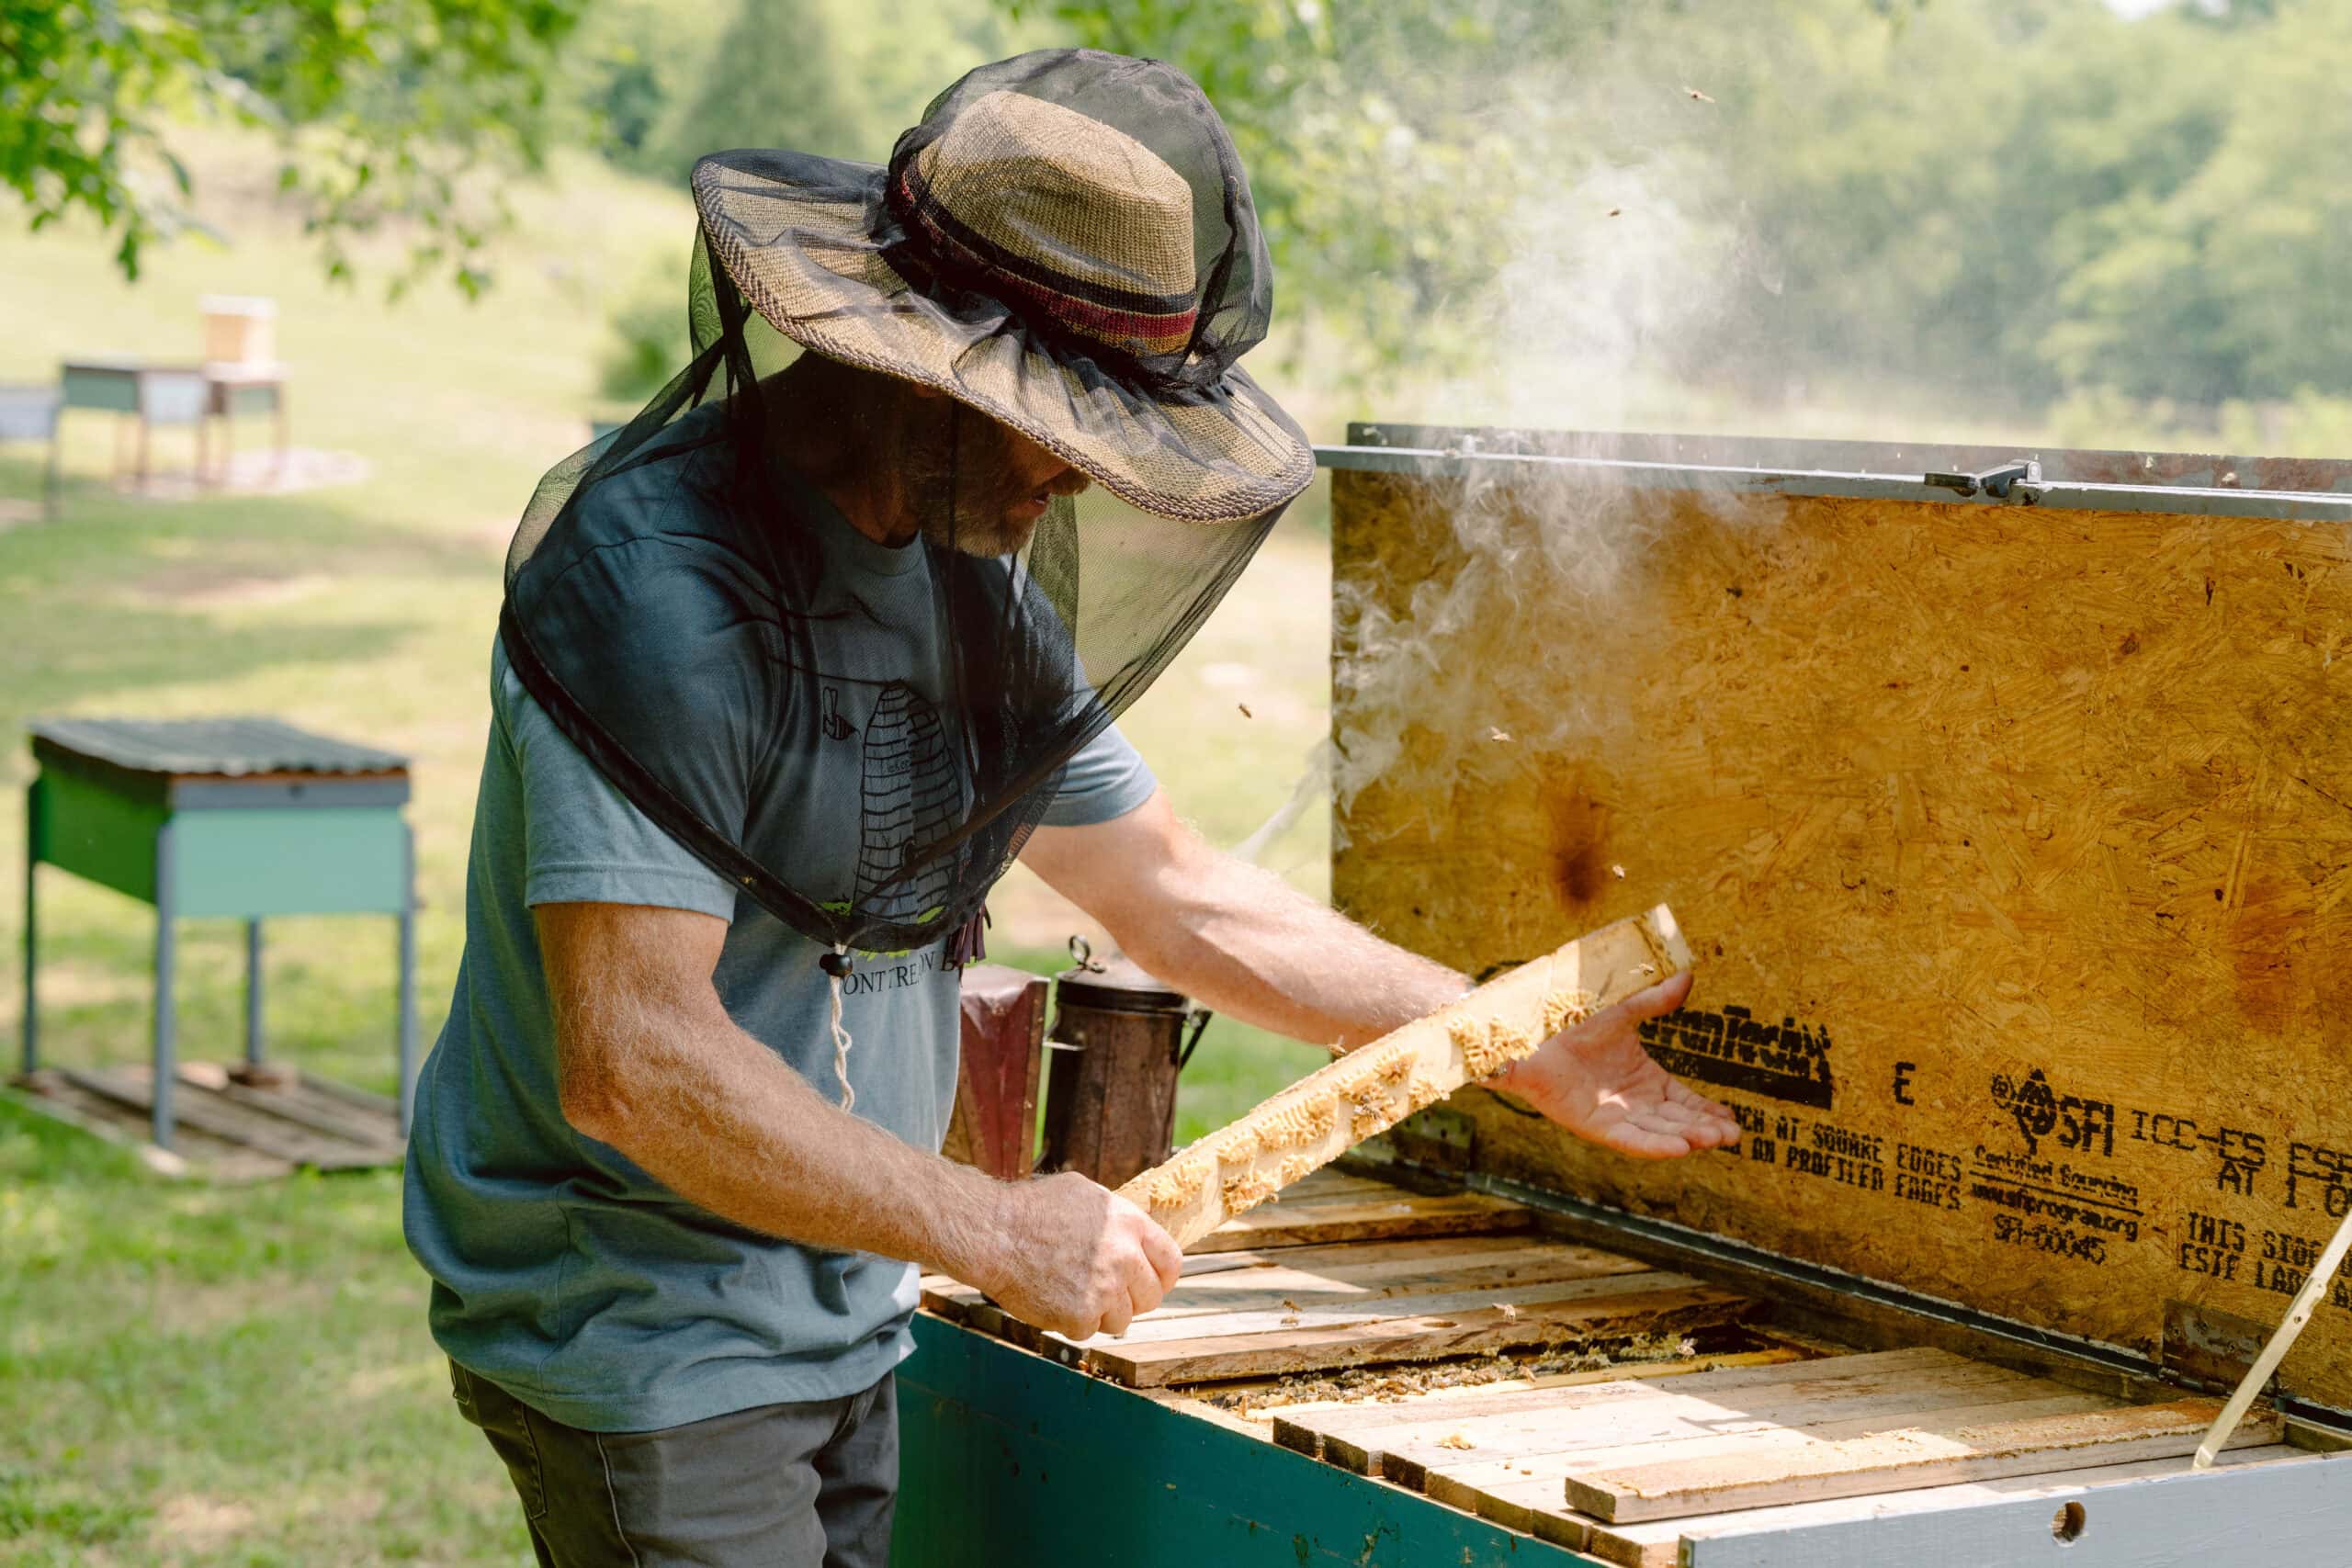
It’s go time! Lift the outer cover off gently. (Adam suggests setting it upside down on the ground so the inner surface doesn't get dirty.) Puff smoke again, this time across the top bars and through any holes in the inner cover. Wait another 10–15 seconds, then remove the inner cover. You will now see the tops of the frames, and the bees will start coming up. Another light puff of smoke should send them back down.
Step 3: Loosen and Remove the First Frame
The type of hive you have will dictate your starting point. For vertical hives, start with a frame on the outer edge, since this would be less likely to have brood. For horizontal Layens hives, start at the entrance end or the frame nearest the follower board.
When you’ve identified the first frame, use your hive tool to gently pry it loose (your hardworking bees have dutifully glued it with propolis to adjacent frames). Then lift it straight up, using slow, smooth movements. Bees will be on both sides of the frame, and you don’t want to accidentally crush or pinch any of them against the side of your box.
Step 4: Inspect Each Frame Systematically
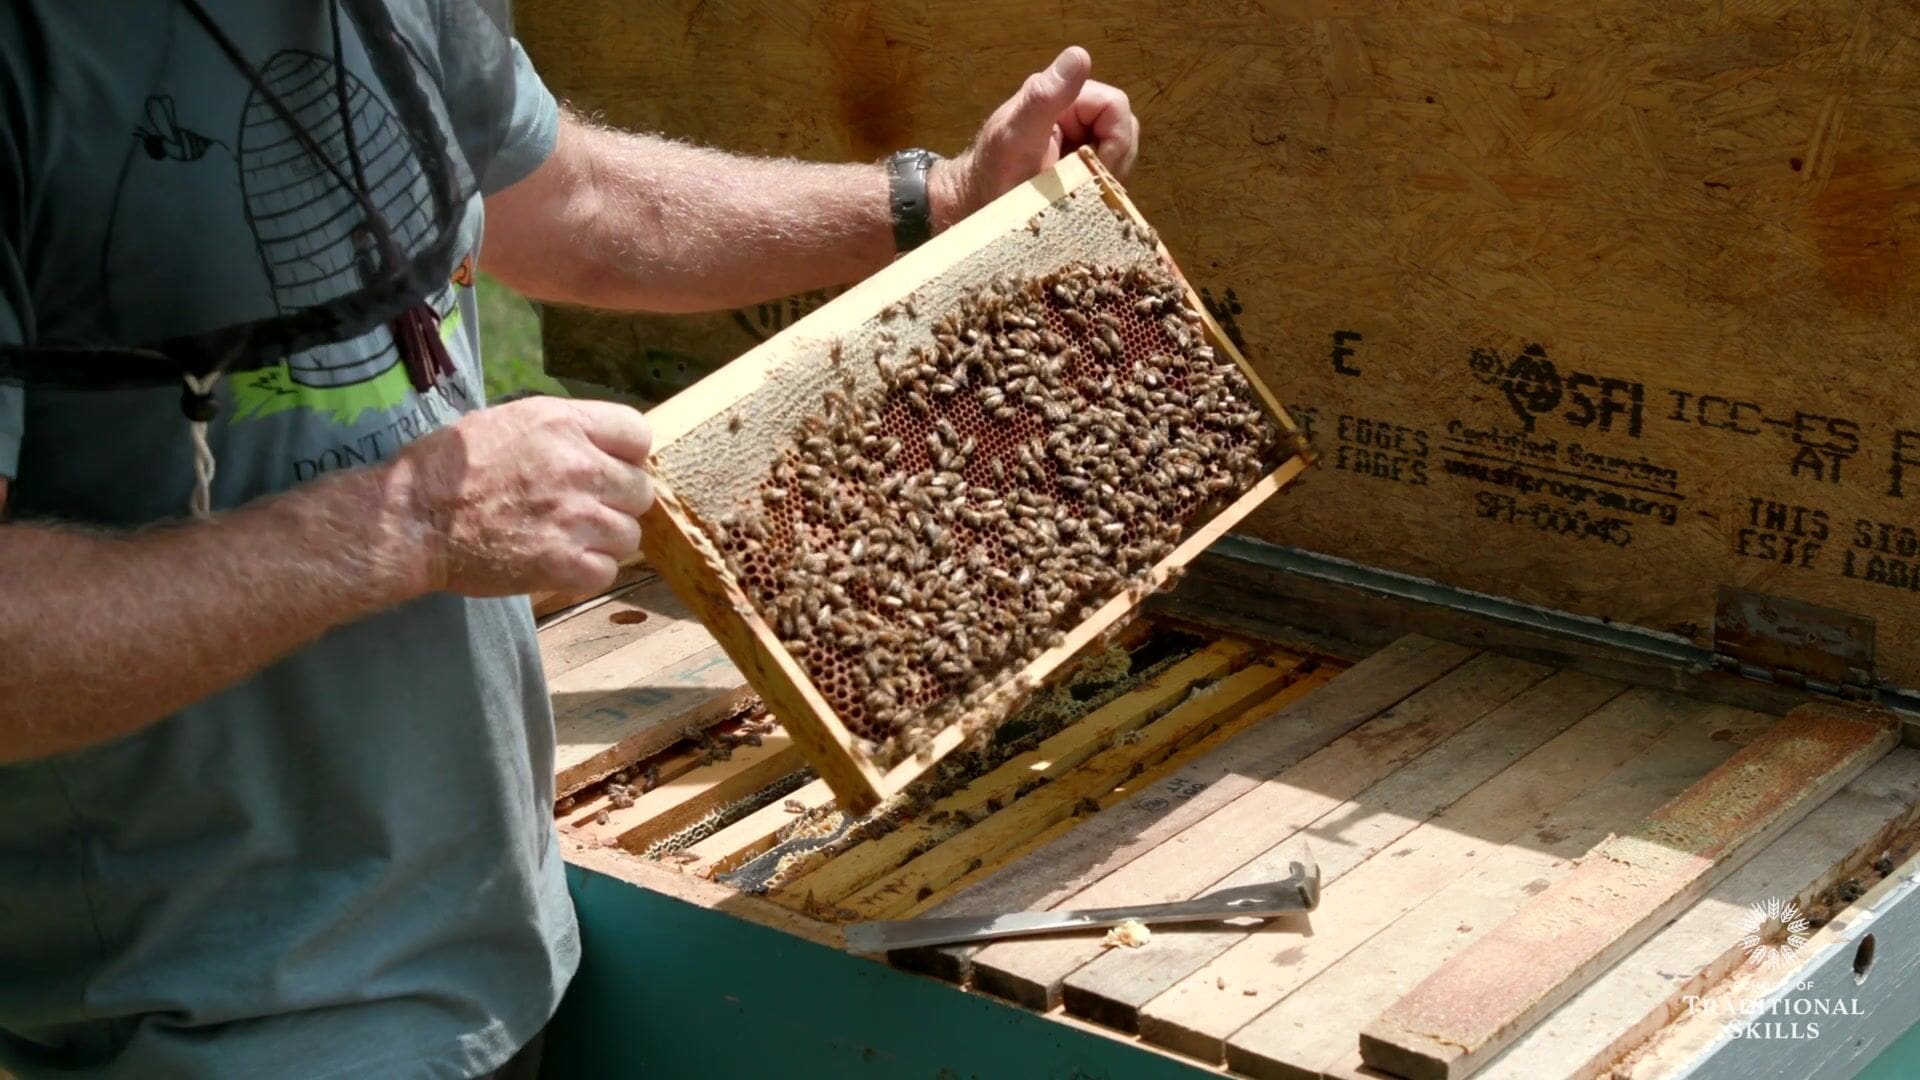
Now for the fun part! As you inspect frame by frame, lifting one at a time and then replacing it as carefully as you removed it, there will be five signs of hive health to pay attention to on each frame:
Bees on the Frame
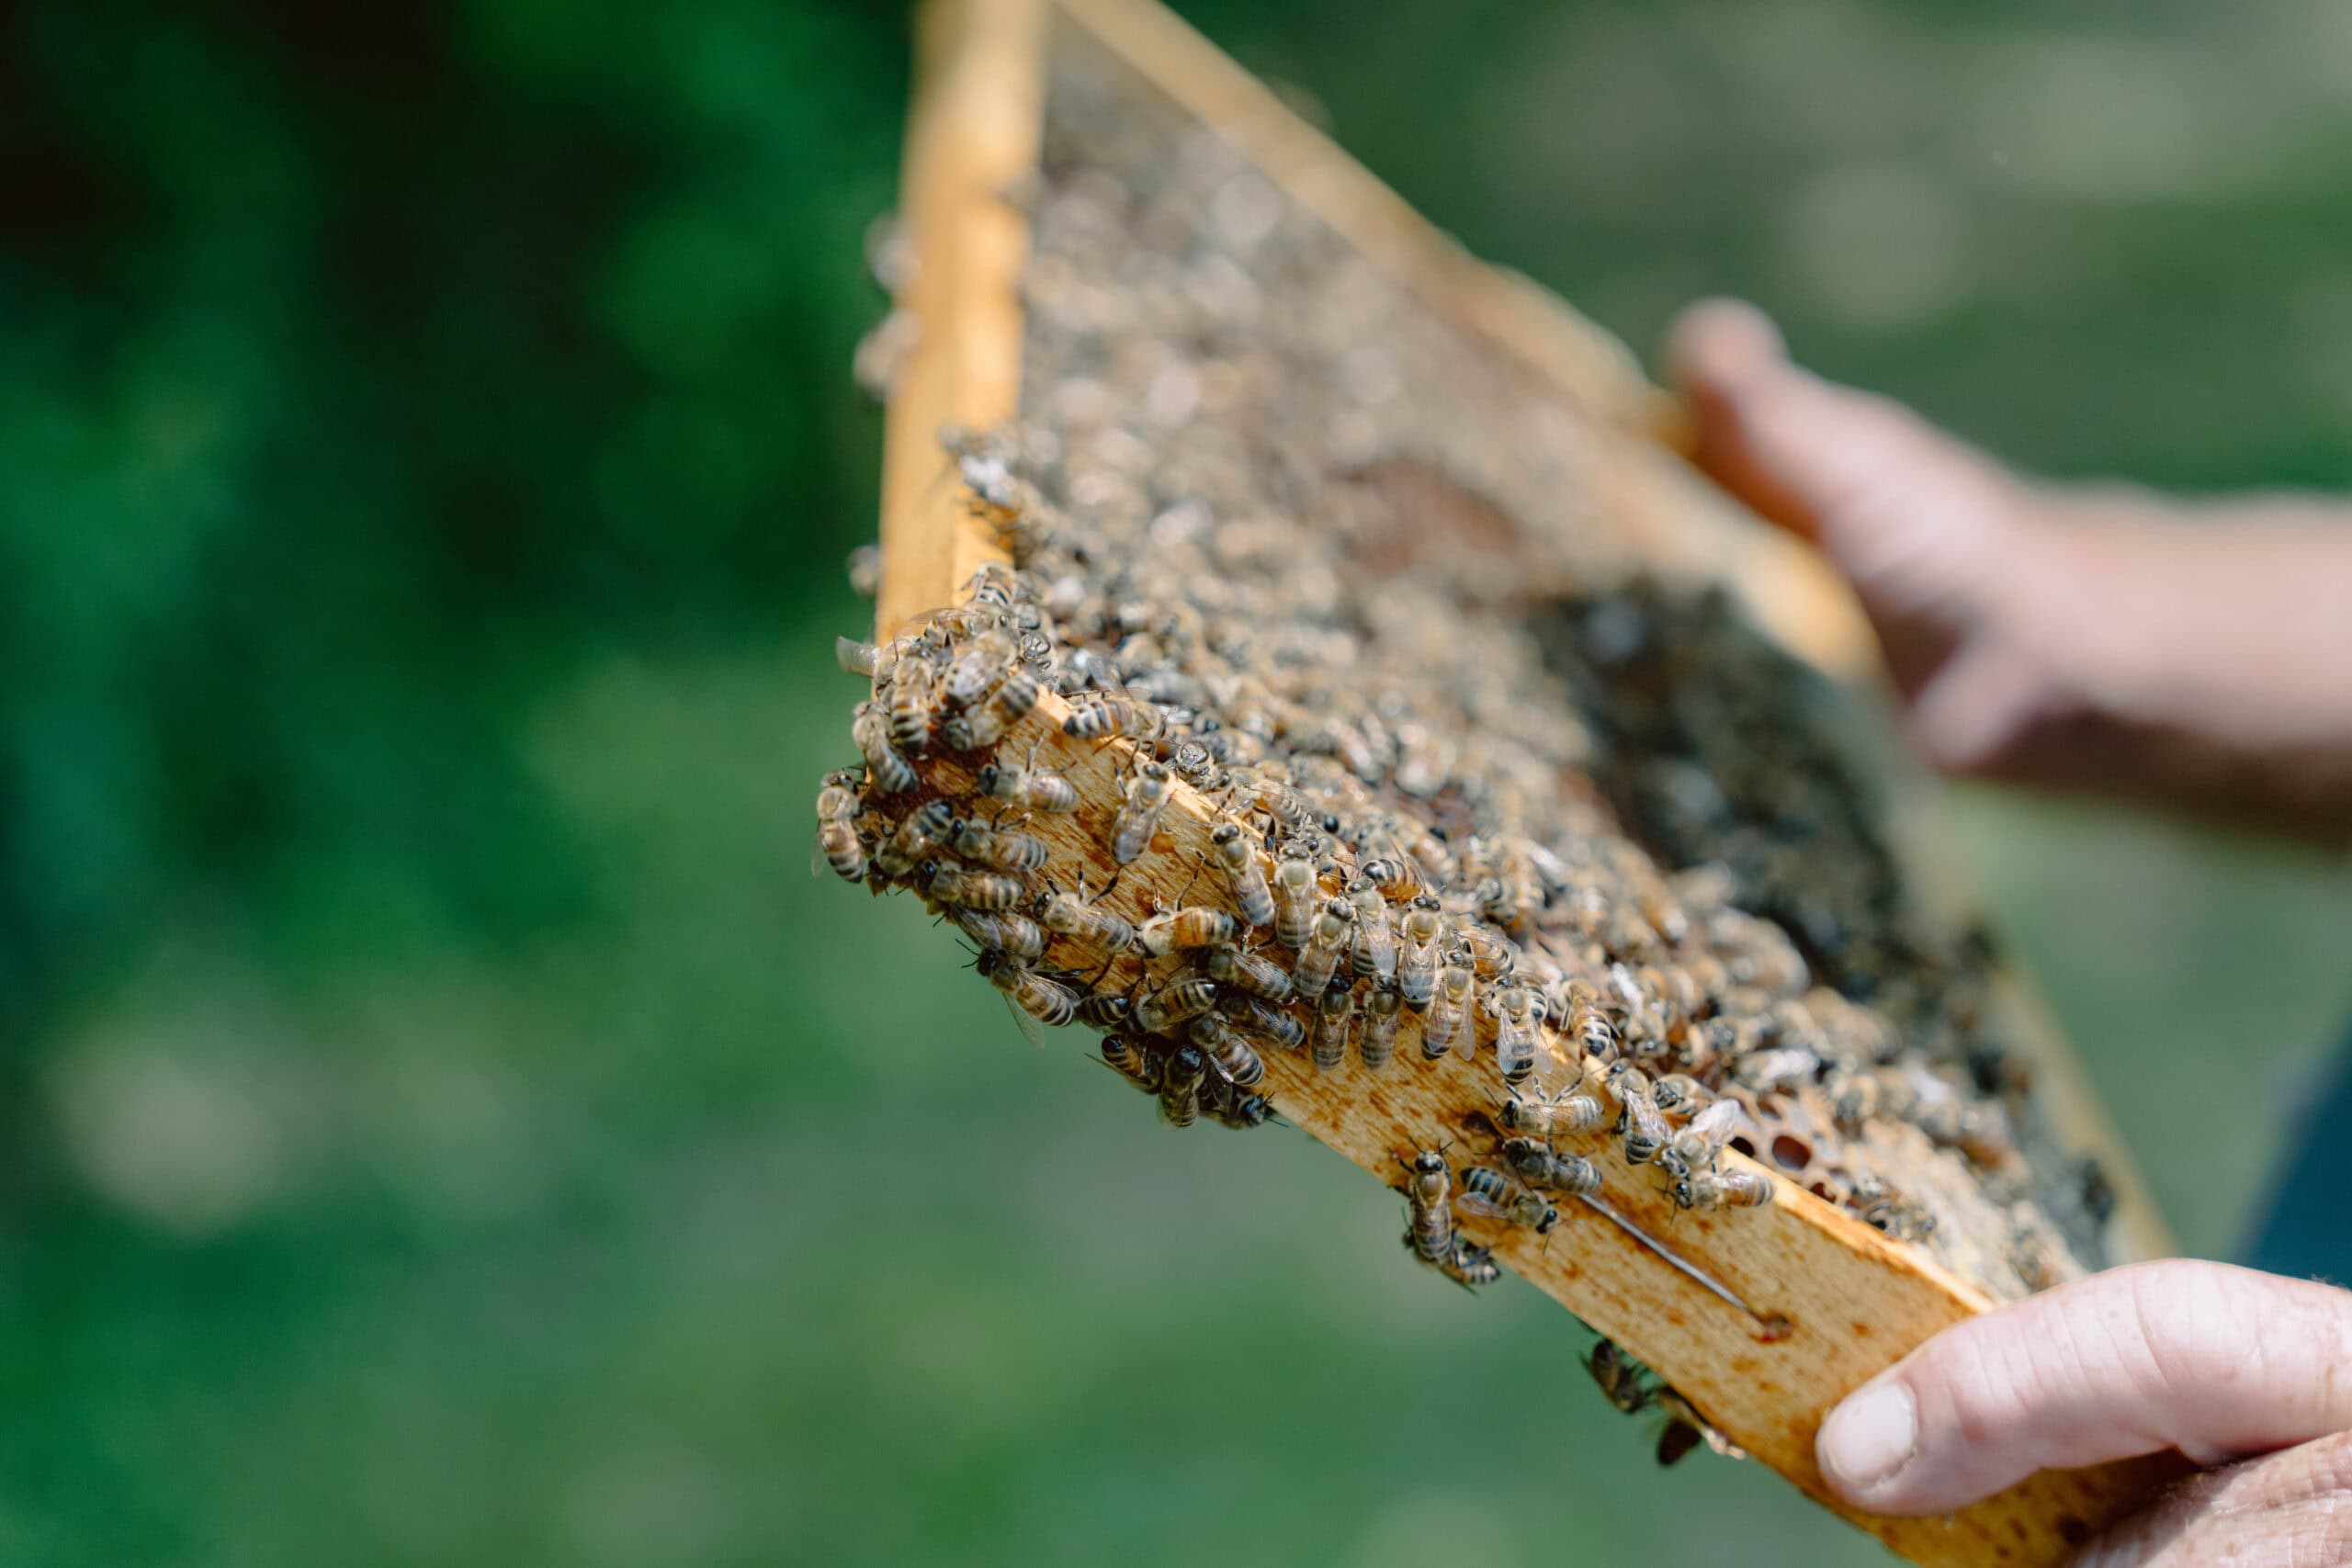
The first thing you’ll notice on pulling up a frame are the bees! Your frames should be absolutely crawling with bees. It’s a little intimidating at first, but this is exactly what you want to see – it means the colony is thriving.
Other than sheer numbers, the thing to mind is their mood. Are the bees calm and going about their business on the frame, or are they flying towards you and behaving agitated? (It’s normal for them to buzz loudly with some light smoking, but you should see them head down towards their stores and proceed to gorge themselves on honey, their way of protecting their resources.)
You may notice the queen as you scan your frames, but don’t spend extra time hunting for her. It’s much easier to spot her eggs, which are typically all the proof you need that she’s alive and well.
Eggs (the Most Important Thing)
At this time of year, you should spot eggs on some of your frames. They look like tiny white specks standing upright at the bottom of cells, almost like grains of rice. Finding eggs means that the queen has been there within the last three days, which tells you that a queen is most likely present at the time of your inspection, healthy, and laying well.
The place to look for eggs is in the center of a brood nest frame, though you may need to tilt the frame slightly so the sunlight shines into the cells at an angle and makes them easier to see. Just be gentle with how you move a frame that’s completely wireless or foundationless – on a hot, sunny day, it’s possible for wax comb to melt right off your frame and fall onto the ground, making it a sad day both for you and your bees.
Not finding eggs on any frame would be a definite red flag in late spring (but not necessarily in the fall). No eggs can indicate the absence of a queen, though check again in three to four days before worrying.
Brood Pattern
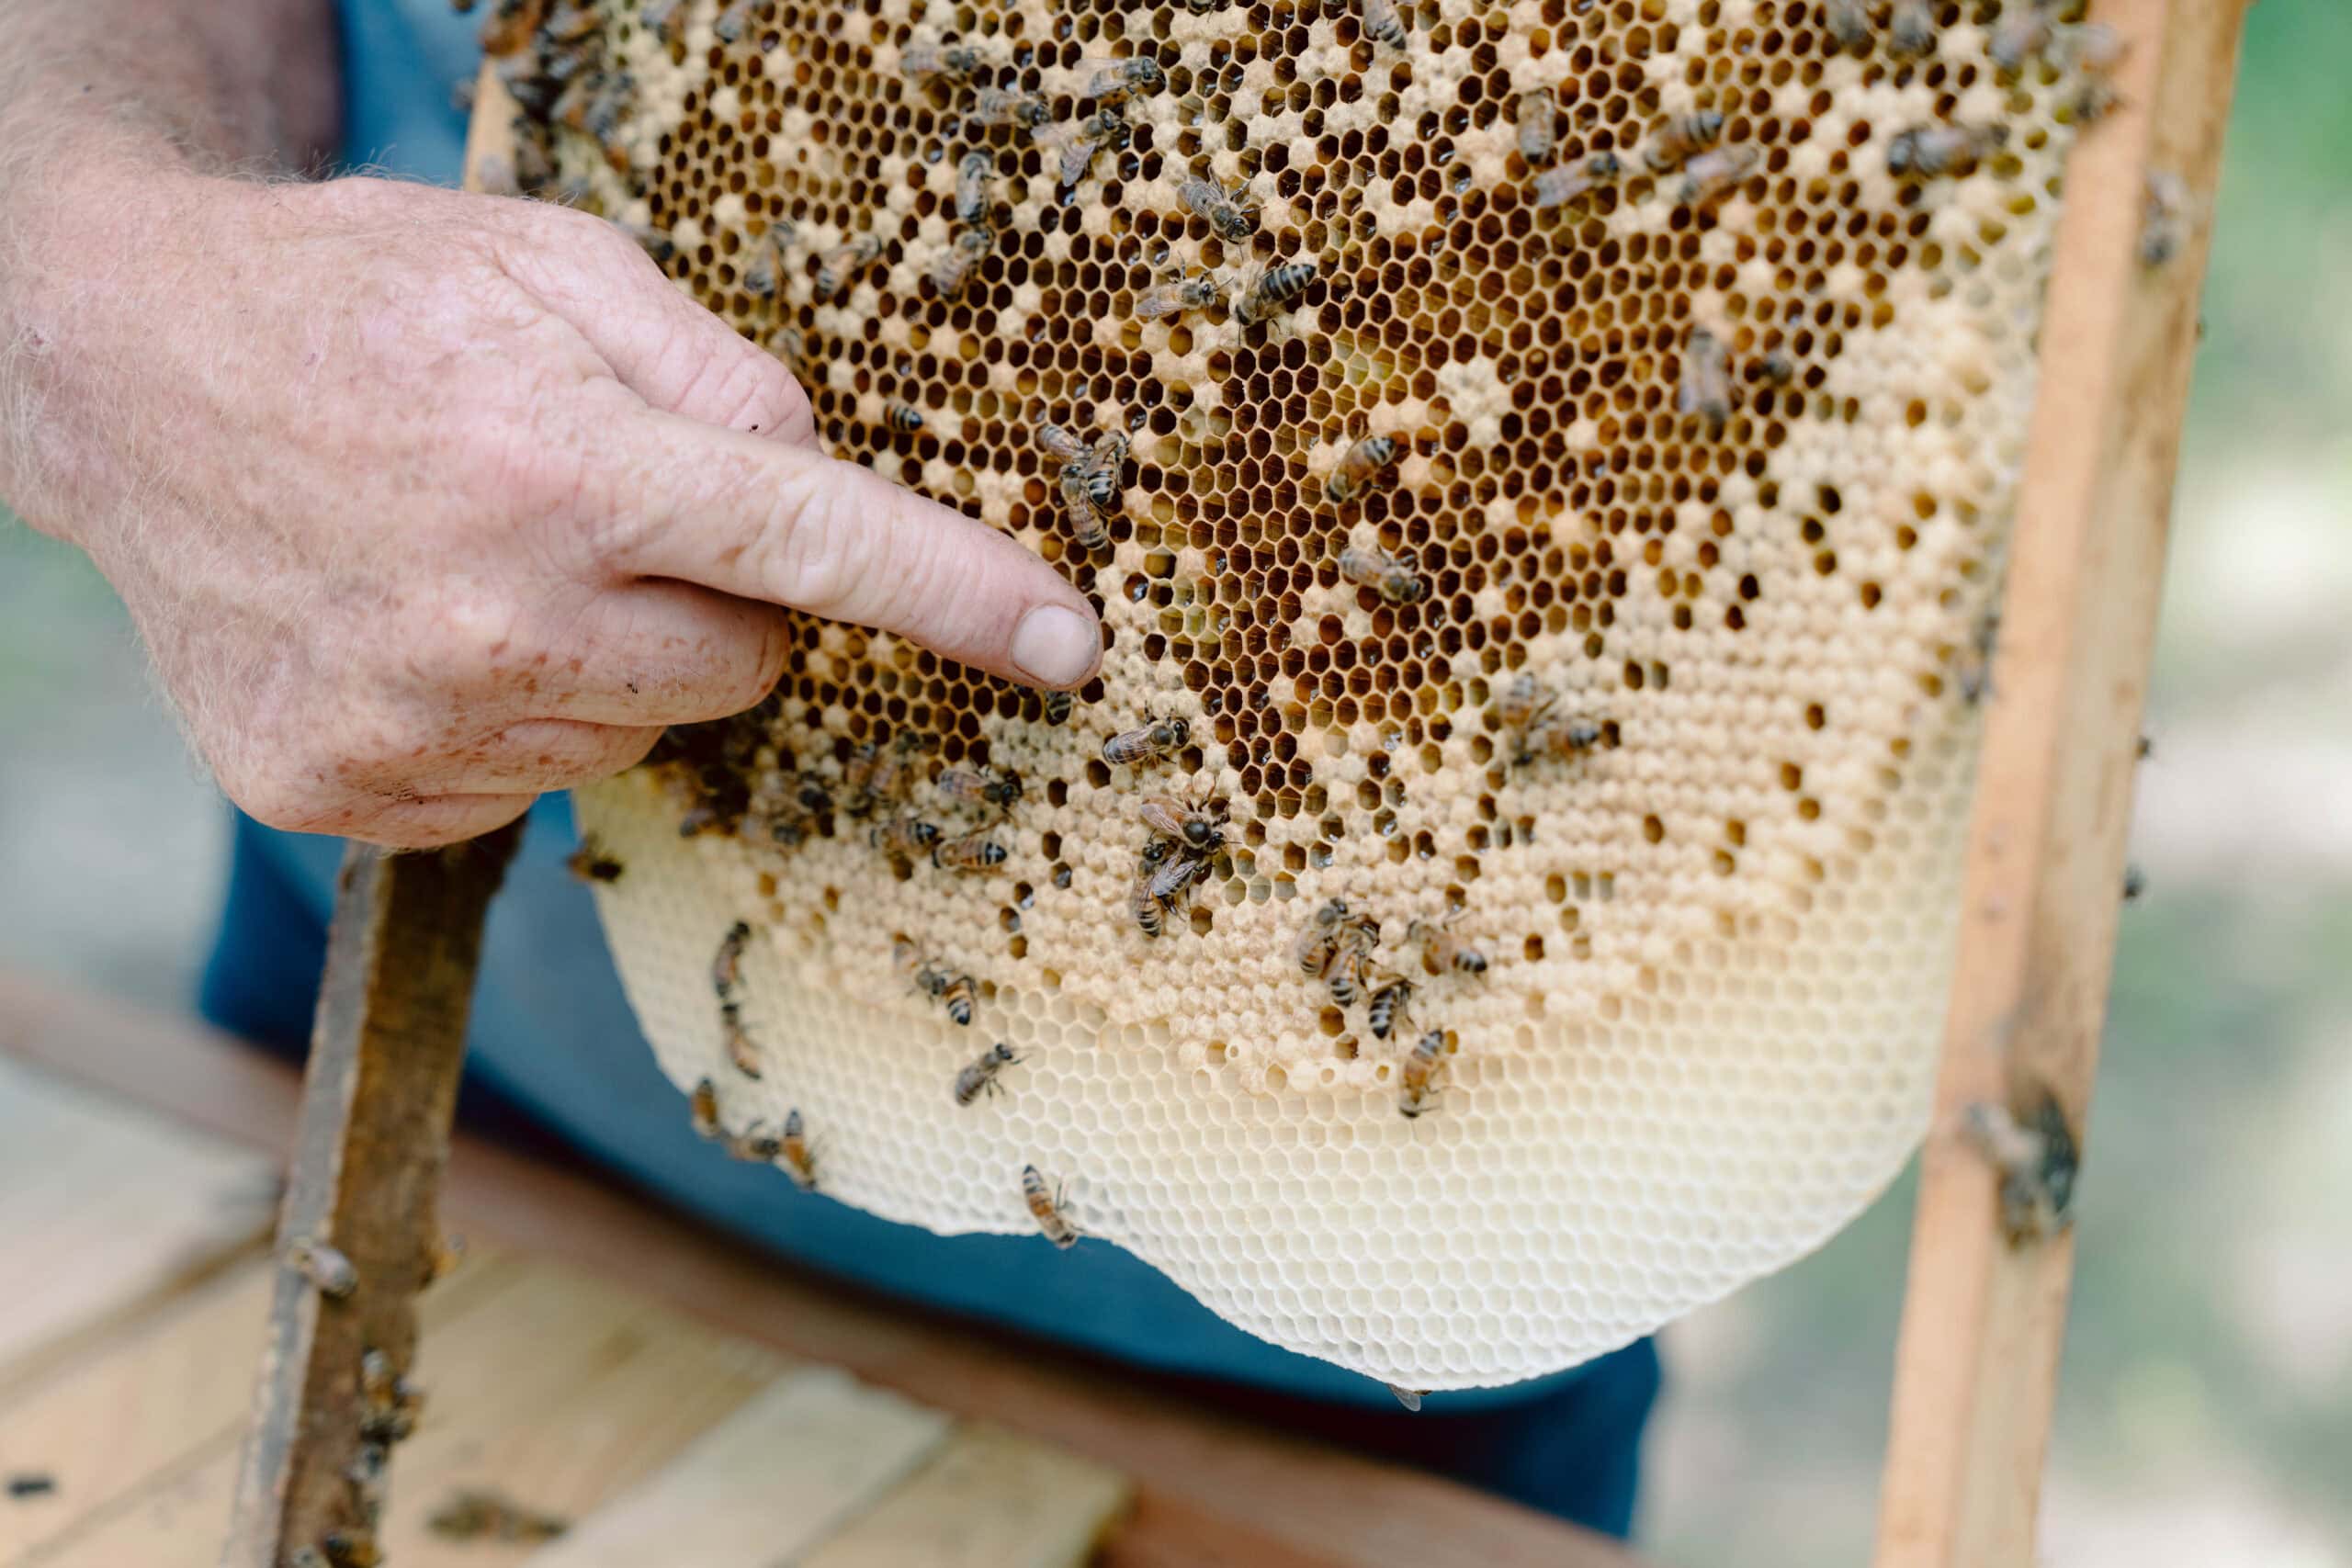
The brood pattern is an important measure of a hive’s health status, so a beekeeper should assess that, too. A robust brood pattern appears as solid frames made up of concentric clusters of brood, with eggs in the center, larvae around them, and wax-capped brood on the edges. There should be few, if any, empty cells within the brood area, and the capped brood should have slightly raised, tan-colored caps that are neither sunken nor dark.
As we referenced before, a “spotty” brood pattern includes lots of empty cells mixed with capped brood. This is a sign that the colony may be struggling with disease or pests, or that the queen is aging or dying.
The Honey Rainbow
On a brood frame, you should see an arc of capped honey cells above and around the brood nest. Capped honey cells are for honey that the bees consider fully ripened, and which they seal with a thin layer of light-colored wax that may darken over time. This is the colony's reserve of honey, and it should be thick and visible on each brood frame. If the honey rainbow is looking thin or patchy by late spring, it’s a red flag that suggests the hive is struggling.
Outside of the brood nest, a strong hive should have frames dedicated entirely to storing honey. These are the ones we’ll be considering when we return for our honey harvest by mid summer.
Comb Condition and Propolis Build-Up
Lastly, note whether the bees’ comb is straight, well-drawn, and built perpendicular to the top bar. It should not appear crooked. If you see that, check that your hive is level. The comb should also be within the frame and not along the edges, which happens when the bees run out of space.
If you see any cross-comb, meaning the bees are building between frames, it could be a sign that the spacing between your frames is too large. Two bees only need ⅜” (0.95 cm) to pass each other, a distance called “bee space,” and they will start to build comb in any space larger than that. (How resourceful these little creatures are!) You can address this problem by inserting an additional frame or two into your box, and in the moment simply by scraping the beeswax off to eventually render and use in making some nice candles or salve.
Besides honey and comb, the third major bee product that’s easily visible in a hive is propolis. It’s normal to see propolis build-up in various places since the bees use it to seal cracks. Whenever you want to harvest this ‘bee glue,’ scrape it off of the frames or the inside of the box. It has antimicrobial and antifungal properties, and is used medicinally by many (though consult with a knowledgeable health practitioner before you do!).
To walk through a frame inspection with an experienced beekeeper who describes what he’s seeing in real time, check out our class on “Natural Beekeeping” with Adam Martin. Not only will you learn a ton, but it will open your eyes to the tremendous advantages of this low-maintenance, low-interference beekeeping method.
Natural Beekeeping
Join Adam Martin from the Bee Kept as he shows you the natural sustainable way to keep bees!
What to Do With What You See
You’ve completed your inspection and seen everything you needed to see. Now what? That depends on what you’ve just seen. Certain issues require some troubleshooting, so let’s consider various scenarios one by one.
Best Case Scenario: Everything Looks Good
If everything looks as it should – the honey rainbow is thick, eggs are present, the brood pattern is solid, and your bees are calm – give thanks for a successful inspection! You can close up the hive and leave them alone until the next seasonal inspection is needed (but in the meantime, continue to watch any goings on outside the hive as part of your regularly scheduled observation sessions).
If You See Queen Cells
A queen cell is a longer, peanut-shaped cell that appears to hang off the frame. We discussed in the first article in this series that the presence of these cells can merely indicate a colony is requeening. If that’s so, walk away and let them figure it out.
But… if you’ve noticed other early swarming signals, it’s possible these queen cells are suggestive of the same. In that case, review the swarm-prevention tactics we covered in the first article, and either add space or plan a split right away.
If You See No Eggs
There are several explanations for this one. Maybe the queen has taken a break over the last few days – after all, even queens need a vacation sometimes, too.
Or maybe you missed the eggs and need to recheck in four to five days (don’t leave the hive open too long), looking specifically for eggs. If there are still no eggs after the second inspection, the odds that your hive is queenless do go up considerably.
While you could purchase a queen, Adam Martin doesn’t recommend that. Typically bees would just raise their own new queen from an egg, but if there are no eggs in the hive, you have to get a little creative. Two great options are to combine these bees with another hive (assuming you have the right space to house the new, larger colony), or give the hive a frame from another hive that already has eggs on it. The bees know what to do, and will turn one of those eggs into a queen.
If the Brood Pattern Is Spotty
A weak, or spotty, brood pattern could have many possible causes. The queen could be aging and on her way out. But there might be something more serious to blame, like disease (most commonly American Foulbrood or Chalkbrood) or varroa mites.
Start by investigating further. See if you can rule out the American Foulbrood (take a sniff – this one has a distinct foul smell) or mites, which would be visible on bees or in capped cells if your hive is infested.
No matter the issue, if your goal is to manage the hive as naturally and sustainably as possible, patience and a ‘wait and see’ approach are probably your best bet. Give your bees a chance to requeen, if that’s what’s needed, or to fight off any pathogens or invaders on their own. And don’t be afraid to ask for help at the local bee club or extension office!
If Bees Are Very Defensive
If you open up the hive and find your bees are particularly irritable that day despite your best efforts to smoke them, just close it back up quickly and calmly. It may be that they recently lost their queen, experienced some other disturbance, or that current weather conditions or nectar availability is poor.
Forcing an inspection on defensive bees teaches them to be more defensive the next time.
Don’t put yourself or your bees in a bad situation. Better to try again in a few days under better circumstances (when they’re not wearing their grumpy pants).
If you’re a beginner and wondering what normal versus defensive behavior looks like, it helps to watch another experienced beekeeper conduct an inspection. This is a great excuse to make a new friend through your local bee club and invite yourself to their apiary, but there’s always the option to watch how Adam Martin handles his bees in our “Natural Beekeeping” class.
How to Close Up the Hive
Now that you’ve gotten to the end of the inspection, it’s time to put the hive back together again and reflect on what you just observed.
Replacing Frames
It’s important to slowly slide the frames back into their slots in the same order and direction as you pulled them. Though if you get confused and lose track of what goes where, don’t fret – the bees will rearrange things as needed. And if you’re pulling frames to harvest honey, just backfill with another frame so you don’t leave a gap.
Speaking of spacing, this is a good time to ensure that the frames are snug but not so tight you can't remove them next time (remember, ⅜” is the goal). If you disregard this step, be prepared to find comb drawn in some pretty inconvenient places!
Once frames are properly in place, replace the inner cover gently. Avoid crushing bees, because this will make the next inspection that much harder. You can get bees to move by blowing on them or giving the surface a light tap or shake. This is a great time to smoke them a little more, too.
Final Smoke and Sealing
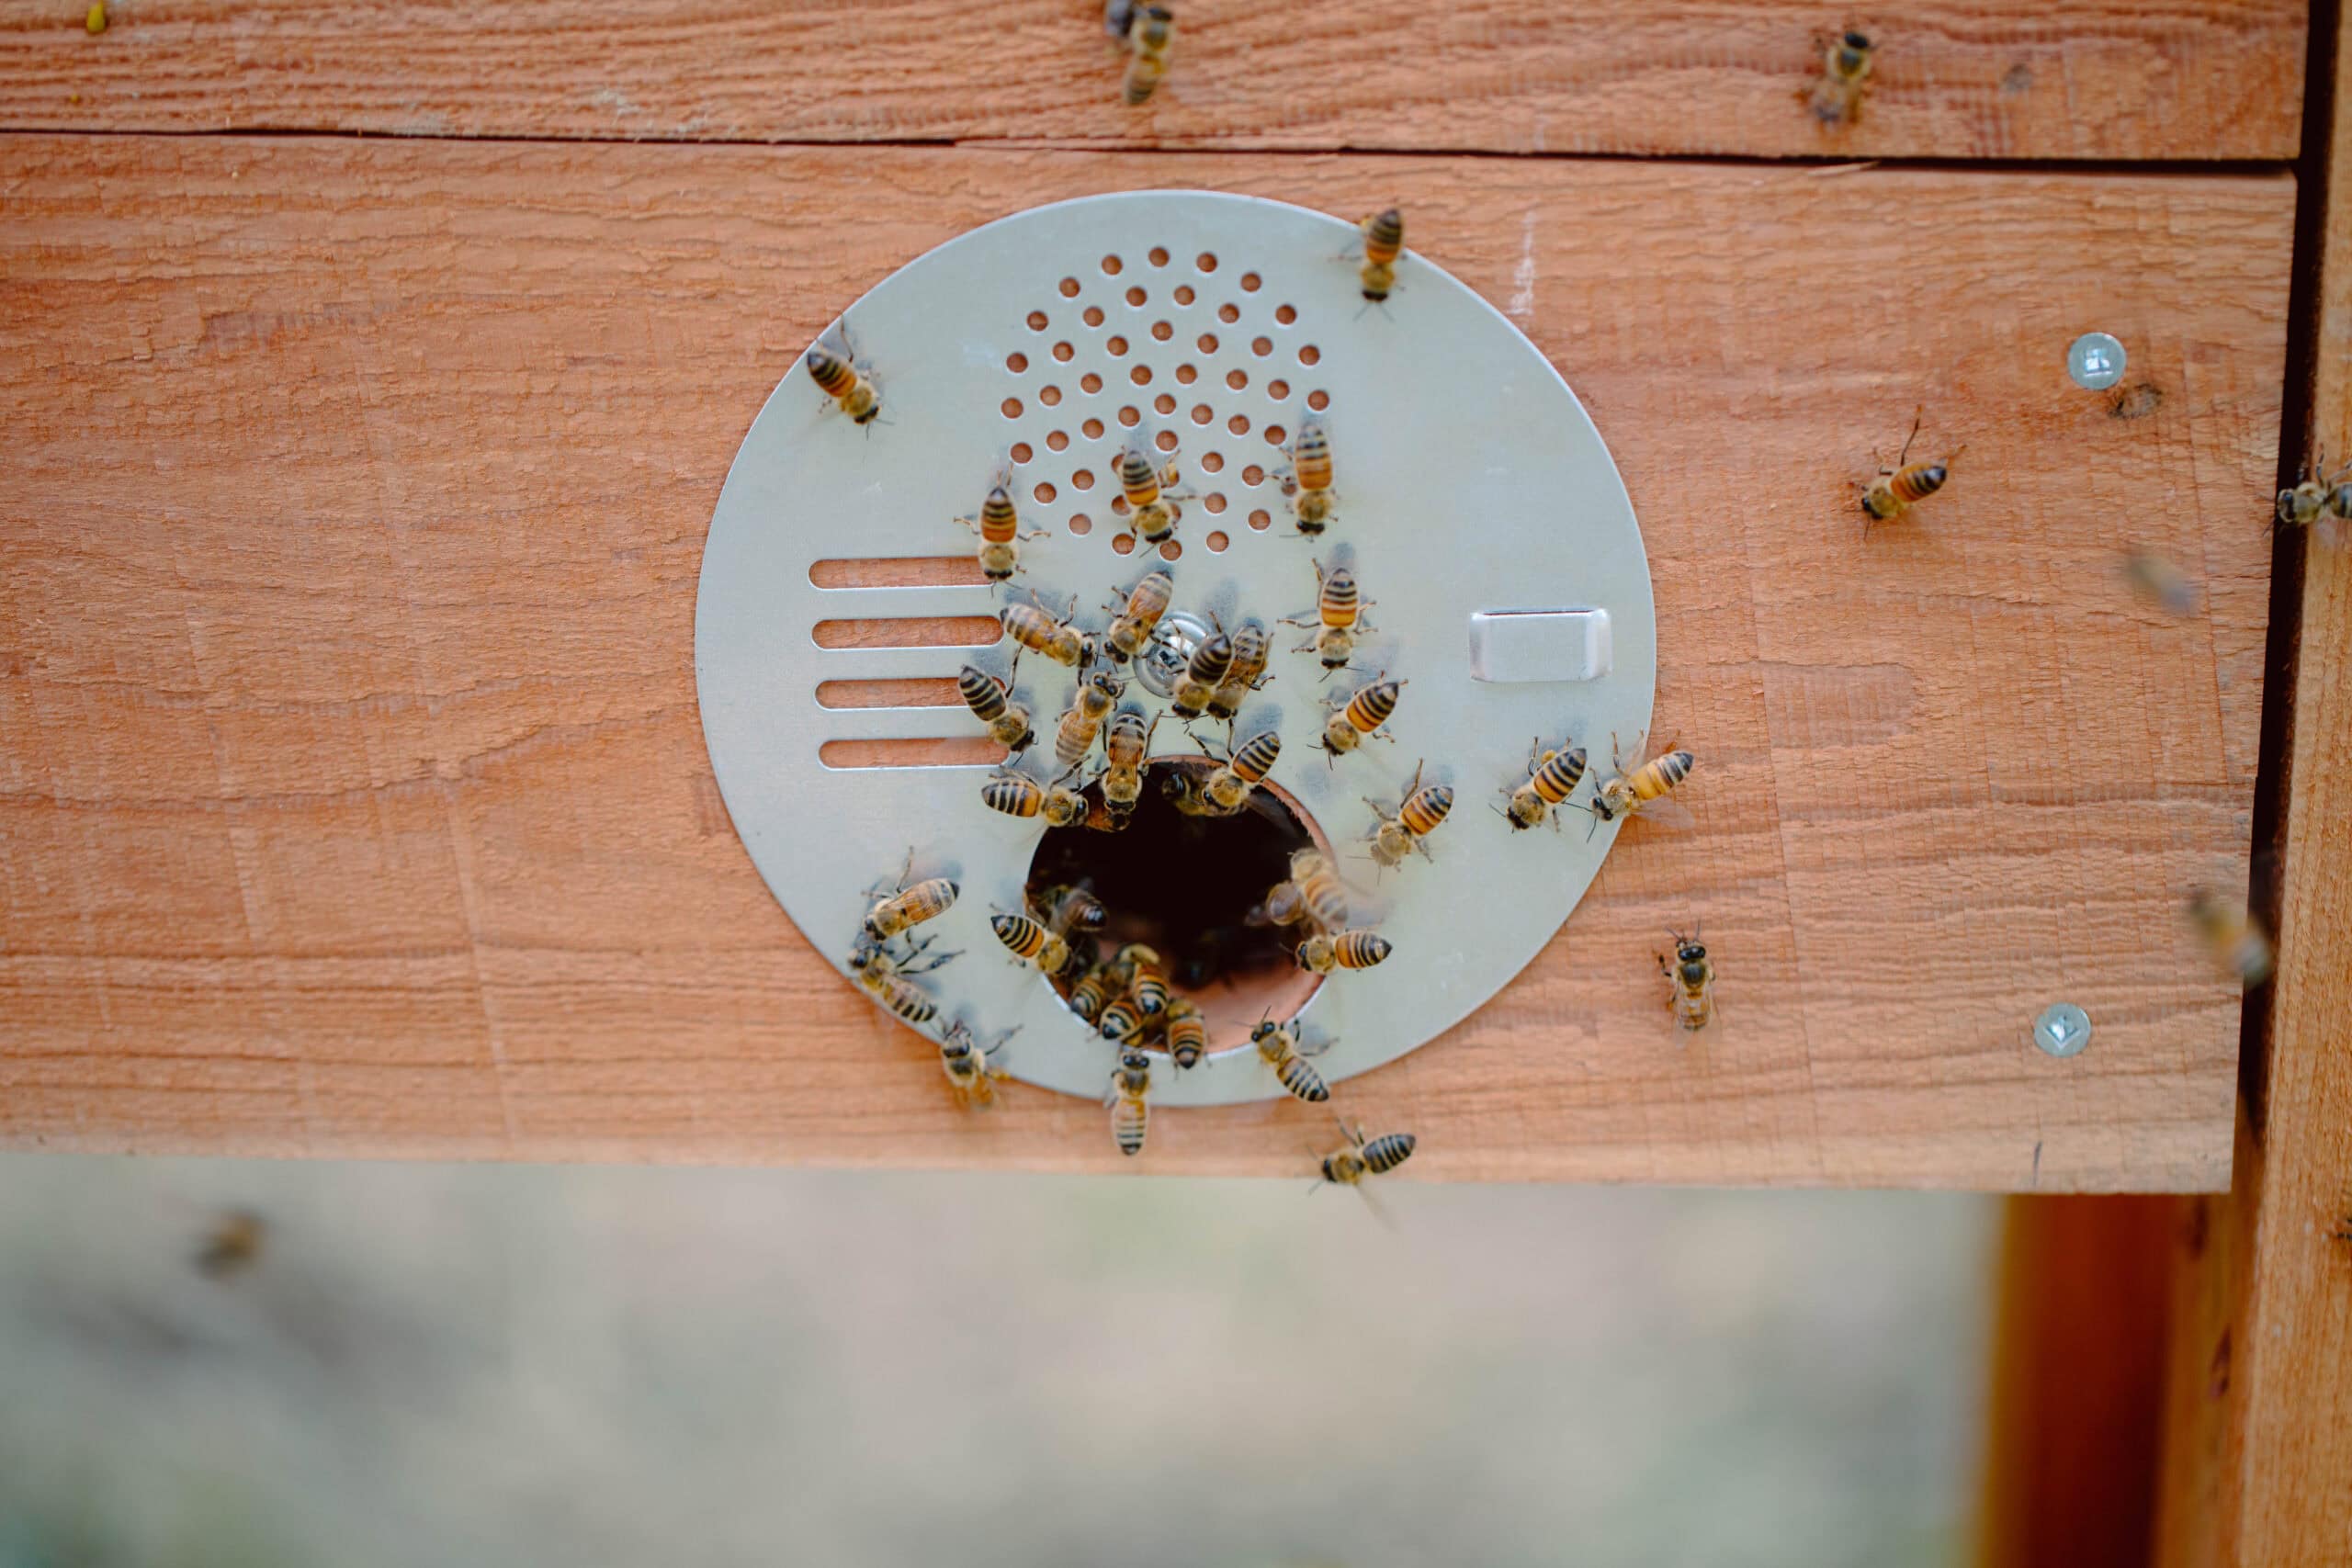
You might hear them buzzing loudly again as you start replacing frames. Help the bees settle back down by giving the top bars a light puff all the way across before replacing the cover board (or boards, in the case of a horizontal Langstroth hive). Set the outer cover back on firmly (the bees will promptly re-glue it with propolis), and then step back and observe for a minute. The bees should calm down and return to normal traffic within five to ten minutes.
Inspection Notes
While you wait for your bees to resume their business as usual, take notes of what you just saw while it’s fresh in your mind. Were there eggs? Honey stores? Queen cells? What did the brood pattern look like? And don’t forget to add the date, the hive (if you have multiple), and a brief description of the weather conditions for future reference.
Not only will taking notes help you remember what you observed, but it will build your baseline understanding of what's normal for your hive. Over time, a pattern will emerge, and you'll be able to spot changes immediately because you know what “normal” looks like. That’s the benefit of keeping records, and it’s a habit that will benefit you in beekeeping and beyond.
One More Thing
At its best, this sustainable approach to beekeeping helps us support the natural rhythms of the colony even as we ourselves benefit from their valuable, medicinal, and delicious contributions: beeswax, propolis, and honey. Collecting beeswax and propolis from the hive is pretty straightforward, but when should beginner beekeepers expect their first honey harvest?
This question – and many more – are addressed in the next and final article of this beekeeping series. Learn the when and how of harvesting honey, mindful to leave enough of this shared resource for the bees to get through the winter comfortably. Invest just ten minutes of your time in a little reading, and it will go a long way towards helping you avoid costly mistakes in your apiary.
For tips and tricks beyond what we have space to get into here, be sure to check out our beekeeping class at the School of Traditional Skills. With almost a decade of experience under his belt, Adam Martin is the ideal mentor. He has that rare combination of in-depth knowledge, warm approachability, and accessible teaching style that can help anyone learn to keep bees naturally. See you in class!
Natural Beekeeping
Join Adam Martin from the Bee Kept as he shows you the natural sustainable way to keep bees!